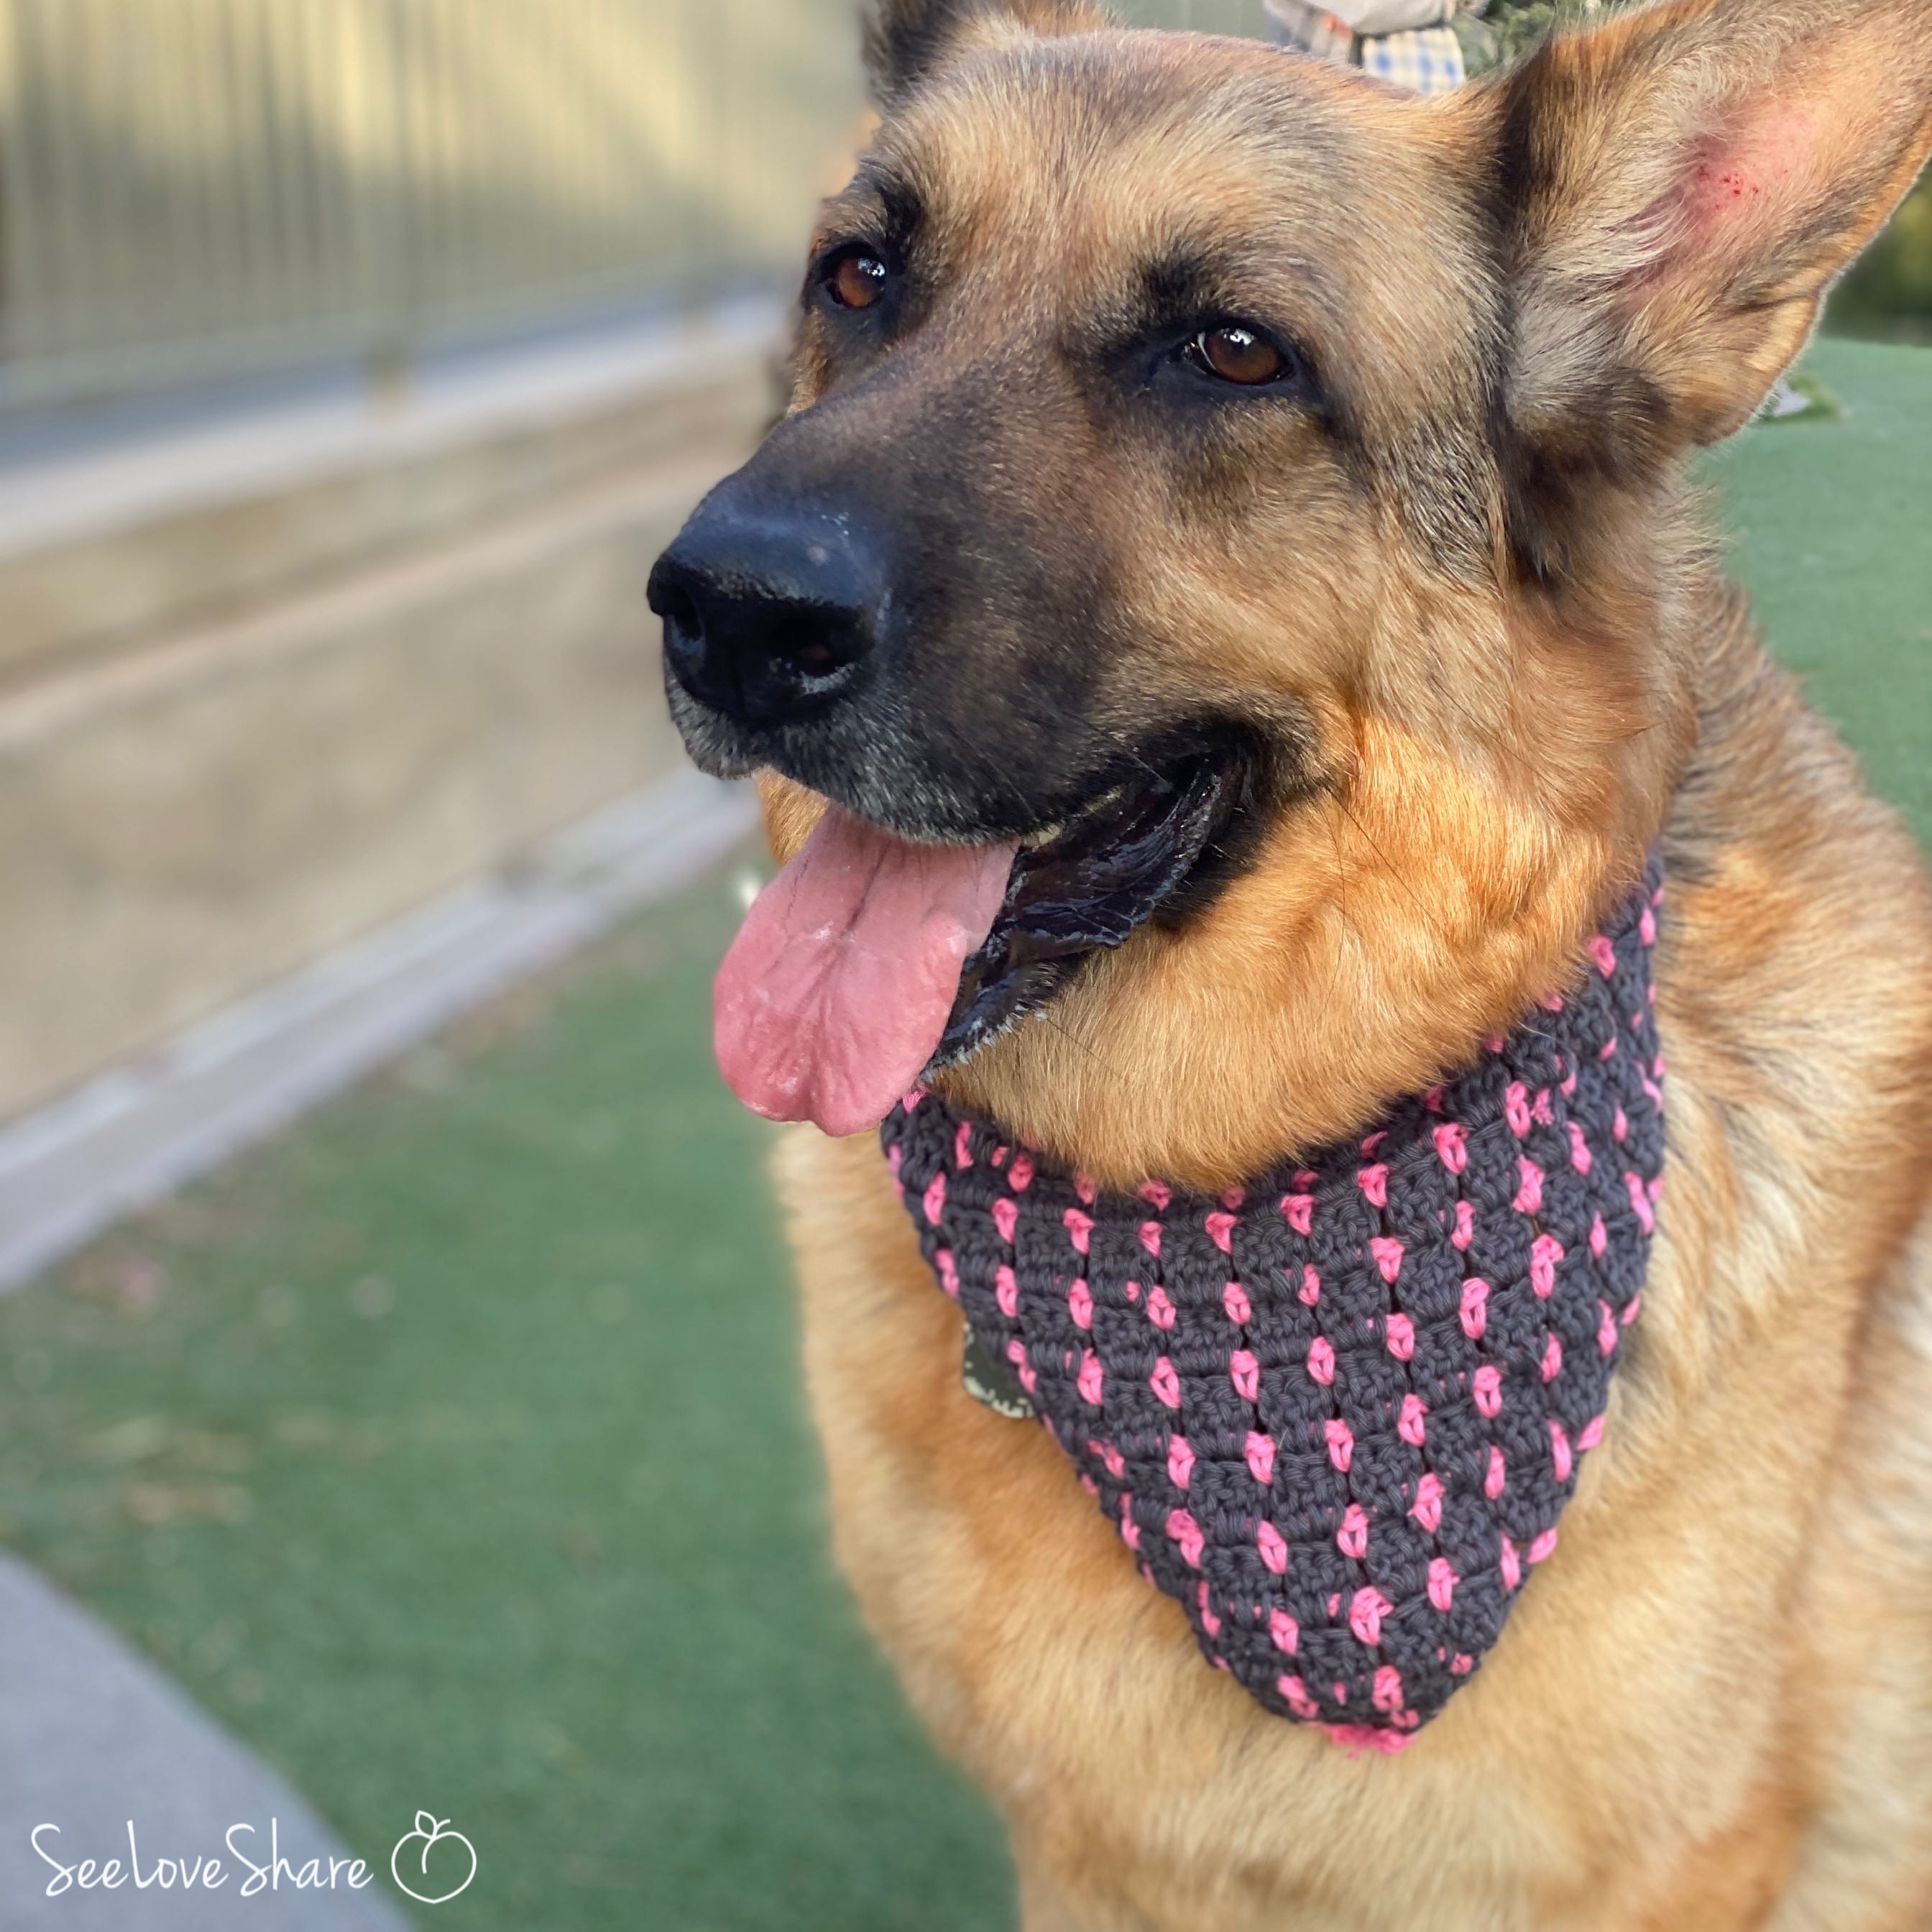
Apologies in advance… I couldn’t decide which photo worked best so you’re getting them all! Tyson was such a great model for me! Best part, he actually enjoyed wearing it!
Try out this quick project to accessorize your little pupper! It worked up in about an hour for me (and I’m pretty sure I have the largest doggy everrrrrrr….) but should be much quicker depending on the size of your furry friend. Great for cats also! Try it out and let me know what you think.
Pattern Notes:
This pattern is worked from the bottom tip up to the tie using the Block Stitch. You can see step-by-step instructions for the block stitch featured as a #SpotlightStitch right here:
There is also a quick hack to work in the loose ends as you go so you dont get stuck weaving in all those ends when you’re finished. Check that out here:
Finished Measurements:
For a large pet (mine is a 100lb German Shepherd Dog): 10in long x 30in wide (including ties).
For smaller pets, I will highlight where the pattern can be adjusted to size down
Materials:
- 5 mm crochet hook
- 2 balls of main colour (Overcast) and 1 ball of highlight (HotPink)
- Tapestry Needle
- Scissors
Skill Level: Intermediate
Intermediate
Gauge:
13 sc and 14 rows with a 5 mm (U.S. H/8) crochet hook
Abbreviations:
Ch: Chain
Sc: Single Crochet
Sp: Space
Sk: Skip
Dc: Double Crochet
Pattern:
To start using highlight colour: Ch 5
Row 1: Sc in 2nd ch from hook, sc, ch2, sk 2 ch, sc, turn
Row 2: Change colour, ch3, *3dc in ch2 sp from previous row* repeat to last 2 sc, dc in last sc, turn
Row 3 INCREASE ROW (shown below): Change colour, sc, *ch 2, sc in next st (making space and increasing by one block stitch group) ch2, sk 2 ch* repeat to last 2 stitches, 1 sc, ch2, sc (making space and increasing by another block stitch group), turn.
Row 4: Change colour, ch3, *3dc in ch2 sp from previous row* repeat to last 2 sc, dc in last sc, turn
Repeat row 3&4 until the width of the work wraps approx 3/4 around your pet’s neck. For my Tyson, this meant an additional 24 rows! Make sure you end with a main colour row.
Making the ties:
Here you are going to chain the length needed (in multiples of 3+1) for ties and then attach and proceed back to the pattern as you would in row 3 WITHOUT the additional increases:
Here are my suggestion for tie lengths:
Large pet: ch 19
Medium: ch 13
Small: ch 7
Pattern continue:
Row 1: with highlight colour, ch 19 (13, 7), *sc in ch2 spaces from the previous round* repeat to end, ch 19 (13, 7)
Row 2: Change colour, ch3, *3dc in ch2 sp from previous row* repeat to last 2 sc, dc in last sc, turn
Row 3: Change colour, sc, *sc ch2, sk 2 ch* repeat to last 2 stitches, 2 sc.
Bind off and weave in ends!
Attach to your love over the front or the back:
Front:
Back:
PLEASE TAKE PICTURES and post them below or email them to me!
Enjoy!
