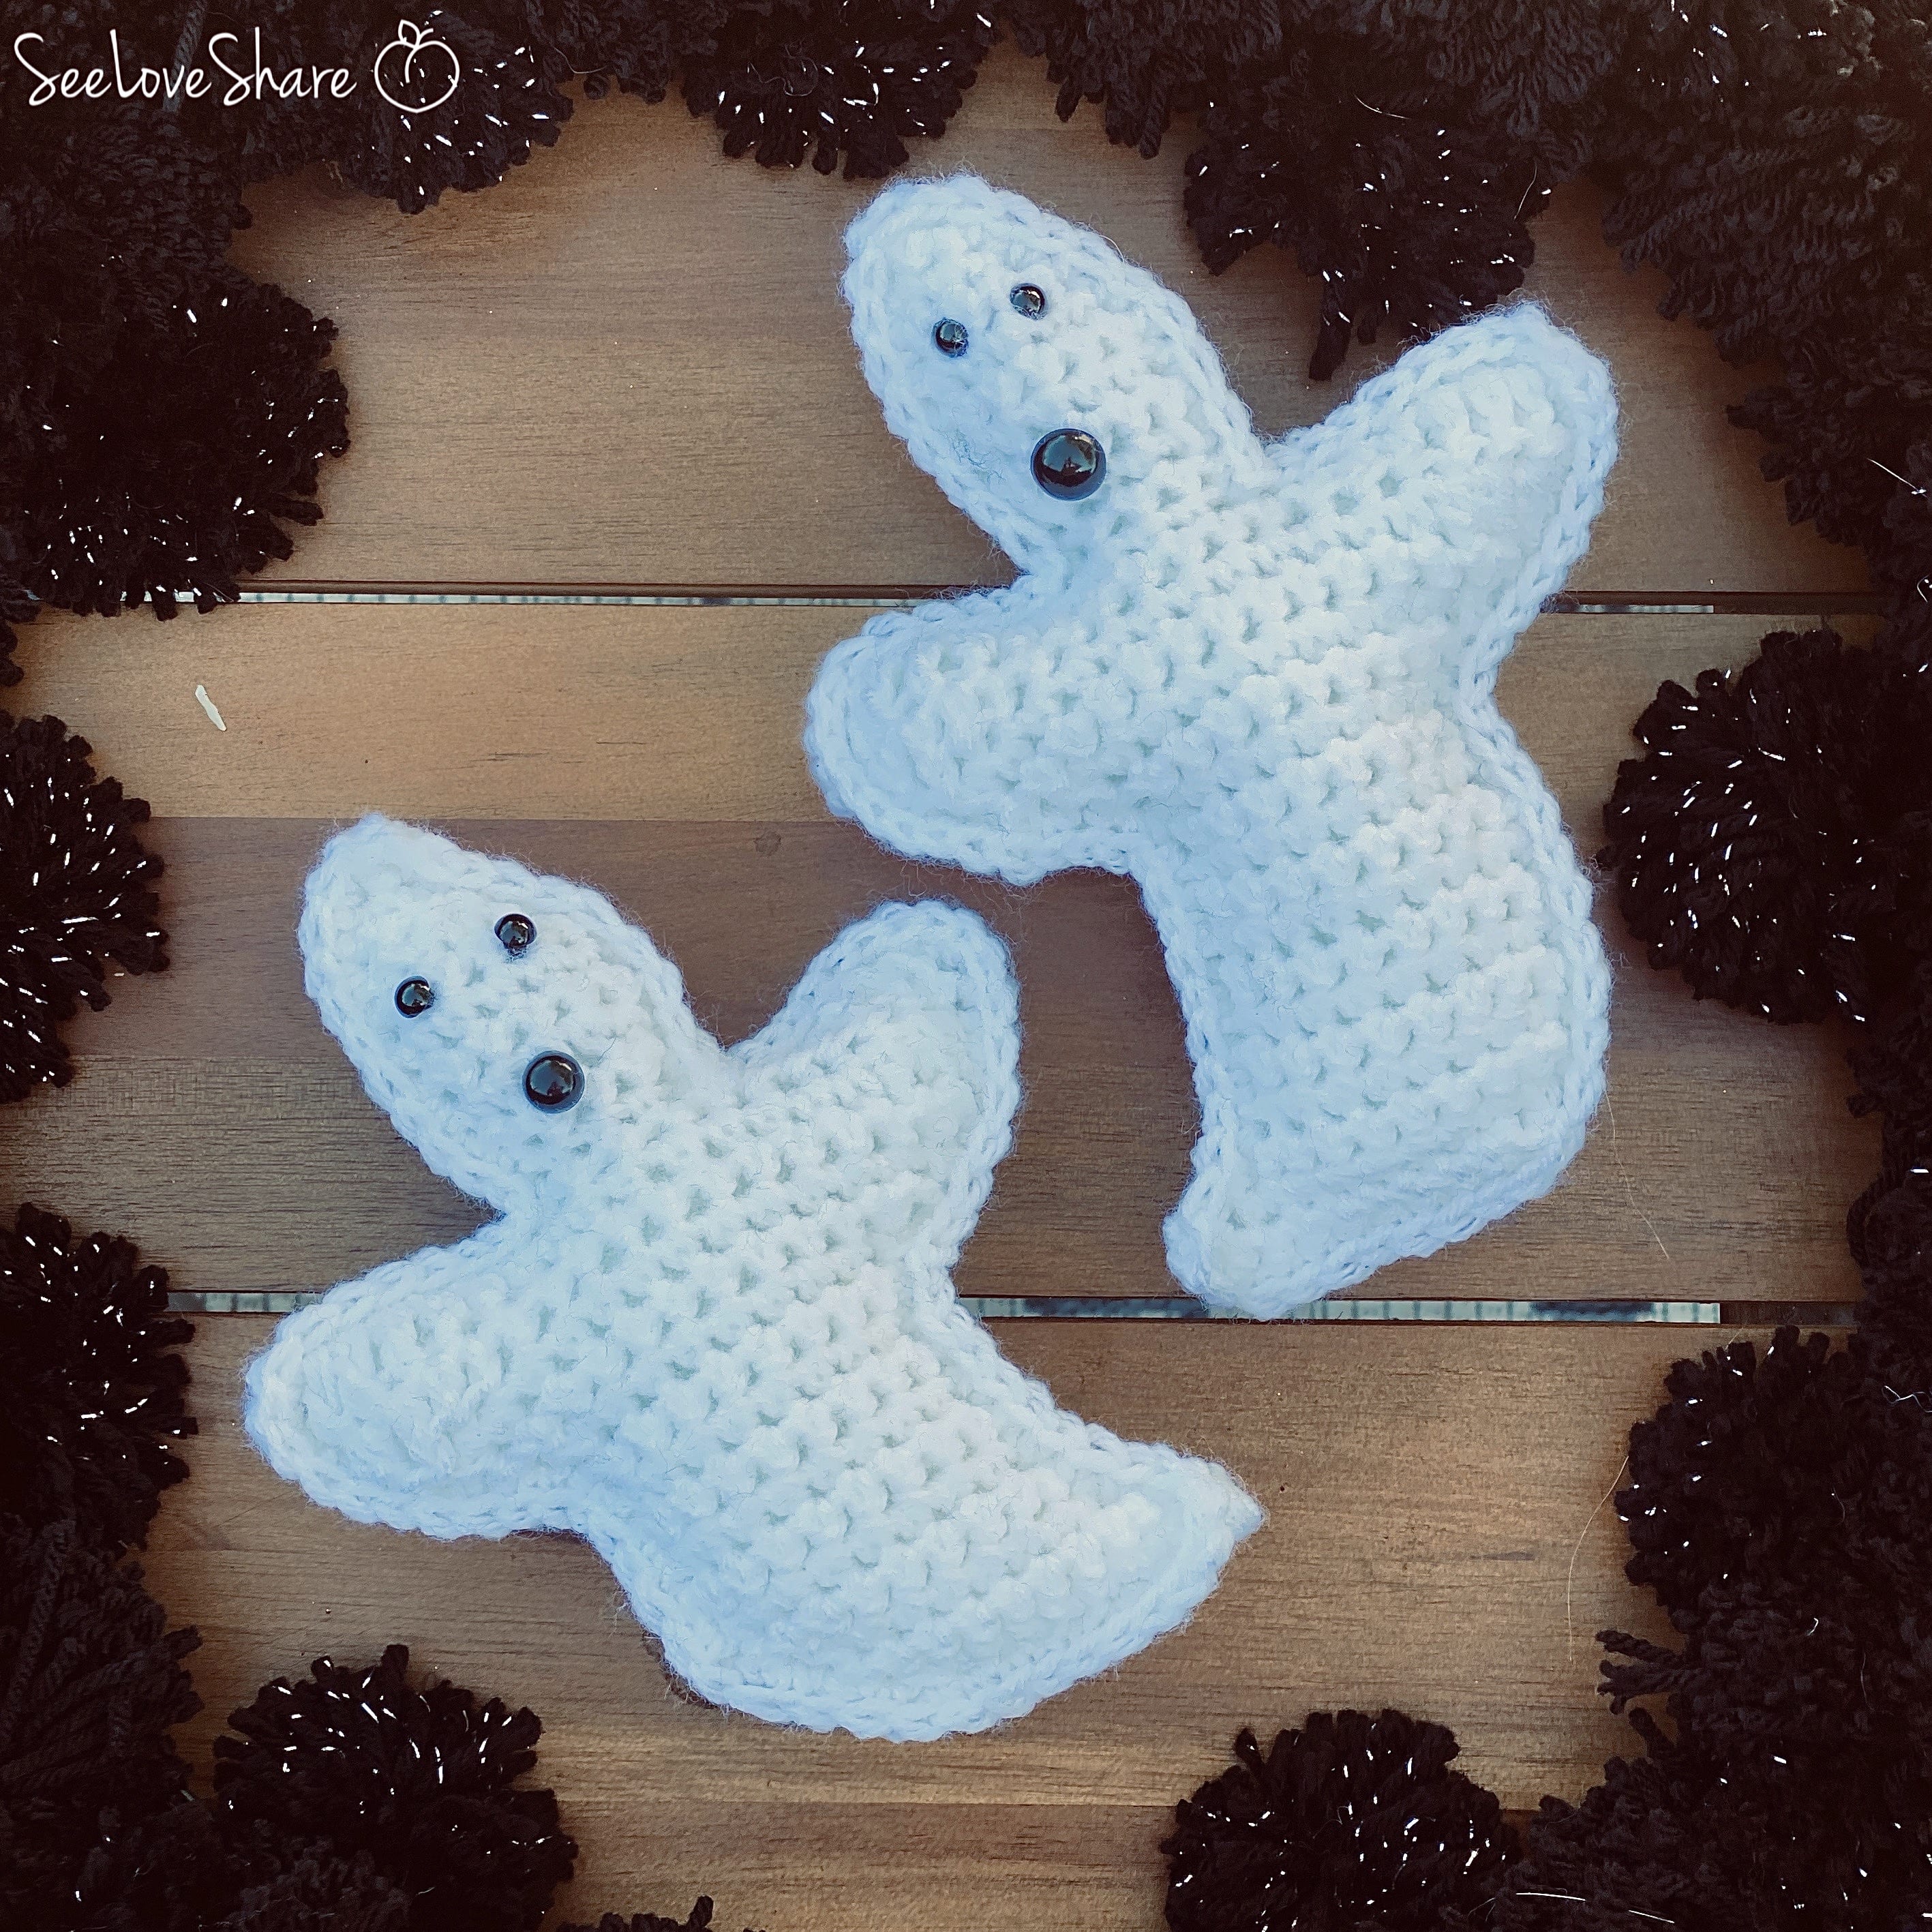
This is the same pattern for both ghosts! I just flipped the pattern over to the “other” side so their tails took off in different directions. These guys will ultimately live on my Halloween wreath with some of their other “scary” friends… so stay tuned for more plushy decor patterns to come!
Materials:
- White medium yarn. I like Red Heart Super Saver Yarn for projects like these because they’re a great price, durable and come in LOADS of colors.
- 2 sets of plastic animal eyes in small and 2 more in medium for the mouths – or you can make these with some black yarn and french knots
- Poly Fill to plump them up!
- Size 5.5MM crochet hook
ABBREVIATIONS
ch = chain
dc = double crochet
sc = single crochet
hdc = half double crochet
st(s) = stitch(es)
Pattern:
Make 4
Ch 2Row 1: Ch 1, 2 sc in 2nd ch from hook, turn (2)Row 2: Ch 1, sc in first st, 2 sc in next st; turn (3)Row 3: Ch 1, 2 sc in first st, sc in each of last 2 sts; turn (4)Row 4: Ch 1, sc in each of first 3 sts, 2 sc in last st; turn (5)Row 5: Ch 1, 2 sc in first st, sc in each of last 4 sts; turn (6)Rows 6–8: Ch 1, sc in each st across; turn.
Row 9: Ch 1, sc2tog over first 2 sts, sc in each of next 2 sts, sc2tog over next 2 sts; turn (4)Row 10: Ch 1, sc in each st across, ch 10; turn – 4 sc and ch-10.Row 11: Dc in 4th ch from hook, dc in each of next 2 ch, hdc in each of next 3 ch, sc in last ch, sc in next 4 sts, ch 10; turn (12 sts and ch-10)Row 12: Dc in 4th ch from hook, dc in each of next 2 ch, hdc in each of next 3 ch, sc in last ch, sc in next 7 sts, hdc in next st, dc in next st, dc2tog over next 2 sts; turn, leaving turning ch unworked (18)
Row 13: Ch 1, sc2tog over first 2 sts, sc in each of next 11 sts, hdc in next st, dc in next st, dc2tog over next 2 sts; turn, leaving turning ch unworked (15)Row 14: Ch 1, sc2tog over first 2 sts, sc in each of next 11 sts, sc2tog over last 2 sts; turn (13)Row 15: Ch 1, sc2tog over first 2 sts, sc in each of next 9 sts, sc2tog over last 2 sts; turn (11)
Row 16: Ch 1, sc2tog over first 2 sts, sc in each of next 7 sts, sc2tog over last 2 sts; turn (9)Rows 17–24: Ch 1, sc in each st across; turn.
Row 25: Ch 1, sc2tog over first 2 sts, sc in st across to last st, 2 sc in last st; turn – 9 sts.Row 26: Ch 1, 2 sc in first st, sc each of next 6 sts, sc2tog over last 2 sts; turn – 9 sts.Row 27: Ch 1, sc2tog over first 2 sts, sc in each of next 6 sts, 2 sc in last st; turn – 9 sts.
Row 28: Ch 1, 2 sc in first st, sc in each of next 6 sts, sc2tog over last 2 sts; turn – 9 sts.
Bind off.
Assembly:
The pattern will work up with ghost’s tail off to to one side. For the first ghost, I assembled the tail to curve to the right and placed the eyes and mouth accordingly. For the second ghost, I flipped the ghost to the other side (there isn’t a right or wrong side here) so that the tail pointed to the left, then placed the face features. For both ghosts, as soon as I was happy with the eye and mouth placement, I placed the matching ghost panel behind and lined up the edges. FACE side up, starting and with the tail, sc through both panels across the bottom and around all the edges. Follow the perimeter of the ghost until you have a 1 in gap remaining to where you started. Stuff the ghost with polyfill until the head, arms and body puff up to your liking. I didn’t want to stretch him out too much so it only took a handful or so of polyfill for each ghost. Close up the last little bit of edging, weave in ends and enjoy!
