SeeLoveShare

Dreidel Dreidel Dreidel – Free Crochet Pattern

This pattern was suggested by our community! You asked and here it is! We are an mixed-faith holiday celebrating crew so we are thrilled to add this pattern to our collection. You will need an empty cereal box for this one so start eating those Cheerios! 
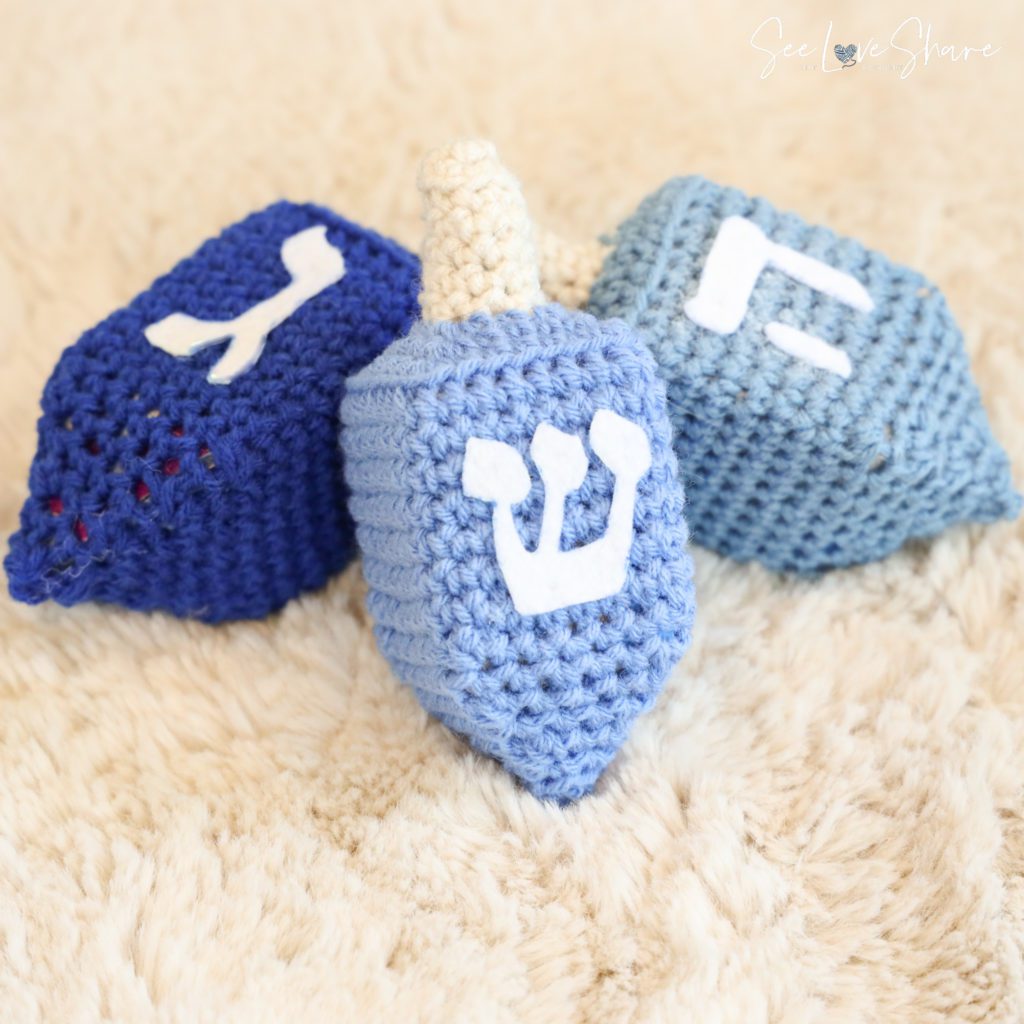
Dreidel Crochet
Crochet Dreidel

Pattern Notes:

This pattern is worked from the top of the dreidel down to the point in the base. You will need and empty cereal box as your support for the dreidel to hold its shape and some polyfill to keep it plump! We will walk you through all the instructions.

Measurements:

2.5in wide by 6in tall.

Materials:

Other than a trip to the grocery store for the cereal box, you can find everything else you need at Joann!

If you are adding the lettering:

Gauge:

Crochet: 12sc and 15 rows = 4in 

Abbreviations:

Pattern:

Create Cardboard Insert:

Cut an 8 ¼ in x 4 in rectangle from the cereal box. I used the side of the cereal box so that it already had creased 3 sides of the insert and I would only need to crease one additional side to close. 

At each crease, measure 2.5 in from the base. These will be the markers to cut the triangles which will help form the dreidel bottom. Cut and crease as shown below. Tape the cardboard support to form the rectangle insert. You do not need to tape the bottom triangles together. We will stuff this will polyfill and you want it to have some flexibility. 

Dreidel Cereal Box Cardboard Insert

Dreidel: 

Top: With Aran:

Ch 4, join to first ch with a slst to create a loop. 

Round 1: 4 sc within loop (4 sc)

Rnd 2: 2 sc in each st around (8 sc)

Rnd 3: sc in BLO around (8 sc)

Rnd 4-7: sc in each st around (8 sc). 

Change to Blue of choice:

Rnd 8: (3 sc into next st, 1 sc) repeat within () 3 more times. (16 sc)

Rnd 9: sc, (3 sc into next st, 3 sc) repeat within () 2 more times, 3sc into next st, 2 sc (24 sc)

Rnd 10: sc, (3 sc into next st, 5 sc) repeat within () 2 more times, 3sc into next st, 4 sc (32 sc)

Rnd 11: Sc in BLO around (32 sts)

Rnd 12-19: sc in each st around (32 sts)

Begin decrease. Place cardboard insert inside the body of the dreidel. It will seem like the insert is slightly too large for the body but it isn’t! Stuff with polyfill. The body should fit snugly around the cardboard insert but we will need to stretch and adjust as we work the bottom of the dreidel.

Dreidel starting to take shape

Rnd 20: (sc3tog, 5 sc) repeat within () 3 more times (24 sc)

Rnd 21: sc in each st around (24 sts)

Rnd 22: (sc3tog, 3 sc) repeat within () 3 more times (16 sc)

Rnd 23: sc in each st around (16 sts)

Rnd 24: (sc3tog, 1 sc) repeat within () 3 more times (8 sc)

Rnd 25: sc in each st around (8 sts)

Rnd 26: sc2tog around (4 sts) Bind off and sew together the final 4 sts. 

Dreidel Complete!

Assembly:

At this point, you can simply weave in loose ends and decorate to your preference. If you’d like to include the Hebrew lettering, here are some templates you can use. 

Hey
Nun
Shin
Gimel

The easiest way to transpose this onto your white felt sheet is this super sophisticated technique we developed for this pattern. Be sure to trace along the OUTSIDE of the lettering so you can cut on the inside of the letter – essentially cutting off the tracing you just drew. 

Glue to the side of the Dreidel. Enjoy!

Transpose Lettering

Want to check out more Hanukkah Patterns? See our full catalogue here!

Exit mobile version