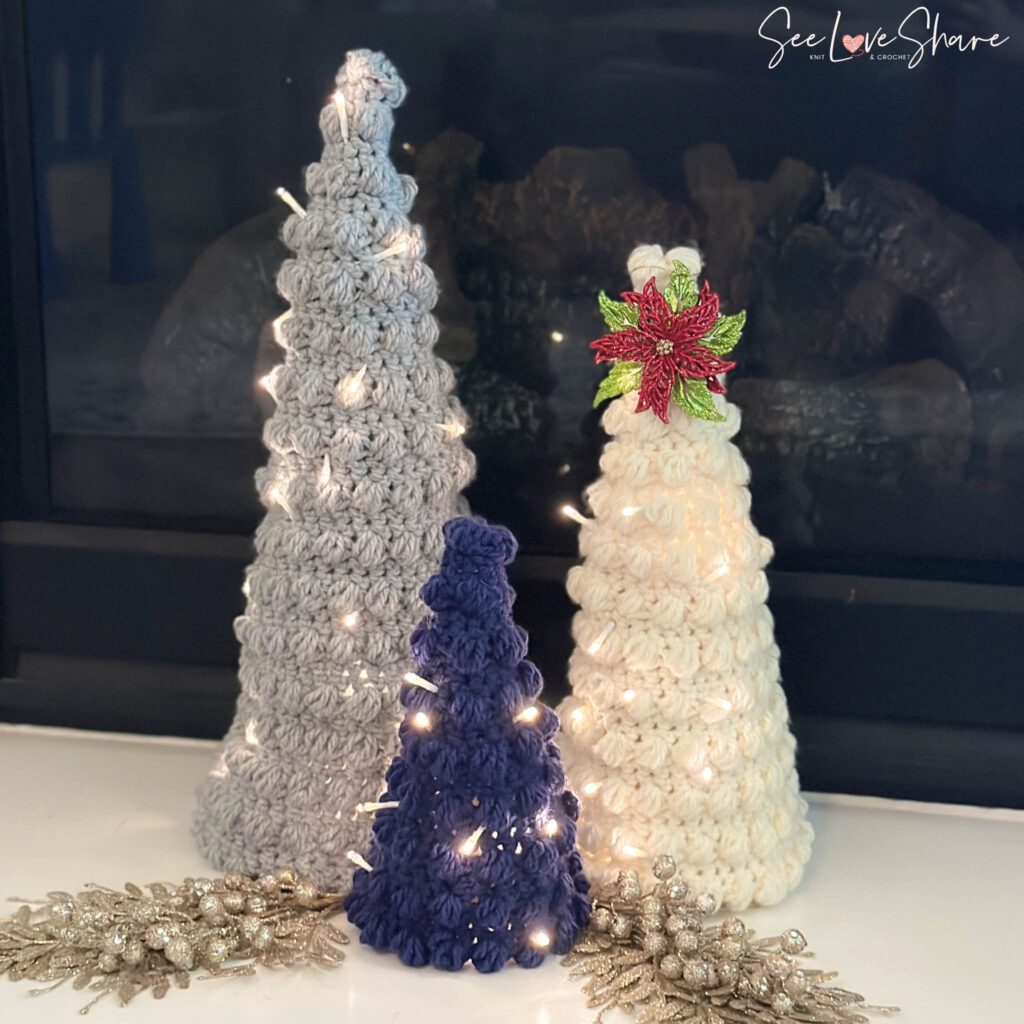
Check out our Standing Christmas Trees Crochet Pattern!
Introducing a delightful, handmade way to add a festive touch to your holiday decorations! This easy-to-follow pattern allows you to crochet your very own standing Christmas trees, perfect for decorating entry ways and fireplaces or even gifting to loved ones.
Whether you’re a seasoned crocheter or just starting out, this pattern is designed to be accessible and fun. You can customize the tree with your choice of yarn colors, add embellishments like beads or mini ornaments, and create a cozy, handcrafted holiday vibe.
Happy crocheting!
UPDATE November 2024:
I hope that you’re enjoying your current knitting projects. It has been such a pleasure sharing my patterns with you and seeing your creativity bring them to life.
After much thought, I have made the difficult decision to no longer offer my patterns for free. This was not an easy choice—designing and sharing these patterns has always been a passion of mine and a way to connect with this amazing community.
However, the time, effort, and resources required to create, test, and perfect each pattern are significant. To continue bringing you high-quality, unique designs and to support the sustainability of my work, I will now be offering my patterns for purchase on Etsy.
I am incredibly grateful for your support over the years. Your kind words, encouragement, and enthusiasm mean so much to me. I hope you’ll continue to enjoy my patterns and support this new chapter.
Please visit my Etsy shop HERE to view and purchase my collection.
Thank you for your understanding and for being an integral part of this journey.

Pattern Notes:
This pattern uses a super bulky yarn and works up in a flash. I’ve included instructions on how to wire them with a battery-operated light pack but that’s totally optional. The shape of the tree is maintained with polyfil stuffing. The bottom of the tree will remain open so to allow the trees to be unstuffed stored flat when not in use.
Skill Level:
Beginner/Intermediate: For crocheters with some experience. Basic stitches, shaping & finishing.
Measurements:
The pattern is written in 3 sizes
Small: 12in
Medium: 18in
Large: 24in
Materials:
- #6 Super Bulky Yarn: I used
- Large: BERNAT SOFTEE CHUNKY YARN (400G/14OZ), GRAY HEATHER
- Medium: BERNAT SOFTEE CHUNKY YARN (300G/10.5OZ), NATURAL
- Small: BERNAT SOFTEE CHUNKY YARN (200G/7OZ), FADED DENIM
- 8 mm (US L-11) crochet hook
- Tapestry needle
- Polyfil stuffing
Gauge:
4″ x 4″ (10cm x 10cm) 8 sc x 9 r with 8 mm (US L-11) Crochet Hook
Abbreviations:
Puff St: Yarn over, insert the hook in specified stitch, yarn over again and draw a loop through (three loops on hook). Repeat three more times, inserting the hook into the same stitch (nine loops on the hook); yarn over and pull yarn through all nine loops on the hook.