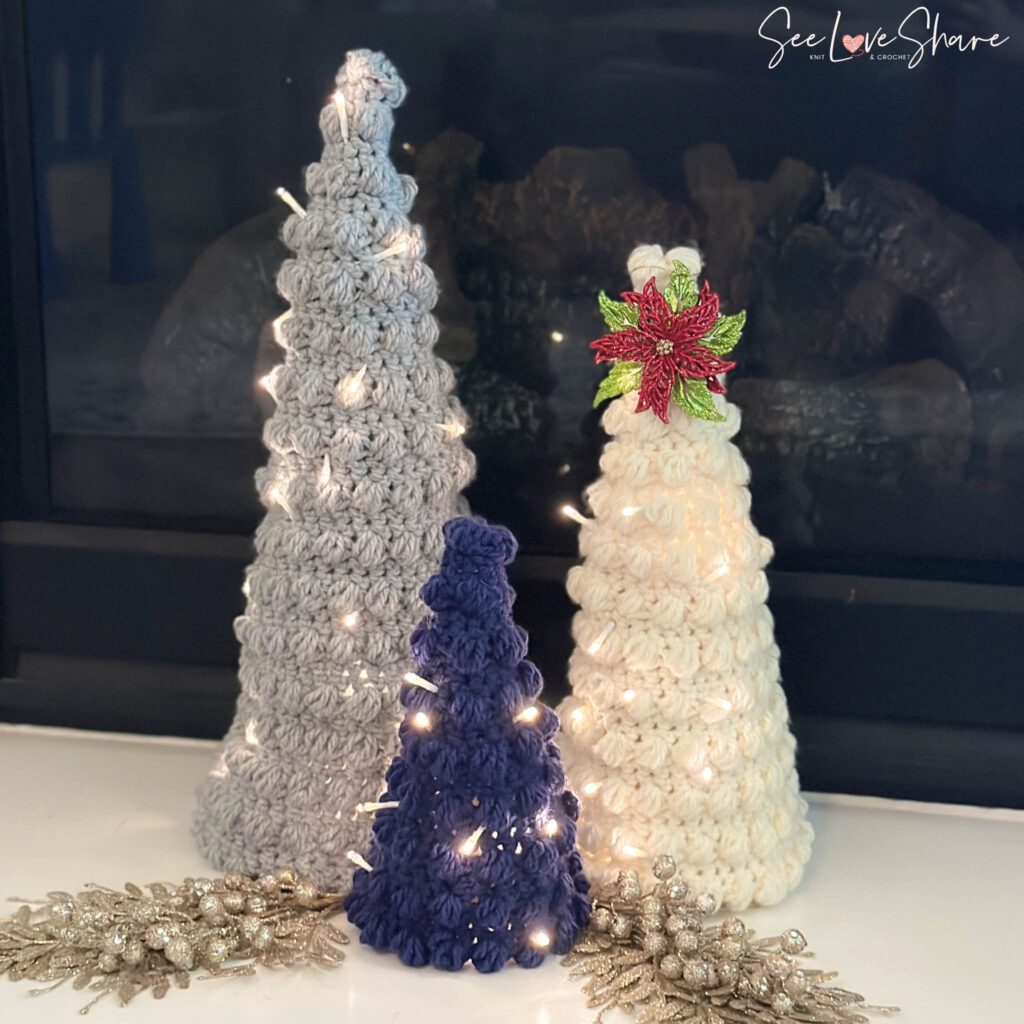
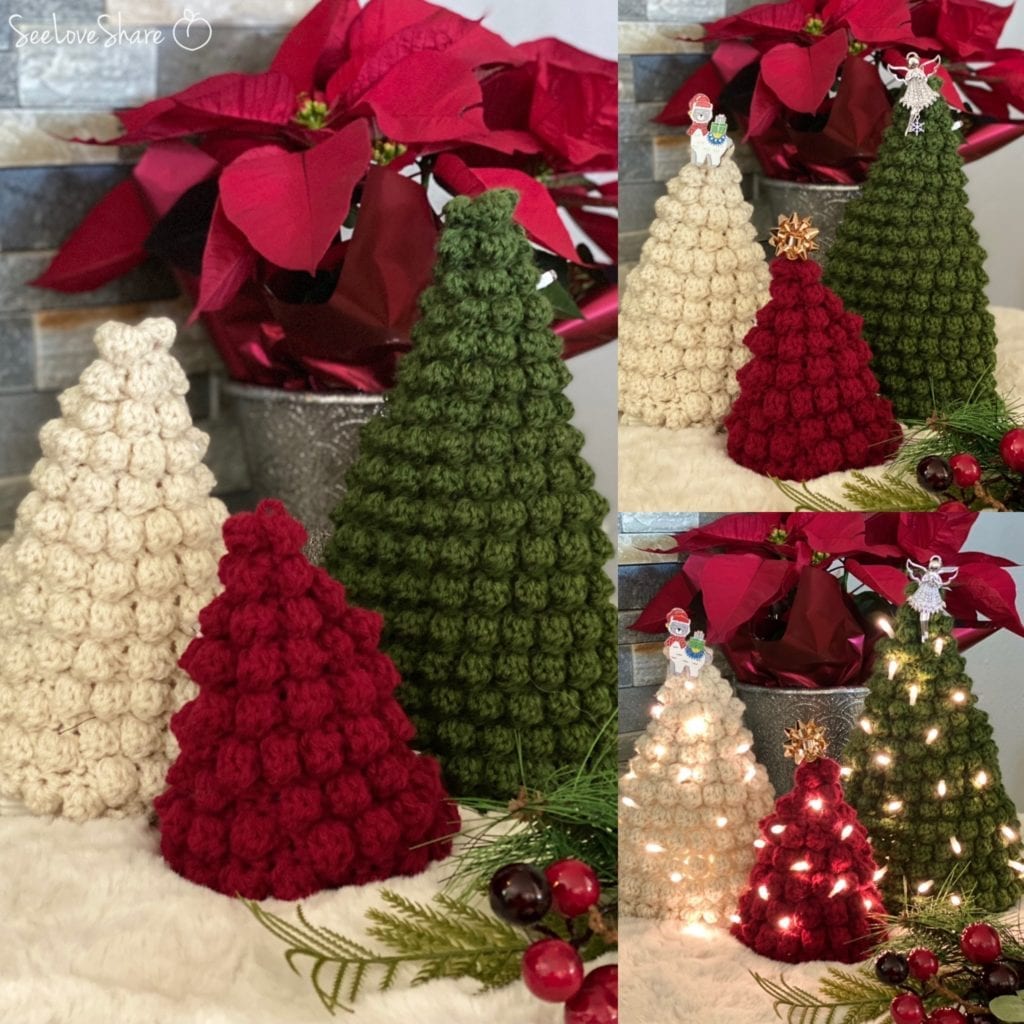
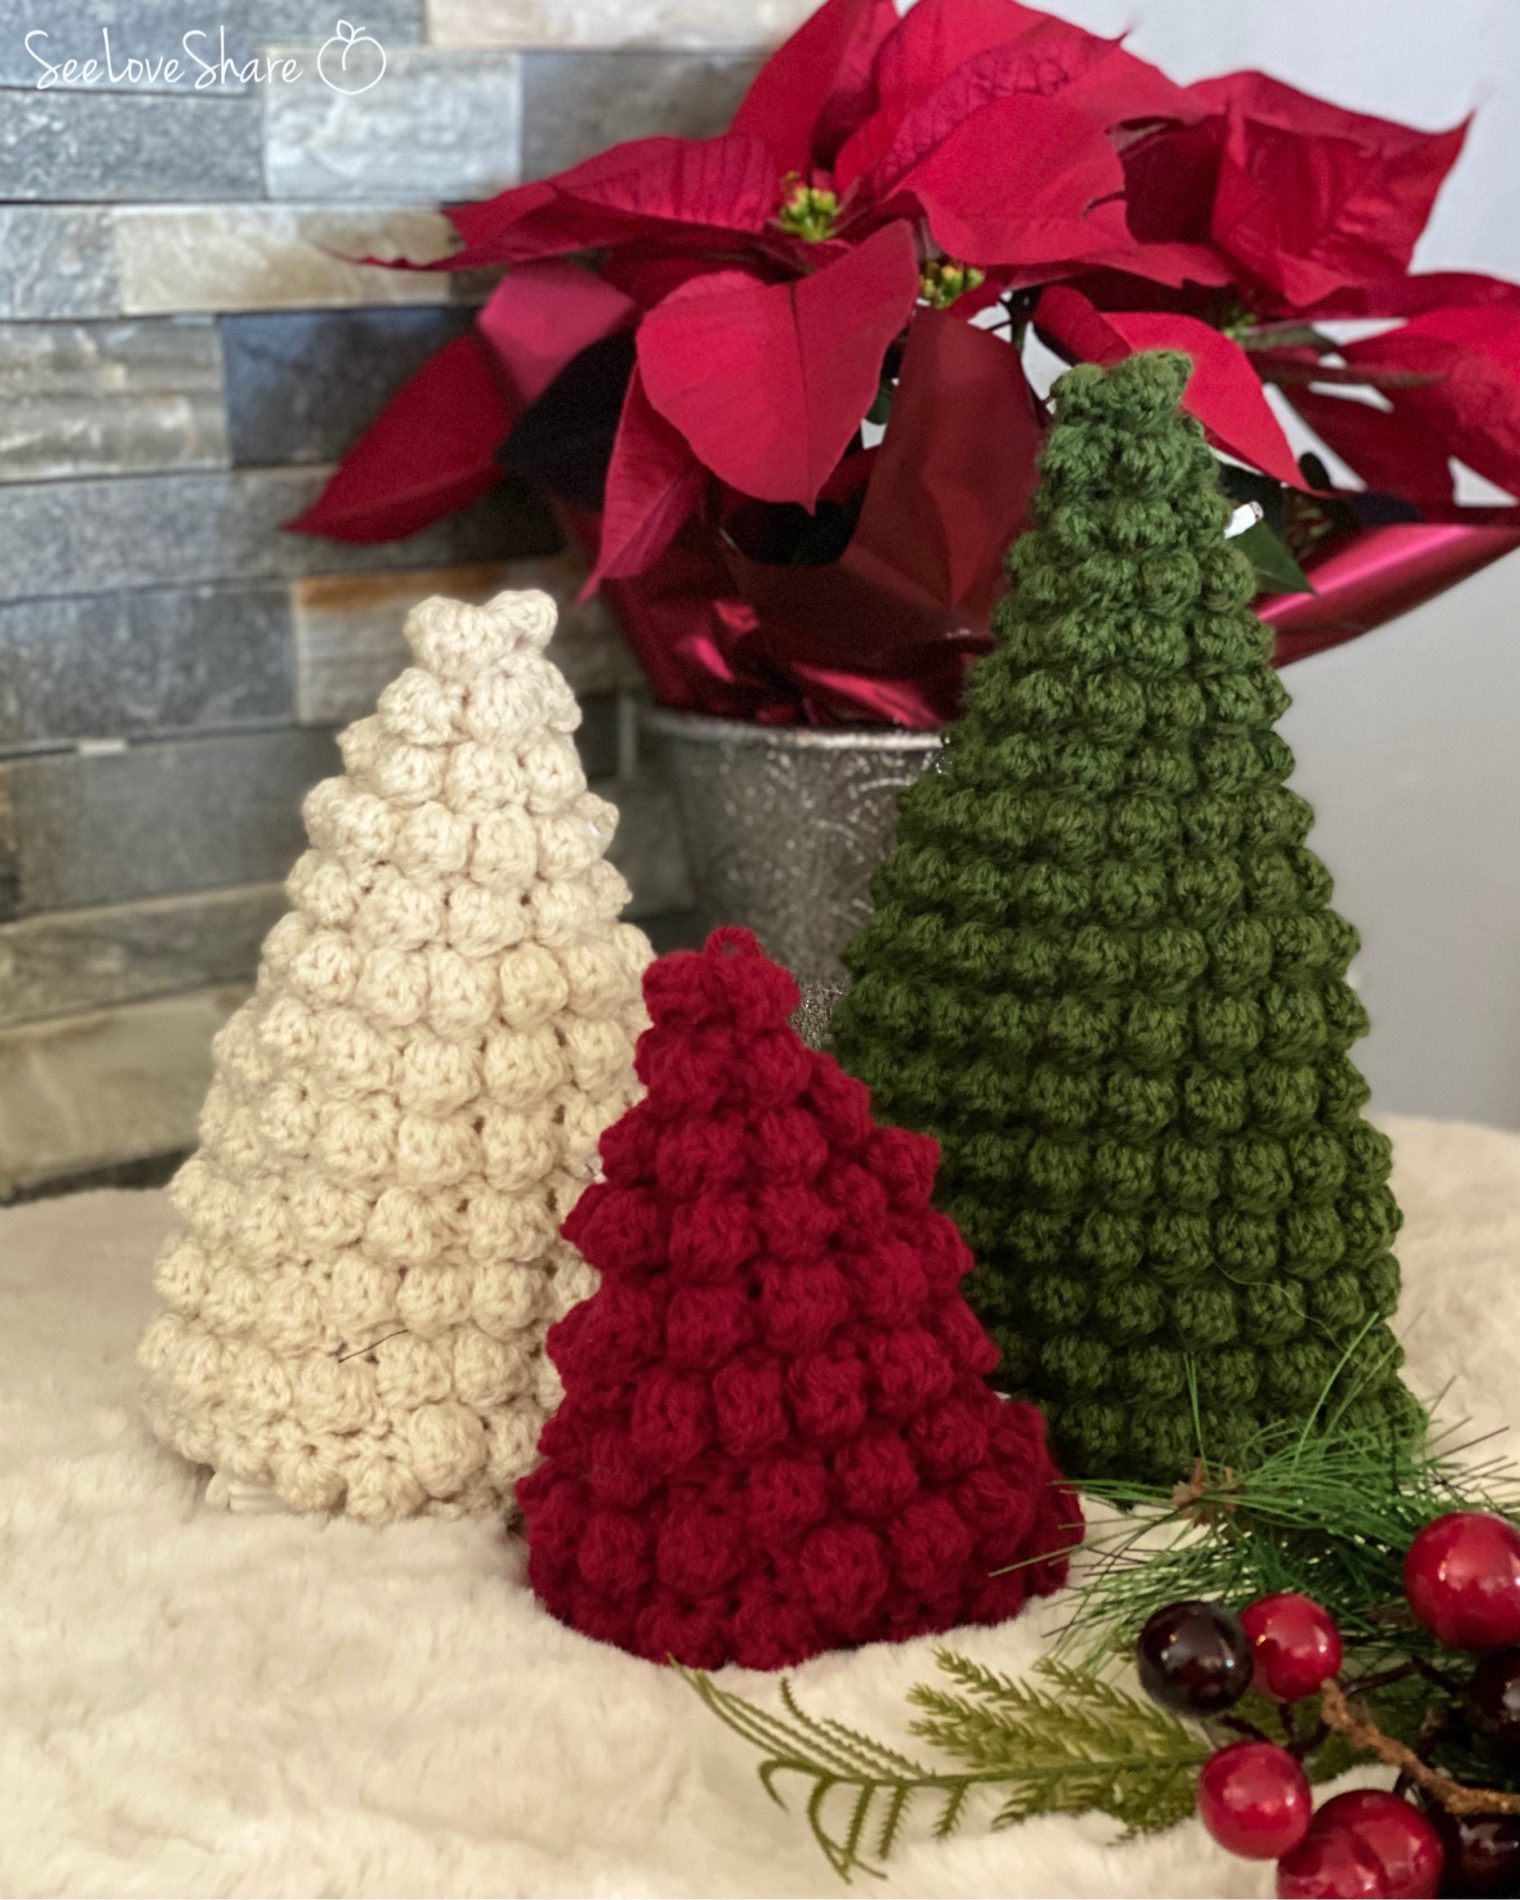
Either way these guys are so stinking cute you cannot go wrong!
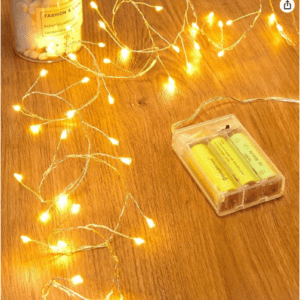
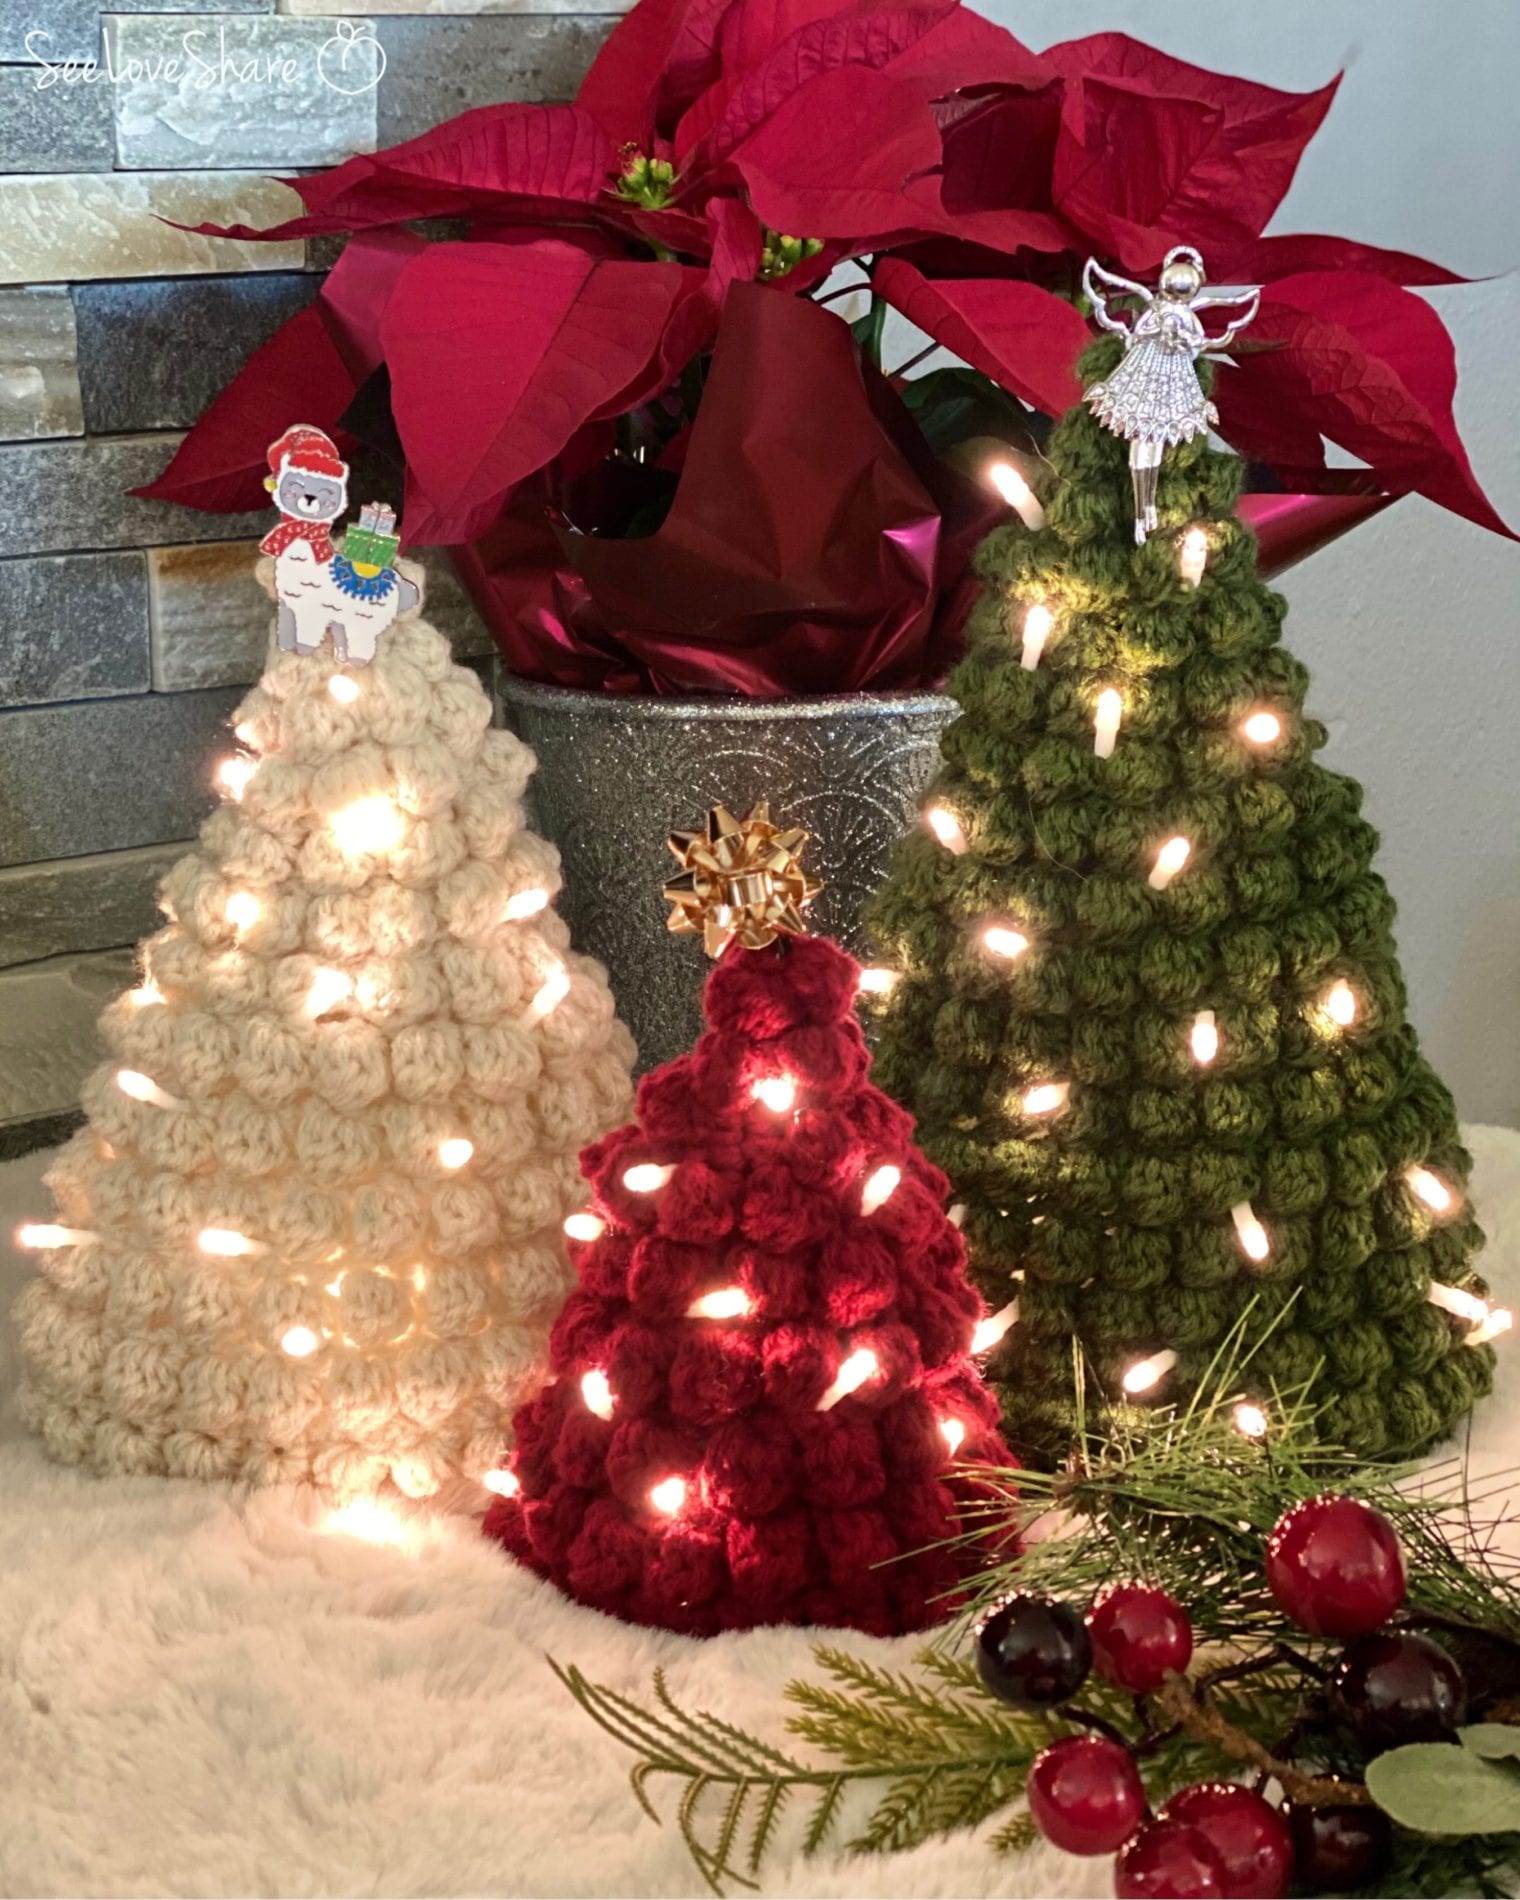
These are worked up with RedHeartYarn Supersaver and the decorated versions are paired with a 50 light pack (battery operated).
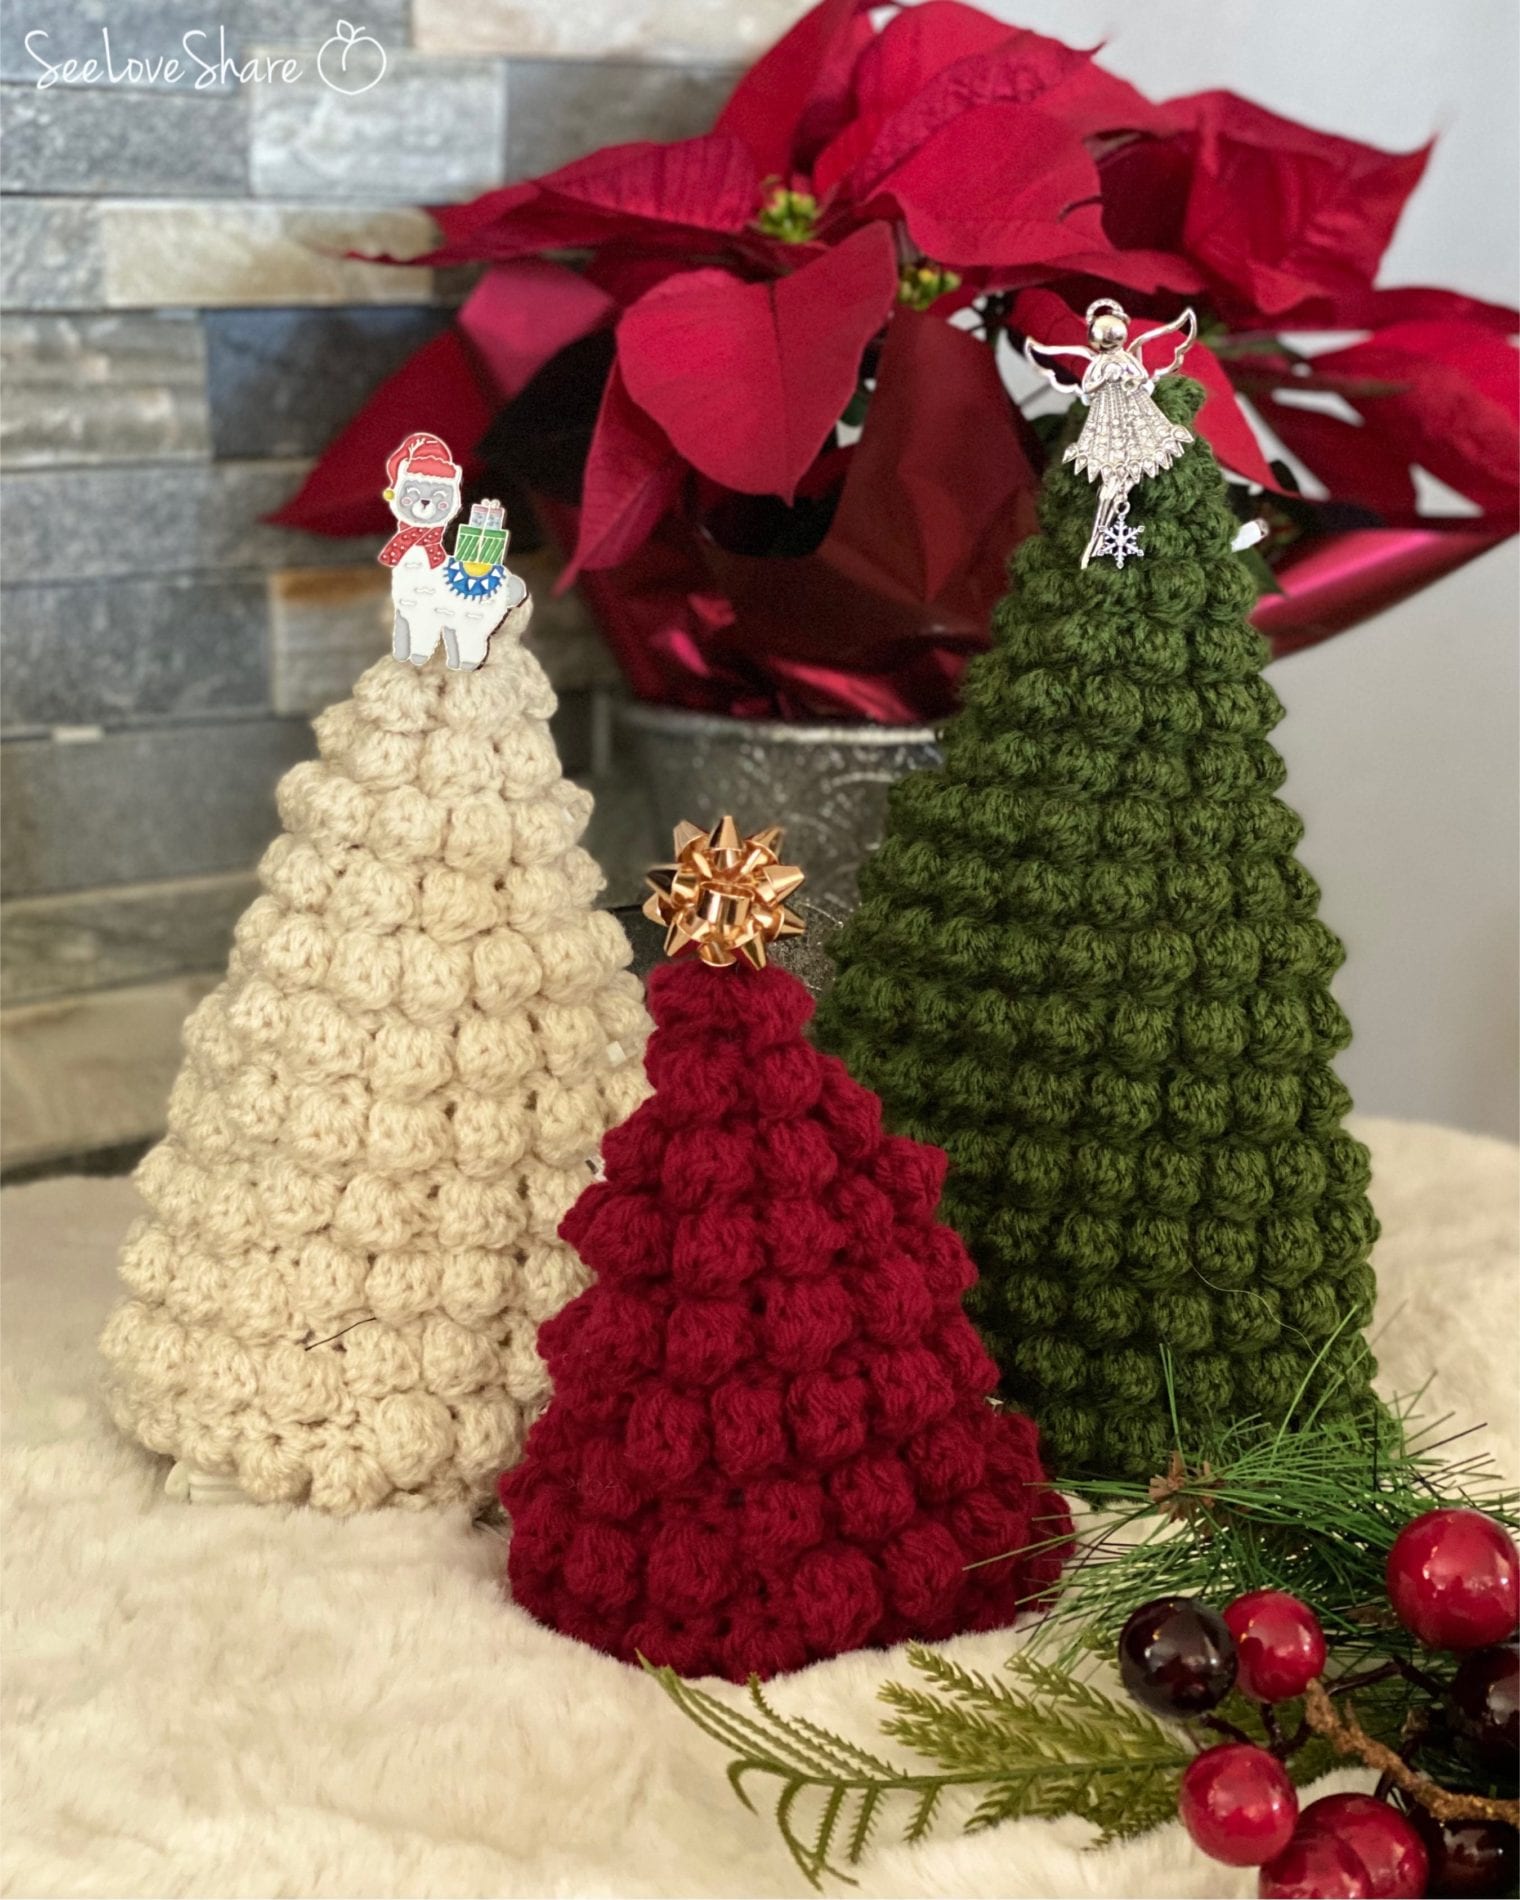
The toppers are repurposed Christmas jewelry and Voila! The options here are endless so work them up and show me your take!
Enjoy and Happy Holidays!
UPDATE November 2024:
I hope that you’re enjoying your current knitting projects. It has been such a pleasure sharing my patterns with you and seeing your creativity bring them to life.
After much thought, I have made the difficult decision to no longer offer my patterns for free. This was not an easy choice—designing and sharing these patterns has always been a passion of mine and a way to connect with this amazing community.
However, the time, effort, and resources required to create, test, and perfect each pattern are significant. To continue bringing you high-quality, unique designs and to support the sustainability of my work, I will now be offering my patterns for purchase on Etsy.
I am incredibly grateful for your support over the years. Your kind words, encouragement, and enthusiasm mean so much to me. I hope you’ll continue to enjoy my patterns and support this new chapter.
Thank you for your understanding and for being an integral part of this journey.
4” x 4” (10 cm x 10 cm) 12 sc and 15 rows with a 5.5 mm (U.S I-9) crochet hook
Finished measurements:
Large: 10in tall
Medium: 8in tall
Small 6in tall
Abbreviations:
RND: Round
CH = Chain
Sts: Stitches
SLST: Slip Stitch
SC = Single crochet
DC = Double crochet
SK: Skip
Bobble St: Yarn over, insert hook into stitch, yarn over and pull through (three loops on hook), yarn over and pull through 2 of the loops. Repeat the previous step four more times so that you have five not-quite-complete dc stitches worked into the same stitch. There will be six loops on the hook. Yarn over and pull through all six loops. This closes your bobble crochet stitch.
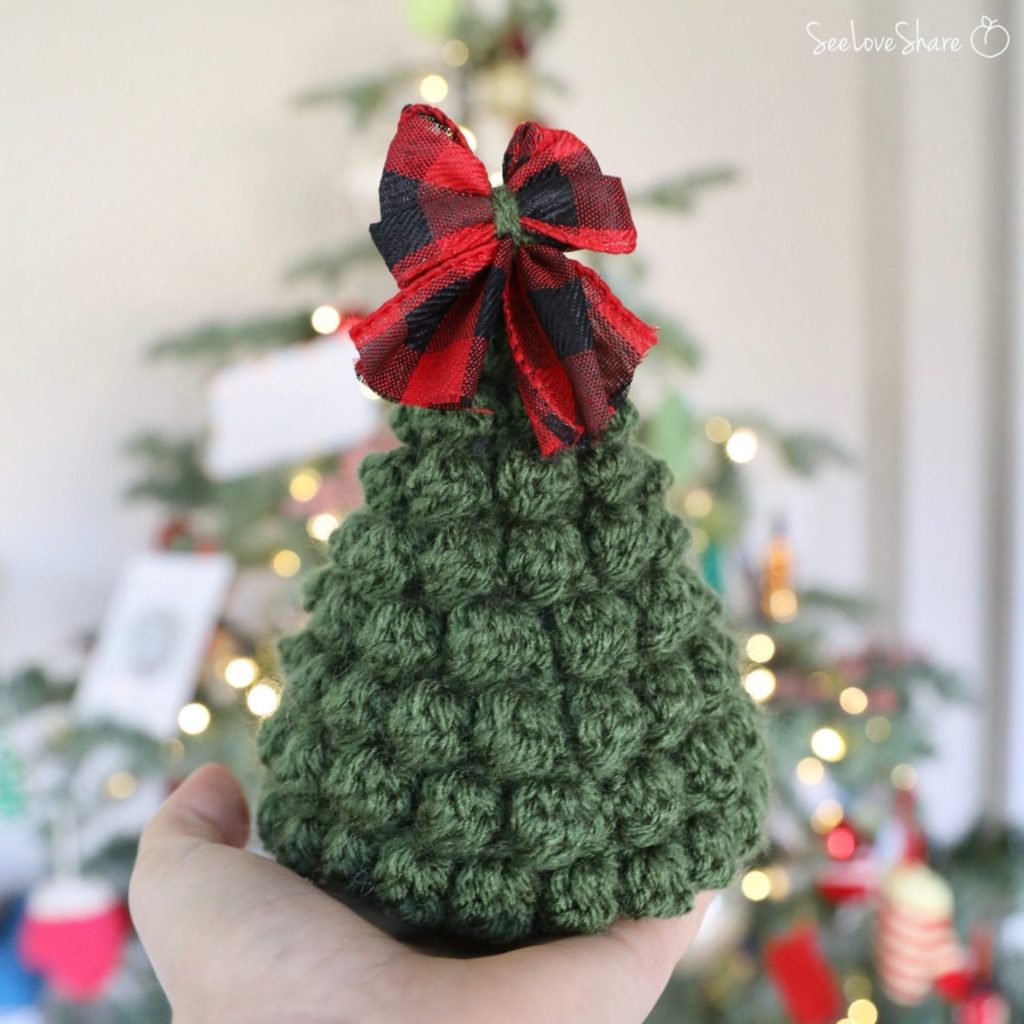
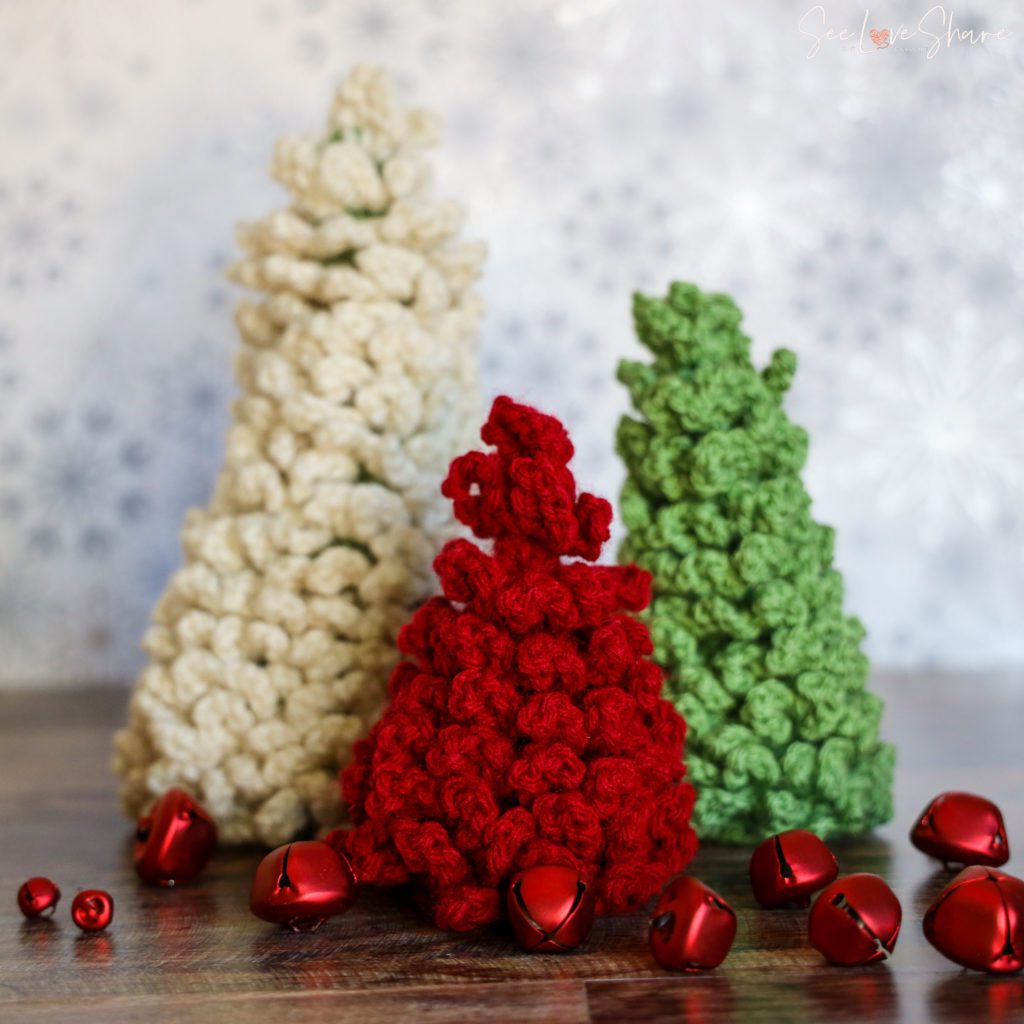
If you are not decorating the trees, you’re done here! Weave in ends and enjoy! If needed, you can plump them up with a a bit of polyfil stuffing but they should stand on their own
If you’re decorating the trees, go wild! My only suggestion here is to place the lights on first! Here is the way I worked through this part – I used a battery operated 50ct light pack and I allocated 25 lights for the large, 15 lights for the medium and 10 lights for the small. I pushed them up inside the tree and poked out the lights in a random fashion. This part might take some massaging as they will want to poke all the way out which doesn’t look as nice. I am keeping the set of 3 together so when i was done with the large size, I then tucked into the medium right beside it. This way you only need 1 light pack for the set of 3 trees.
For the toppers, I used a bobby pin to attach to the back of the ornament and poked the stem into the top of the tree. This held it in place nicely.
We use cookies on our website to give you the most relevant experience by remembering your preferences and repeat visits. By clicking “Accept All”, you consent to the use of ALL the cookies. However, you may visit "Cookie Settings" to provide a controlled consent.
This website uses cookies to improve your experience while you navigate through the website. Out of these, the cookies that are categorized as necessary are stored on your browser as they are essential for the working of basic functionalities of the website. We also use third-party cookies that help us analyze and understand how you use this website. These cookies will be stored in your browser only with your consent. You also have the option to opt-out of these cookies. But opting out of some of these cookies may affect your browsing experience.
Necessary cookies are absolutely essential for the website to function properly. This category only includes cookies that ensures basic functionalities and security features of the website. These cookies do not store any personal information.


4 COMMENTS