
Crochet Free Crochet Free Patterns
October 10th, 2017
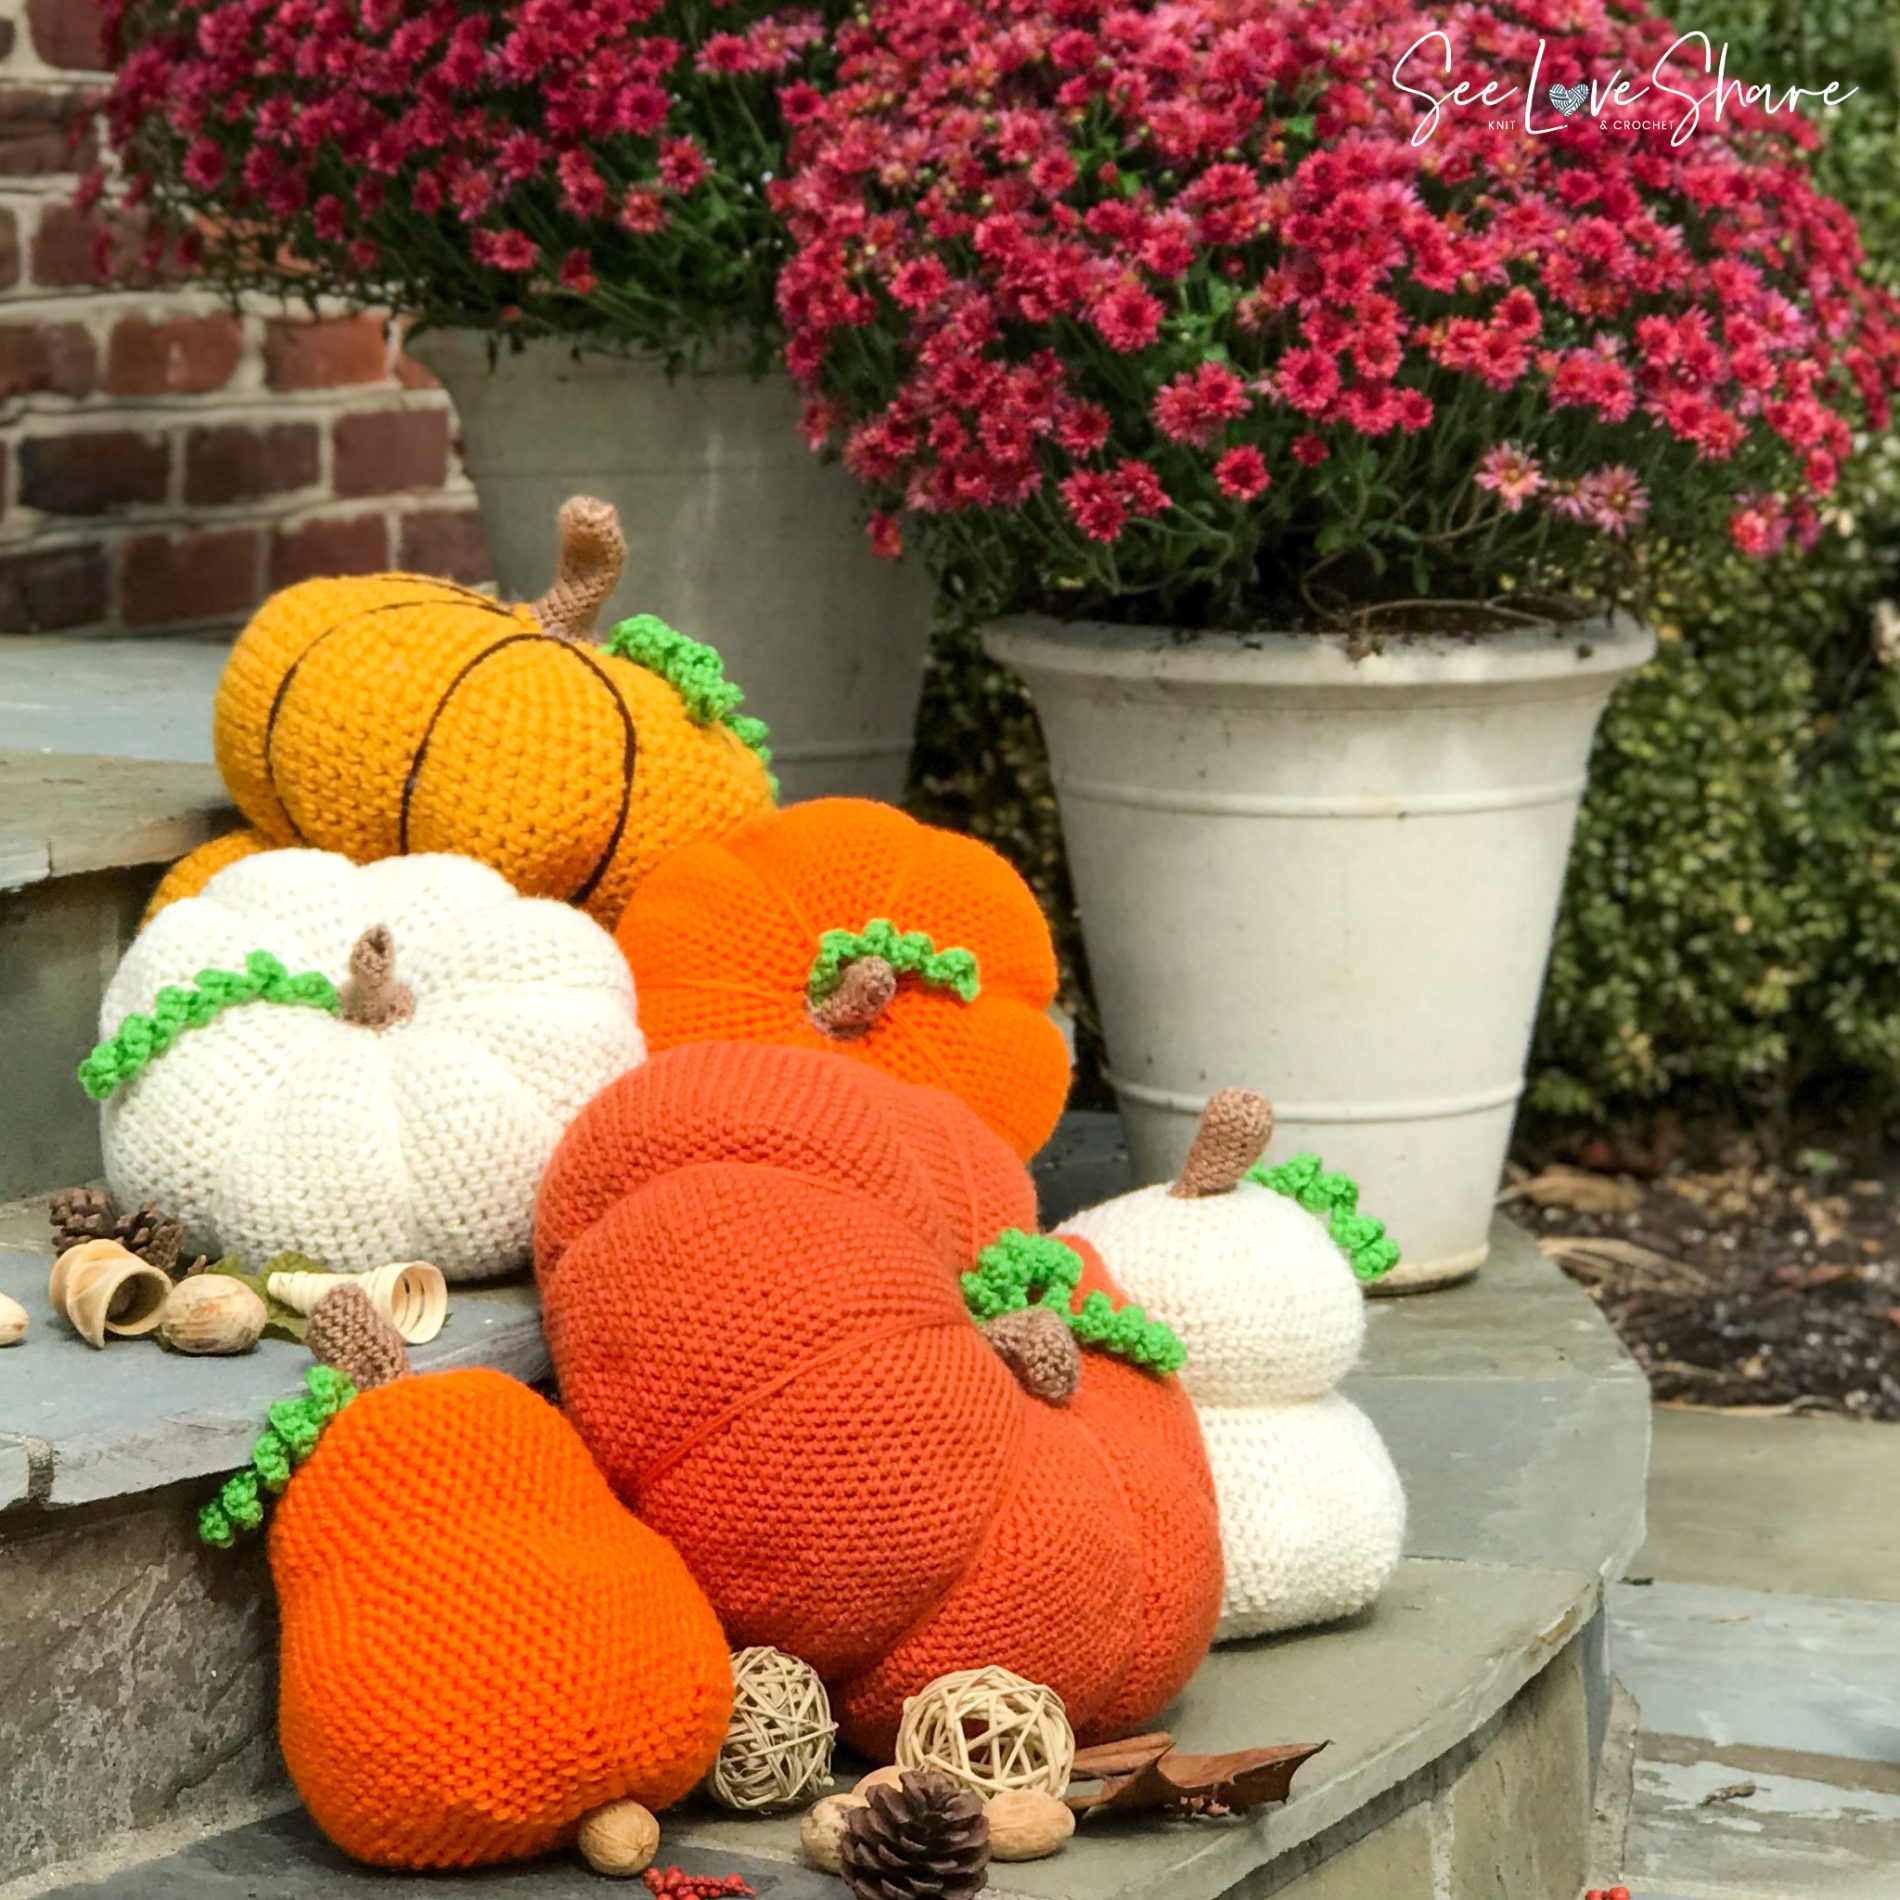
Free Crochet Pumpkin Pattern with Curly Vines — 6 Pumpkin Variations
This free crochet pumpkin pattern with curly vines is the most versatile fall project you’ll add to your hook this season. The base pattern works up in about 3 hours, costs roughly $4 in materials, and can be modified into six totally different pumpkin shapes — from tiny stubby pumpkins to tall pear-shaped ones, double-stacked pumpkins, and large flat pumpkins. Perfect for autumn mantel styling, Halloween home decor, hostess gifts, or building an entire crocheted pumpkin patch for your tiered tray.

I’ll admit, I totally got into this project. I made the first one and giggled to myself because it was so cute. I sent a few pics to my friends and they fell in love. Fast forward a couple of days, and I had an entire pumpkin family plus a dozen ideas on how to change them up. The pattern is so forgiving that you can start with the base and modify to suit your pumpkin needs — yes, that’s a thing I just discovered I had.
Why You’ll Love This Free Crochet Pumpkin Pattern
- Beginner friendly — uses only chain, single crochet, and basic increases/decreases
- Quick to make — about 3 hours per pumpkin, so you can build a whole patch in a weekend
- Inexpensive — roughly $4 in materials per pumpkin
- Six pumpkin variations in one pattern — round, tall, pear-shaped, large flat, double-stacked, and small stubby
- Endlessly customizable — change colors, sizes, and shapes to suit your decor
- Perfect for fall and Halloween — looks beautiful on mantels, tiered trays, and as a centerpiece
Skill Level
Easy. If you can chain and single crochet, you can make this crochet pumpkin pattern.
Materials
- 1 skein Red Heart Super Saver yarn in pumpkin orange (or any pumpkin color you like) — I used Pumpkin, Carrot, and Coral
- 1 skein of light brown for the stem — I used scraps from other projects
- 1 skein of green for the vine — I used Red Heart Super Saver in Spring Green
- Poly-fil stuffing to plump them up
- Size J/10 (6.0 mm) crochet hook — for stem and vine
- Size L/11 (8.0 mm) crochet hook — for the pumpkin body
- Tapestry needle for adding ridges
- Scissors
Shop the materials


Red Heart Super Saver is a great choice for projects like this — it’s an affordable, durable worsted weight acrylic that comes in dozens of fall colors. You only need small amounts in each color, so this is also a great stash-buster project.
Abbreviations
- CH — Chain
- SC — Single crochet
- SC dec — Single crochet decrease
Size
Totally up to you — the beauty of this pattern is that you can stop increasing whenever your pumpkin reaches the size you want. The instructions below produce a medium pumpkin, with checkpoints for adjusting height and width.
Free Crochet Pumpkin Pattern Instructions
You’ll be working in the round, starting with brown yarn for the stem.
The Stem
- Round 1: 6 SC in a magic circle
- Rounds 2–6: SC in each stitch around (6 SC)
Stem checkpoint: If you want a longer stem (possibly to fold over), keep going in rounds until you achieve the length you want.
The Pumpkin Body
- Round 7: SC in first stitch, 2 SC in next, repeat around (9 SC). Switch to pumpkin yarn.
- Round 8: 2 SC in each stitch (18 SC)
- Round 9: 1 SC in first stitch, 2 SC in next, repeat around (27 SC)
- Round 10: 1 SC in first 2 stitches, 2 SC in next, repeat around (36 SC)
- Round 11: 1 SC in first 3 stitches, 2 SC in next, repeat around (45 SC)
- Round 12: 1 SC in first 4 stitches, 2 SC in next, repeat around (54 SC)
- Round 13: 1 SC in first 5 stitches, 2 SC in next, repeat around (63 SC)
Width checkpoint: Stop increasing here for a medium-sized pumpkin. Otherwise, keep increasing in multiples of 9. As you crochet, your work will start to curl up — this is totally normal since we need to shape it into a pumpkin anyway.
- Rounds 14–29: SC in each stitch around (63 SC)
Height checkpoint: Hold up the pumpkin from the stem and get a sense of how tall your pumpkin will be. You’re looking at the top and body of the pumpkin before it starts to taper down. If you want a taller pumpkin, keep going in even rounds. For a short, stubby pumpkin, cut this section down.
Decrease and Stuff
- Round 30: SC in first 5 stitches, SC dec, repeat around (54 SC)
- Round 31: SC in first 4 stitches, SC dec, repeat around (45 SC)
- Round 32: SC in first 3 stitches, SC dec, repeat around (36 SC)
- Round 33: SC in first 2 stitches, SC dec, repeat around (27 SC)
Begin to stuff with poly-fil as you go.
- Round 34: SC in first stitch, SC dec, repeat around (18 SC)
- Round 35: SC dec around (9 SC)
Finishing
If you want a simple, flat finish: tie off and enjoy.
If you want a ridged pumpkin: cut the yarn long enough to thread onto a tapestry needle. Tie off, then pull the needle from the bottom up through the top of your pumpkin near the stem (this may be difficult with a really tall pumpkin). From the top, pull the yarn down the side and tie off at the bottom center. To plump up the pumpkin, squeeze it down a little as you add the ridges down the side. Repeat as many times as you want around the pumpkin — I suggest 5–7 ridges depending on size, but honestly, who has ever seen a perfectly symmetrical pumpkin?
The Curly Vine
With green yarn, CH 18–25 (depending on how long you want it). Turn, then 2 SC in each chain. The double SC creates a natural twist that gives you that beautiful curly vine effect. Attach to the base of the stem.
6 Pumpkin Variations to Try
Once you’ve got the base pattern down, here are six different pumpkin shapes you can create just by modifying the increases, flat rows, and decreases:
1. The Pumpkin Family (classic shapes)
Make several pumpkins in different sizes following the base pattern, varying the number of increase rounds. Group them on a mantel or tray for an instant fall display.
2. Pear-Shaped Pumpkin
Modification: Fewer increases, then flat rows, increase again, flat rows, decrease. Skip the ridges for a smooth finish.

3. Small White Pumpkin
Modification: Use white or cream yarn, follow the base pattern but stop increasing earlier for a smaller size.

4. Large Flat Pumpkin
Modification: Additional increases for more width, fewer flat rows, then decrease. This gives you that classic squat farmhouse pumpkin shape.

5. Double Pumpkin
Modification: Instead of decreasing all the way down, stop halfway, work flat rows, then increase again to the same size as the top. Work flat rows similar to the top half, then decrease as normal. The result is a stacked, two-tier pumpkin.

6. Cinched Pear-Shaped Pumpkin
Modification: Make similar to the pear shape above. Tie off the mid-section and cinch as tightly as you’d like for a defined waist.

Tips for Success
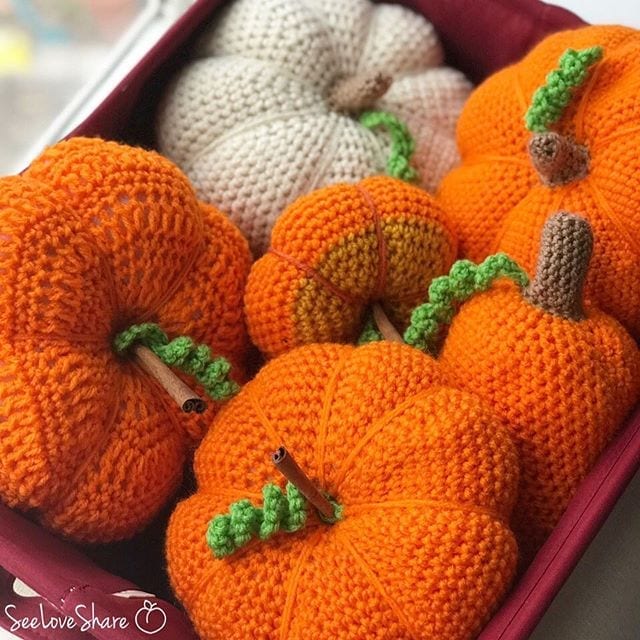
A few notes from making dozens of these pumpkins: don’t worry about perfect symmetry — real pumpkins are lumpy, and so should yours be. Stuff your pumpkin firmly so it holds its shape, but not so much that the stitches stretch out. When adding the curly vine, leave a long tail to wrap around your finger or a pencil to encourage the natural curl. And if you’re making a whole patch, vary the colors slightly — mixing pumpkin orange, carrot, coral, and white creates depth that a monochrome group won’t.
More Free Fall Crochet Patterns You’ll Love
If you love this free crochet pumpkin pattern, here are more fall crochet projects to add to your queue:
- Rustic Ribbed Crochet Pumpkins — Fall Farmhouse Pattern with cinnamon stick stems
- Fall Bobble Pillow Pattern Bundle — Pumpkin, Acorn, and Maple Leaf designs
- Free Crochet Maple Leaf Bobble Pillow Pattern
- Browse all holiday and seasonal patterns
- More free crochet and knit patterns