All Holiday All Home Decor Crochet
August 22nd, 2024
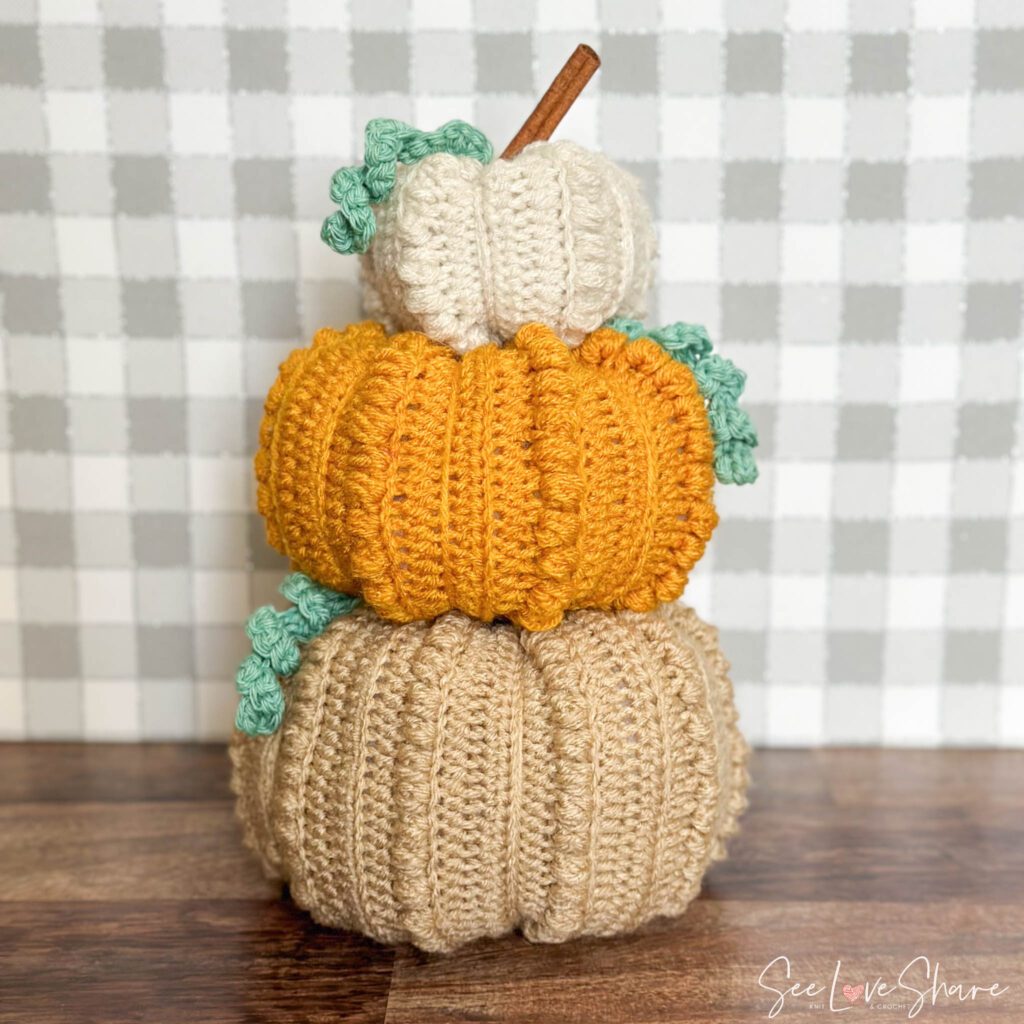
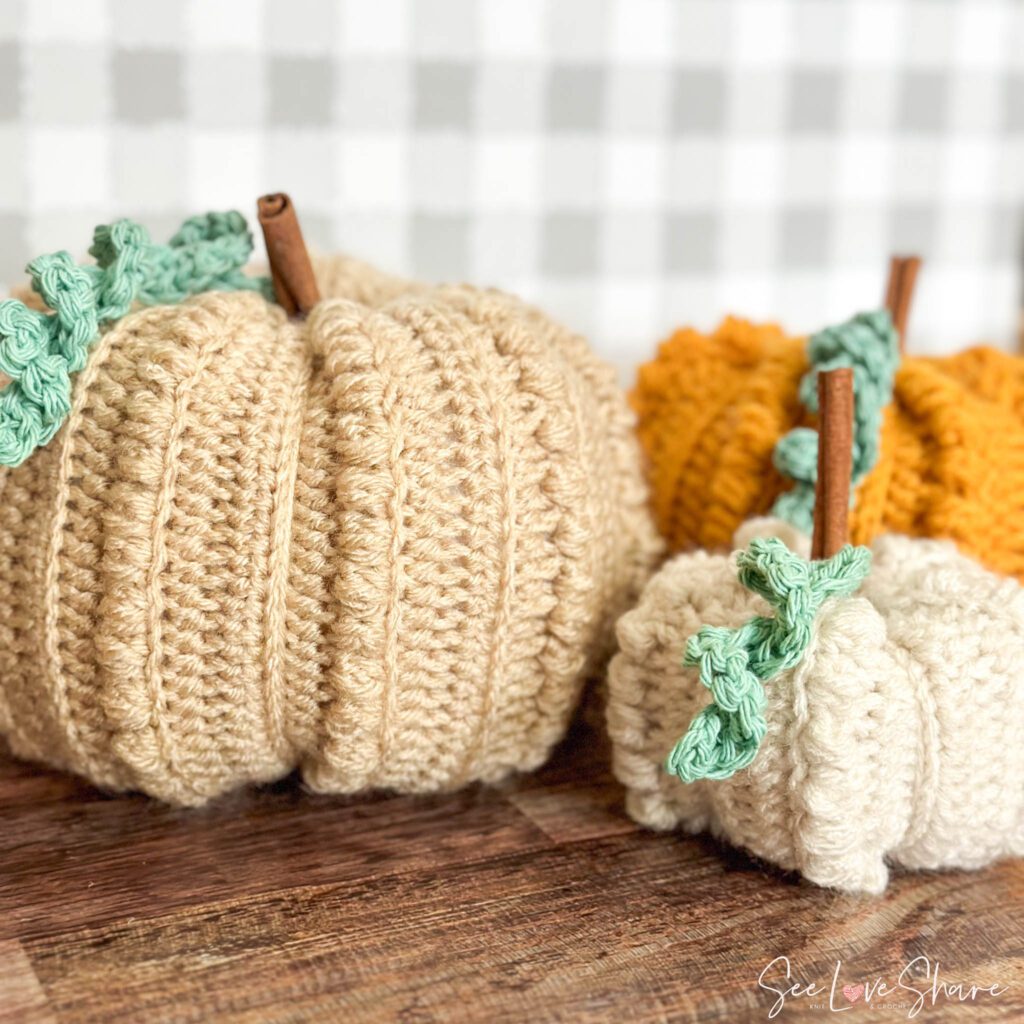
Farmhouse-Chic Stackable Crochet Pumpkins
Add a touch of rustic charm to your home with this beautiful set Farmhouse-Chic Stackable Crochet Pumpkins! Perfect for fall, these handmade pumpkins feature a cozy farmhouse style, blending effortlessly with your seasonal decor. Each pumpkin is crocheted with soft, chunky yarn in complementary shades, creating a warm and inviting look.
UPDATE November 2024:
I hope that you’re enjoying your current knitting projects. It has been such a pleasure sharing my patterns with you and seeing your creativity bring them to life.
After much thought, I have made the difficult decision to no longer offer my patterns for free. This was not an easy choice—designing and sharing these patterns has always been a passion of mine and a way to connect with this amazing community.
However, the time, effort, and resources required to create, test, and perfect each pattern are significant. To continue bringing you high-quality, unique designs and to support the sustainability of my work, I will now be offering my patterns for purchase on Etsy.
I am incredibly grateful for your support over the years. Your kind words, encouragement, and enthusiasm mean so much to me. I hope you’ll continue to enjoy my patterns and support this new chapter.
Please visit my Etsy shop HERE to view and purchase my collection.
Thank you for your understanding and for being an integral part of this journey.
Whether displayed as a centerpiece, on a mantel, or as part of a festive tablescape, these Farmhouse-Chic Stackable Crochet Pumpkins are sure to bring a touch of handmade warmth to your space. They’re lightweight, easy to arrange, and versatile enough to complement any farmhouse or rustic decor theme.
Pattern Notes:
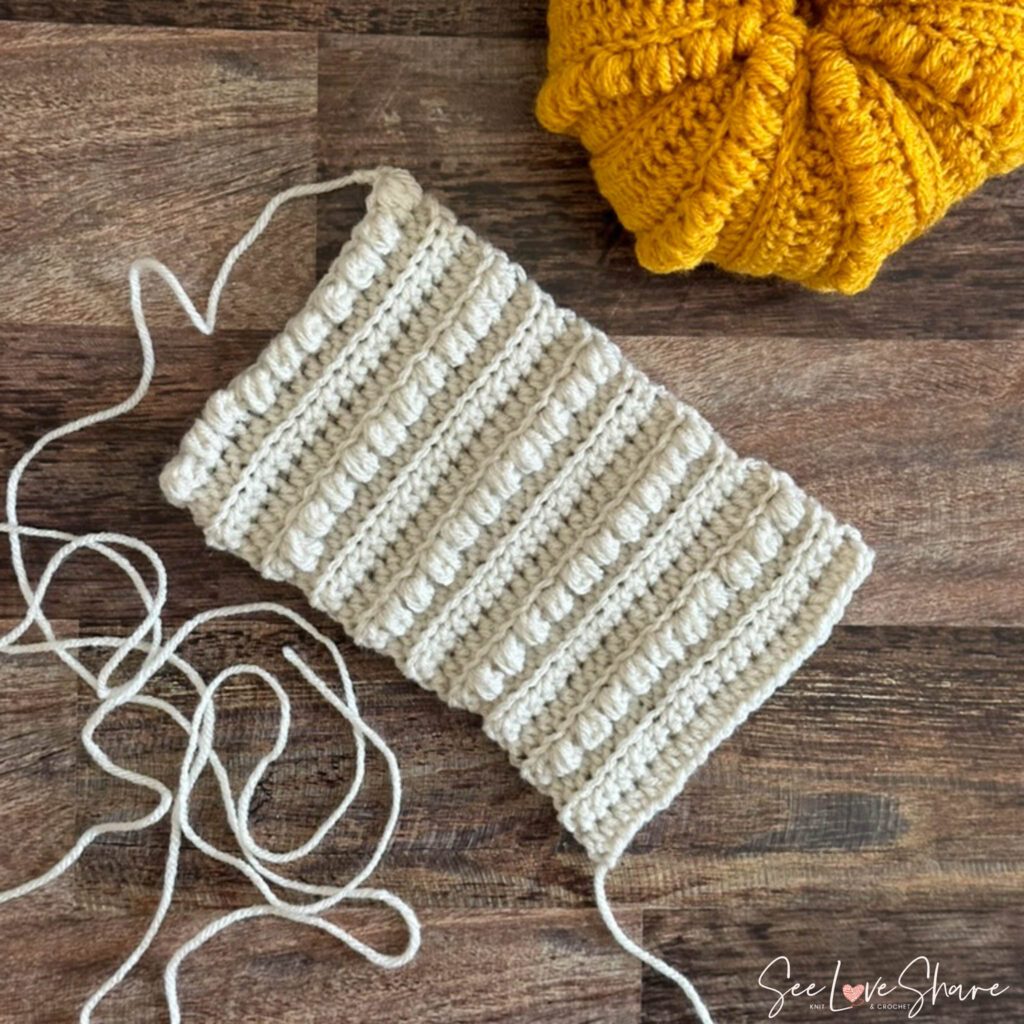
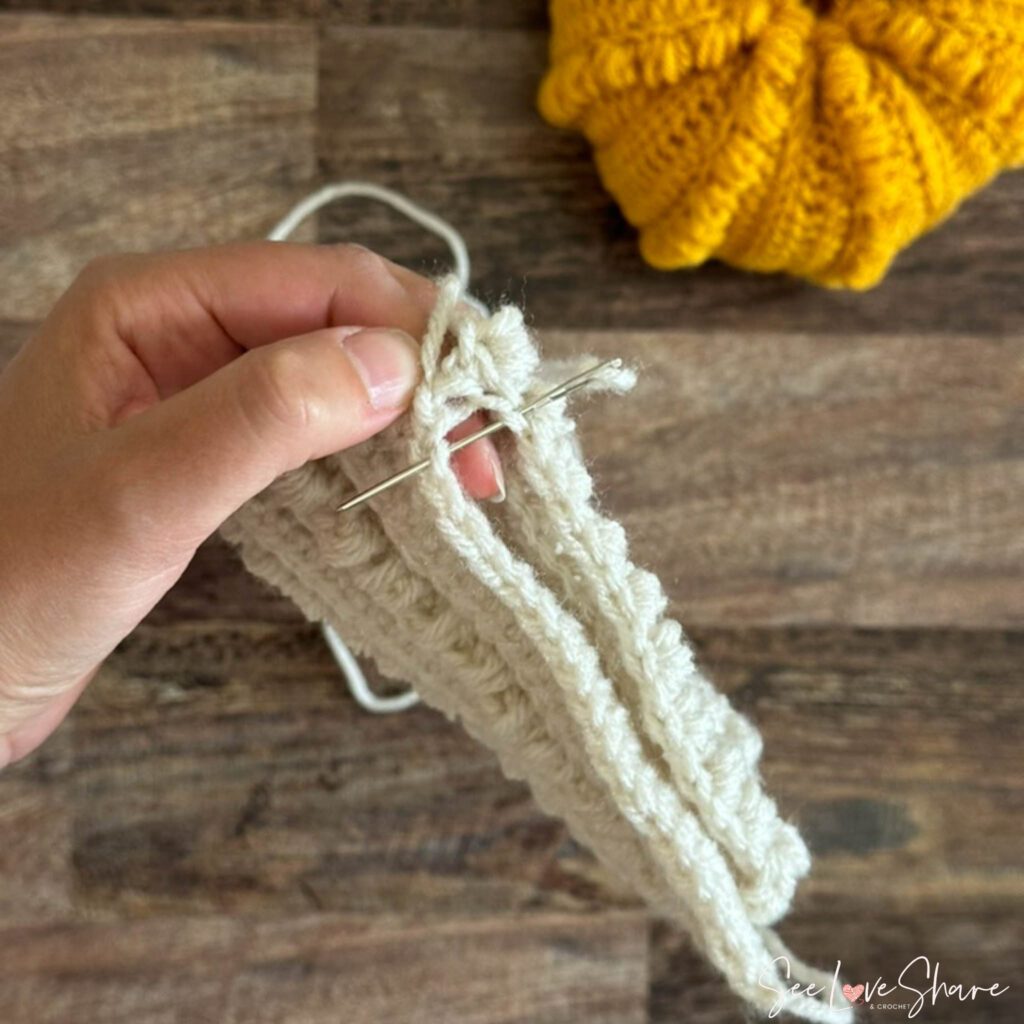
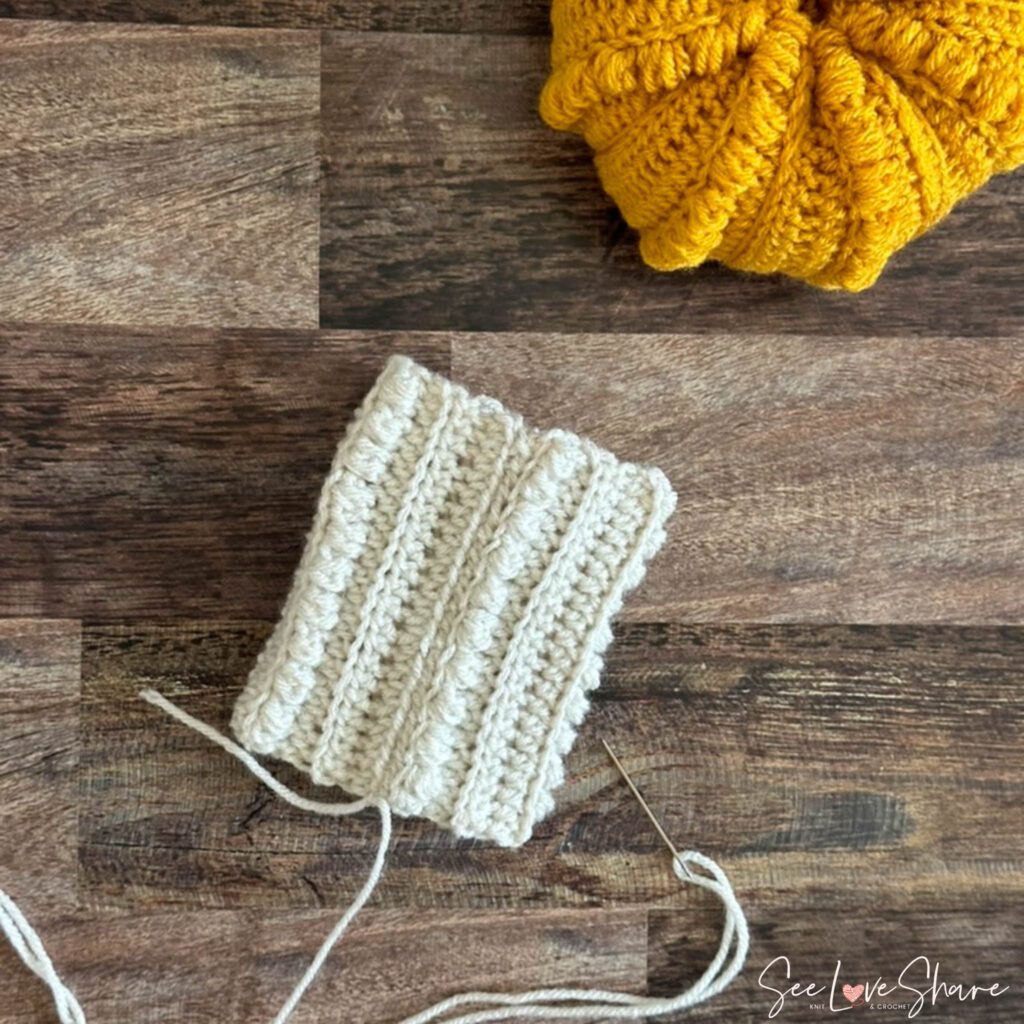
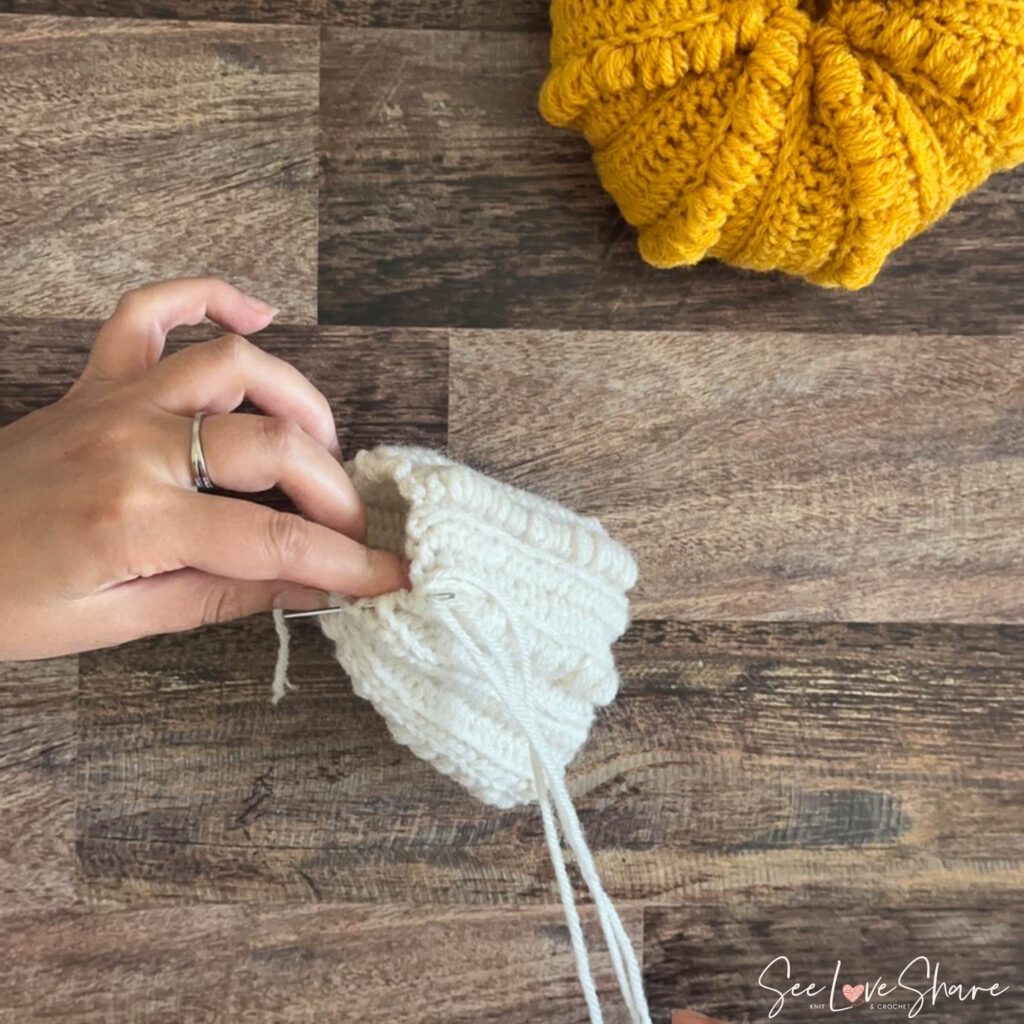
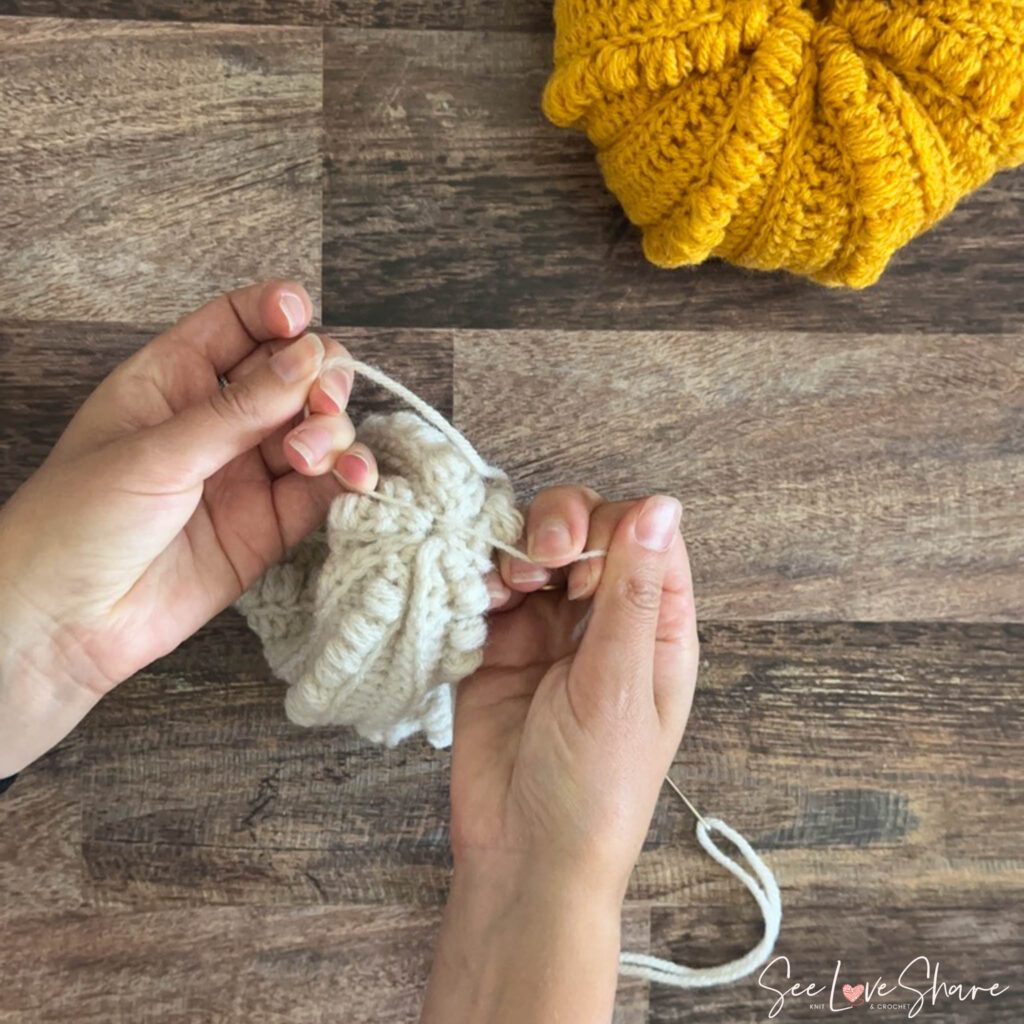
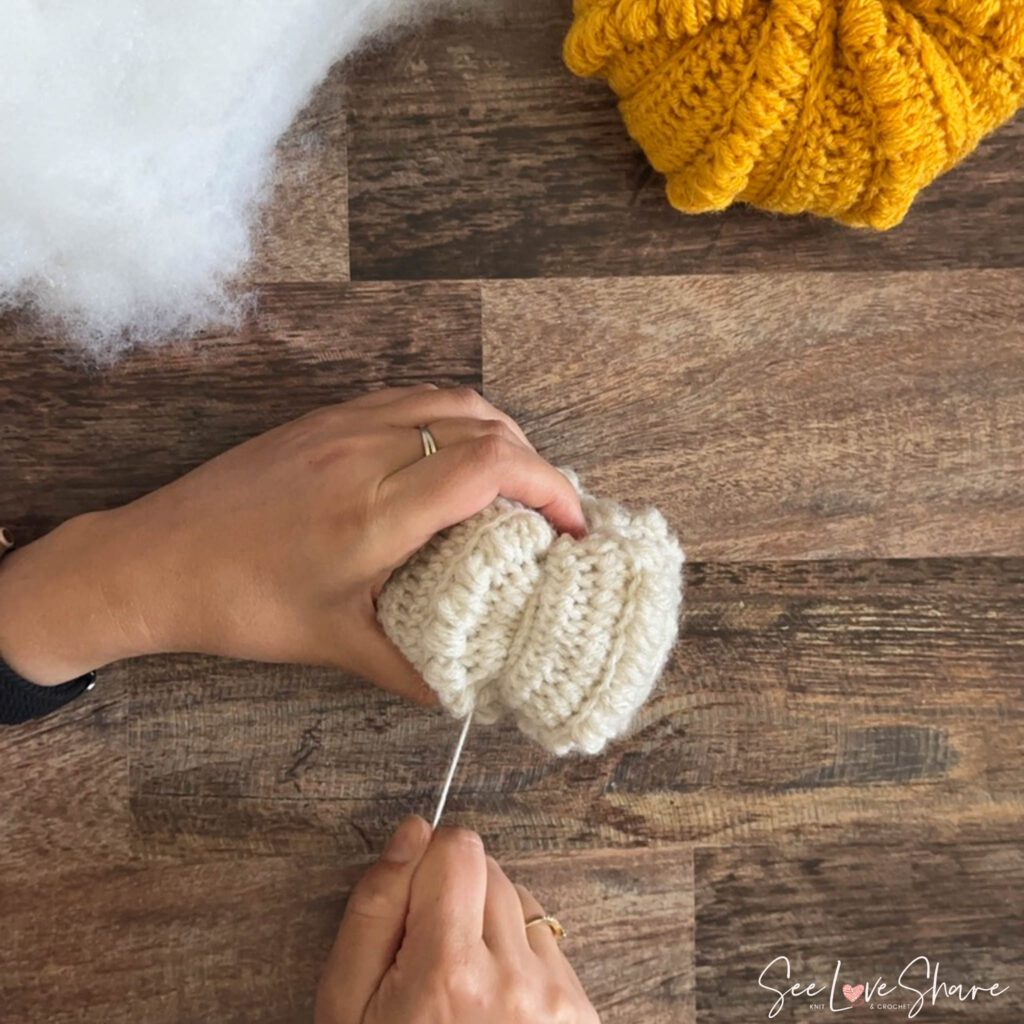
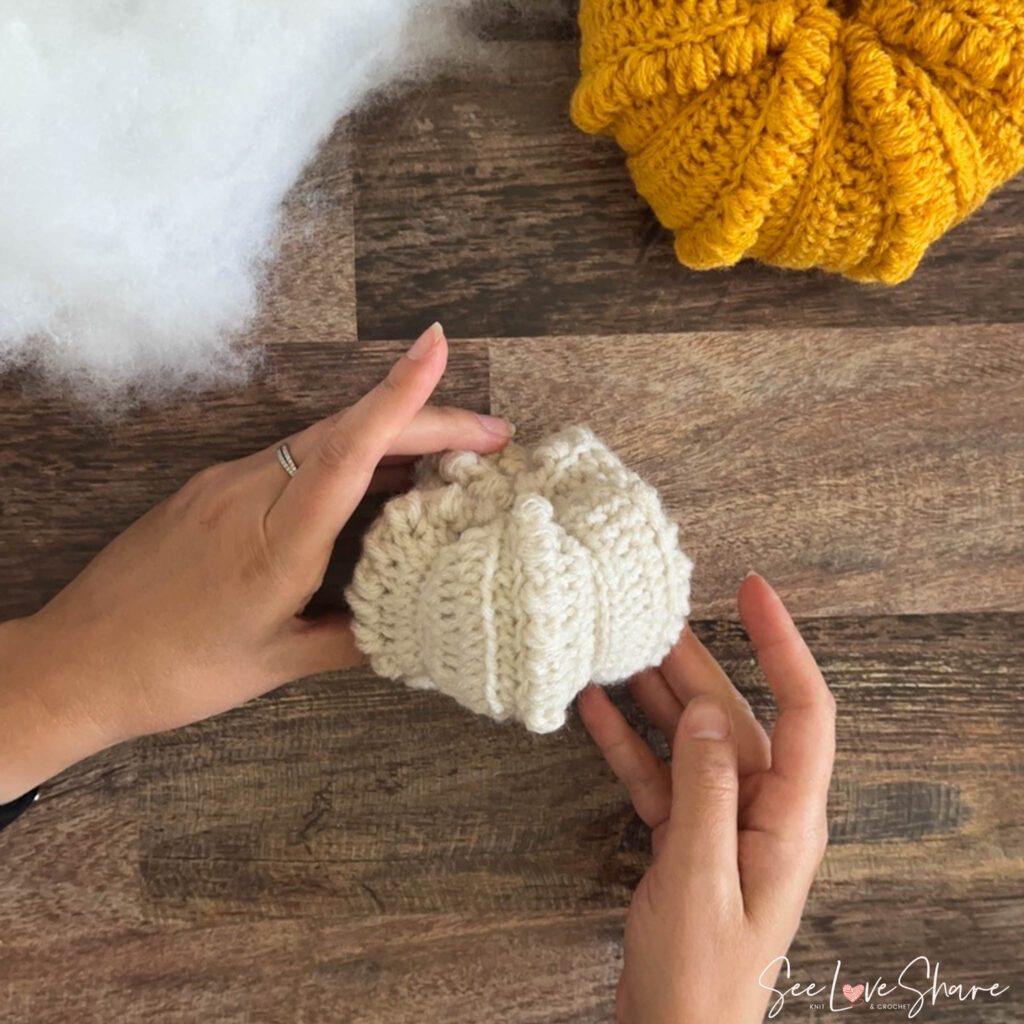
This is a simple pumpkin method that really delivers an elegant, farmhouse feel. You will work up 3 different rectangle sizes, and the assembly brings the pumpkins to life. If you can crochet a rectangle, you can make these pumpkins!
Skill Level:
Easy (Beginner/intermediate): For crocheters with some experience. Basic stitches, shaping & finishing.
Measurements:
This pattern is written in 3 sizes: approx. pumpkin size:
Small: 4in wide, 3in tall
Medium: 6in wide, 3.5in tall
Large: 8in wide, 4in tall
Modifications: You can increase the size of the pumpkin by adding 10 sts to chain and + 3 into length of work.
Materials:
- #4 Medium yarn in various farmhouse colours: I used
- Red Heart Super Saver Light Periwinkle (MC): .5 ball (198 g/7 oz, 333 meters/364 yards) of Soft White (small), Gold (Medium), Buff (Large), Sage (for curly vines)
- 5.0 mm (U.S. H/8) crochet hook
- Tapestry needle
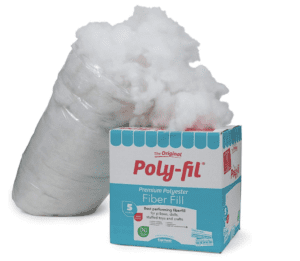
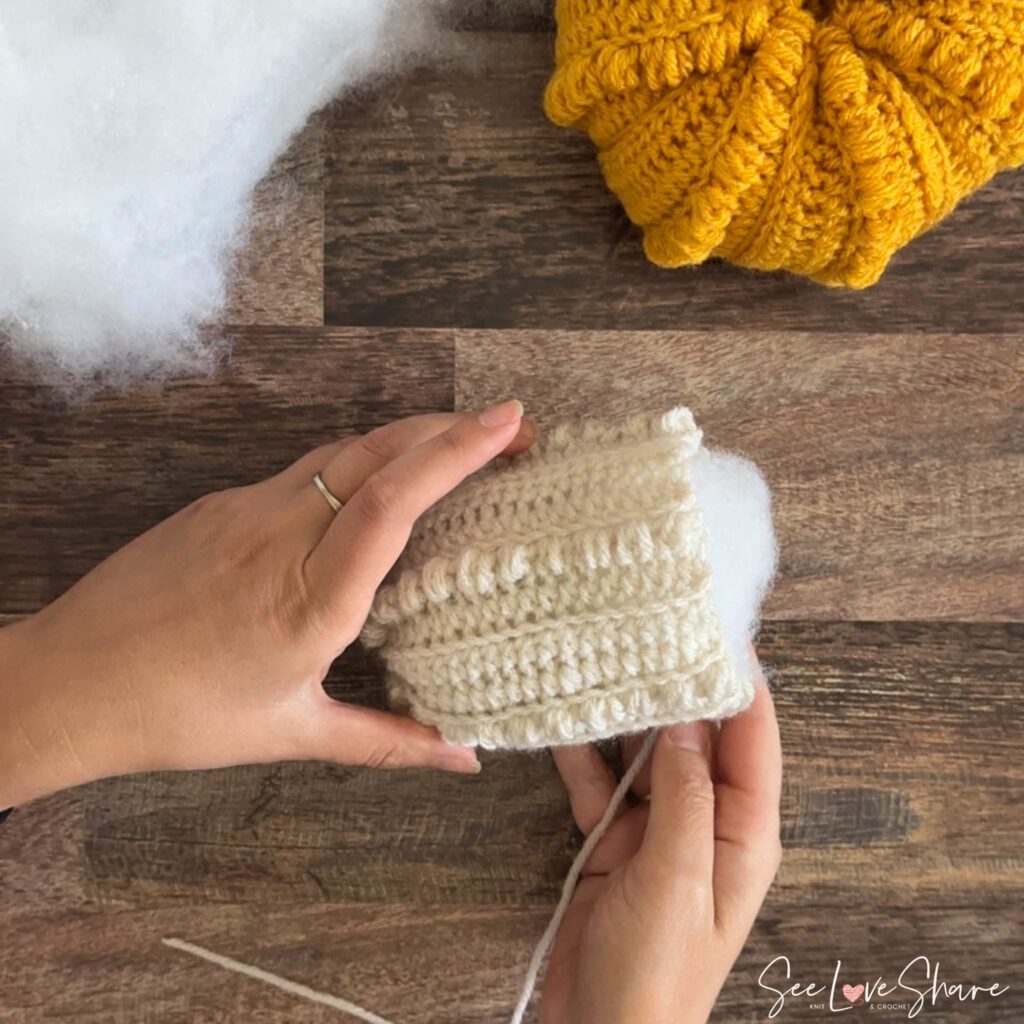
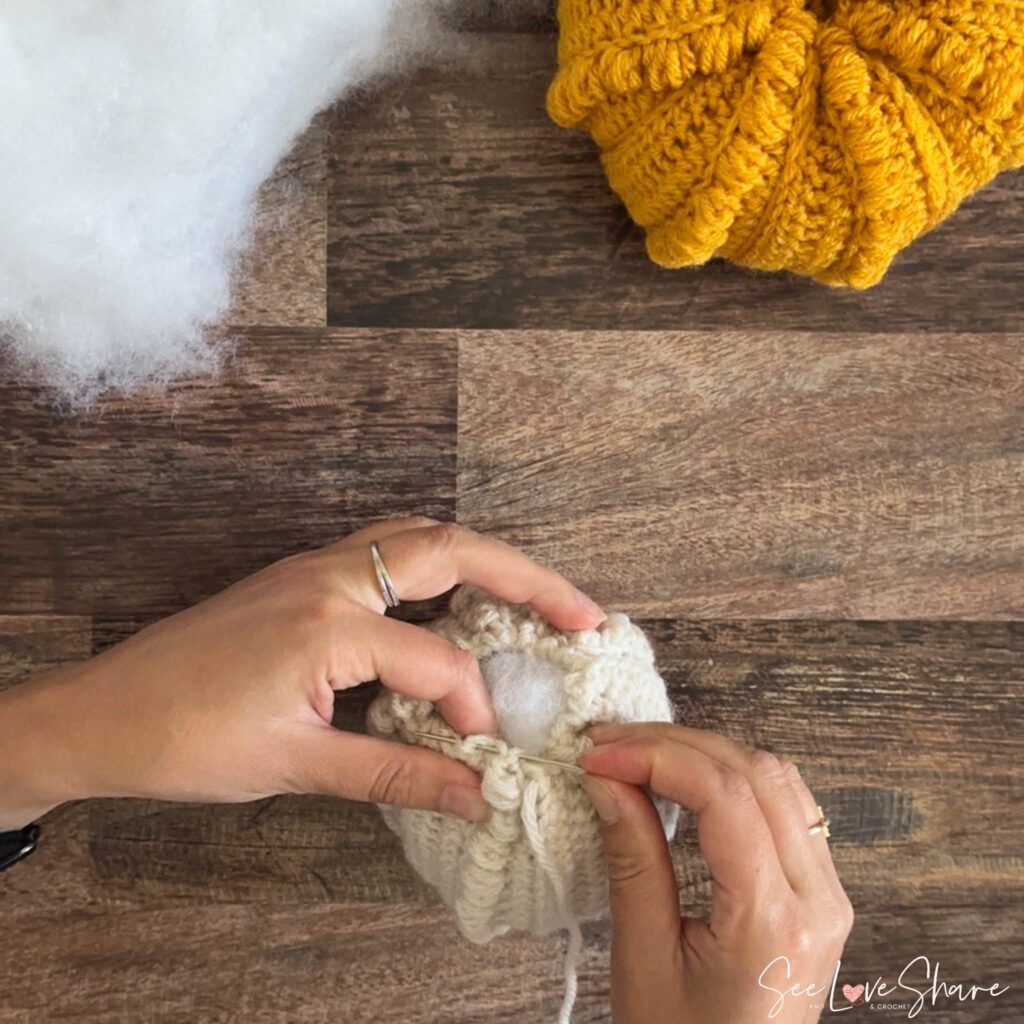
- Polyfil stuffing
- 3 cinnamon sticks
SALE ALERT – Amazon has 5lb on sale for $13.99 v. $20.99!
Gauge:
- 4″ x 4″ (10 cm x 10 cm) 11 sc and 13 rows with a 5.0 mm (U.S. H/8) crochet hook
Abbreviations:
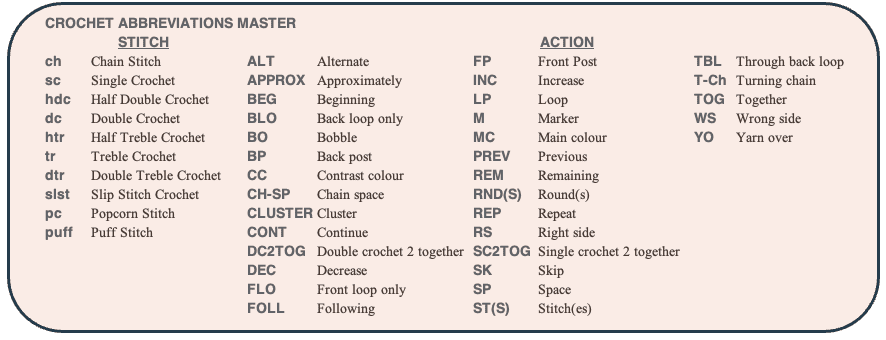
Puff St: Yarn over, insert the hook in specified stitch, yarn over again and draw a loop through (three loops on hook). Repeat two more times, inserting the hook into the same stitch (seven loops on the hook); yarn over and pull yarn through all seven loops on the hook.
Pattern:
For an Ad-Free Version or if you’d just like to support my effort – please consider purchasing a downloadable & printable version of the Rainbow Crochet Crib Blanket Pattern from my Etsy Shop! A little goes a long way. Thank you!

Step 7: Add accessories! I added some curly vines and cinnamon sticks to mine.

Looking for more Crochet Holiday? Right this way…