

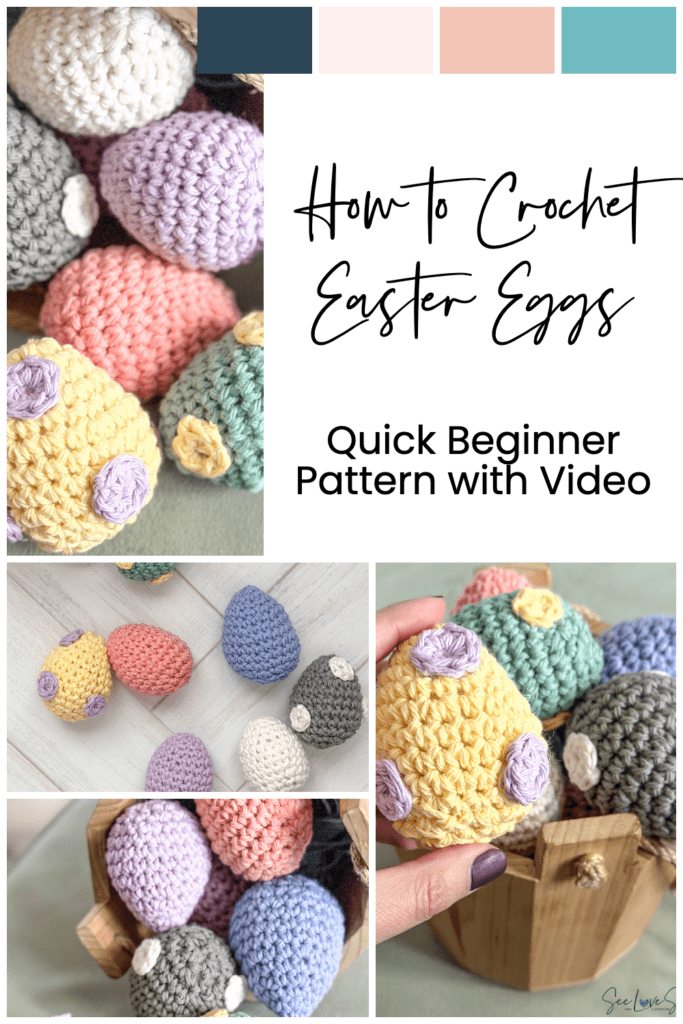
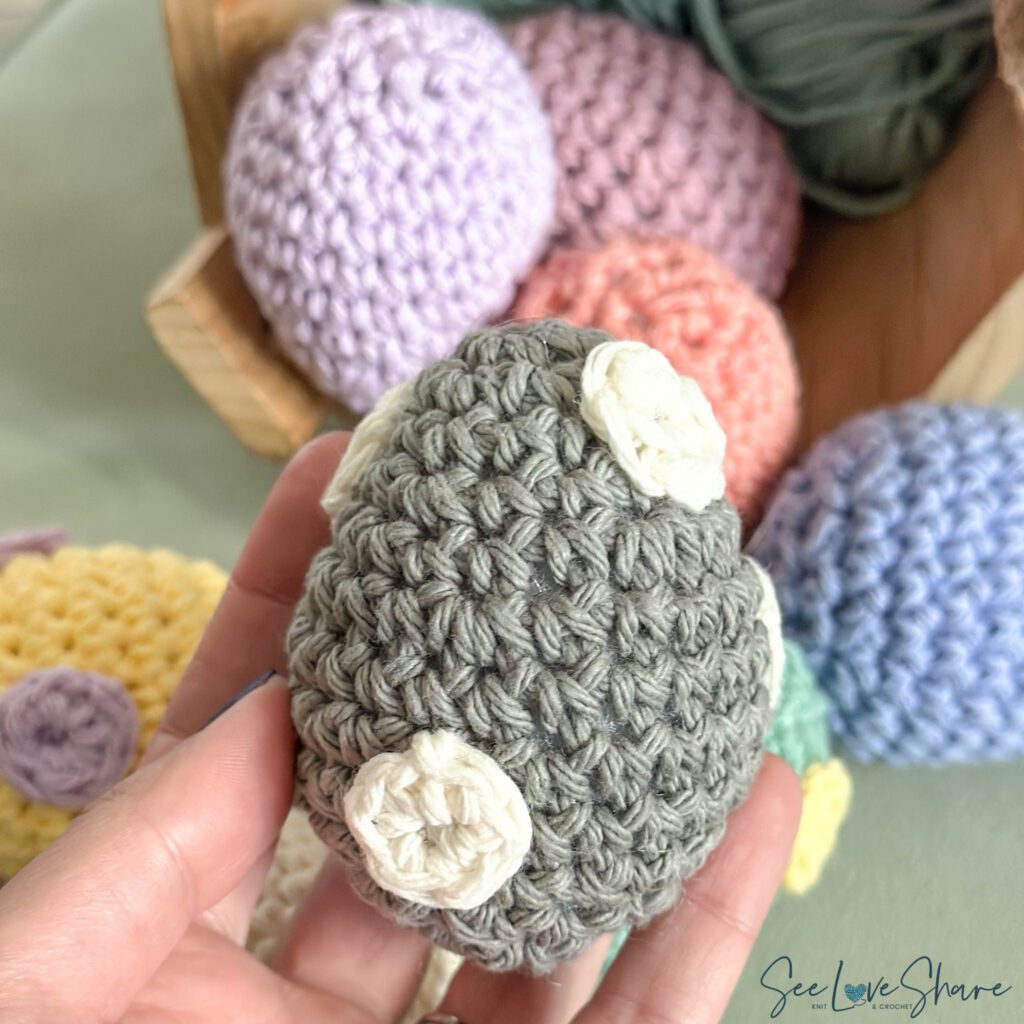
Looking for a quick and adorable crochet Easter Egg Pattern? These polka dot crochet Easter eggs are fast, beginner-friendly, and perfect for Easter baskets, spring decor, or gifting. They work up in under 30 minutes and are ideal for using up scrap yarn in pastel colors.
Whether you’re decorating your home, making gifts for little ones, or stocking your spring craft fair table — these crochet eggs are the cutest addition to your handmade collection.
And yes… there are full walkthrough videos below 👇
🐰 Why You’ll Love This Crochet Easter Egg Pattern
- Beginner friendly
- Uses basic single crochet stitches
- Scrap yarn project
- Customizable size
- Perfect stash buster
- Great Easter basket filler
- Kid safe (no plastic eggs needed)
📏 Finished Measurements
Each egg measures approximately:
3 inches tall x 2 inches wide
(Slightly larger than a life-size egg.)
Want bigger eggs? Try:
- Bulky weight yarn
- 6.5 mm hook
- Double strand yarn
🧶 Materials Needed
- #4 Medium Weight Yarn in pastel colors
I used:- Lily Sugar’n Cream – Ecru
- Country Yellow
- Seabreeze
- Light Blue
- Rose Pink
- Overcast
- Cornflower
- 5 mm (US H-8) Crochet Hook
- Polyfil stuffing
- Stitch marker
- Tapestry needle
- Glue gun (optional)
📐 Gauge
4″ x 4″ = 13 sc x 14 rounds
Using 5 mm hook
(Gauge is not critical for this project.)
📖 Abbreviations
- ch – chain
- sc – single crochet
- sc2tog – single crochet 2 together
- st – stitch
- sl st – slip stitch
🥚 Crochet Easter Egg Pattern
Pattern Notes:
- Worked in continuous rounds
- Do not join rounds
- Use stitch marker
- Polka dots are made separately and sewn or glued on
Egg
Rnd 1: With chosen color, ch 2, work 6 sc in 2nd ch from hook. (6)
Place stitch marker.
Rnd 2: 2 sc in each st around (12)
Rnd 3: sc in each st around (12)
Rnd 4: 2 sc in first st, sc in next repeat around (18)
Rnd 5: sc in each st around (18)
Rnd 6: 2 sc in first st, sc in next 2 repeat around (24)
Rnd 7-10: sc in each st around (24)
Rnd 11: sc2tog, sc in next 2 repeat around (18)
Rnd 12: sc2tog, sc in next repeat around (12)
Rnd 13: sc2tog around (6)
Stuff firmly with polyfil.
Rnd 14: sc2tog around (3). Fasten off.
Thread yarn tail through remaining stitches and pull closed.
Weave in ends.
🌸 Polka Dots (Make 4–5 Per Egg)
With contrasting color:
Ch 2, work 6 sc in 2nd ch from hook.
Fasten off leaving long tail for sewing.
Attach randomly using:
- Hand sewing (recommended for durability)
- Or glue gun for decor use
🎥 Video Walkthrough Tutorials
I’ve created full step-by-step videos to help you!
Make sure to subscribe so you don’t miss future seasonal patterns 💛
💛 Love This Pattern? Grab the Printable Version
While this pattern is free here on the blog, many makers prefer a beautifully formatted PDF they can print or save to their tablet.
As a thank you for supporting SeeLoveShare and being part of this community, you can take:
🎉 50% OFF ALL Easter Patterns in My Etsy Shop
Use code:
EASTERBLOG50
You can download the ad-free PDF version in my Etsy shop here:
Thank you for supporting SeeLoveShare — every purchase allows me to keep creating and sharing free patterns with this community 🐣✨
🐣 How to Style Your Crochet Easter Eggs
- Easter basket filler
- Spring tiered tray decor
- Table centerpieces
- Gift toppers
- Kids play kitchen
- Photo prop
- Easter egg hunt alternative

💛 Join the Community
I LOVE seeing what you make.
Tag me on Instagram @SeeLoveShare
And share your eggs inside our Facebook group:
When you post, tell us:
- What yarn you used
- How many you made
- Who they’re for
Let’s fill the feed with handmade Easter joy 🐰🌸
📌 Pin This for Later
If you’re not ready to make it yet, save this pattern on Pinterest so you can come back later.
🌷 Want More Easter Crochet Patterns?
If you loved this one, you might also enjoy:

