

October 5th, 2024
Knit & Crochet Blocking Tutorial The Ultimate Guide to Blocking
Welcome to the ultimate knit and crochet blocking tutorial — your complete guide to one of the most essential, yet often overlooked, finishing steps in any knit or crochet project. Whether you’re a seasoned crafter or just getting started, mastering blocking will take your handmade items to a whole new level of professionalism.
Blocking smooths out uneven stitches, enhances the shape of your projects, and makes your pieces look polished and perfectly finished. This knit and crochet blocking tutorial walks you through everything you need to know — from why blocking matters, to the three main methods (wet, spray, and steam), to picking the right approach for your specific yarn fiber.
What Is Blocking? (And Why Every Knit and Crochet Blocking Tutorial Starts Here)
Blocking is the process of wetting or steaming your finished knit or crochet project, shaping it to the correct dimensions, and letting it dry to set the stitches. This helps to even out any irregularities, open up stitch patterns like lace, and ensure the project lays flat or holds its intended shape.
Many knitters and crocheters skip this step, but as this knit and crochet blocking tutorial shows, blocking is one you should never overlook. Blocking can turn a slightly uneven scarf into a professional-looking accessory or make a detailed lace shawl bloom into its full beauty.
Why Blocking Matters in Every Knit and Crochet Project
Blocking — whether for knit or crochet — offers a variety of benefits, including:
- Smoothing Out Stitches: Even experienced knitters and crocheters can have uneven stitches. Blocking relaxes the fibers, letting the stitches settle evenly for a smoother, more uniform look.
- Shaping: Whether you’re making a sweater, hat, or scarf, blocking allows you to adjust the shape of your project so it fits perfectly. This is especially helpful for garments that need to meet specific measurements.
- Opening Up Lacework: Lace patterns, both in knit and crochet, can look scrunched and unclear until they are blocked. Blocking spreads out the open spaces, making the lace design more visible and giving it the delicate, airy look it’s meant to have.
- Adding Structure: Blocking can help your project hold its shape better, making edges straighter and details crisper. This is particularly useful for items like blankets, shawls, or anything with detailed motifs.
When Should You Block Your Knit or Crochet Project?
Not every project needs blocking, but this knit and crochet blocking tutorial recommends it for:
- Lace: Essential to open up the intricate designs and give the fabric the proper drape.
- Garments: Helps ensure the fit is just right, particularly for sweaters, cardigans, or hats.
- Home decor items: Blankets, pillow covers, and table runners benefit from blocking to smooth and shape them.
- Amigurumi: Light blocking can help smooth stitches or shape limbs, though be gentle to avoid over-softening.
If your project is looking a little wonky or the yarn isn’t laying flat, blocking can likely fix that.
The Three Main Knit and Crochet Blocking Methods
There are several knit and crochet blocking methods, and the one you choose will depend on your yarn type and project. Here’s a breakdown of the three main methods:
1. Wet Blocking
Best for: Natural fibers (wool, cotton, linen), lacework, and garments
How to Do It:
- Fill a basin with lukewarm water and submerge your project.
- Let it soak for 10-15 minutes to allow the fibers to fully absorb the water.
- Gently squeeze out the water (don’t wring), and lay the project flat on a towel.
- Roll the towel to remove excess moisture, then transfer the project to a blocking mat or another towel.
- Shape the project to your desired dimensions, pin it in place if needed, and let it dry completely (usually 24-48 hours).
2. Spray Blocking
Best for: Delicate fibers, acrylic, or projects that only need light shaping
How to Do It:
- Lay the project flat on a blocking mat or towel.
- Mist the project with water from a spray bottle until it’s damp, but not soaked.
- Gently shape it to the correct dimensions and pin it in place.
- Let it dry completely.
3. Steam Blocking
Best for: Acrylic yarns or fibers that don’t absorb water well
How to Do It:
- Lay your project flat on a blocking mat or towel.
- Use a steam iron or handheld steamer, holding it above the fabric without letting it touch directly (this can melt synthetic fibers).
- Steam the fabric gently, reshaping and smoothing the fabric as you go.
- Allow it to cool and dry completely before unpinning.
Tip: Always check your yarn label for specific blocking instructions. Some fibers, like acrylic, benefit from a steam block, while others, like wool, work best with wet blocking.
Knit and Crochet Blocking Tools You’ll Need
To block your projects after following this knit and crochet blocking tutorial, you’ll need a few key tools:
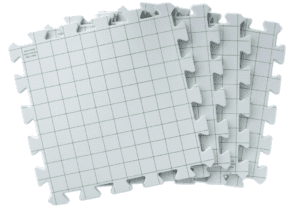
- Blocking Mats: These foam mats provide a surface for pinning your project. If you don’t have a blocking mat, a towel on a flat surface can work too.
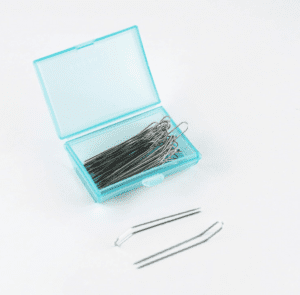
2. Rust-Proof Pins: T-pins or sewing pins help hold your work in place while it dries. Rust-proof pins are a must to avoid staining your project.
3. Measuring Tape: Ensures your blocked project meets the correct dimensions, especially important for garments.
4. Steam Iron or Handheld Steamer: For steam blocking acrylic or delicate fibers.
5. Spray Bottle: For lightly dampening your project when spray blocking.
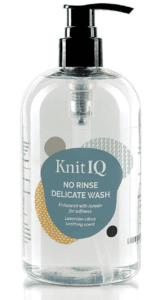
6. Delicate Soap: be sure to grab the no-rinse type!
Knit and Crochet Blocking for Different Yarn Fibers
Different yarns respond differently to blocking, so this knit and crochet blocking tutorial breaks down the most common yarn types:
Silk & Bamboo: Use spray or wet
Wool: Wet blocking is ideal. Wool blooms beautifully when blocked, relaxing into even stitches.
Cotton & Linen: Wet blocking helps to soften and shape these stiffer fibers.
Acrylic: Steam blocking is your best bet. Acrylic fibers won’t absorb water, but they can be shaped with heat.
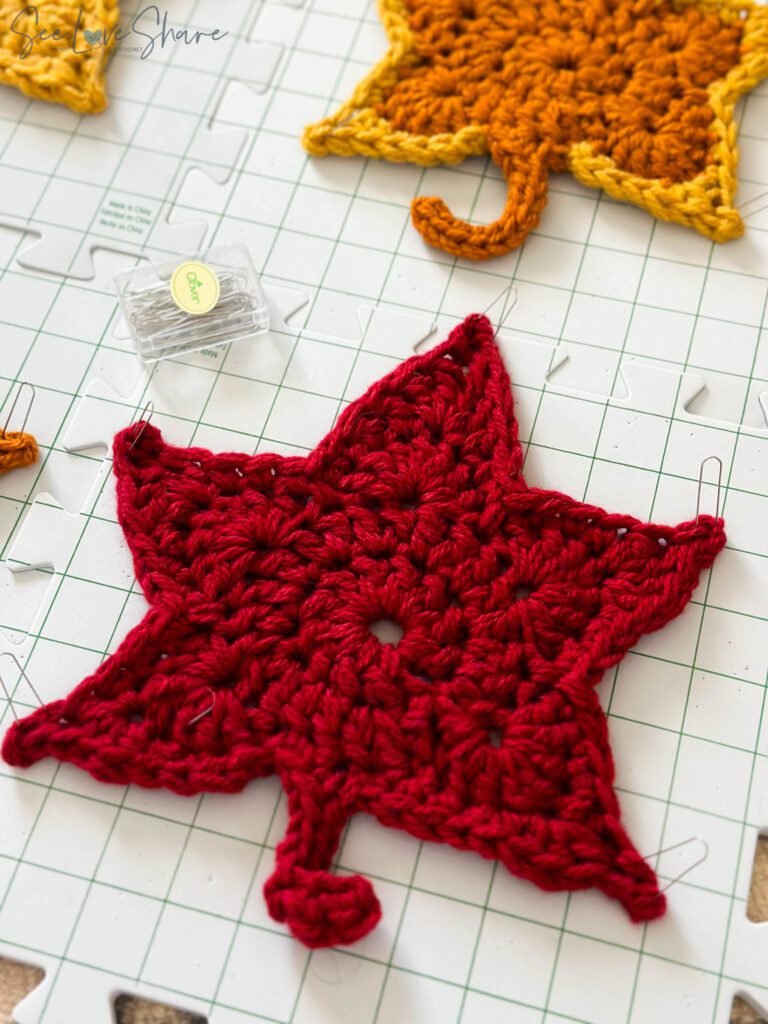
The Pattern Used in This Knit and Crochet Blocking Tutorial
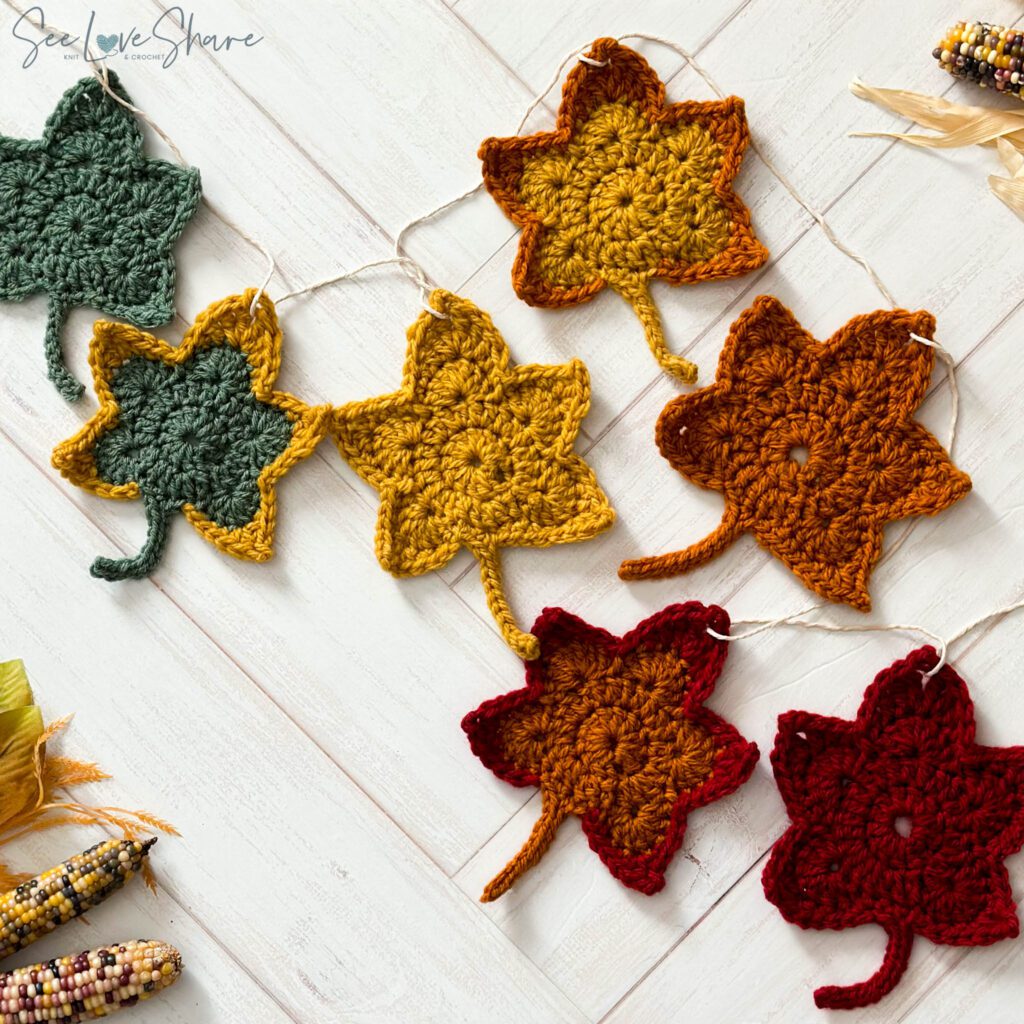
The featured project demonstrated throughout this knit and crochet blocking tutorial is the Autumn Maple Leaf Crochet Garland — a free pattern with intricate motifs that bloom beautifully when properly blocked.
Watch the Full Knit and Crochet Blocking Tutorial
Prefer to watch instead of read? Here’s the full video walkthrough of this knit and crochet blocking tutorial — don’t forget to subscribe to the channel for more handmade tutorials!
Pattern That Blooms with Blocking
Bubble Stitch Knit Baby Blanket Pattern
Now that you’ve mastered this knit and crochet blocking tutorial, try a pattern that really shows off your new blocking skills. My Bubble Stitch Knit Baby Blanket has rich texture that absolutely blooms when properly wet-blocked — beginner friendly and a SeeLoveShare bestseller. Use code SEELOVE15 for 15% off.
Knit and Crochet Blocking Tutorial FAQ
Do I really need to block every project?
Not every project needs blocking, but it makes a noticeable difference on lacework, garments that need to meet specific measurements, blankets with detailed motifs, and anything that needs to lay flat. Amigurumi and items where you want texture to stay tight can usually skip blocking.
Can you block acrylic yarn?
Yes — but use steam blocking, not wet blocking. Acrylic fibers don’t absorb water like natural fibers, but they can be shaped beautifully with steam. Just keep the steam iron or steamer hovering above the fabric without touching it directly, since direct contact can melt acrylic.
How long does blocking take?
The pinning and shaping takes 10-20 minutes for most projects. Drying time depends on method: wet blocking usually needs 24-48 hours to fully dry, spray blocking around 12-24 hours, and steam blocking can be ready in just a few hours once the fabric cools.
What’s the best blocking method for beginners?
Spray blocking is the most beginner-friendly method — low risk, minimal tools needed, and gentle enough to use on almost any fiber. Start with a spray bottle, a towel, and rust-proof pins to dip your toes in before trying full wet blocking.
Can I reblock a project if I don’t like how it turned out?
Absolutely — blocking is reversible. Just re-wet (or re-steam) the project and shape it again. Natural fibers especially can be reblocked multiple times without damage.
Do I really need special blocking mats?
Not strictly — a clean towel on a flat surface works in a pinch. But proper foam blocking mats let you pin directly into them without damaging your furniture or floor, and they’re an inexpensive upgrade if you plan to block often. For a small one-off project, a towel on a guest bed works fine.
Get Free Patterns by Email
More Tutorials & Patterns You’ll Love
- Autumn Maple Leaf Crochet Garland — the free pattern featured in this knit and crochet blocking tutorial
- Beginner Crochet Stitches Guide — master the foundation stitches before you block
- Bubble Stitch Knit Baby Blanket Pattern — texture that blooms when blocked
- Browse all knit and crochet tutorials
Save This Knit and Crochet Blocking Tutorial for Later
Want to come back to this knit and crochet blocking tutorial later? Save it to Pinterest so you can find it next time you’re finishing a project that needs that final professional polish. I’d love to see your blocked makes — tag @seeloveshare on Instagram!
This knit and crochet blocking tutorial, photos, and instructions are © SeeLoveShare LLC. For personal use only — please do not redistribute or resell this content. Thank you for supporting an independent designer! 💛