
Free Crochet Free Knit Free Holiday
November 16th, 2020
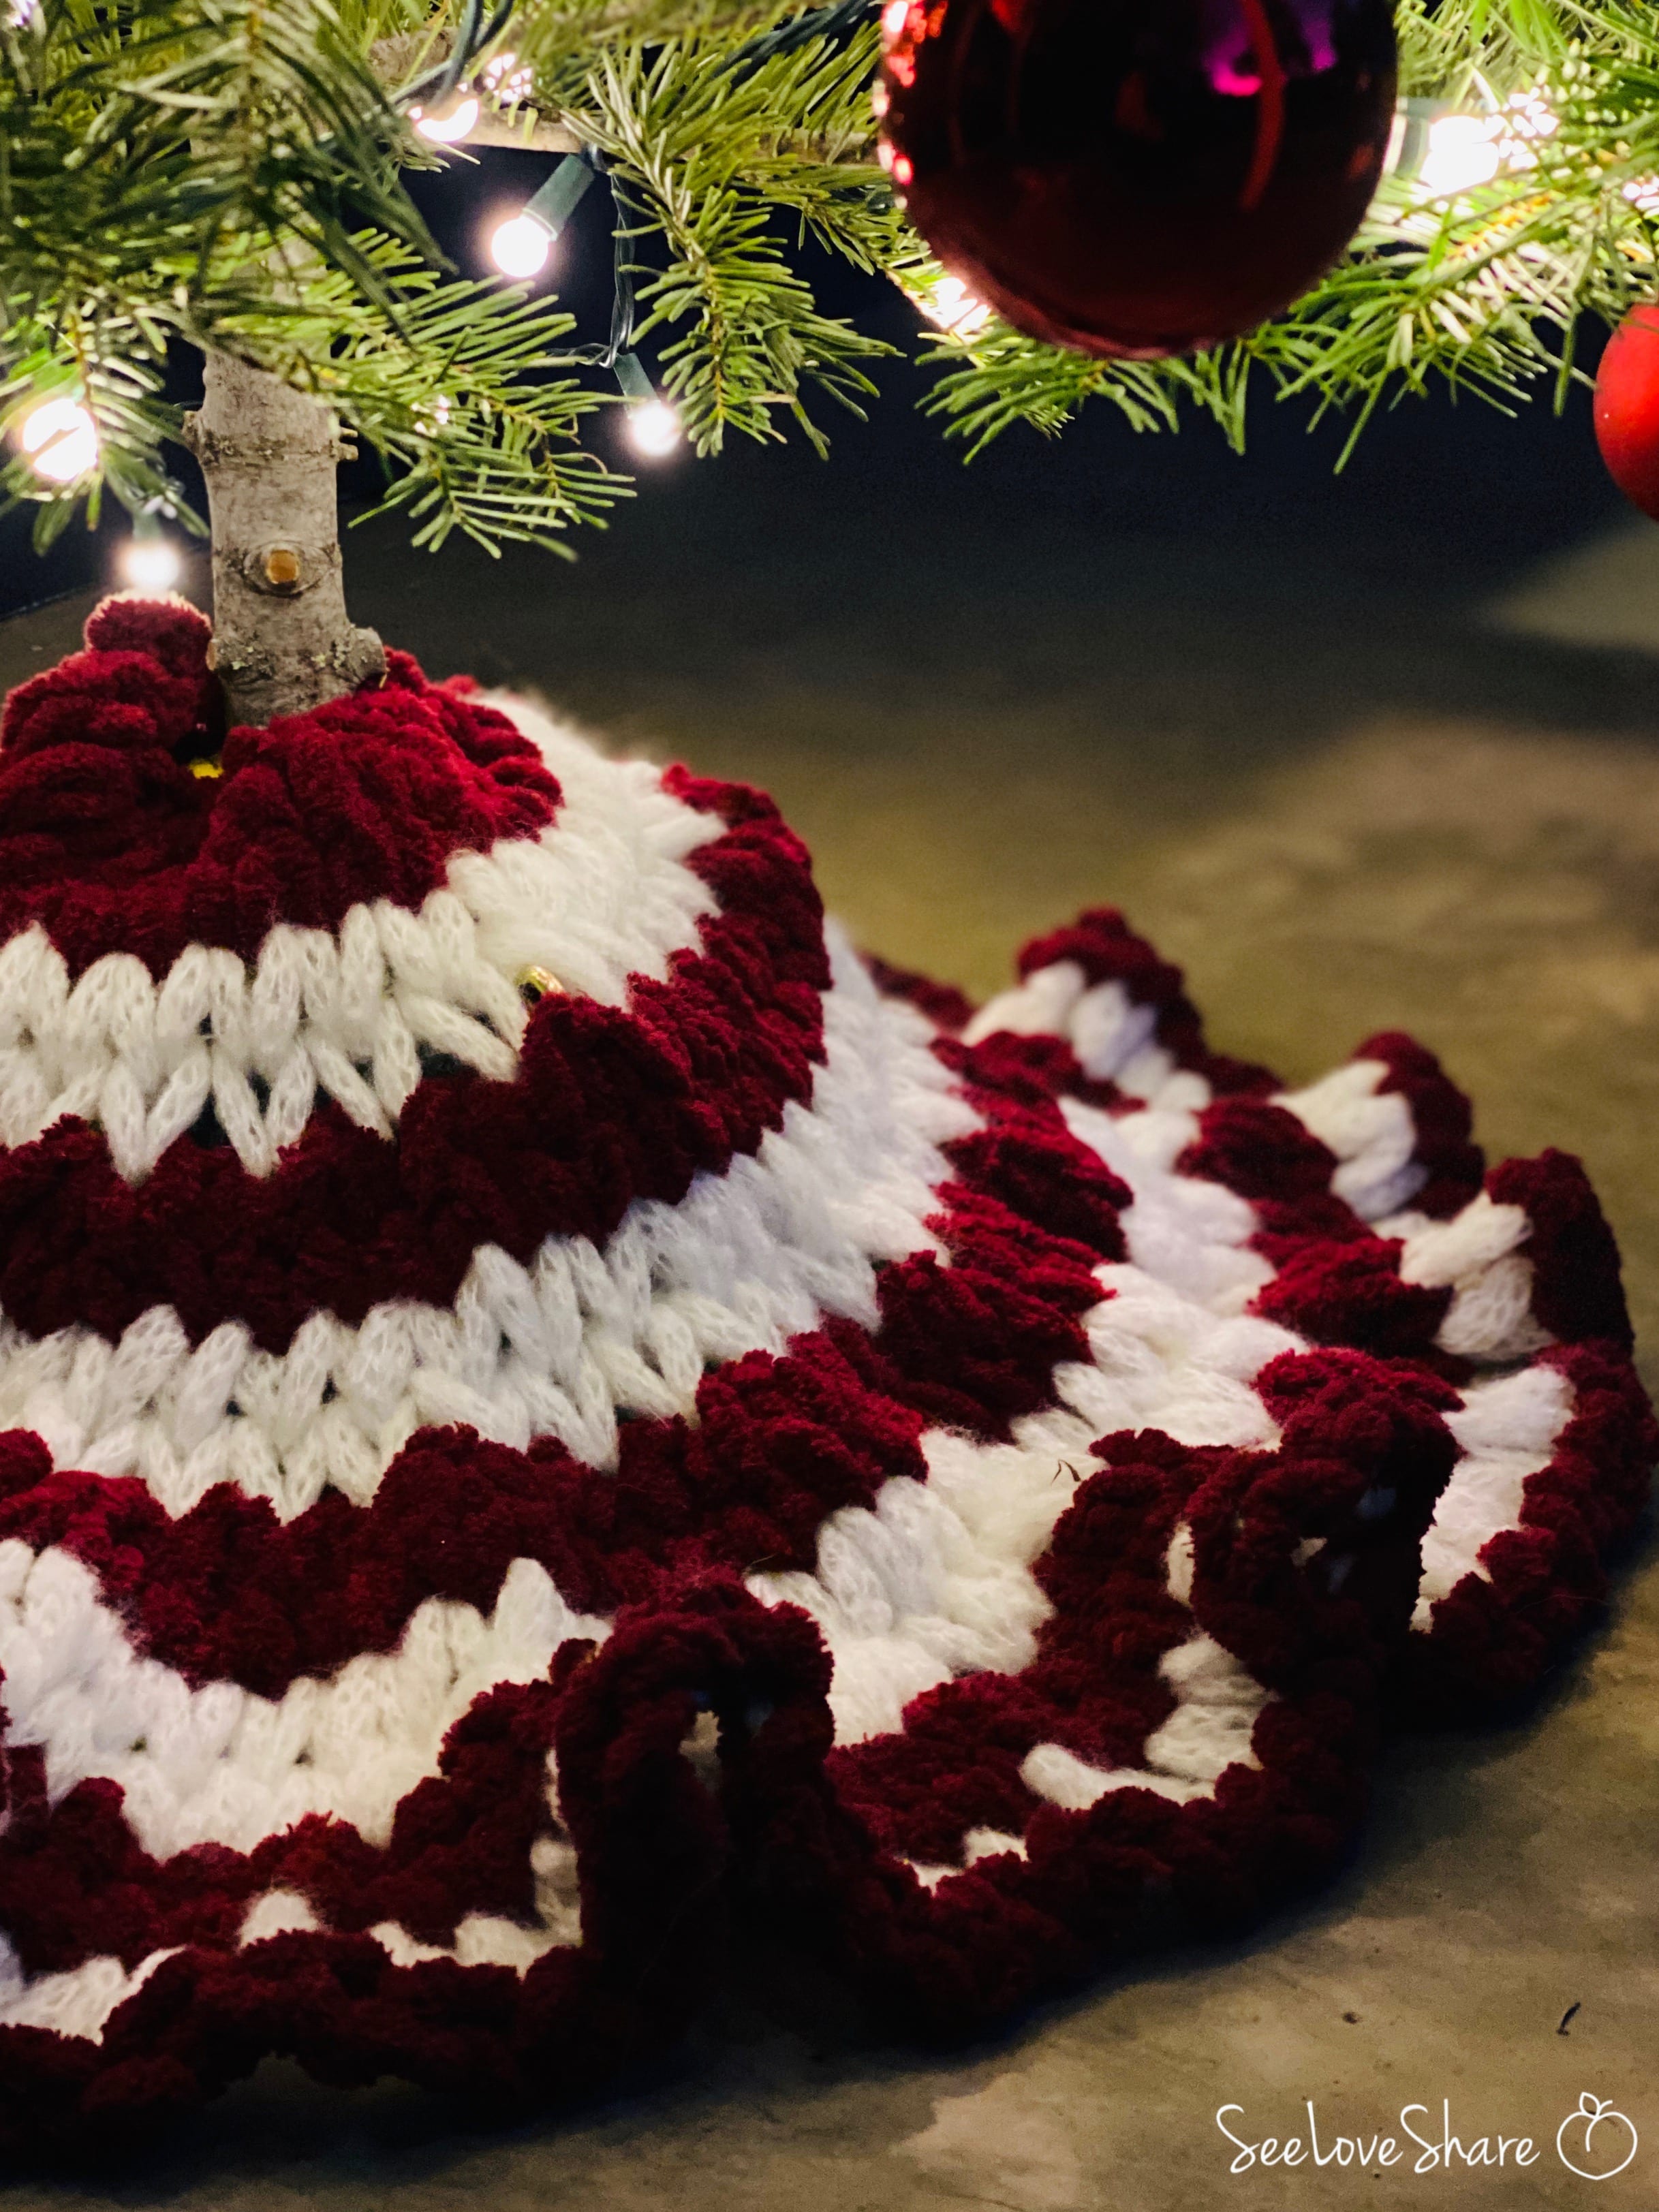
Blanket-EZ-Mini Tree Skirt – A Free Pattern
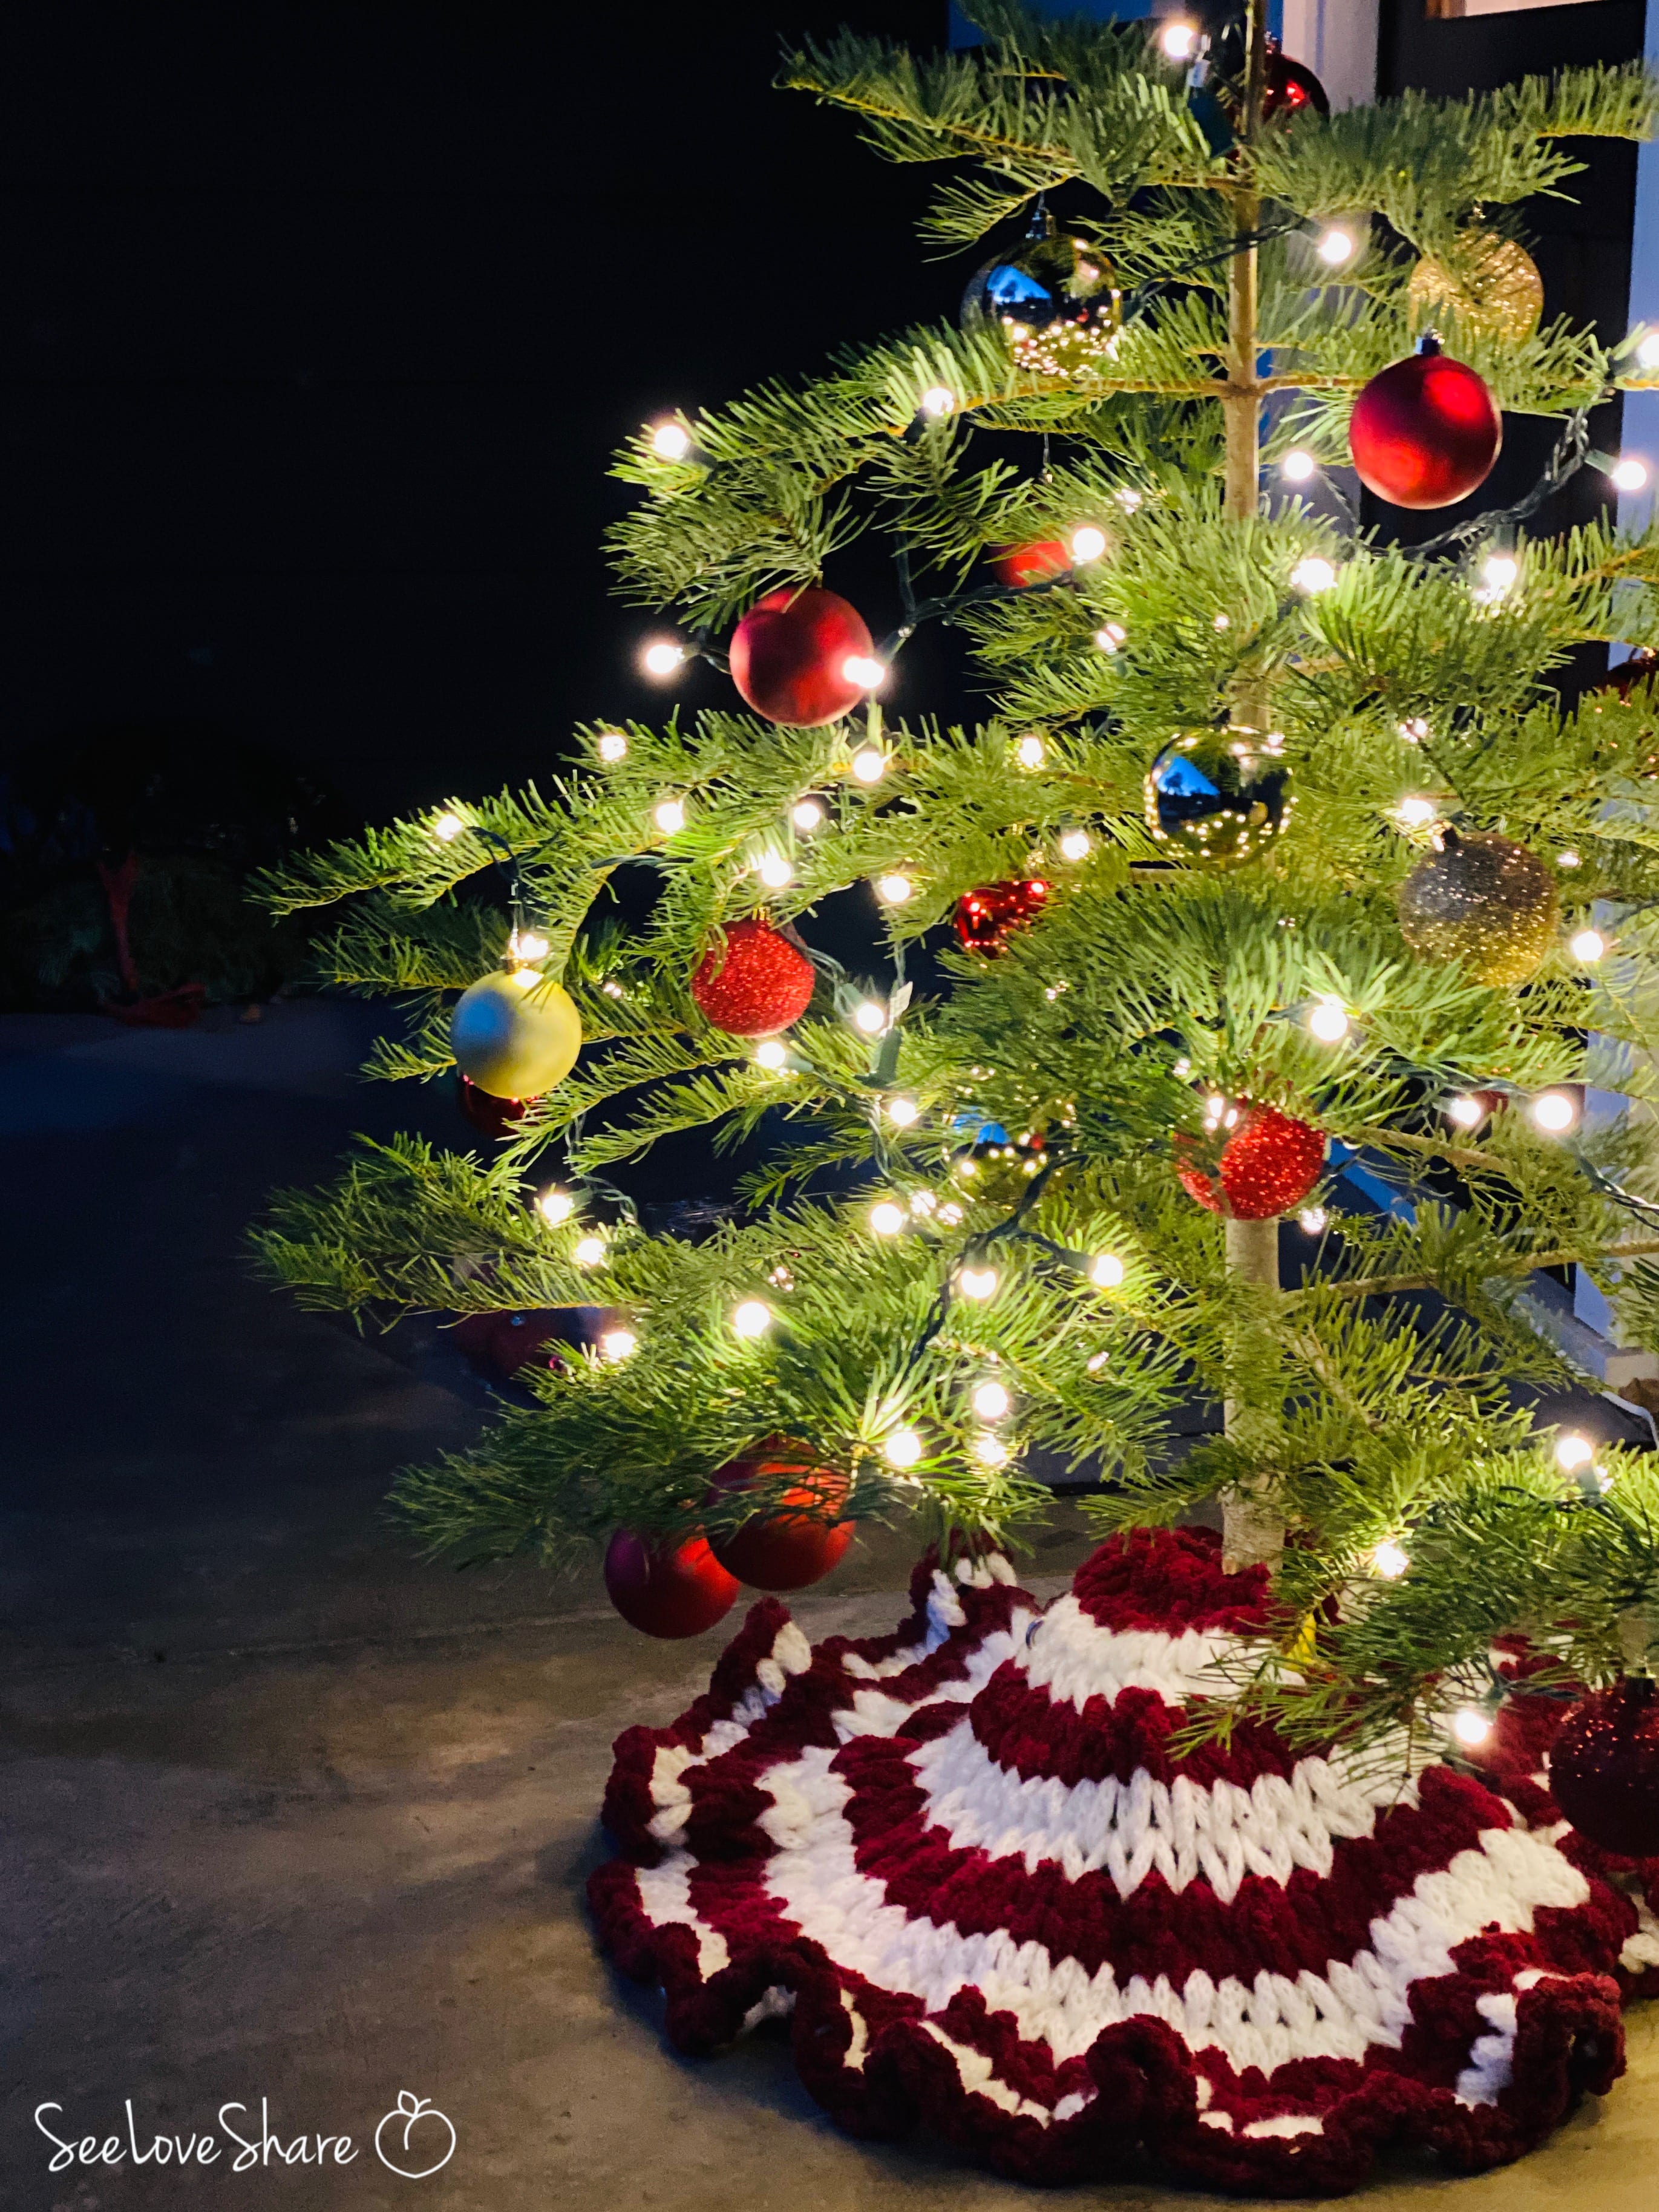
This hand knitting tree skirt pattern has quickly become one of my favourite Christmas projects — ditch your crochet hooks and toss your knitting needles, because you only need your hands for this one. 🎄 The trick? Bernat Alize Blanket-EZ yarn comes with preformed loops, so you simply pull each loop through the previous one — no tools required.
I worked this one up in a single afternoon and included a video for the trickier finishing steps. It’s the perfect Christmas project for beginners, kids learning to craft, or anyone who wants a beautiful handmade tree skirt without committing to a hook-and-needle marathon. You’ll have it done well in time for Christmas. ✨
Why you’ll love this hand knitting tree skirt pattern
- No tools needed — just your hands and two balls of loop yarn
- Beginner-friendly — great for first-time crafters, kids, or anyone intimidated by traditional knitting/crochet
- Quick to make — finishes in a single afternoon, even at a relaxed pace
- Works for any tree size — finished at approximately 30″ × 30″, perfect for tabletop or small living-room trees
- Cozy texture — the loop yarn creates a plush, knit-like fabric that hides imperfections
- Customizable colors — swap the burgundy and cream for any two Bernat EZ shades to match your decor
- Gift-ready — pair with a matching ornament or stocking for a coordinated handmade Christmas set
Shop the materials


MEASUREMENTS:
Materials
Tapestry needle — for weaving in any loose ends after binding off
1 ball Bernat Alize Blanket-EZ yarn — Burgundy
1 ball Bernat Alize Blanket-EZ yarn — Cream
Your hands! 👐
Scissors — for trimming yarn ends
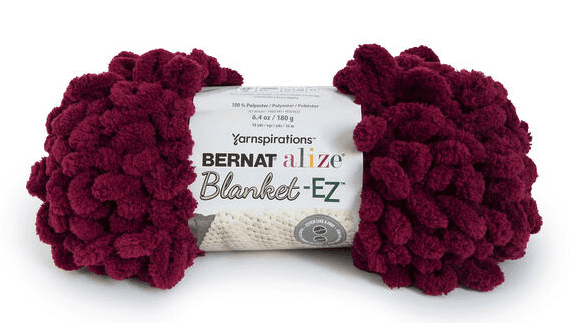
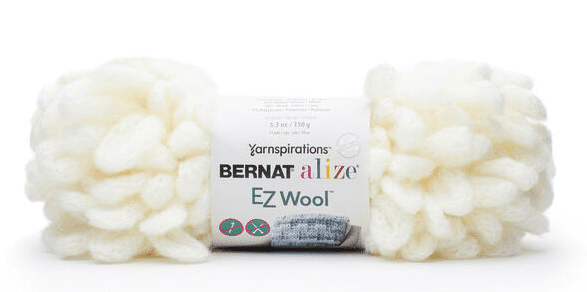
- Your hands!
PATTERN NOTES:
Right side of project is facing at all times. The patten is worked in rows with increasing stitches each time, creating the full circle of the skirt. Both colours are used throughout the entire pattern without binding off. As we switch colours every 2 rows, we will skip one loop on the yarn which will create enough space for the colour change without pulling on the side and create a loop for us to tie the skirt closed when complete.
Tips for success
- Don’t pull tight. Loop yarn looks best when worked loosely — tight loops will make your skirt curl and look dense. Keep the tension relaxed.
- Count carefully on the foundation row. The whole pattern is built on getting the first 10 loops right. If you’re off, the increases won’t shape correctly.
- Don’t worry if loops feel “loose” between rows. The skip-loop technique for color changes intentionally leaves a small loop on the side — that’s the secret to the pattern lying flat.
- Watch the video for the bind-off. Row 16 is the trickiest part of the pattern, and the video walks you through it visually. Don’t skip it!
PATTERN:
With Burgundy count 10 loops for the foundation row.
Row 1: Begin with the 11th loop, pull up 2 loops into each loop in the foundation row, turn (20 loops)
Row 2: Pull up one loop into every loop from row prior, turn. (20 loops). Do not bind off and begin next row with Cream.
Row 3: Attach CREAM, Pull up one loop into every loop from row prior, turn, (20 loops)
Row 4: Pull up one loop into every loop from row prior, turn (20 loops)
Row 5: Switch to Burgundy left from row 2, Skip 1 loop (see notes on this above), pull up 2 loops into each loop from prior row, turn (40 loops).
Row 6: Pull up one loop into every loop from row prior, turn (40 loops)
Row 7: Switch to cream left from row 4, Skip 1 loop, pull up 1 loop into each loop from prior row, turn (40 loops).
Row 8: Pull up 1 loop into each loop from prior row, turn (40 loops).
Row 9: Switch to Burgundy left from row 6, Skip 1 loop, pull up 2 loops into each loop from prior row, turn (80 loops).
Row 10: Pull up one loop into every loop from row prior, turn (80 loops)
Row 11: Switch to cream left from row 8, Skip 1 loop, pull up 1 loop into each loop from prior row, turn (80 loops).
Row 12: Pull up 1 loop into each loop from prior row, turn (80 loops).
Row 13: Switch to Burgundy left from row 10, Skip 1 loop, pull up 2 loops into first loop, then pull up 1 loop into the loop after (now you’re increasing every other loop), turn (120 loops).
Row 14: Pull up one loop into every loop from row prior, turn (120 loops)
Row 15: Switch to cream left from row 12, Skip 1 loop, pull up 1 loop into each loop from prior row (120 loops). End Cream
Row 16/Bind off row: Working in same direction as last row and starting back at left side of work (where we left the burgundy), skip one loop, *pull loop through first st, pull loop through 2nd st, (as previous rounds) then begin the bind of, pull newly created 2nd st through 1st st.* Repeat from * to end of row. Bind off and weave in ends.
See below for a video of this last step as it is a tad bit tricker!

ASSEMBLY:
Wrap the skirt around the tree. Attach by pulling the loops that remain on the side that changed colours through to the other side. This will hold the skirt closed without permanently shutting it. To open the skirt again, simply tug on where you pulled the loops up to release them.
Decorating the whole room? Pair it with our Knit Cable Braid Tree Skirt pattern for a cozy, coordinated holiday look.
More Christmas patterns you’ll love
 Easy Crochet Christmas Ornament Pattern — beginner-friendly ornaments to match your tree skirt
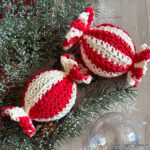
- Peppermint Candy Ornament Pattern — both knit + crochet versions
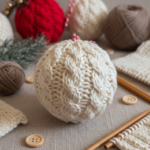
- Cable Knit Christmas Ornament — handmade tree classic
- Browse all Crochet Christmas Patterns on the SeeLoveShare blog

Made one? I’d love to see your tree skirt! Tag me on Instagram @seeloveshare or share your makes in our free Facebook community. Happy crafting! 🎄