
Free Holiday Free Crochet All Holiday Patterns
July 10th, 2026
DIY Toilet Paper Roll Crochet Christmas Trees
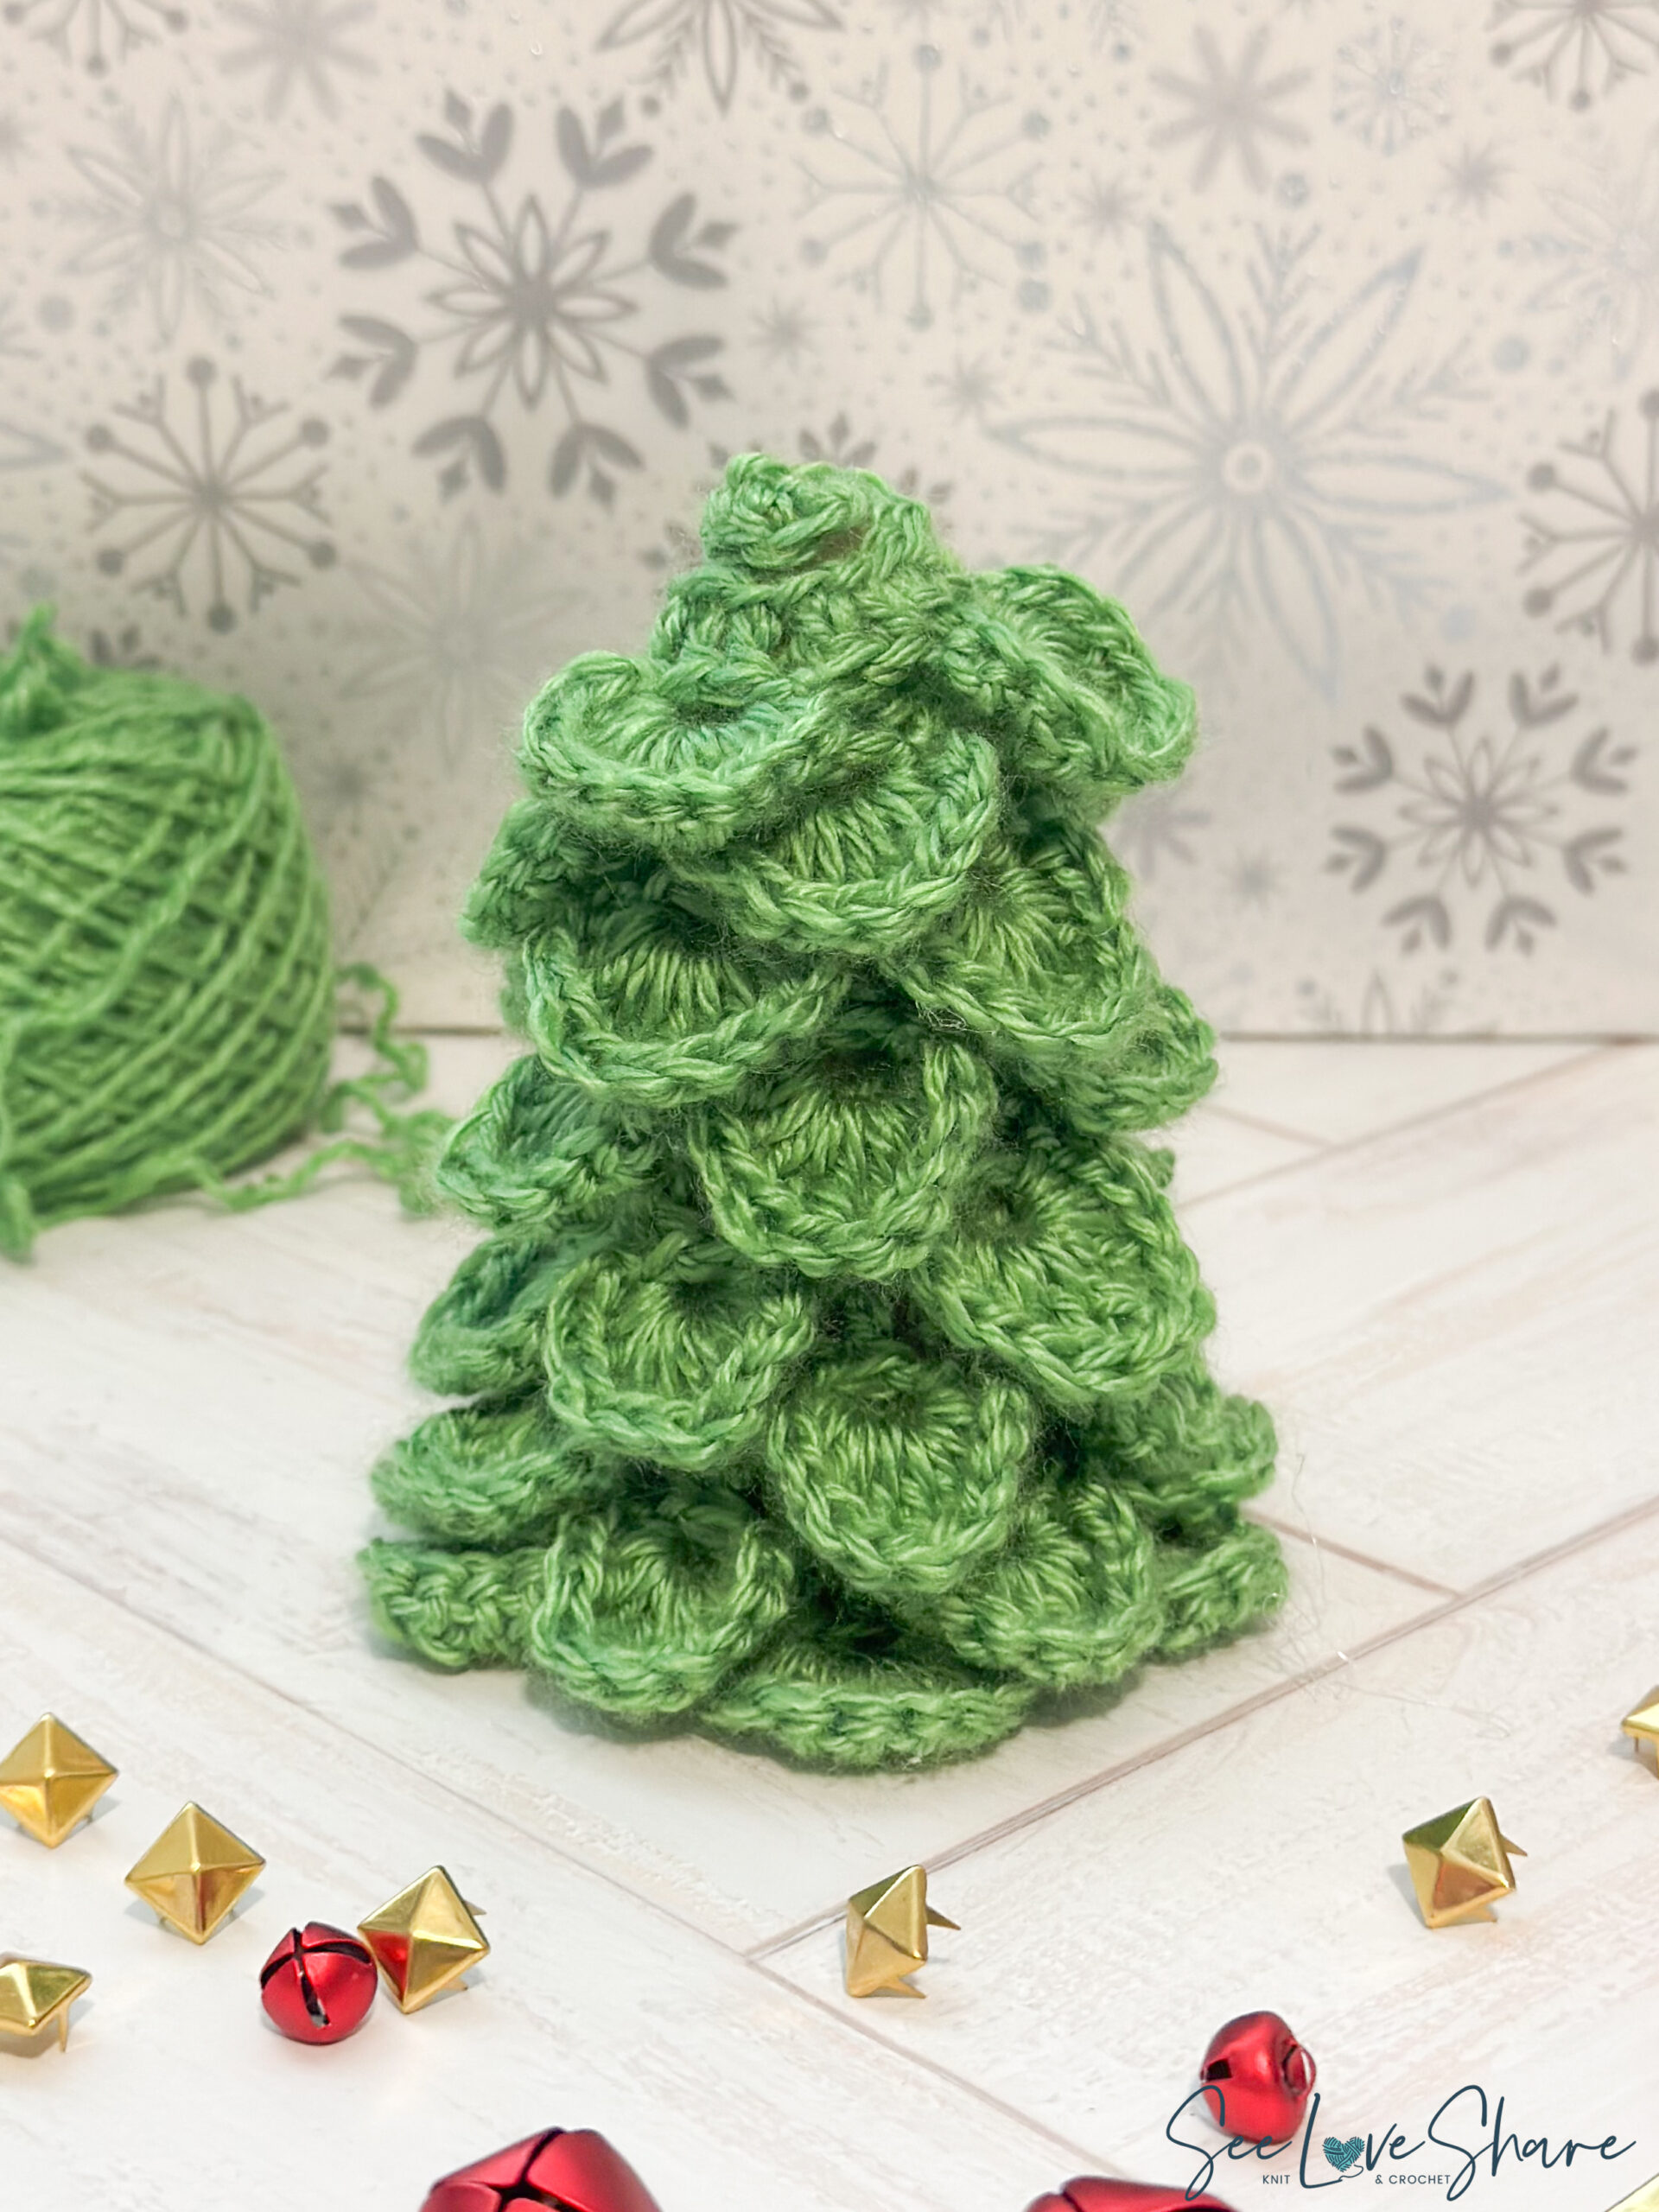
Grab a cup of cocoa and clear off the kitchen table, because this crochet Christmas tree pattern is about to become your family’s favorite holiday craft! You start with a raid on the recycling bin (yes, really, one empty toilet paper roll), add a little green yarn, and end up with the cutest tiny tree standing proud on the shelf.
The best part? It’s a two-for-one project. Grown-ups get the cozy, meditative job of crocheting one simple fan-stitch strip, and then the kids swoop in for the truly fun bits: wrapping the tree, fluffing the branches, and piling on beads, “snow,” and twinkly lights. Little hands love this part, and everyone gets to say “I made that!”
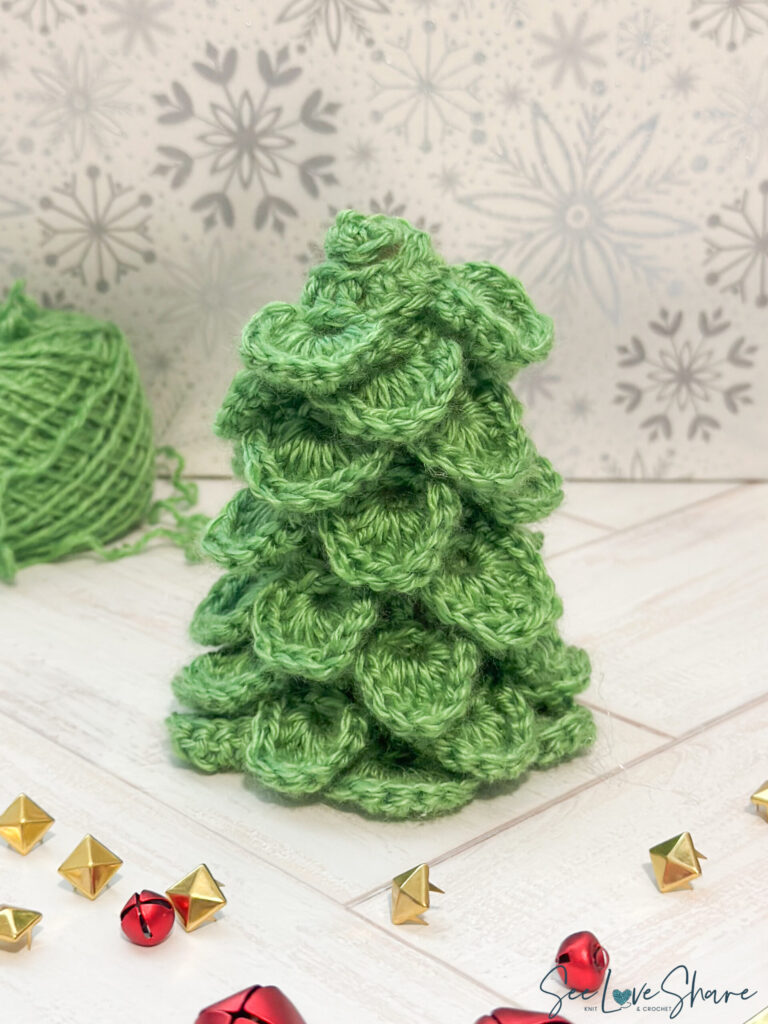
Why You’ll Love This Crochet Christmas Tree Pattern
- It’s a craft for the whole family: adults crochet, kids assemble and decorate. Teamwork makes the tree work!
- Recycled + budget-friendly: the base is a toilet paper roll you’d have tossed anyway.
- Beginner-easy: one repeating fan stitch, so there’s barely anything to memorize.
- Quick win: most trees come together in a single cozy evening.
- Made your way: pick any festive color, then bling it out with beads, a star, or fairy lights.
- Gift-ready: whip up a little forest for teachers, grandparents, and neighbors.
A Fun Crochet Craft to Make With Kids
This crochet Christmas tree pattern is built for sharing, and not everyone at the table needs to know how to crochet to join in. Here’s how to turn this into a hands-on project the kids will beg to help with:
- Little helpers (ages 3+): hand them the beads, mini ornaments, and star topper and let them decorate to their heart’s content.
- Big kids (ages 6+): they can wrap the crocheted strip around the cone and fluff out the branches.
- Tweens and up: with a grown-up nearby for the hot glue and scissors, they can help build the cone base too, or even try the crochet strip themselves.
Make a whole batch in different greens and let each kid claim their own tree for the mantel. It’s a screen-free afternoon that ends with something they’re genuinely proud of.
Prefer a printable PDF?
Beginner Crochet Christmas Tree Pattern
Skip the scrolling and get the ad-free, printable pattern with the full step-by-step photo tutorial you can take right to your craft table. Use code SEELOVE15 for 15% off!
Get the Printable PDF on Etsy → Get it on RavelryPrefer it ad-free?
Get the printable pattern PDF
The full written pattern, photos and notes — clean, ad-free, and yours to keep and print. Use code SEELOVE15 for 15% off.
Get the printable PDF on Etsy → Get it on Ravelry →Materials
Here’s everything you’ll need to make this crochet Christmas tree pattern, enough for one little tree. The yarn amount is teeny, so this is a fantastic way to use up scraps from your stash.
- Lightweight (#3) yarn in a festive green (a partial ball makes one tree)
- A 4.0 mm (US G/6) crochet hook
- A yarn needle for weaving in ends
- Scissors (grown-up job)
- 1 empty toilet paper roll (the star of the show!)
- Clear or masking tape
- A hot glue gun (a grown-up job, too)
- Optional decorating fun: mini beads or ornaments, a little star topper, white paint for “snow,” and battery-operated fairy lights
New to yarn weights? The #3 “light/DK” category comes from the Craft Yarn Council’s standard yarn weight system, a handy cheat sheet whenever a pattern calls for a specific weight.
Shop the materials


Pattern Details
- Skill level: Easy / advanced beginner
- Yarn weight: #3 lightweight (DK)
- Hook: 4.0 mm (US G/6)
- Gauge: 4″ x 4″ = 16 sc x 19 rows (gauge isn’t fussy for a decorative make)
- Finished size: the strip is about 42″ long; the finished cone tree stands roughly 4–4.5″ tall
- Time: about one evening
Abbreviations (US Terms)
- ch – chain
- sc – single crochet
- hdc – half double crochet
- dc – double crochet
- tr – treble (triple) crochet
- sl st – slip stitch
- st(s) – stitch(es)
- lp – loop
- rep – repeat
- sk – skip
How to Crochet the Christmas Tree Strip
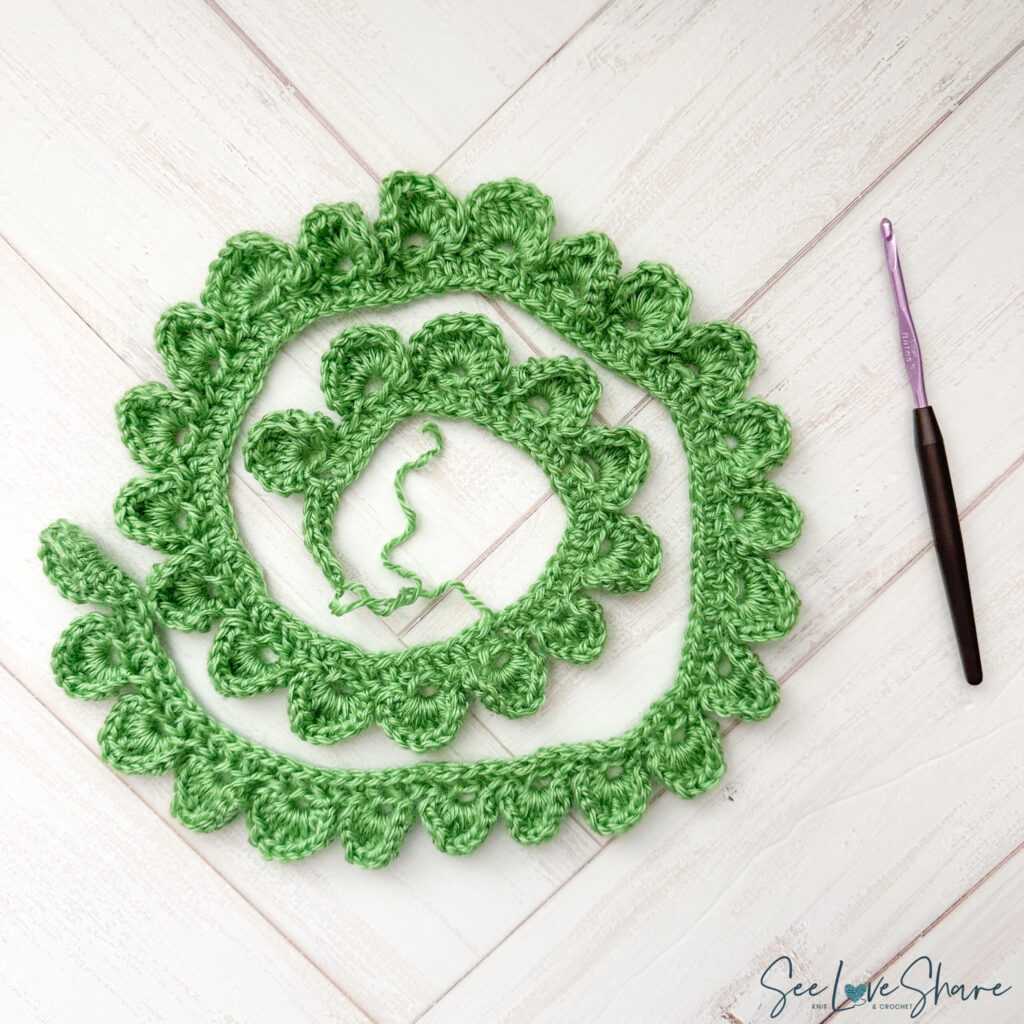
The best part of this crochet Christmas tree pattern is how simple the crochet is: the whole tree begins life as one long, wavy strip. You’ll make a foundation chain, work a short flat base, then repeat one pretty fan cluster all the way across. Those little fans become the “branches” once the strip spirals around the cone, this is the grown-up part, and it’s wonderfully relaxing.
Step 1: The Foundation Row
- Ch 152.
- Row 1: Dc in the 2nd ch from the hook, then dc in the next 3 ch. Now you’re ready for the fans.

Step 2: The Fan Stitch (Repeat Across)
This is the signature stitch of this crochet Christmas tree pattern. Work the fan cluster, then 4 dc, and keep on repeating:
- Ch 3 and leave that loop live (don’t tighten it).
- Insert your hook into the stitch 2 stitches behind the last dc you made.
- Pull the ch-3 loop through that stitch.
- Ch 2 to secure the loop.
- Into the loop, work: 3 dc, 4 tr, 3 dc, ch 2, then sl st into the same loop to close the fan.
- Dc in the next 4 ch.
- Repeat this fan section across the row until you have 8 chains remaining.
Each fan looks like a little open shell. Don’t worry if the strip curls or ripples, that wave is exactly what gives your finished tree its branchy, layered texture.
Step 3: Finish the Strip
- Final section: Hdc in each of the last 8 ch.
- Fasten off and weave in your ends with the yarn needle.
How to Assemble Your Tree (Kids, This Is Your Part!)
Strip finished? Time to call in the little helpers and turn your crochet Christmas tree pattern into a standing tree.
Make the Cone Base
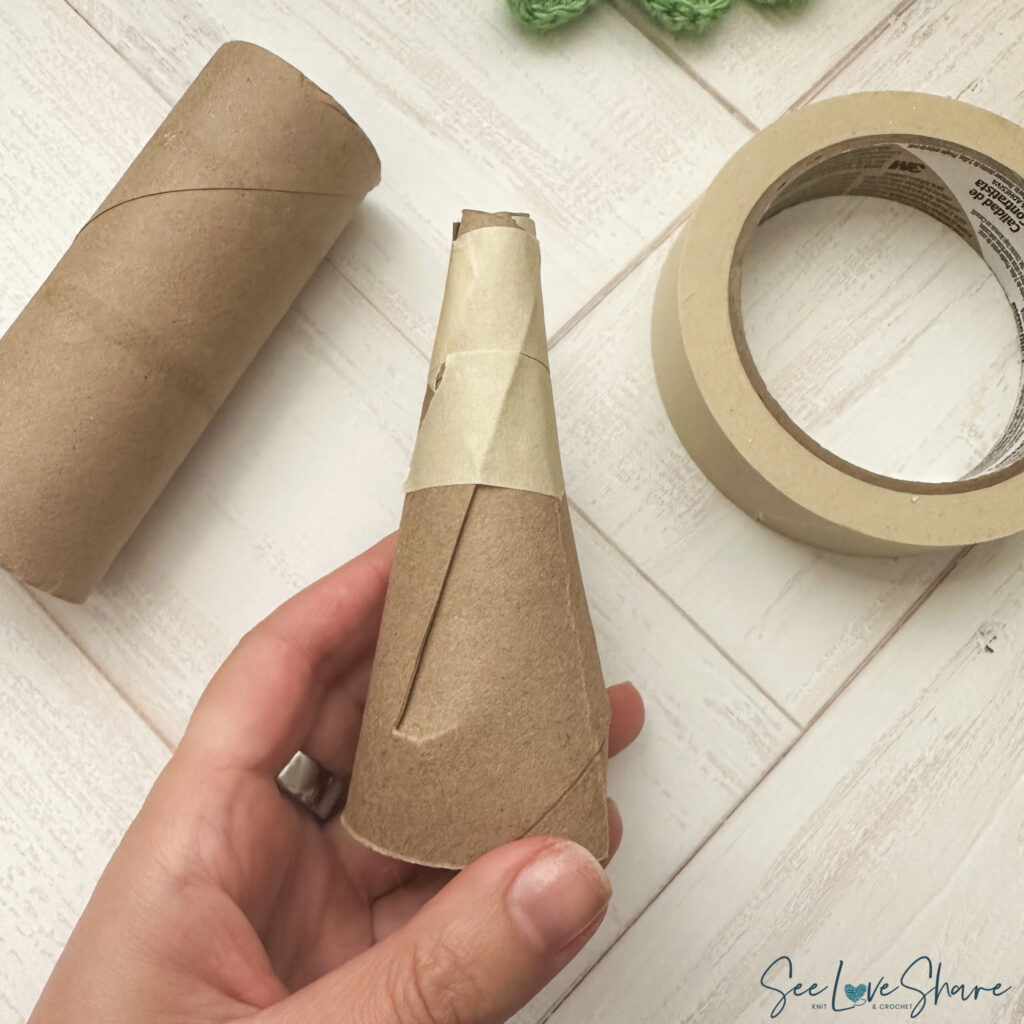
- A grown-up cuts 3 evenly spaced slits about 2.5–3″ down from the top of the toilet paper roll.
- Overlap the 3 flaps inward so the top pulls into a cone shape, kids love watching the tube “become” a tree here.
- Tape the flaps in place. You’ve got a sturdy little cone base ready to wrap.

Wrap the Tree
- Start at the bottom of the cone and secure the end of the strip with a dab of hot glue (grown-up job).
- Kids can spiral the strip upward around the cone, angling the fans outward so they stand off like branches.
- Overlap each row slightly over the one below so no cardboard peeks through.
- At the top, tuck the last stitches under and a grown-up adds a final dab of glue to hold everything.
Shape and Fluff
Now the most satisfying step: gently push the fans outward and fluff the clusters into branch-like layers. Hand this job straight to the kids, they’re brilliant at making each tree look full and merry.
Fun Ways to Decorate Your Tree
- Glue on tiny beads or mini ornaments for a fully-trimmed look.
- Pop a little star or bead on top.
- Dry-brush the branch tips with a touch of white paint for a snow-dusted finish.
- Tuck a strand of battery-operated fairy lights inside the cone for a soft glow.
- Make a whole forest in different greens, whites, and metallics for a showstopping centerpiece.
These little trees look adorable on mantels, shelves, and holiday tables, and this crochet Christmas tree pattern makes sweet, low-cost gifts the kids can hand out themselves.
Tips for the Perfect Crochet Christmas Tree
A few small tricks make this crochet Christmas tree pattern come out beautifully every time, especially if it’s your first cone tree:
- Keep your fans loose. The open, airy look of the branches depends on relaxed tension. If your fans feel tight or stiff, go up half a hook size.
- Wrap from the bottom up. Starting at the base and spiraling upward keeps the branches angled down like a real tree and hides the cardboard as you go.
- Glue as you climb. A small dab of hot glue every couple of rows keeps the strip from sliding while you work, no wrestling at the end.
- Choose a matte green. A soft, non-shiny #3 yarn reads most like evergreen; save the sparkle for your ornaments and topper.
- Make a few at once. This crochet Christmas tree pattern is quick to repeat, so batch a little forest in graduated heights for the prettiest display.
Frequently Asked Questions
Is this crochet Christmas tree pattern good for beginners?
Yes! If you can chain, dc, and tr, you can make this tree. The fan stitch repeats the same way across the whole strip, so it’s a perfect confident-beginner project.
Can kids really help make this?
Absolutely, that’s half the fun. Grown-ups handle the crochet strip, scissors, and hot glue, while kids take over the wrapping, fluffing, and decorating. It’s a lovely shared holiday craft.
How much yarn do I need?
Very little, a partial ball of #3 lightweight yarn makes one tree, so it’s a great scrap-buster.
Can I use a different yarn or hook?
Definitely. A heavier yarn and bigger hook will give you a chunkier tree. Since it’s decorative, exact gauge doesn’t matter, so feel free to play.
Can I sell trees I make from this pattern?
Yes, you’re welcome to sell finished items you make. Please just don’t copy, share, or resell the pattern itself.
Save This Pattern for Later
Not ready to start yet? Pin this crochet Christmas tree pattern to your favorite holiday board so it’s waiting for you when craft night rolls around.
Or grab the ad-free printable PDF on Etsy (use code SEELOVE15 for 15% off) and keep it handy for every tree you make.
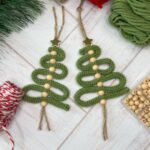 New free patternI-Cord Christmas Tree OrnamentA hanging tree with wooden beads — machine, hand-knit or crochet
More Free Christmas Crochet Patterns
If your family loved this little tree, keep the holiday crafting going:
- Crochet Poinsettia Ornament & Bauble Cover Set
 Easy Crochet Christmas Ornament Pattern
- Ribbed Puff Stitch Crochet Ornament
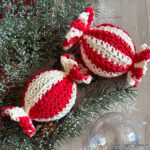
- Peppermint Candy Ornament (Crochet & Knit)
- Browse the full collection of crochet Christmas patterns for even more holiday makes.


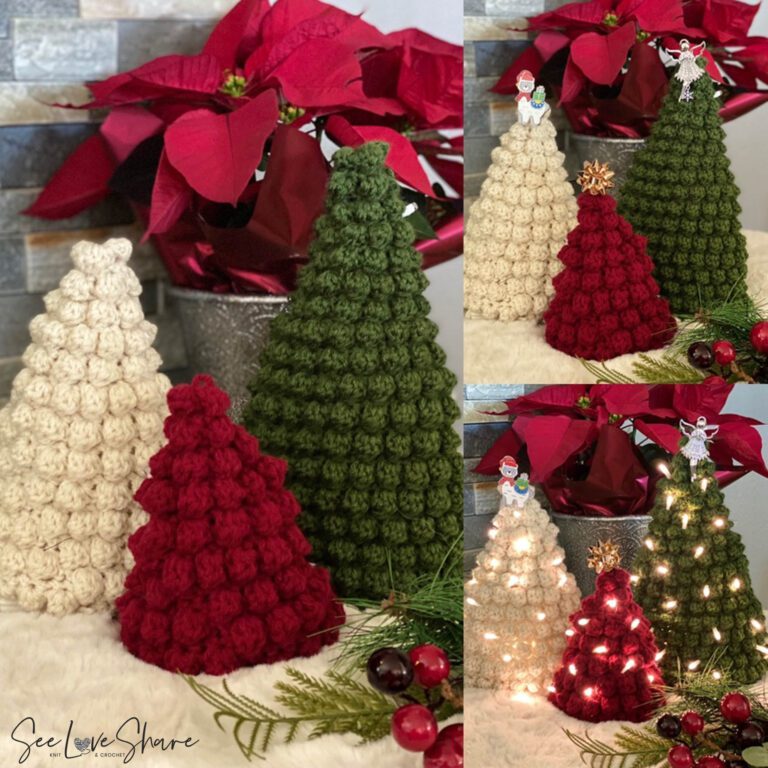
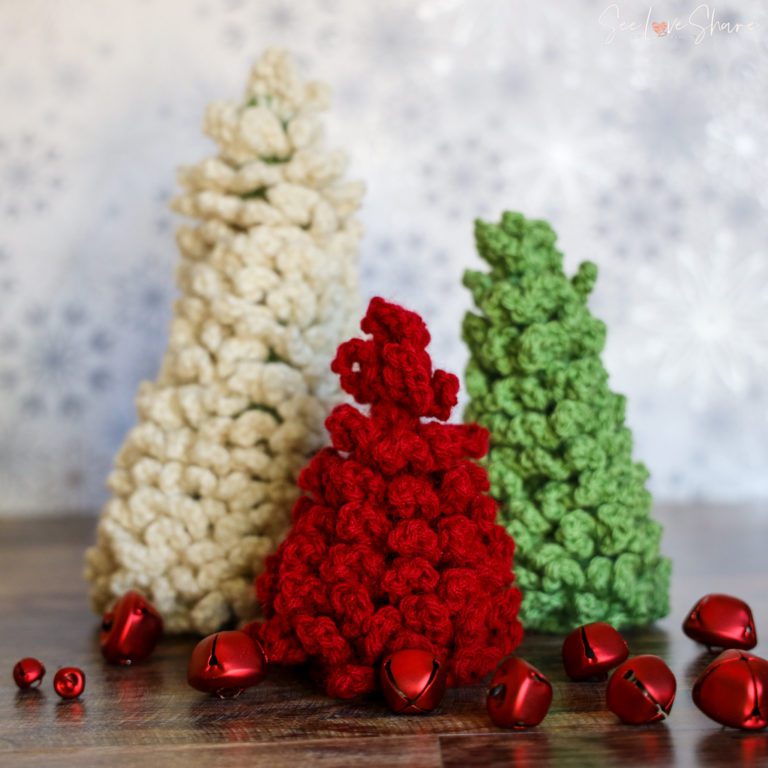
See More of Our Crochet Christmas Trees
Love this little cone tree? Here are more crochet Christmas trees from the SeeLoveShare pattern library, tap any photo to grab the free pattern.


Stay in the Loop
Want first access to new patterns, fresh seasonal trends, and what’s coming next at SeeLoveShare? Join the newsletter and never miss a free pattern.