
September 2nd, 2026
Crochet Reindeer Pillow Pattern — Bobble Stitch Christmas Cushion
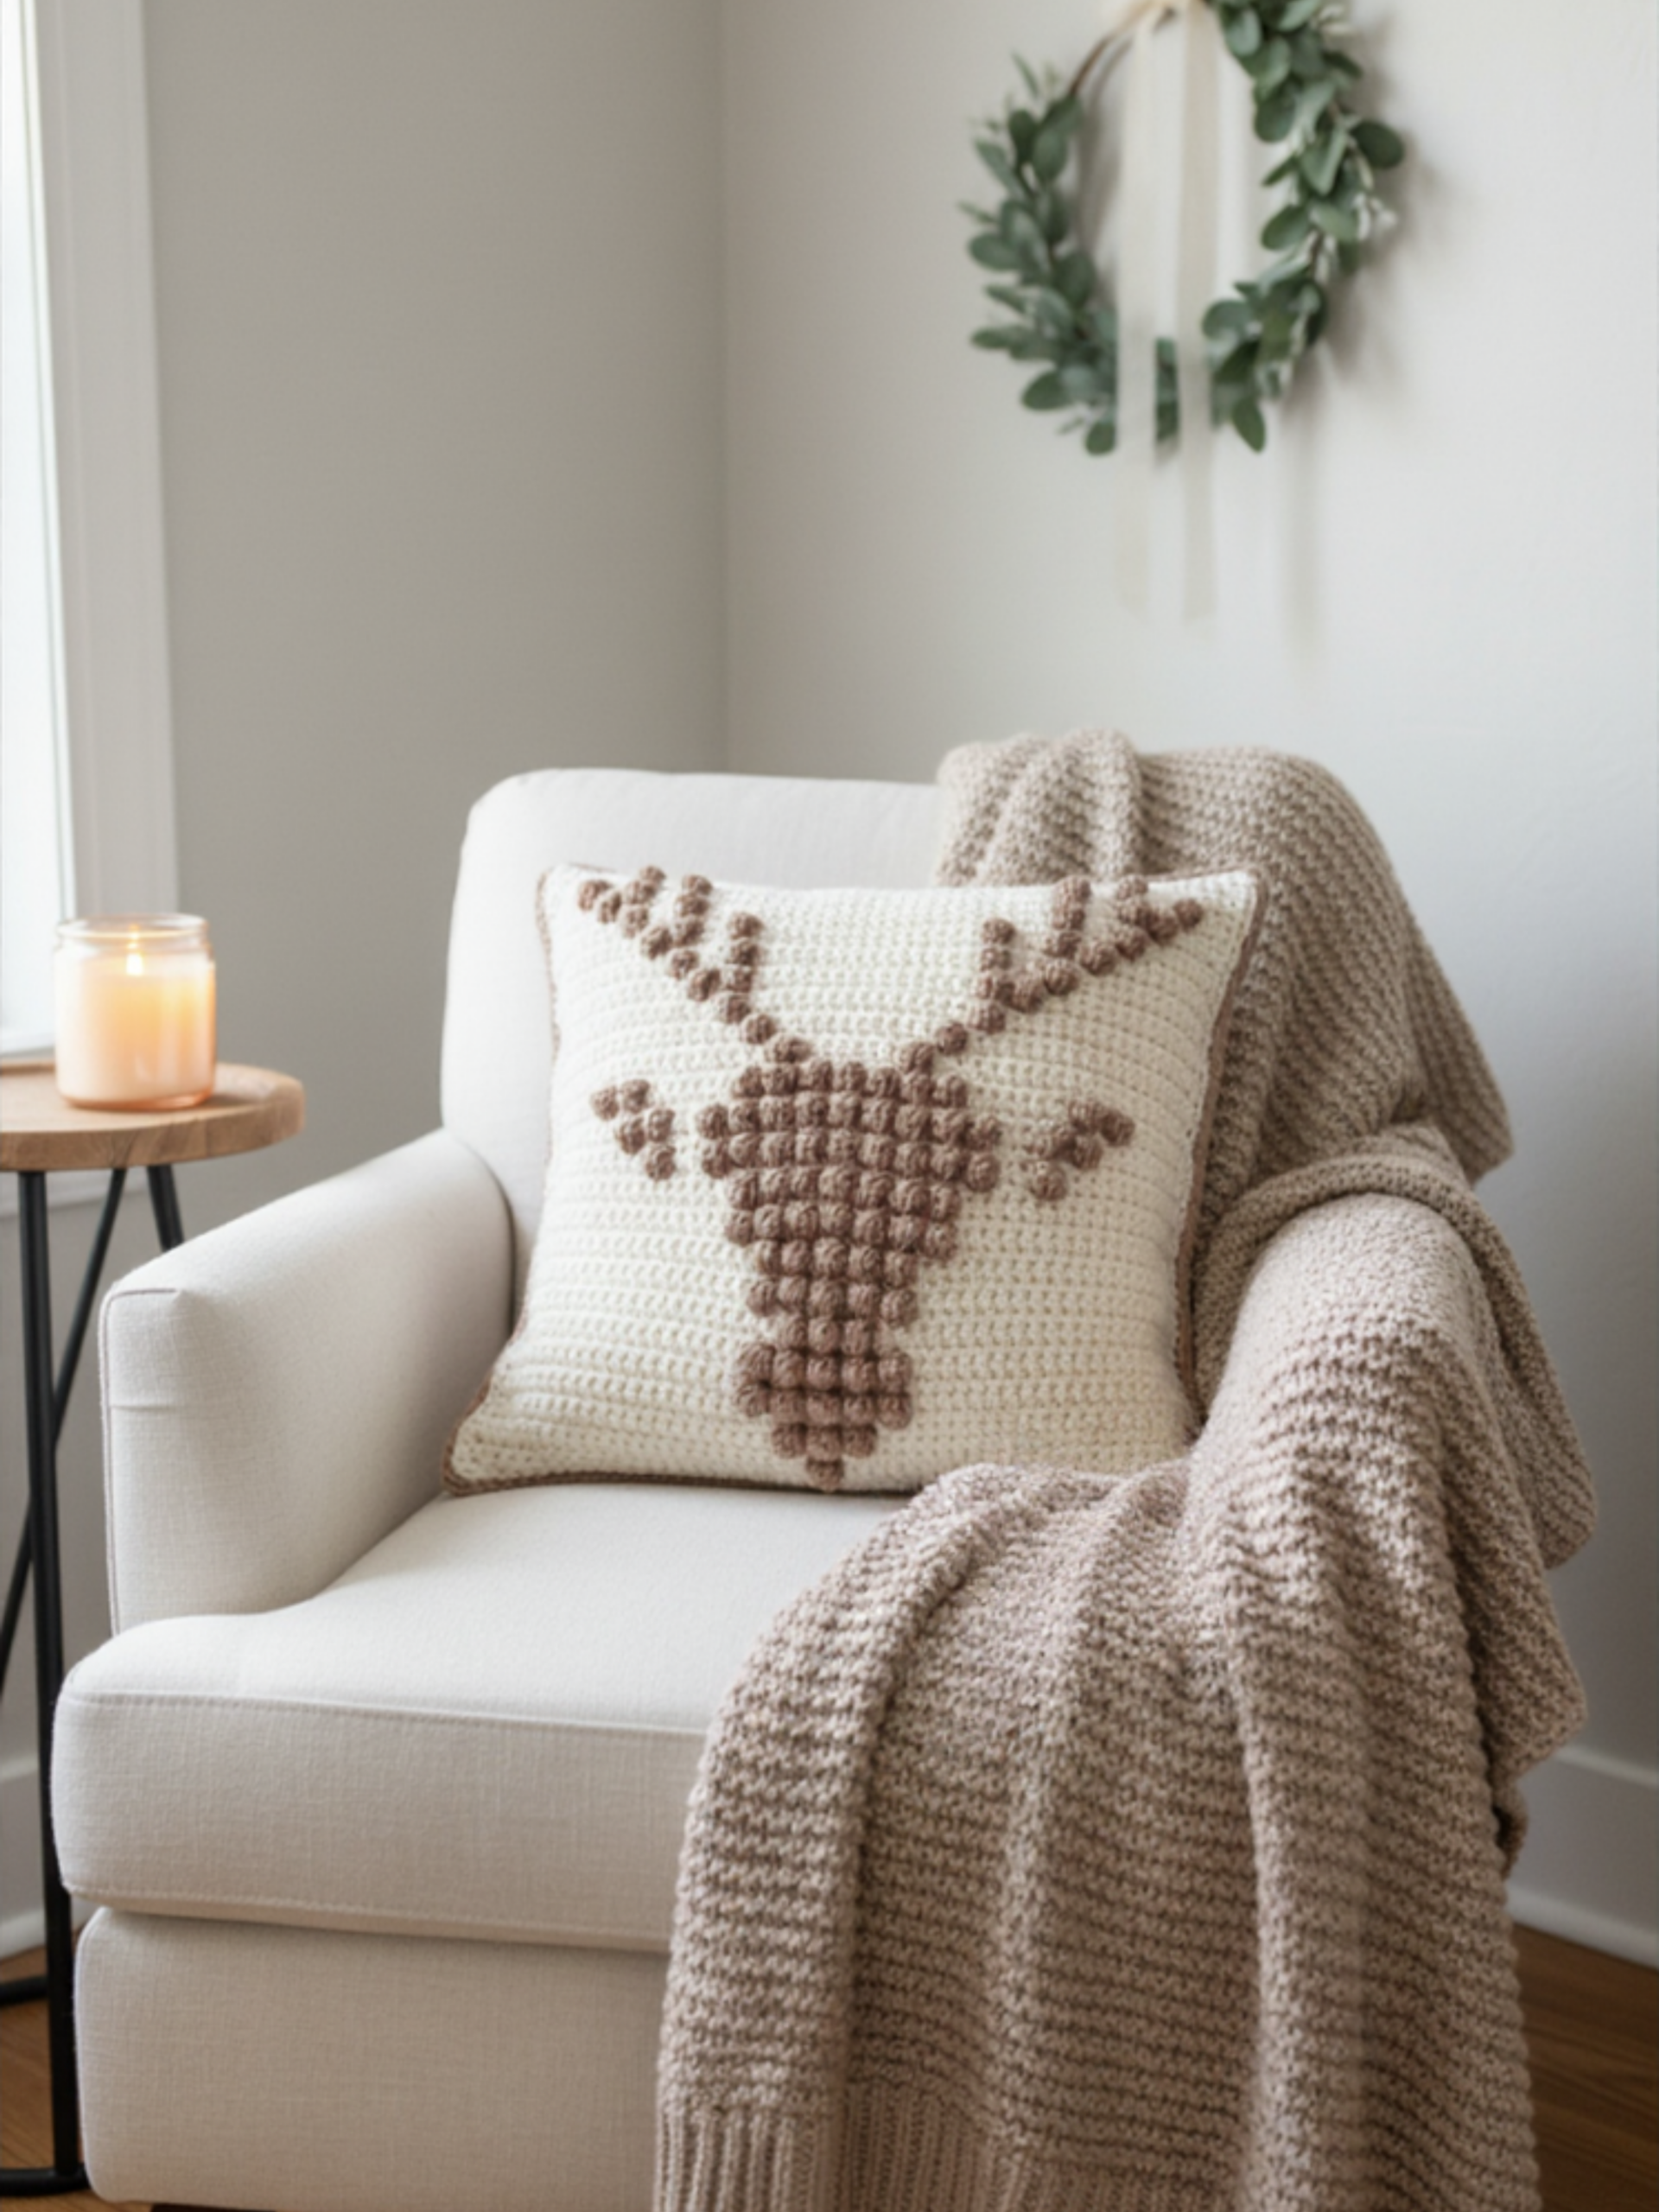
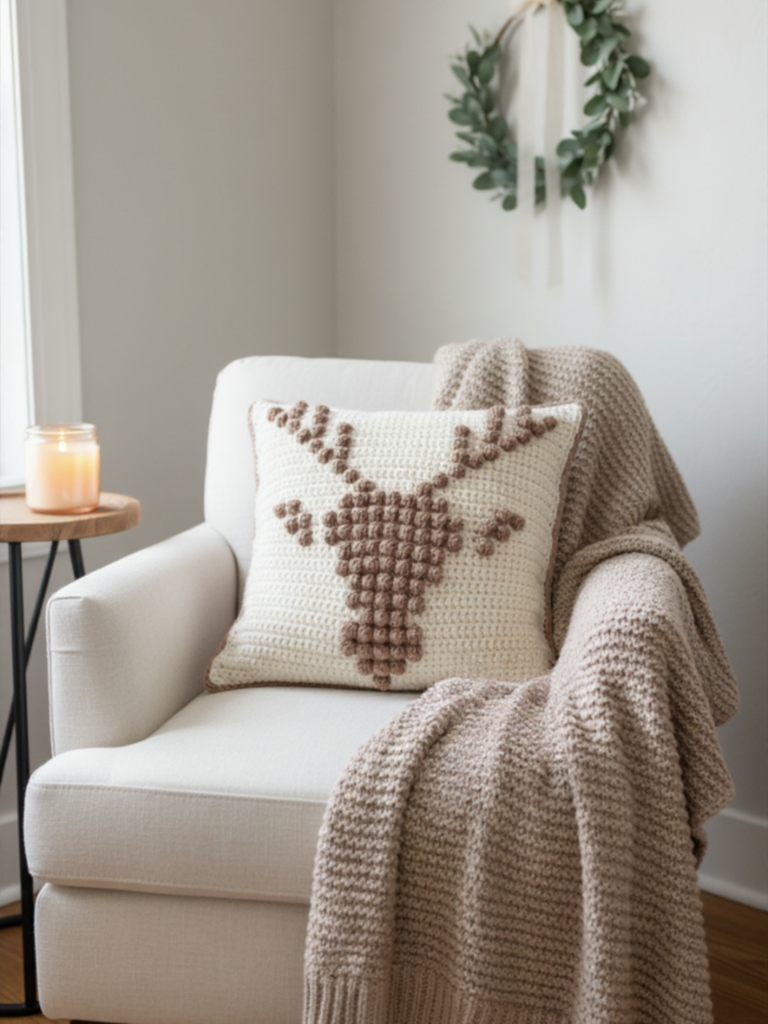
This crochet reindeer pillow pattern is the kind of holiday project that looks far harder than it is. A friendly reindeer — muzzle, ears, and a full branching set of antlers — is drawn entirely in raised bobble stitches on a soft cream panel, so the design is built from texture instead of fiddly shaping. Two colors, two stitches, and one very cozy 16″ x 16″ cushion at the end of it. 🦌
[ FEATURED PHOTO — finished reindeer pillow on the chair, alt: crochet reindeer bobble stitch pillow ]
Why you will love this crochet reindeer pillow pattern
The whole pillow uses exactly two stitches: single crochet, and the bobble. There is no colorwork shaping to wrestle with and no complicated stitch pattern to memorize — the reindeer appears because the bobbles sit up off the fabric and catch the light. It reads as intricate from across the room and as very manageable when you are actually holding the hook.
It is also gentler to work than most textured patterns, because of how the rows are arranged. Every bobble row is followed by a plain single crochet row straight across. You get a rest row between every patterned one, which means the project never becomes relentless — you can pick it up tired and still make progress.
How the bobble reindeer is built
The front panel is 49 stitches wide and 49 rows tall, with 110 bobbles placed across it. Reading up from the bottom, the shape builds in three stages.
- Rows 5 to 21 are the muzzle and lower head, widening a little at a time.
- Row 23 is where the ears break away. The isolated bobbles at each end are set off from the head by three plain stitches, and that little valley of flat fabric is exactly what makes them read as ears instead of a very wide head.
- Rows 29 to 45 are the antlers. The two bobbles marching outward on each row are the main beams, and the extra pairs that appear on rows 35, 39 and 43 are the tines branching off.
Two rules are built into the graph, and knowing them will catch almost any mistake before it costs you a row. Bobbles only ever land on odd-numbered stitches, so no two bobbles ever touch and no row begins or ends on one. And every row is 49 stitches — a bobble replaces a single crochet rather than adding one. If a row does not finish on 49, the error is somewhere in that row.
One more thing that makes this easier than it looks: the reindeer is perfectly symmetrical left to right, so every row reads identically from either end. You never have to keep track of which side you started from.

Follow along with the free digital row tracker
Every copy of this pattern includes a link to the full chart online, with a built-in row tracker. You tap through the rows on your phone or tablet as you work and it highlights where you are, so you can put the project down in the middle of a row and pick it straight back up. No printing, no lost place, and no counting 49 stitches back to work out where you stopped.
It is genuinely the thing that makes a 49-row chart relaxing instead of stressful, and it is included at no extra cost with the pattern.
What you will need
- Yarn: Patons Inspired — #5 bulky, in Cream and Tan. Two balls of each is more than enough.
- 6.0mm (US J-10) crochet hook
- Tapestry needle
- Stitch markers
- Scissors
- 16″ x 16″ pillow insert
Shop the materials


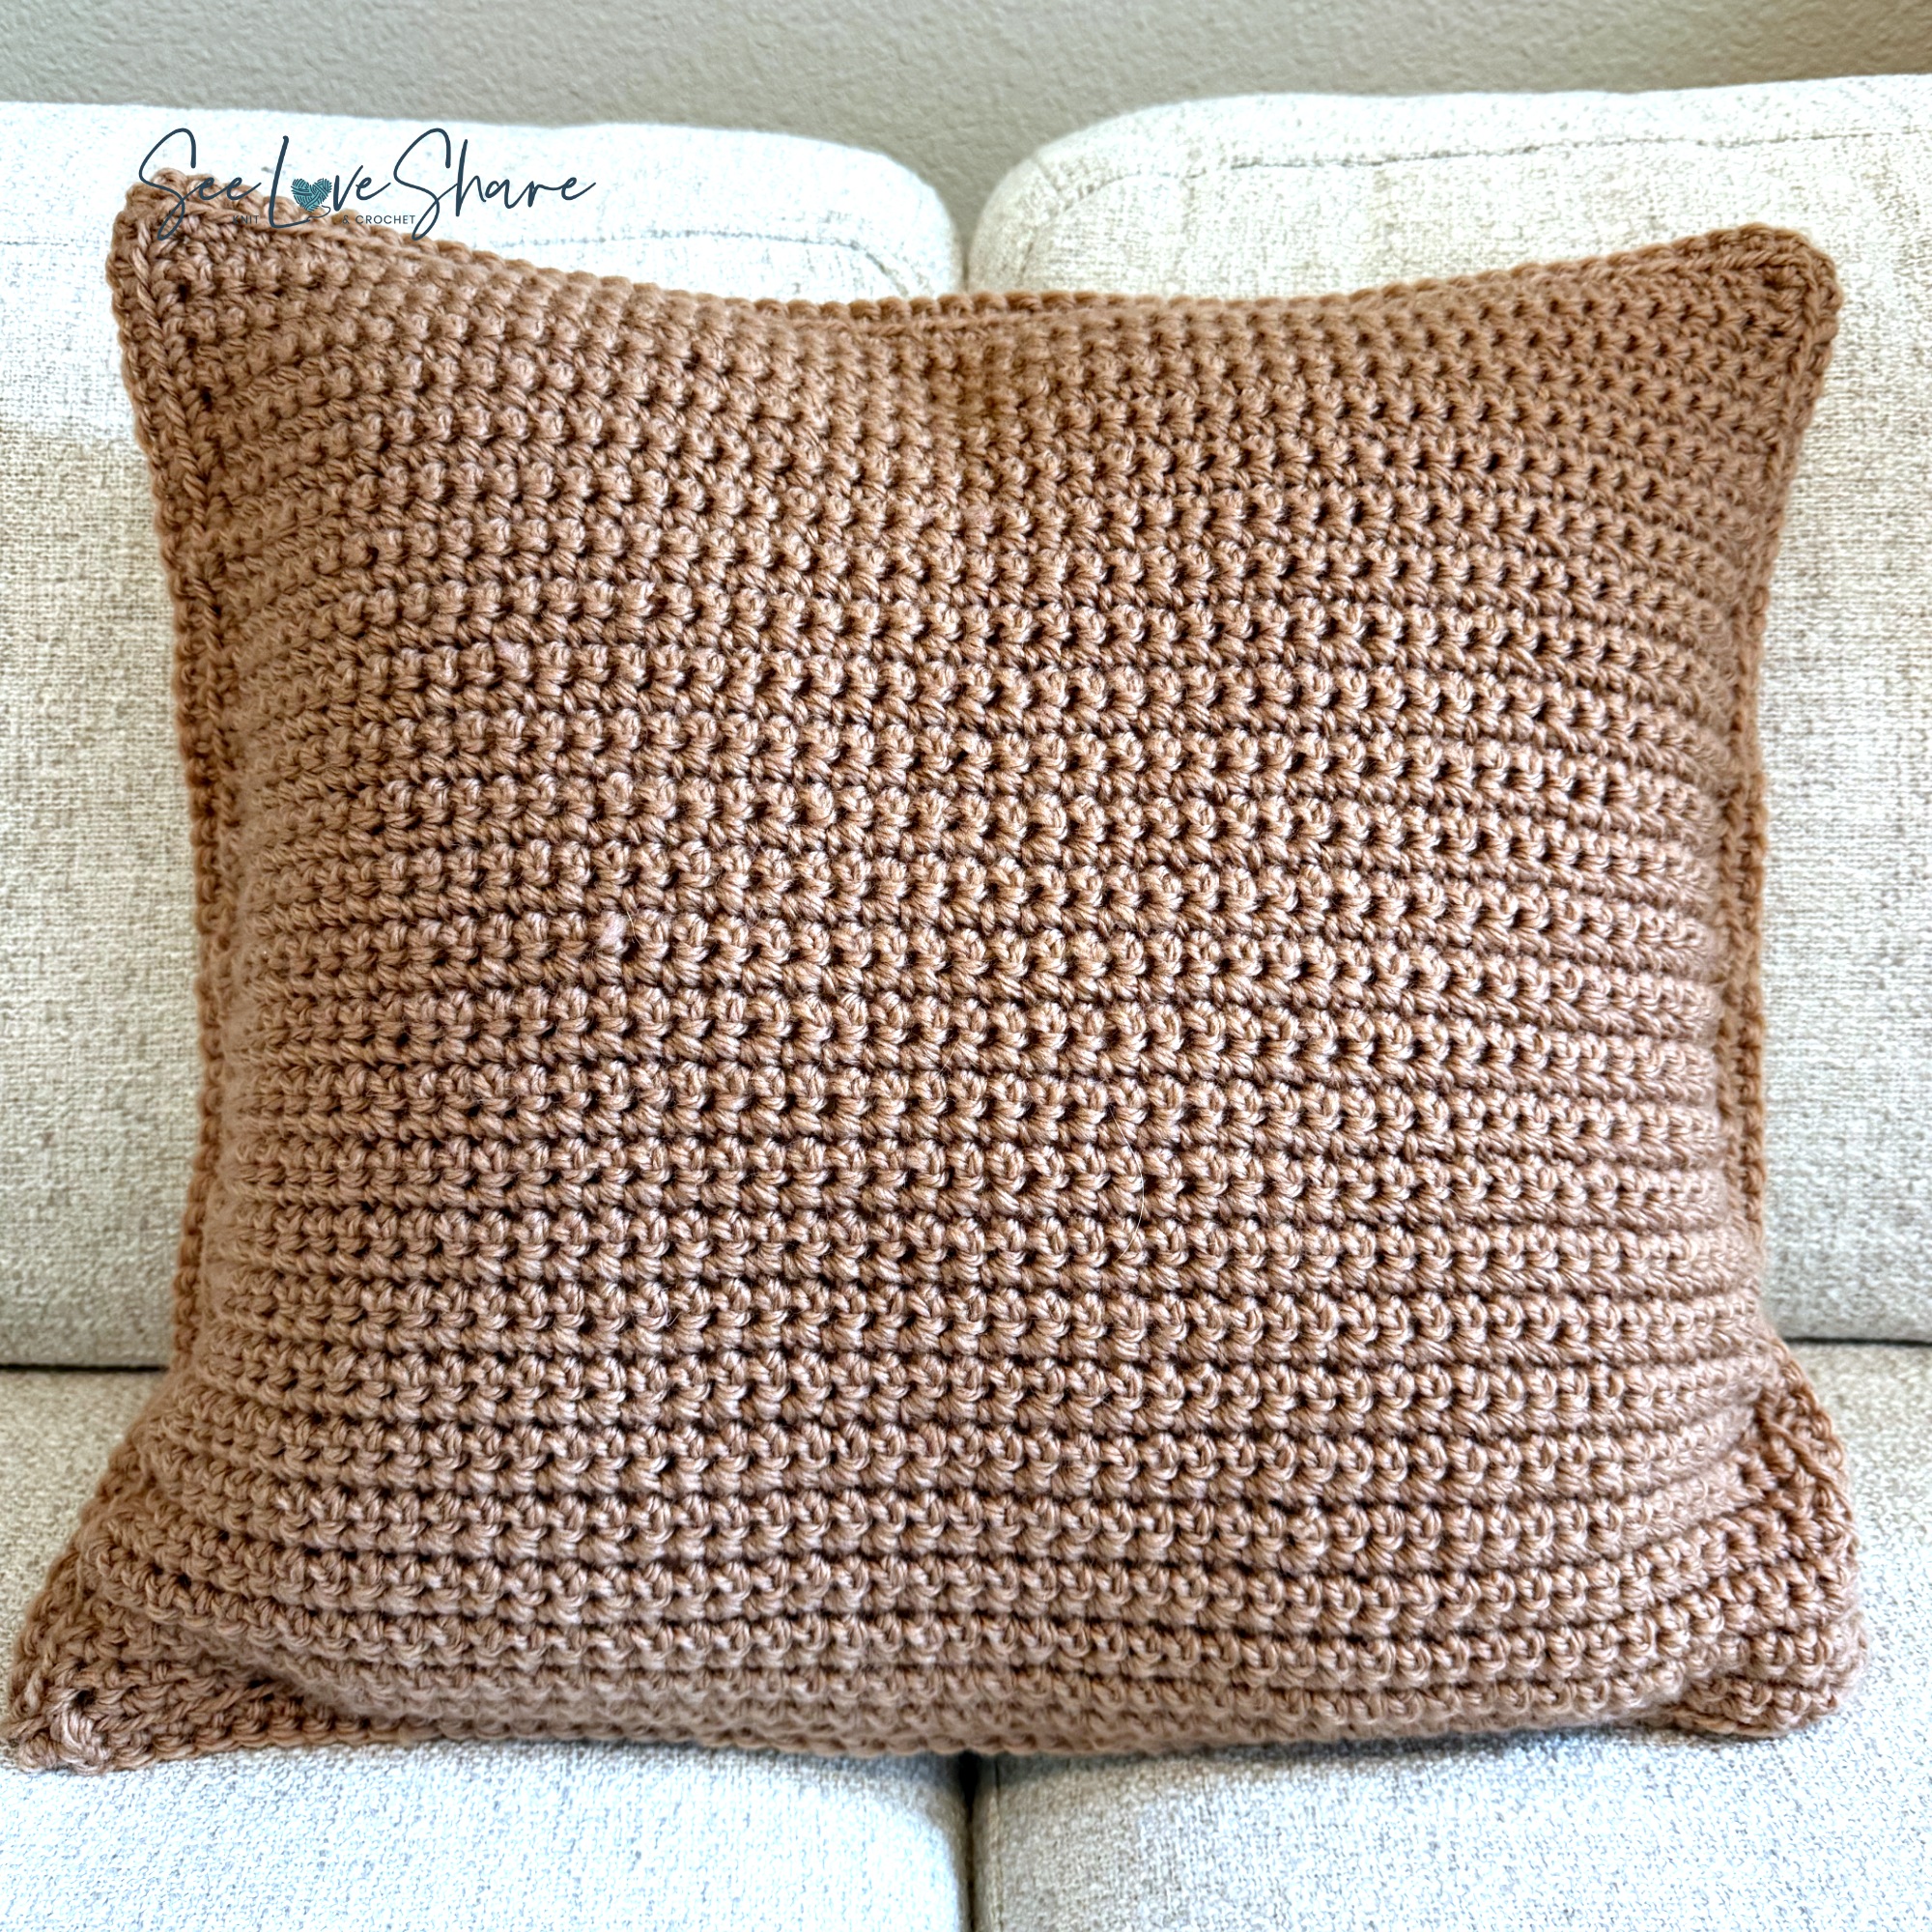
The cream is the background of the front panel; the tan makes the bobbles and the entire back panel. Any two bulky colors you love will work just as well, so this is an easy one to shift toward your own palette — deep green and cream, or charcoal and oatmeal, both look wonderful.
New to the bobble stitch?
A bobble is five partial double crochet worked into one stitch and then closed together — you end up with six loops on the hook, then yarn over and draw through all six. If you have never made one, my step-by-step bobble stitch tutorial walks through it slowly with photos.
Two tips that matter specifically for this pillow. First, push the bobble away from you with your finger as you close it, so it sits firmly on the right side of the work. Second, do not add a closing chain after the bobble — it opens a gap in the single crochet fabric and throws off your stitch count.
And one thing that surprises people: a bobble pops out on the side of the fabric facing away from you as you make it. That is why every bobble row in this pattern is worked with the wrong side facing. Row 1 is a wrong side row, all the odd rows carry the bobbles, and the bobbles push through to the front of the pillow.
Prefer it ad-free?
Get the printable pattern PDF
The full written pattern, stitch chart, digital row tracker and notes — clean, ad-free, and yours to keep and print. Use code SEELOVE15 for 15% off.
Get the printable PDF on Etsy → Get it on Ravelry →Size, gauge and skill level
- Skill level: Advanced beginner
- Finished size: approximately 16″ x 16″
- Gauge: 11 single crochet and 12 rows = 4″
- Panel: 49 stitches x 49 rows, 110 bobbles
Worth doing before you commit: swatch a full ten rows including bobble rows. Single crochet rows are normally a little shorter than stitches are wide, so a square chart does not automatically give you a square panel — but the bobble rows add that height back, which is what brings the finished piece out close to square. If your form runs larger, the pattern includes edging rounds you can add for a snug fit.
Make the whole Christmas pillow set
The reindeer is the first of a matching set of bobble stitch Christmas pillows, with a Christmas tree, a star and a snowflake star joining it. Worked in the same two colors at the same 16″ size, they stack beautifully on a sofa or a window seat. You can browse everything seasonal in the master collection of crochet Christmas patterns.
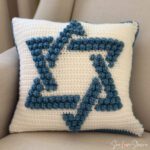
If you like this style of textured pillow, the Star of David bobble stitch pillow uses the same construction in blue and white.
Crochet reindeer pillow pattern FAQ
Is this pattern beginner friendly?
It is rated advanced beginner. If you can single crochet and you are willing to learn one new stitch, you can make this. There is no shaping, no increasing or decreasing, and no seaming beyond joining two flat panels.
How long does the reindeer pillow take to make?
Most makers finish it over a weekend. The bulky yarn and 6.0mm hook move quickly, and the plain rest rows go fast — the bobble rows are the slower half.
Can I use worsted weight yarn instead?
You can, but the finished pillow will come out smaller than 16″. Work a swatch first and size your pillow insert to the panel you actually get, rather than the other way around.
Do I have to use cream and tan?
Not at all. Any two bulky colors with enough contrast between them will show the reindeer clearly. The one thing to avoid is a pair that are too close in value, since the design depends on the bobbles reading against the background.
Can I sell what I make from this pattern?
Yes. You are welcome to sell finished items made from the pattern. The pattern file itself is for personal use and cannot be shared or resold.
Get the crochet reindeer pillow pattern
The full pattern comes as an instant download PDF with the stitch chart, complete written row-by-row instructions, color-carrying tips and the link to your digital row tracker. It is available on Etsy and on Ravelry.
Save This Pattern for Later
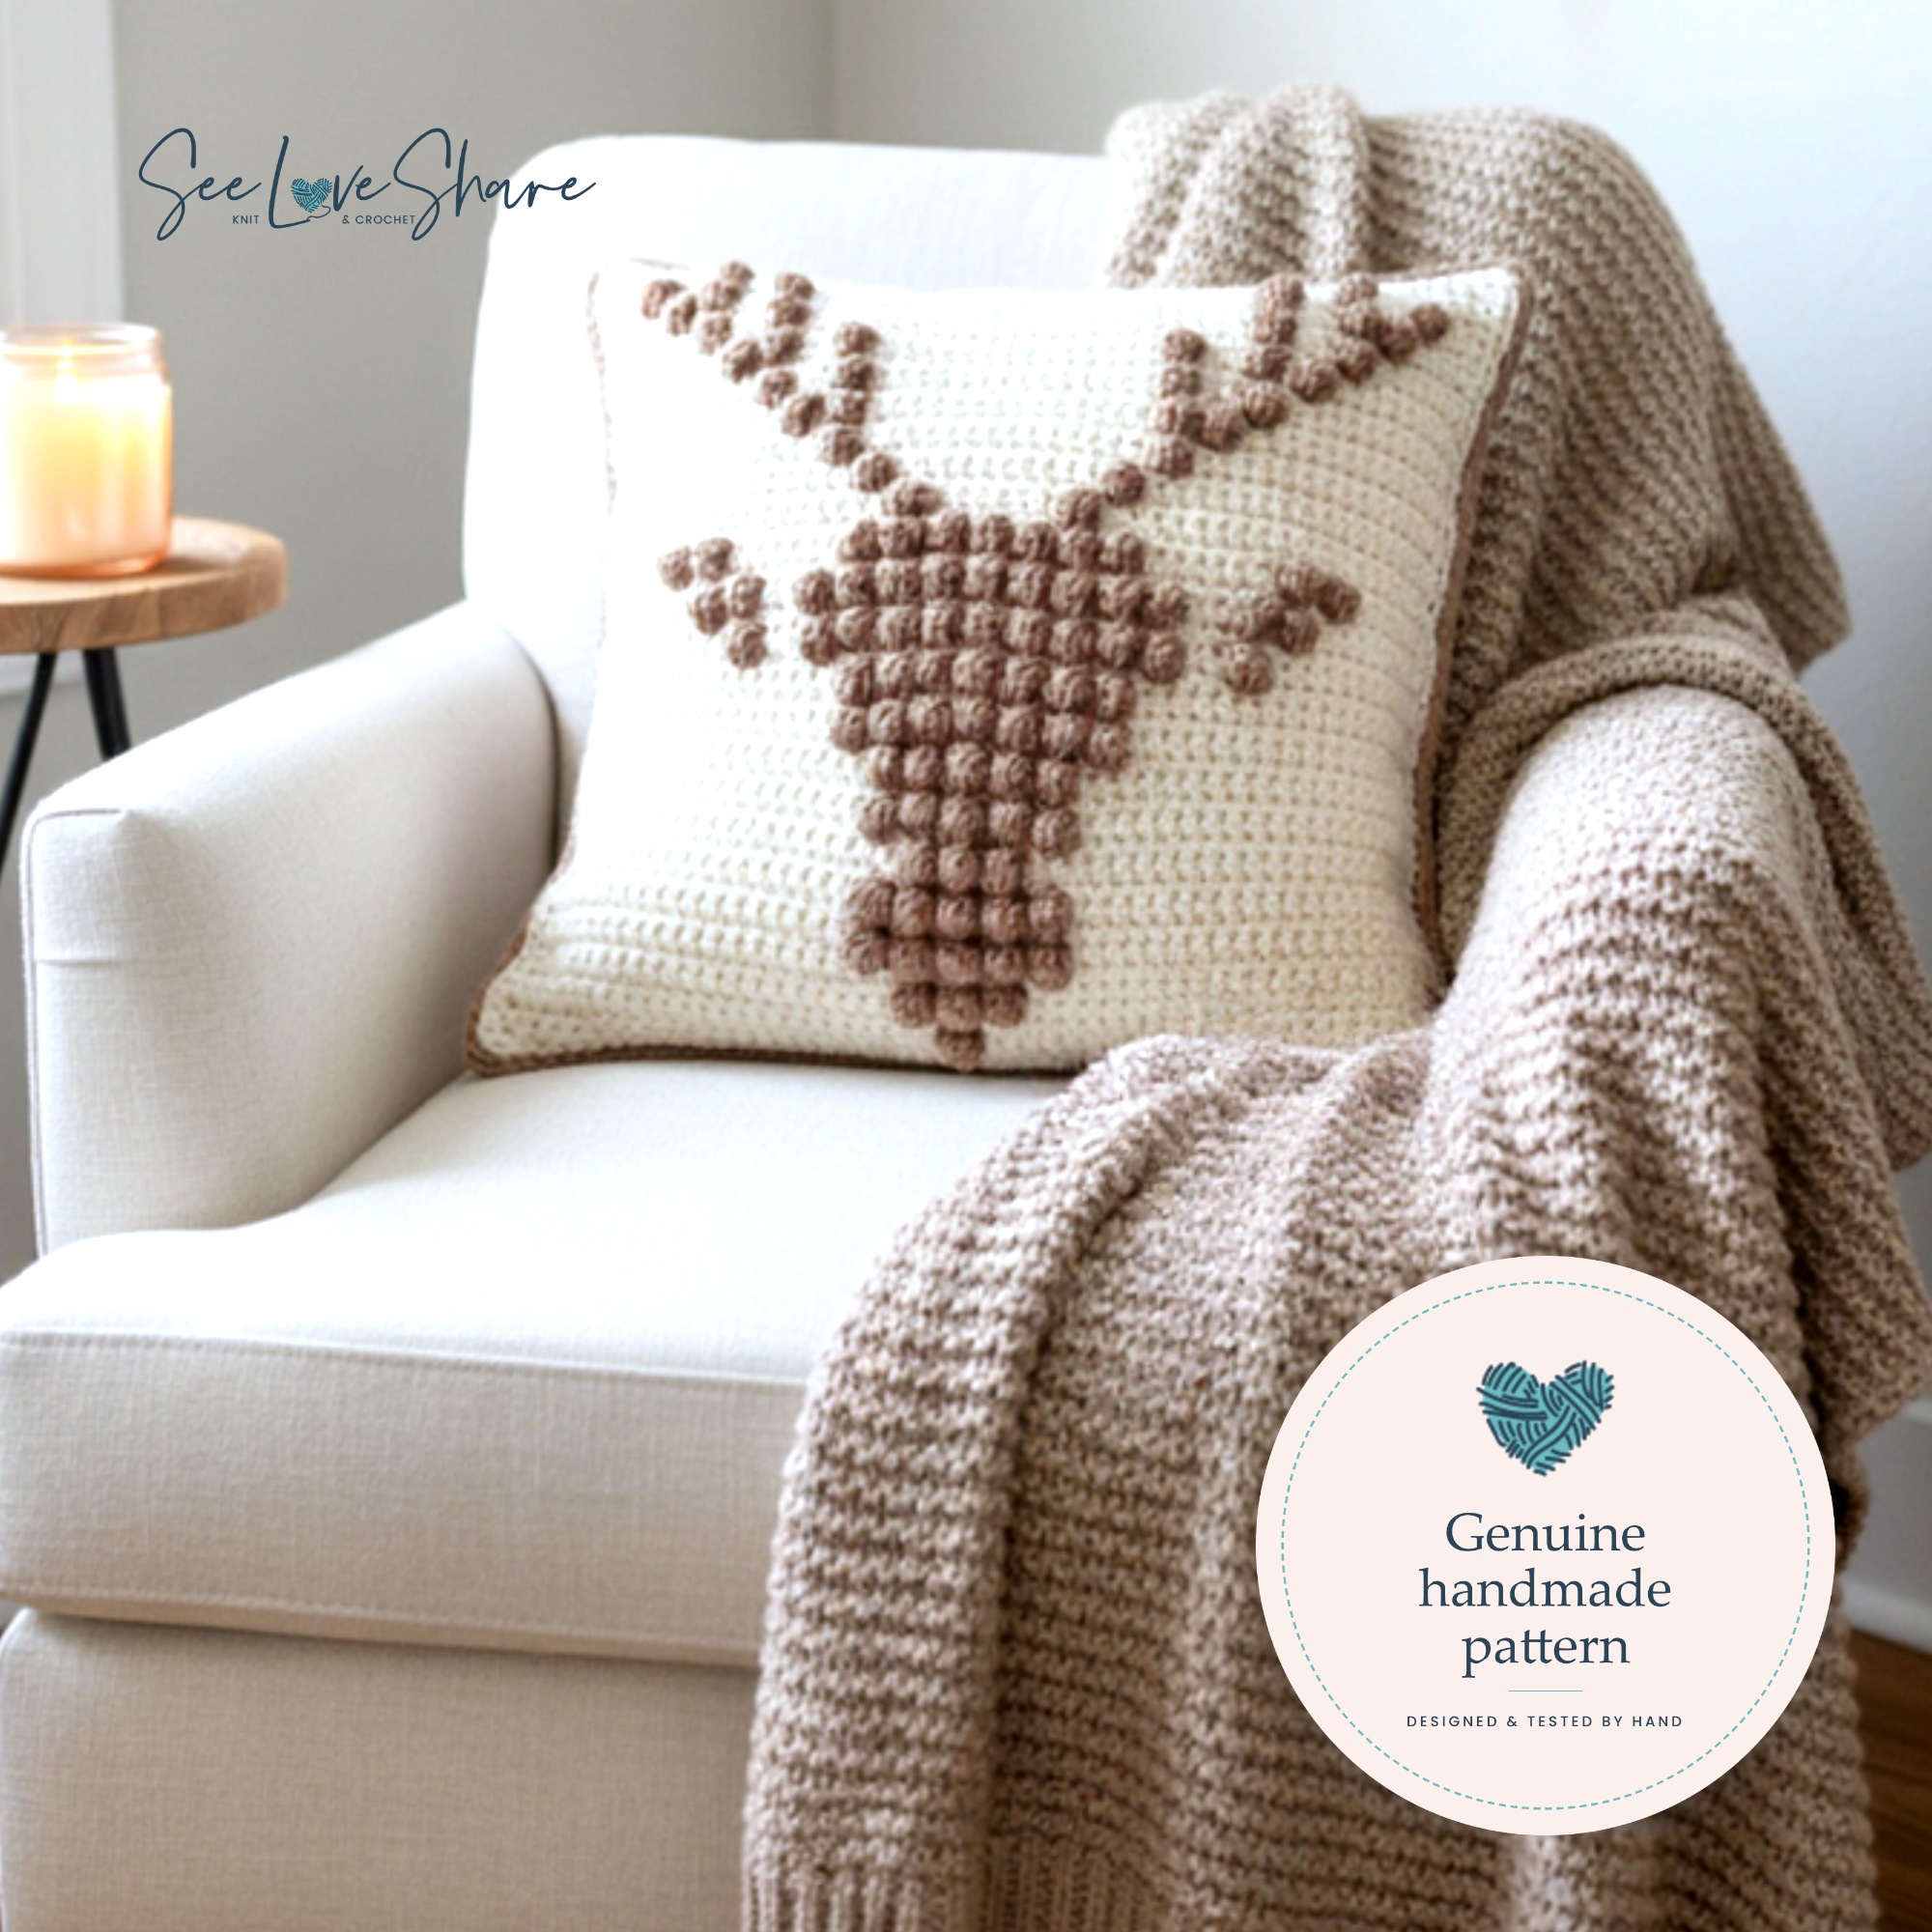
Pin this post to your favorite Christmas or crochet board so you can come back to it when the holiday crafting mood strikes!
More Christmas & Bobble Stitch Crochet Patterns
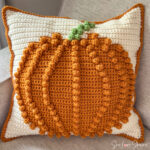
 Bobble Stitch Pumpkin Pillow
- Bobble Stitch Acorn Pillow
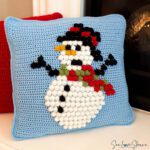
- Crochet Snowman Bobble Stitch Pillow — a free pattern in the same 16″ format
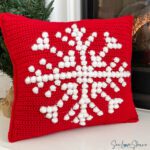
- Snowflake Bobble Stitch Holiday Pillow — bobbles plus intarsia colourwork
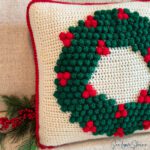
- Christmas Wreath Bobble Stitch Pillow — the third in the holiday pillow set
- Star of David Bobble Stitch Pillow — the same construction in blue and white
- Bobble Stitch Tutorial — step by step, if the bobble is new to you
- Crochet Christmas Patterns — 40+ handmade holiday designs in one place


Stay in the Loop
If you make one, I would love to see it — tag your finished pillow with #SeeLoveShare so I can come and admire it. 🤍
And if you loved this crochet reindeer pillow pattern and want to support my small business, the biggest thing you can do is leave a review on the Etsy listing. It genuinely means the world and helps other makers find these patterns too. Thank you!
Happy crocheting,
Ashleigh