
Free Holiday Free Crochet All Holiday Patterns
November 21st, 2023
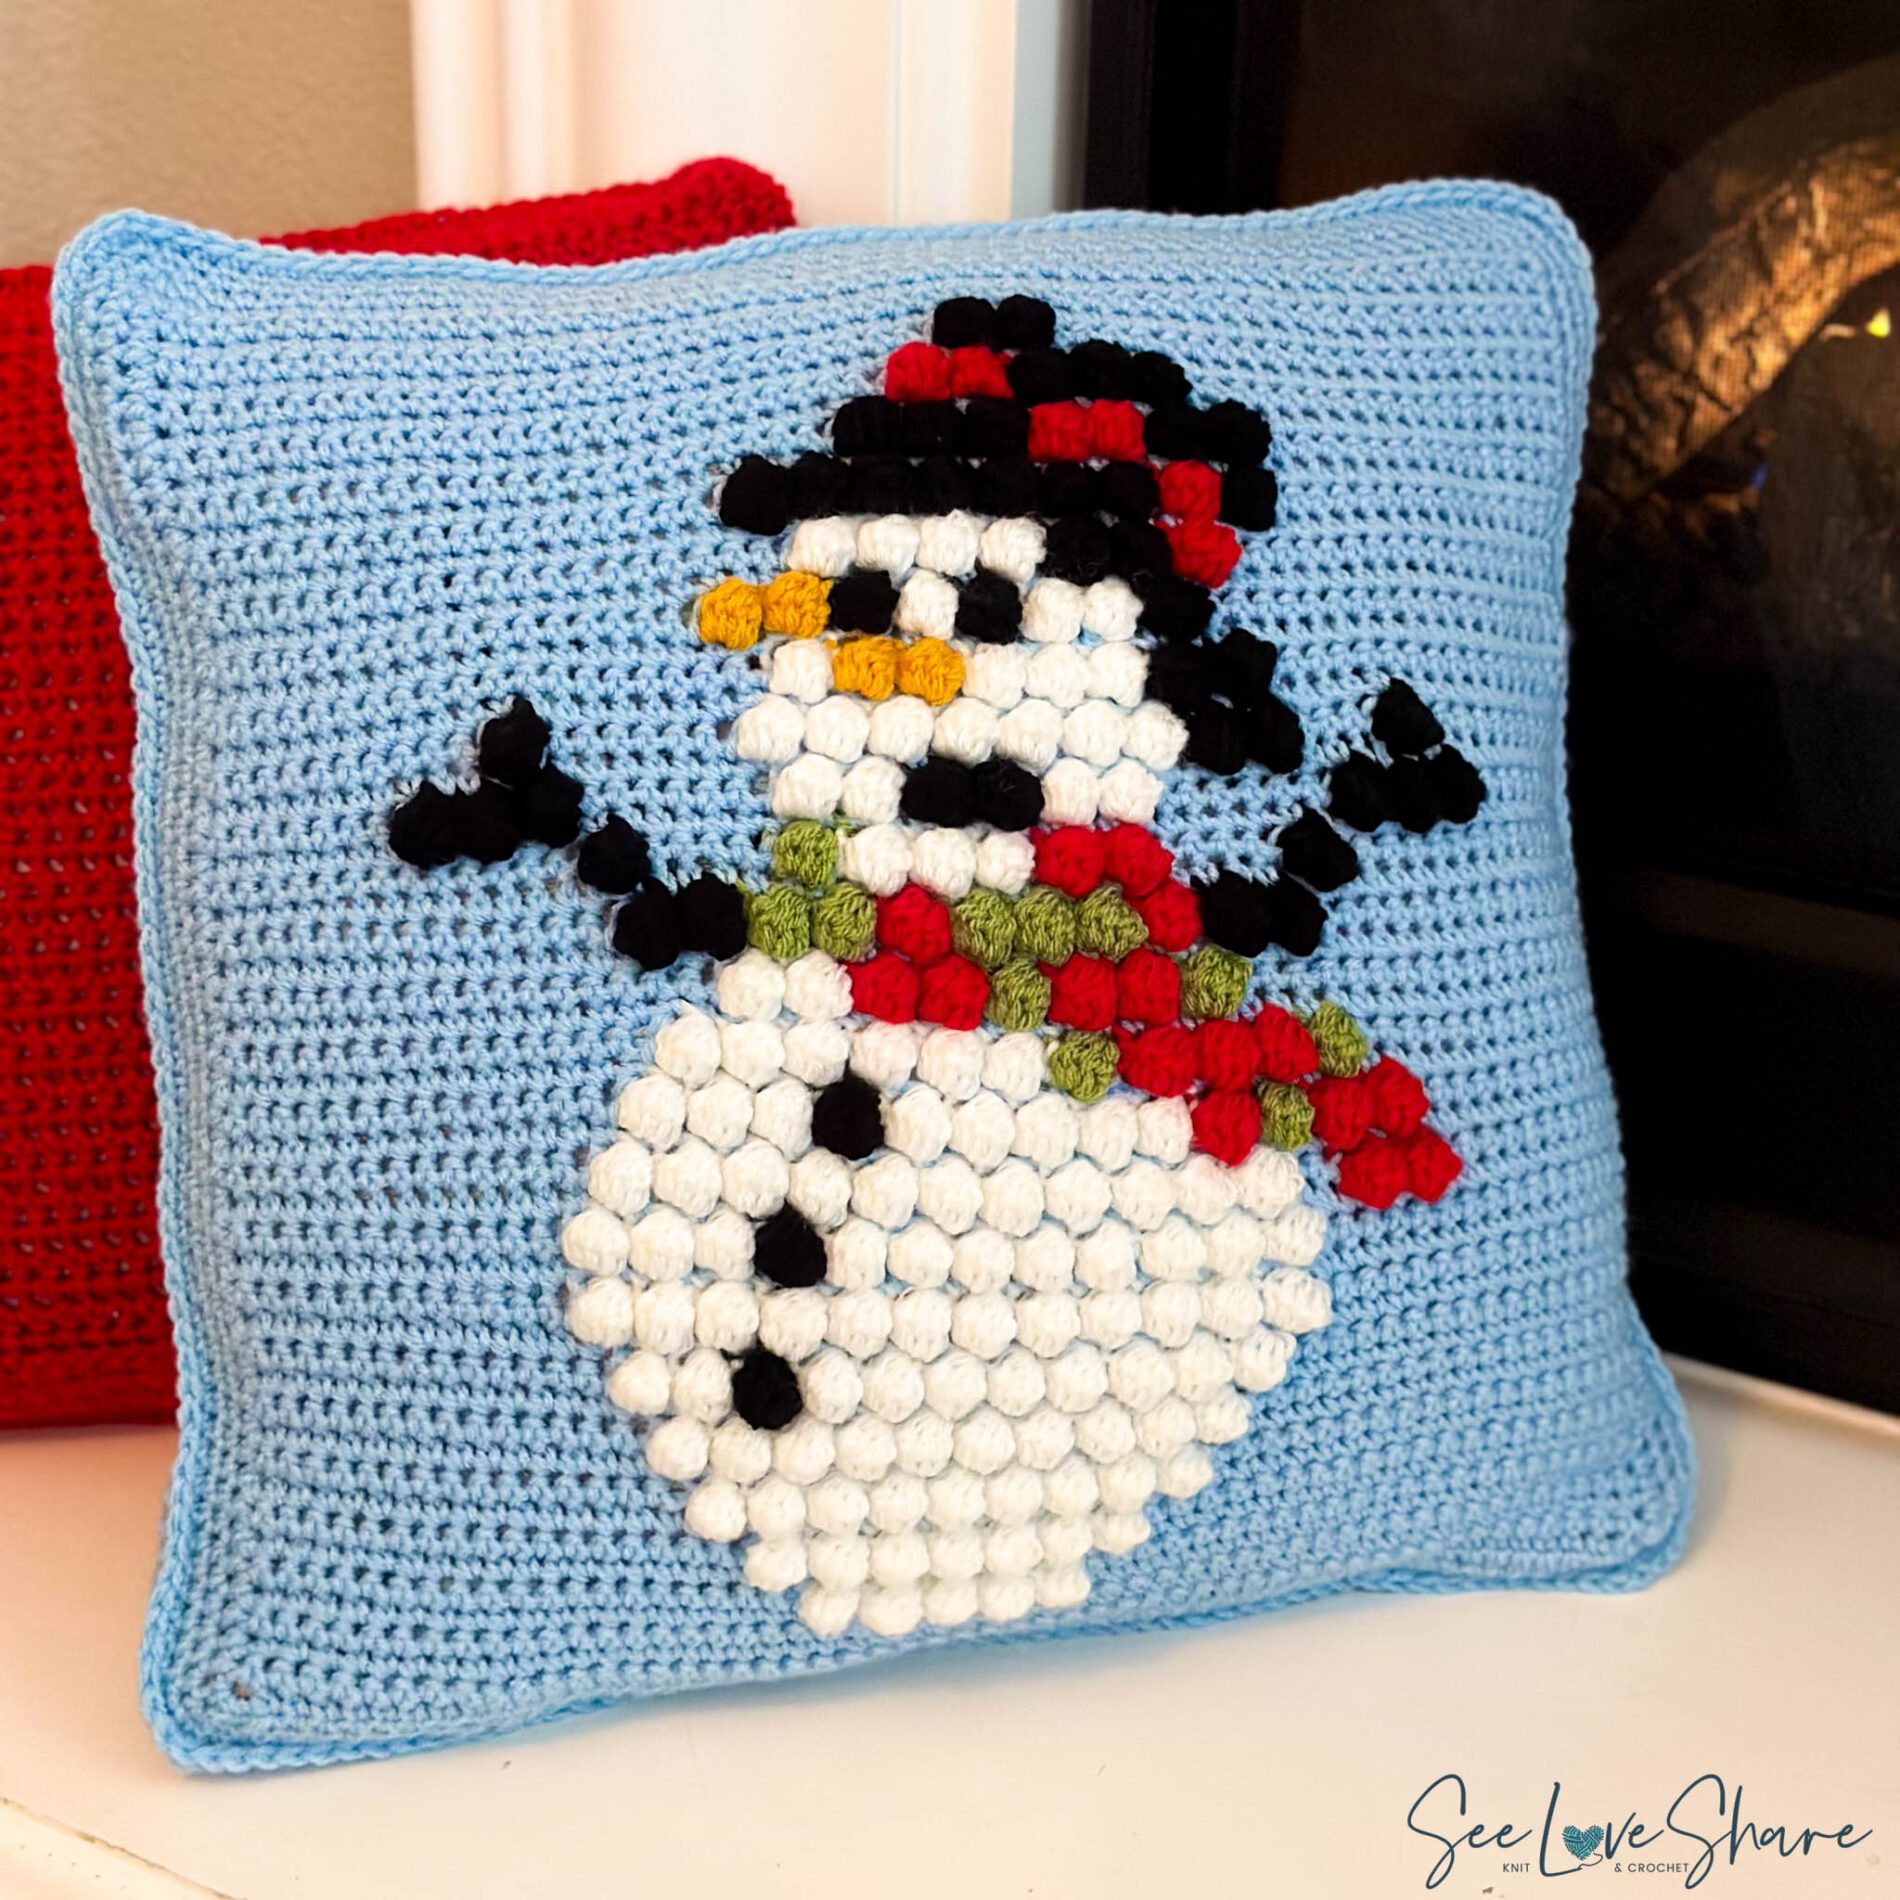
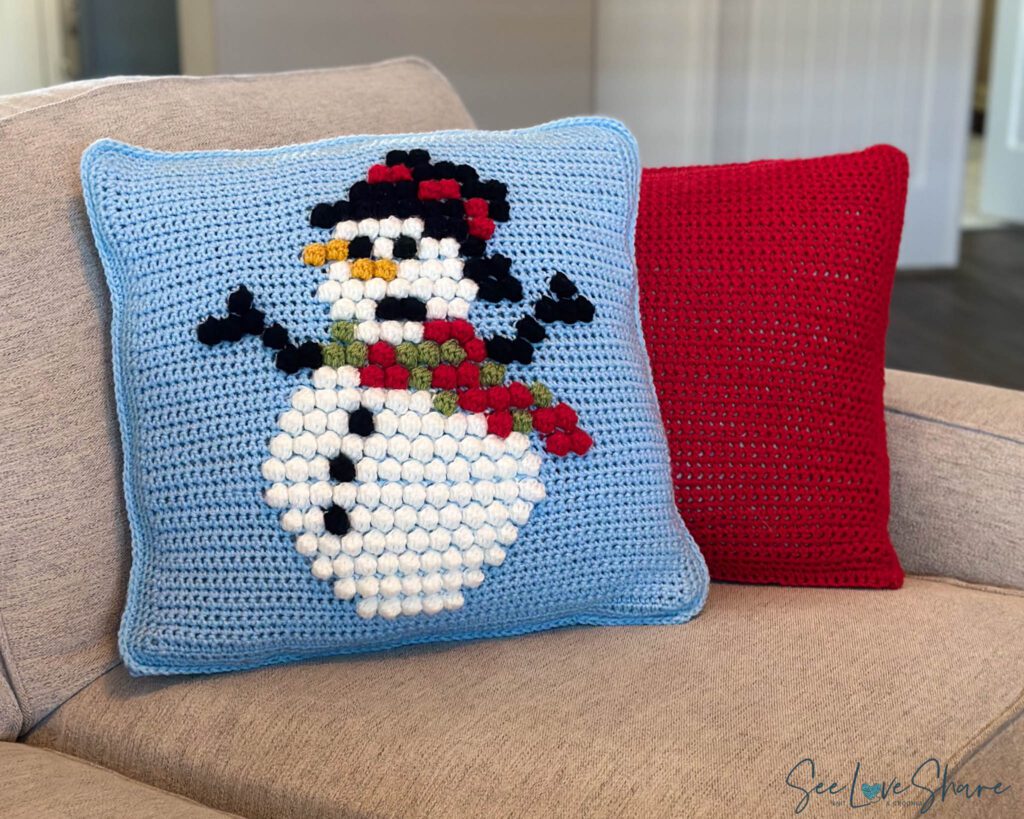
Crochet Snowman Pillow – Free Bobble Stitch Pattern
This crochet snowman pillow is a whimsical winter pillow cover worked in bobble stitch intarsia — a tactile, dimensional snowman scene that pops off the surface in soft chunky texture against a powder-blue background. Worked in two simple panels and seamed around a 16×16″ pillow form, it’s the kind of seasonal decor piece that earns daily compliments from Thanksgiving through February. The full free crochet snowman pillow pattern is below.

It’s part of my growing collection of crochet bobble stitch holiday pillows — a tactile, intarsia-style series that has become one of the most popular collections on the blog. Let’s get into what makes this snowman pillow special and exactly what you’ll need to make it.
Why You’ll Love This Crochet Snowman Pillow
- Tactile and dimensional — the bobble stitches give the snowman real lift off the pillow surface, creating texture you can actually feel
- Long seasonal window — works from early winter through February, not just December
- Intermediate-friendly intarsia — if you can single crochet and bobble, you can manage the color changes with the row-by-row guidance
- 16×16″ sized for any couch or chair — and easily expandable with extra edging rounds if you have an 18×18 form
- Pairs beautifully with the rest of the bobble pillow series — Snowflake, Christmas Wreath, Menorah, Dreidel — for a coordinated winter display
- A standout handmade gift — for the friend who collects seasonal pillows or always has a beautifully decorated mantel
Materials for the Crochet Snowman Pillow
- Yarn: Red Heart Super Saver yarn (#4 medium / worsted weight) in the following colors:
- Main Color (MC): Light Blue — 2 balls (198 g / 7 oz, 333 m / 364 yds each)
- Contrast Color (CC): Soft White — 1 ball (198 g / 7 oz, 338 m / 370 yds)
- Scarf: Cherry Red and Tea Leaf Green — small amounts of each
- Hat, eyes, mouth, arms: Black — small amount
- Nose: Gold — small amount
- Hook: 5.5 mm (US I/9) crochet hook
- Pillow form: 16×16″ pillow insert (the pattern can also be sized up to fit an 18×18″ form by adding extra edging rounds)
- Tapestry needle for seaming and weaving in ends
- Scissors
Shop the materials


Red Heart Super Saver is a soft, durable, machine-washable worsted weight yarn — perfect for a seasonal pillow cover that needs to survive years of being displayed, fluffed, and stored. If you’d like to understand yarn weights so you can substitute confidently, the Craft Yarn Council yarn weight system is a helpful reference.
Make it even easier
Get the Printable PDF + Visual Graph + Row Tracker
The Etsy version includes the full color-coded visual graph (so you can follow the snowman square-by-square instead of counting stitches every row) plus a digital row tracker to keep your place across the 53 rows. Ad-free, printable, and instant. Use code SEELOVE15 for 15% off.
Crochet Snowman Pillow Pattern Details
- Skill level: Intermediate — single crochet, bobble stitch, and intarsia color changes
- Finished size: 16×16″ pillow cover (expandable to 18×18″ with extra edging rounds)
- Construction: Two flat panels (textured front + plain back), seamed around the pillow form
- Technique: Intarsia crochet with bobble stitch detail
- Gauge: 12 sc and 15 rows = 4″ (10 cm) with a 5.5 mm (US I/9) crochet hook
Crochet Snowman Pillow Pattern Notes
- This pattern uses the intarsia crochet technique — using multiple colors within a single row to create the snowman design.
- Each square in the visual design represents an individual stitch — either a single crochet or a bobble stitch.
- Beginning ch-1s do not count as a stitch throughout the entire pattern.
- Bobbles are worked only on EVEN rows (the wrong side of the work) and are always worked in the contrast color. When bobbles are marked in the pattern, you change colors at the same time.
- For simplicity, you can bind off the contrast color after every even row and reattach at the next even row — this saves you from carrying the yarn across 2 rows.
- Once both panels are complete, edge them with sc to ensure a clean seam when joining. You can increase the finished size by adding additional rounds of edging — if you’re working with a slightly larger pillow form, just add another round or two.
Tips on Changing Colors for the Crochet Snowman Pillow
- Finish the last stitch with the old color: work until there are two loops on the hook with the old color.
- Yarn over with the new color: before completing the last stitch with the old color, yarn over with the new color.
- Pull through loops: finish the last stitch by pulling through the last two loops with the new color.
- Secure the old color: once you’ve changed colors, secure the yarn of the old color by either crocheting over the tail or weaving it in later.
Abbreviations for Crochet Snowman Pillow
- Ch — Chain
- St(s) — Stitch(es)
- Sl st — Slip stitch
- Sc — Single crochet
- MC — Main color
- CC — Contrast color
- RS / WS — Right side / Wrong side
Special Stitch: Bobble Stitch
Yarn over, insert hook into stitch, yarn over and pull through (three loops on hook), yarn over and pull through 2 of the loops. Repeat the previous step four more times so that you have five not-quite-complete dc stitches worked into the same stitch. There will be six loops on the hook. Yarn over and pull through all six loops. This closes your bobble crochet stitch.
Free Crochet Snowman Pillow Pattern
Front Panel
With MC, ch 54.
- Row 1: Sc in 2nd ch from hook and in each ch to end, ch 1, turn. (53 sts)
- Rows 2–5: Sc in each st across, ch 1, turn.
- Row 6 (WS — color work begins): Sc in the first 20 sts, change color to CC, *work bobble in the next st, sc* repeat within ** 3 more times, work bobble once more, change color to MC, sc to end, ch 1, turn. Color changes are called out in this row but will be integrated into the rows going forward (see Pattern Notes above).
- Row 7 and every odd row: Sc in each st across, ch 1, turn.
- Row 8: Sc in first 18, bobble, *work bobble in the next st, sc* repeat within ** 5 more times, work bobble once more, sc to end, ch 1, turn.
- Row 10: Sc in first 16, bobble, *work bobble in the next st, sc* repeat within ** 7 more times, work bobble once more, sc to end, ch 1, turn.
- Row 12: Sc in first 15, bobble, *work bobble in the next st, sc* repeat within ** 9 more times, work bobble once more, sc to end, ch 1, turn.
- Row 14: Sc in first 14, with MC: *bobble, sc* repeat within 2 times, bobble in black, with MC *sc, bobble* repeat within ** 8 times, sc in each st to end, ch 1, turn.
- Row 16: Sc in first 13, bobble, *work bobble in the next st, sc* repeat within ** 10 more times, work bobble once more, sc to end, ch 1, turn.
- Row 18: Sc in first 13, bobble, *work bobble in the next st, sc* repeat within ** 2 more times, bobble in black, with MC *sc, bobble* repeat within ** 7 times, sc to end, ch 1, turn.
- Row 20: Sc in first 14, bobble, *work bobble in the next st, sc* repeat within ** 9 more times, work bobble once more, sc in next 3 sts, with red [bobble, sc, bobble], sc to end, ch 1, turn.
- Row 22: Sc in first 15, with CC *bobble, sc* 3 times, work bobble in black, with CC *sc, bobble* repeat within ** 5 times, sc, with red [bobble, sc], with green [bobble, sc], with red [bobble, sc, bobble], sc to end, ch 1, turn.
- Row 24: Sc in first 16, with CC *bobble, sc* 6 times, with green [bobble, sc], with red [*bobble, sc* 3 times], with green bobble, sc to end, ch 1, turn.
- Row 26: Sc in first 18, with white [bobble, sc, bobble, sc], with red [bobble, sc, bobble, sc], with green [bobble, sc], with red [bobble, sc, bobble, sc], bobble with green, sc to end, ch 1, turn.
- Row 28: Sc in first 15, with black [bobble, sc, bobble, sc], with green [bobble, sc, bobble, sc], with red [bobble, sc] with green [*bobble, sc* 3 times], bobble with red, with black [sc, bobble, sc, bobble], sc to end, ch 1, turn.
- Row 30: Sc in first 14, bobble in black, sc in next 5 sts, with green [bobble, sc], with white [*bobble, sc* 3 times], with red [bobble, sc, bobble], sc in next 5 sts, bobble in black, sc to end, ch 1, turn.
- Row 32: Sc in first 8, with black [bobble, sc, bobble, sc, bobble], sc in next 7 sts, with white [bobble, sc, bobble, sc], with black [bobble, sc, bobble, sc], with white [bobble, sc, bobble, sc] in next 7 sts, with black [bobble, sc, bobble, sc, bobble], sc to end, ch 1, turn.
- Row 34: Sc in first 11, bobble in black, sc in 7, with white [*bobble, sc* 7 times], with black [bobble, sc, bobble], sc in next 4 sts, bobble in black, sc to end, ch 1, turn.
- Row 36: Sc in first 20, with white [bobble, sc], with orange [bobble, sc, bobble, sc], with white [*bobble, sc* 3 times], with black [bobble, sc, bobble], sc to end, ch 1, turn.
- Row 38: Sc in first 18, with orange [bobble, sc, bobble, sc], with black [bobble, sc], with white [bobble, sc], with black [bobble, sc], with white [bobble, sc, bobble, sc], bobble with black, sc to end, ch 1, turn.
- Row 40: Sc in 21, with white [*bobble, sc* 4 times], with black [bobble, sc, bobble, sc], bobble with red, sc to end, ch 1, turn.
- Row 42: Sc in 19, with black [*bobble, sc* repeat 7 times], with red [bobble, sc], bobble with black, sc to end, ch 1, turn.
- Row 44: Sc in 23, with black [*bobble, sc* repeat 3 times], with red [bobble, sc, bobble, sc], with black [bobble, sc, bobble], sc to end, ch 1, turn.
- Row 46: Sc in 25, with red [bobble, sc, bobble, sc], with black [bobble, sc, bobble, sc, bobble], sc to end, ch 1, turn.
- Row 48: Sc in 27, with black [bobble, sc, bobble], sc to end, ch 1, turn.
- Rows 50–53: Sc in each st across, ch 1, turn. Bind off on the final row.
Back Panel
With MC, ch 54.
- Row 1: Sc in 2nd ch from hook and in each ch to end, ch 1, turn. (53 sts)
- Rows 2–53: Sc in each st across, ch 1, turn. Bind off on the final row.
Edging & Sizing (Both Panels)
With the front side facing, starting at the bottom right corner, evenly space sc along the side edge of the pillow, 2 sc in the corner, along every stitch on the top, 2 sc in corner, down the side edge, 2 sc in corner, and along the bottom. Each row should be approximately one sc — so approximately 53 sts along the sides and top/bottom. Join with a sl st to the first sc.
Each round of edging adds approximately ½ inch. If you’re working with a 16×16″ pillow, only work one round. If your pillow is slightly larger (e.g. 18×18″), continue working additional rounds to ensure the best fit. The cover should not have any slack and should stretch comfortably to fit over the pillow form.
Closing & Finishing
Place pieces together with both right sides facing out. Work 1 sc into each st across the top, side, and bottom, working 2 sc into each corner. Insert the pillow form and close the last side by sc up the final side. Sl st into the first sc worked, tie off yarn, and weave in ends.
Tips for the Crochet Snowman Pillow
- Use bobbins for color management. With this many colors changing across each row, small yarn bobbins help keep your scarves, hat, eyes, and nose colors organized and tangle-free.
- Read each even row twice before starting it. Intarsia rows with multiple color changes are easier when you know what’s coming.
- Practice the bobble first. Knit a swatch with a few bobbles before starting the front panel — the rhythm clicks fast.
- Don’t pull color changes tight. The pillow drapes better with relaxed color-change tension. Tight pulls cause puckering.
Skip the row counting
Get the Visual Graph + Digital Row Tracker
The Etsy PDF includes the full color-coded visual graph so you can follow the snowman square-by-square plus a digital row tracker to keep your place across all rows — the easiest way to crochet a complex intarsia pattern without losing your spot. Ad-free, printable, instant download. Use code SEELOVE15 for 15% off.
More Crochet Bobble Stitch Pillows
Build out your seasonal pillow collection with the rest of the bobble stitch series:
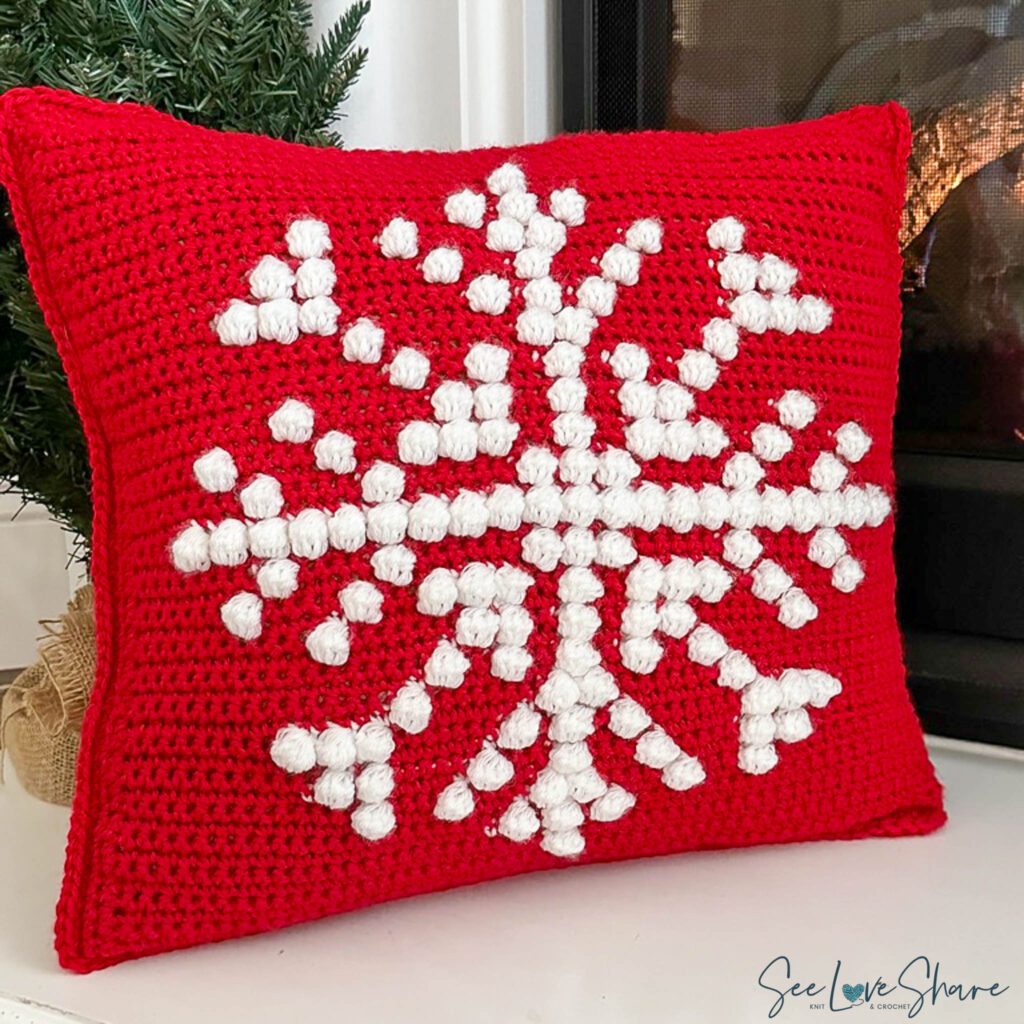
 Snowflake Bobble Stitch Pillow — the classic winter pairing for the snowman
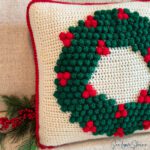
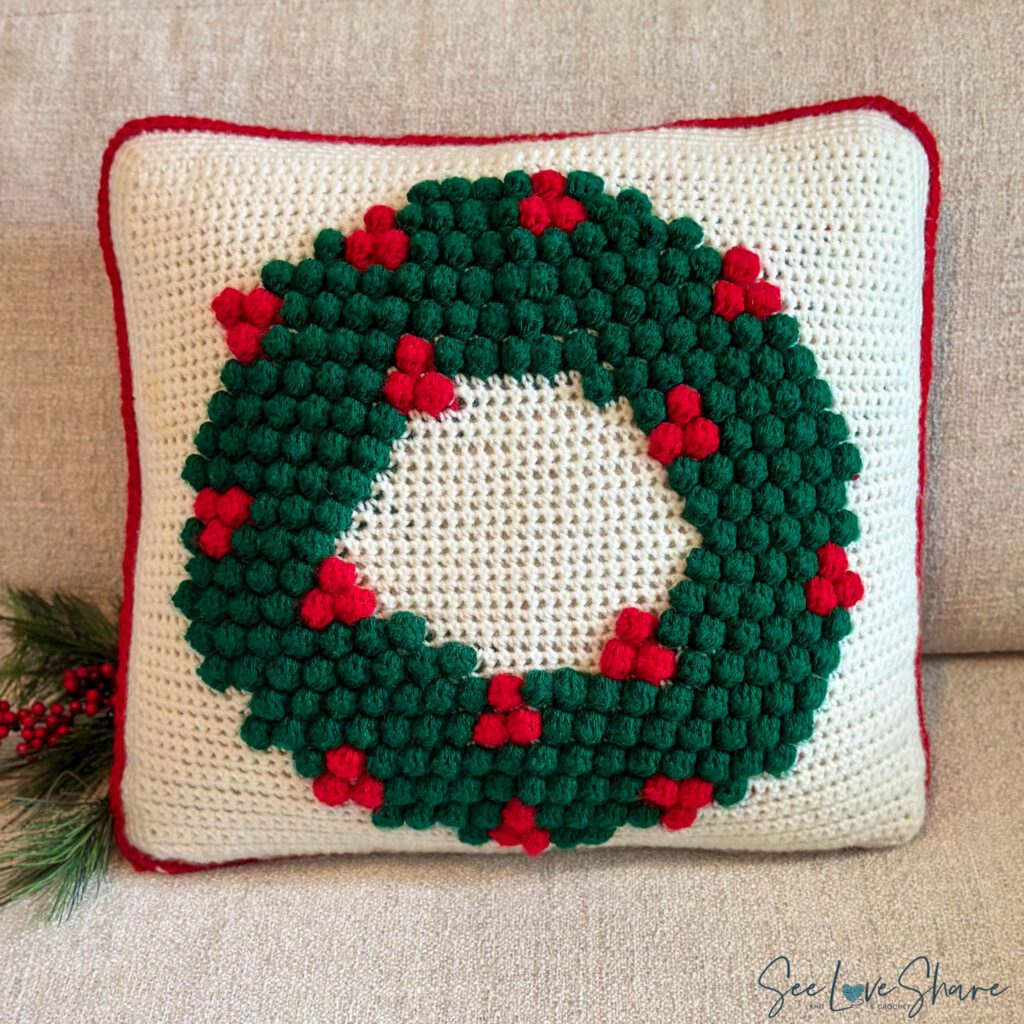
- Christmas Wreath Bobble Stitch Pillow — festive holiday companion in red and green
- Menorah Bobble Stitch Pillow — beautiful Hanukkah pillow with the same intarsia bobble technique
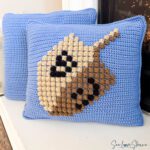
- Dreidel Bobble Stitch Pillow — a playful Hanukkah pairing for the Menorah pillow
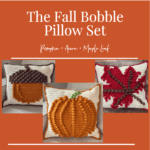
- Fall Bobble Stitch Pillow Bundle — pumpkin, acorn, and maple leaf for the autumn months


Frequently Asked Questions for Crochet Snowman Pillow
Is this crochet snowman pillow good for beginners?
It’s rated intermediate because of the intarsia color changes — managing multiple colors within a single row takes a little practice. If you’re comfortable with single crochet and willing to learn the bobble stitch and basic color changes, you can do this. The row-by-row instructions guide you through every color change.
Can I use the visual graph from the blog?
The full color-coded visual graph is included in the Etsy PDF version of the pattern only — along with a digital row tracker that helps you keep your place across all 53 rows. The free blog version includes the complete written row-by-row instructions, which are all you need to make the pillow.
Can I make this pillow in a different size?
Yes. The pattern is sized for a 16×16″ pillow form, but the edging is designed to scale — each additional round of edging adds approximately ½ inch. To fit an 18×18″ pillow form, you’ll add about 3 rounds of edging. The snowman design itself stays the same.
What if I make a mistake on a bobble row?
Catch mistakes early. After every bobble row, take a moment to look at your work — the snowman shape should be developing recognizably. If something looks off, unraveling one row is much easier than discovering a mistake five rows later.