

November 16th, 2018
Granny Square Cardigan – Free Crochet Pattern
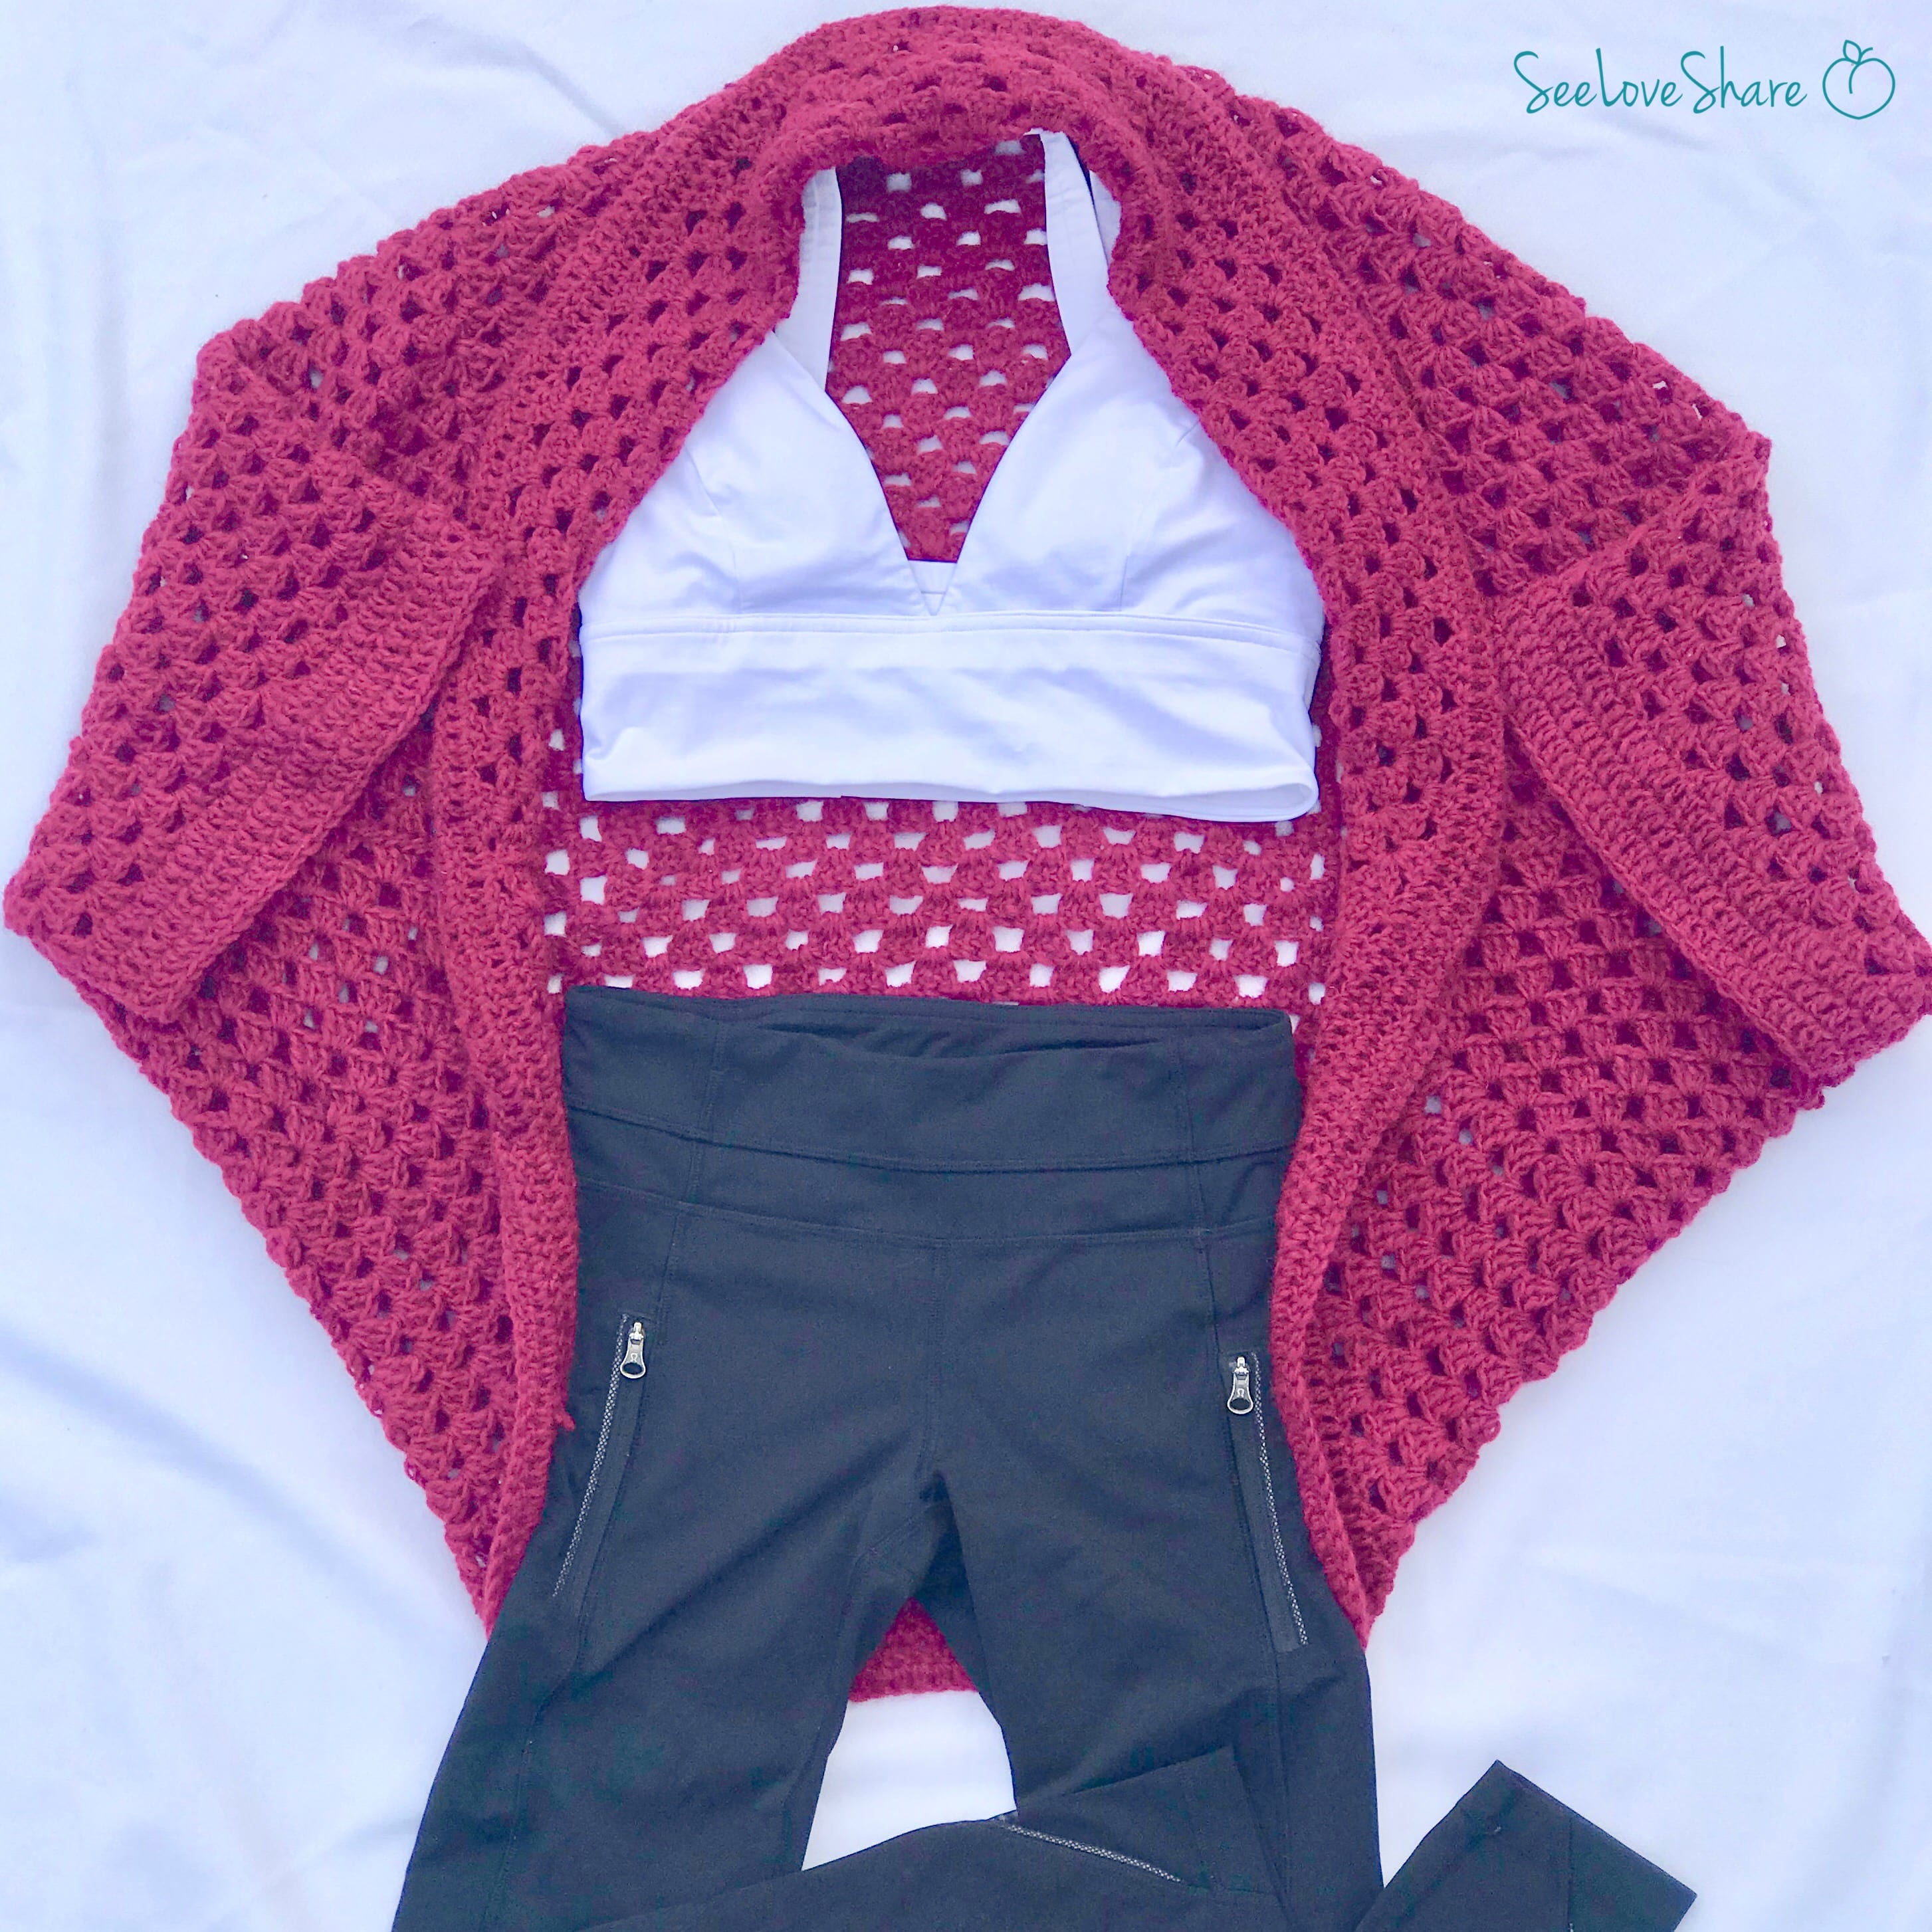
The colour alone makes this pattern pop. It looks complicated, but you are only making one giant granny square — sewn up to make this beautiful cardigan. Adding the border to the front and arms turns a regular granny square into a comfy, cozy cardi. The yogi and fashionista in me both LOVE this one. Enjoy!
Materials
- 5 skeins of worsted weight yarn in your colour of choice (original pattern uses Darn Good Yarn Yak Wool in Mulberry — any worsted #4 works beautifully)
- 5.5mm / Size I crochet hook
- Tapestry needle
- Scissors
Pattern details
| Skill level | Beginner–Intermediate |
| Finished size | 40″ × 40″ (one size fits most — adjust by adding or removing rounds) |
| Gauge | 12–17 dc sts per 4 inches with 5.5mm hook |
| Hook size | 5.5mm / Size I |
| Yarn weight | Worsted #4 |
Pattern notes
This pattern is written as one size fits most, but it’s easily adjusted. Add more rounds to make it larger or work fewer rounds for a smaller size — even a kid’s version! Pin the square up against yourself as you go to check the fit before you start seaming.
Abbreviations
Ch: chain · Dc: double crochet · Sc: single crochet · Sl st: slip stitch · Sp: space · St(s): stitch(es) · Rep: repeat
Pattern
Begin with a magic ring.
Round 1: Working into the center ring, ch 3 (counts as 1 dc here and throughout), 2 dc, ch 2, *3 dc, ch 2, rep from * twice more for a total of four 3-dc clusters and four ch-2 sp. Sl st to top of ch 3.
Round 2: Ch 3, 2 dc into st at base of ch 3, ch 1, (3 dc, ch 2, 3 dc) into ch-2 sp, ch 1, *(3 dc, ch 2, 3 dc) in next ch-2 sp, ch 1, rep from * twice more. Sl st to top of ch 3.
Round 3: Ch 3, 2 dc into st at base of ch 3, ch 1, (3 dc, ch 2, 3 dc) into ch-2 sp, ch 1, *3 dc in next ch-1 sp, ch 1, (3 dc, ch 2, 3 dc) in next ch-2 sp, ch 1, rep from * around to beginning corner, 3 dc, ch 1. Sl st to top of ch 3.
Round 4: Ch 3, 2 dc into st at base of ch 3, ch 1, *(3 dc, ch 1) into each of next ch-1 sp, repeat to corner, (3 dc, ch 2, 3 dc) in corner, ch 1, rep from * around to beginning corner, 3 dc, ch 1. Sl st to top of ch 3.
Repeat round 4 until each side of the granny square measures 40 inches / 1.02m. Do not break yarn.
Assembly
Step 1: Fold the granny square in half with right sides facing each other. With a length of yarn and your tapestry needle, seam 7 inches inward on both sides to create the arm openings. See the photo below for reference.
Step 2 — Front border: With right side facing, starting at the bottom center, pick up and dc in every stitch up and along the side, across the top, and down through to the other side. Join with a sl st to the first dc. Ch 3, dc in every stitch around. Join with a sl st to first dc. Repeat one more time for a total of 3 border rounds.
Step 3 — Arm borders: Repeat the border method on each arm hole, working 3 rounds of dc border on each side.
Bind off and weave in all ends. Press lightly on low heat to flatten. Enjoy!
Love this pattern? You might also like…
Frequently asked questions
What skill level is this cardigan?
Beginner to intermediate. If you can work a basic granny square you can make this — it’s literally just one giant square. The trickiest part is the border and assembly, which are both straightforward with the instructions above.
Can I make this in a different size?
Absolutely. Add rounds to make it larger, remove rounds for a smaller fit. A good tip: pin the square against yourself every few rounds to check the size before you commit to seaming.
What yarn works best for this pattern?
Any worsted weight #4 yarn works well. The original uses a luxe yak wool for a drapey, soft finish — but a budget-friendly worsted like Red Heart Super Saver gives great results too. Choose something with a little drape rather than a stiff acrylic for the best cardigan feel.
Can I sell items made from this pattern?
Yes! You’re welcome to sell finished items made from this free pattern. Please credit SeeLoveShare as the pattern designer. The pattern itself may not be reproduced or resold.