
December 3rd, 2020
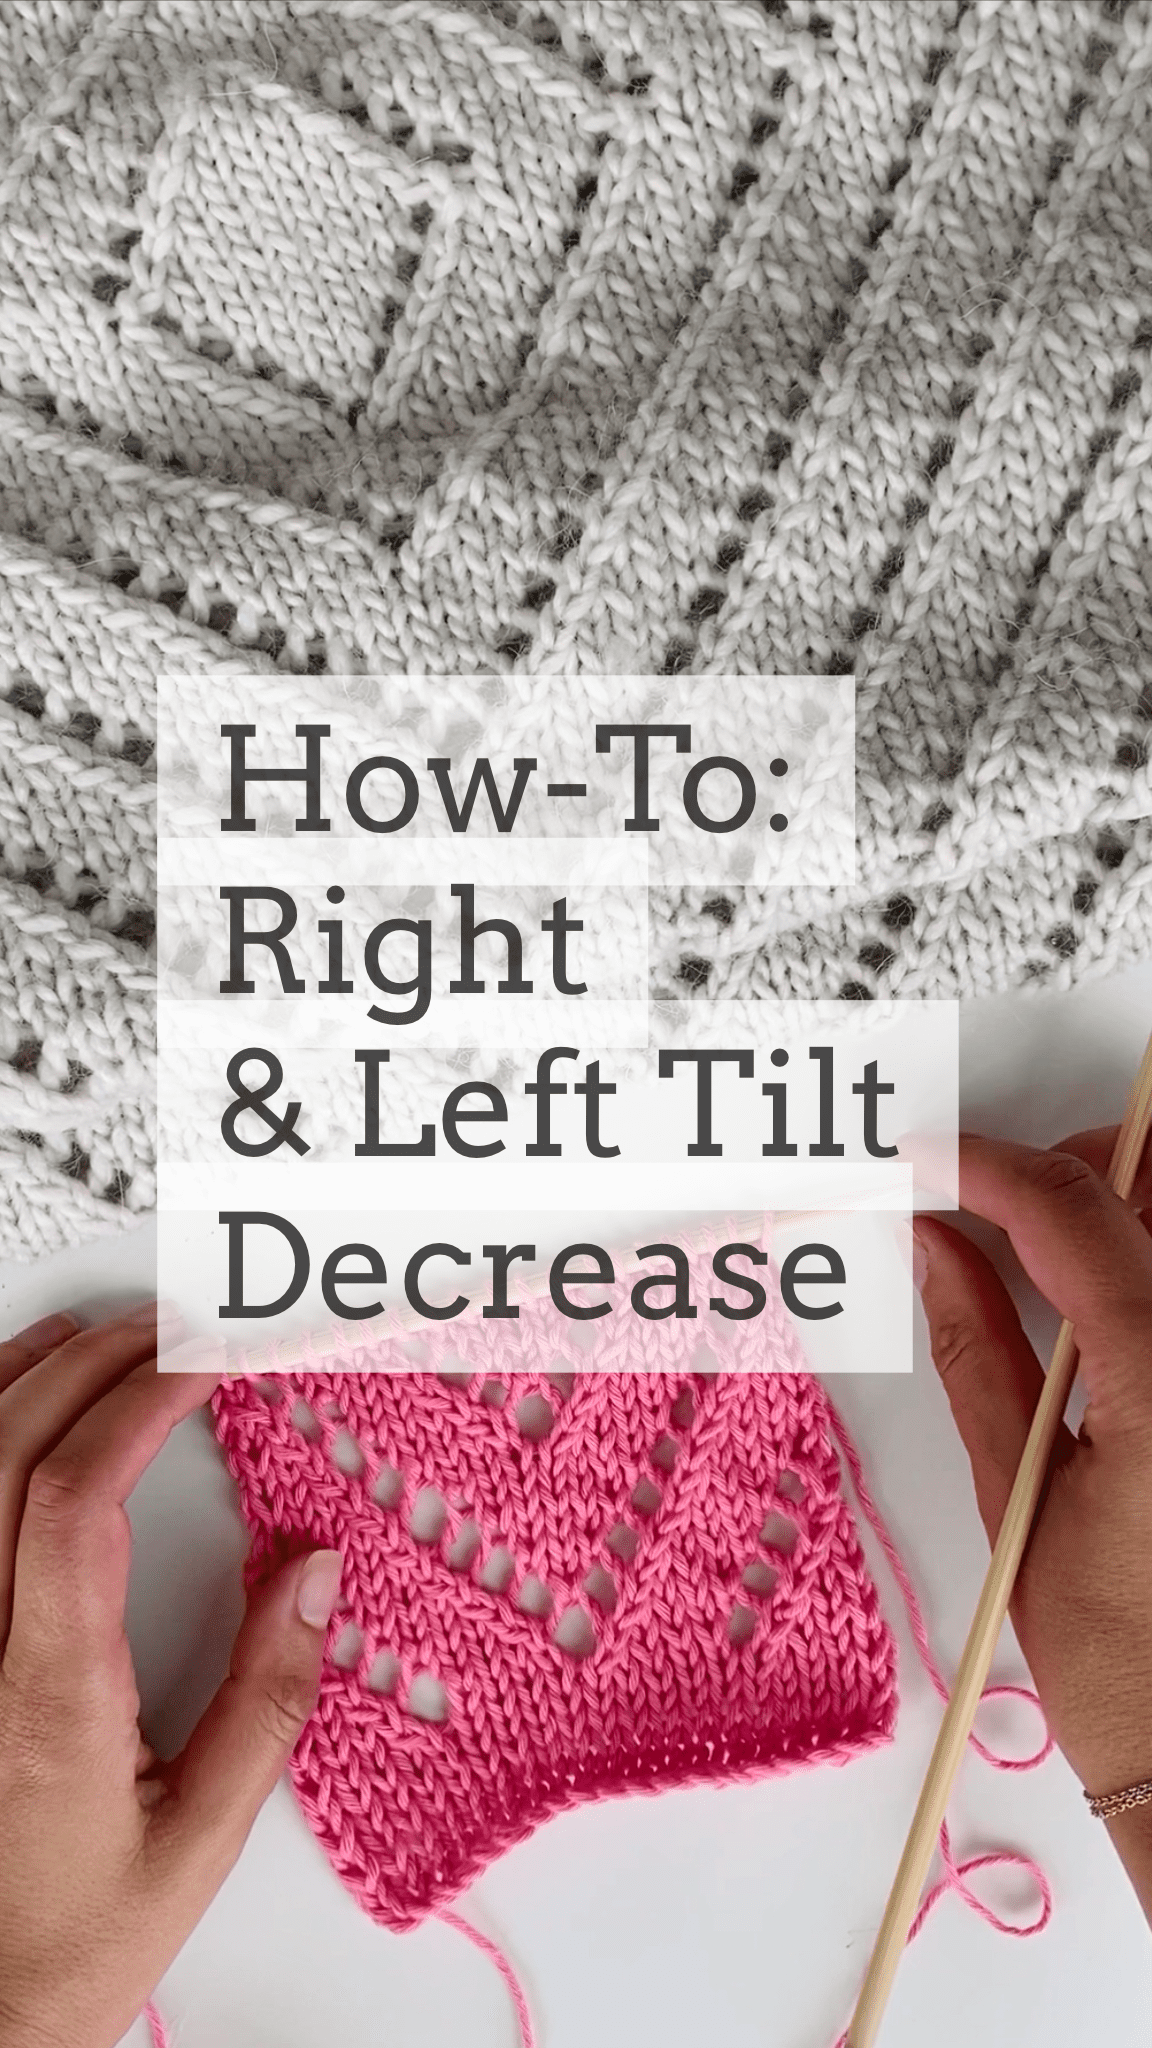
Knit Tilt Decrease — Right & Left Slant Tutorial
The knit tilt decrease is one of those small techniques that completely transforms the look of your finished knitting. Once you learn how to lean your decreases the right way — left-slanting on one side, right-slanting on the other — your shaping looks intentional, polished, and professional.
In this tutorial, I’ll walk you through both the right tilt decrease and the left tilt decrease step by step. You’ll learn exactly when to use each one, why they matter for the look of your project, and how to work them confidently. Video tutorial included below for visual learners.
What is a Knit Tilt Decrease?
A knit tilt decrease (sometimes called a “leaning decrease” or “directional decrease”) is a knit decrease worked so that the resulting stitch leans visibly to the right or the left. Instead of just losing a stitch in your row, you create a small diagonal line that points in a specific direction.
This matters because most shaping in knitting — sleeve caps, neckline curves, mitten thumbs, hat crowns, raglan seams — looks far more refined when the decreases mirror each other on either side of the shape. Right-leaning decreases go on the right side of the shape, left-leaning decreases go on the left side, and your finished work has a clean, deliberate look.
When to Use Each Knit Tilt Decrease
The rule of thumb is simple: the decrease leans in the same direction as the edge it sits next to.
- Right tilt decrease (K2tog): Use on the RIGHT side of your shaping. It leans toward the right edge of the work. Common spots: right side of a V-neck, right side of a sleeve cap, right side of a mitten thumb gusset.
- Left tilt decrease (SSK): Use on the LEFT side of your shaping. It leans toward the left edge of the work. Common spots: left side of a V-neck, left side of a sleeve cap, left side of a mitten thumb gusset.
If you mix them up, the decreases will still work — but the visual line will fight against the edge rather than echo it, and the finish will look slightly off without you being able to put your finger on why.
Materials You’ll Need
- A pair of knitting needles in the size your pattern calls for (US 7/4.5mm is a good practice size)
- Worsted weight yarn in a light, solid colour so you can see the stitch definition clearly while learning
- Scissors and a tapestry needle to weave in ends
For practising the knit tilt decrease, I recommend casting on at least 20 stitches and knitting a few rows of stockinette first. This gives you a stable fabric to work the decreases into so you can clearly see how they lean.
Abbreviations
K = Knit
K2tog = Knit two together (right tilt decrease)
SSK = Slip, slip, knit (left tilt decrease)
Sl = Slip stitch
St(s) = Stitch(es)
RS = Right side
WS = Wrong side
Right Tilt Decrease: Knit Two Together (K2tog)
The right tilt decrease is the easier of the two and the one most knitters learn first. It’s called “knit two together” because that’s literally what you do.
Step-by-Step Instructions
Step 1: Work to the point where the decrease is needed.
Step 2: Insert your right needle into the second stitch on the left needle (the one farther from the tip), then through the first stitch (closest to the tip) — going through BOTH stitches at the same time, knit-wise (front to back, left to right).
Step 3: Wrap the yarn around the right needle as if to knit.
Step 4: Pull the yarn through both stitches and slide them off the left needle together.
You’ve just turned two stitches into one — and the resulting stitch leans clearly to the right.
Pro Tip for K2tog
The most common mistake with the right tilt decrease is inserting the needle through only one stitch instead of both. If your decrease isn’t showing a clear lean, double-check that your right needle went through both loops before you wrapped the yarn.
Left Tilt Decrease: Slip, Slip, Knit (SSK)
The left tilt decrease is sometimes called the SSK or “slip slip knit.” It takes one extra step compared to the K2tog, but the lean is sharp and clean once you get it.
Step-by-Step Instructions
Step 1: Work to the point where the decrease is needed.
Step 2: Slip the first stitch from your left needle to your right needle as if to knit (knit-wise). Do not knit it — just transfer it.
Step 3: Slip the next stitch the same way — knit-wise, from left needle to right.
Step 4: Insert your left needle through the front of both slipped stitches, from left to right.
Step 5: Knit both stitches together through the back loops.
The resulting stitch leans clearly to the left. It’s the mirror image of the K2tog and it pairs beautifully with it on the opposite side of your shaping.
Pro Tip for SSK
Make sure you slip both stitches knit-wise, not purl-wise. Slipping purl-wise twists the stitches and the SSK won’t lean correctly. Knit-wise = needle enters the stitch front to back, left to right.
Watch the Knit Tilt Decrease Video Tutorial
For visual learners, here’s the full step-by-step video tutorial showing both the right and left tilt decreases in action. Watch how the needle enters each stitch and how the decreases lean in opposite directions.
Tips for Cleaner Tilt Decreases
Keep Your Tension Even
Decreases can look loose or sloppy if your tension shifts as you work them. Try to maintain the same yarn tension you use for plain knit stitches. If your decreases look loose, give the working yarn a gentle tug after completing the decrease — but don’t pull too hard or you’ll pucker the fabric.
Place Decreases One Stitch In From the Edge
Most patterns place the knit tilt decrease one or two stitches in from the edge of your work, not at the very edge. This gives the decrease a clean stitch to sit against and keeps your edge selvage tidy for seaming or picking up stitches later.
Practice With Light, Solid Yarn
Variegated or very dark yarns can hide the lean of your decreases while you’re learning. Practise with a light, solid colour first so you can see exactly what each decrease is doing. Once you’ve got the technique down, you can work tilt decreases in any yarn.
Block Your Finished Work
The lean of a tilt decrease becomes even more pronounced after blocking. If your decreases look subtle while still on the needles, give the finished piece a good wet block — you’ll see the directional lines pop out beautifully.
Frequently Asked Questions
What’s the difference between K2tog and SSK? Both are knit tilt decreases, but they lean in opposite directions. K2tog (knit two together) leans to the right and is used on the right side of shaping. SSK (slip slip knit) leans to the left and is used on the left side of shaping. Together they create mirrored, balanced decreases.
Can I use a knit tilt decrease on the wrong side? Yes, but the equivalent decreases worked on the purl side are P2tog (purls two together, leans right when viewed from the right side) and SSP (slip slip purl, leans left when viewed from the right side). Most patterns shape on the right side rows when possible.
Why does my SSK look loose compared to my K2tog? This is a really common issue. The SSK naturally tends to look a bit looser because of how the stitches are reseated. Try slipping the second stitch purl-wise instead of knit-wise (this is sometimes called an “improved SSK”), or give the working yarn a gentle tug after completing the decrease.
Are knit tilt decreases the same as paired decreases? Yes — “paired decreases” is just another name for using a right tilt and a left tilt decrease together on opposite sides of a shape so they mirror each other.
Do I need to know both decreases? For most shaping projects, yes. Hats, sweaters, mittens, and shawls almost always benefit from paired decreases. Some simple projects (like top-down hat crowns worked in the round) use only one type, but it’s worth learning both — they’re foundational knitting techniques.
Patterns That Use the Knit Tilt Decrease
Now that you’ve mastered the knit tilt decrease, put it to work in a real project. Here are some free SeeLoveShare knit patterns that use these decreases for shaping:
- Knit Cable Leg Warmers — uses paired decreases for the calf shaping
- Girls Knit Tunic Pattern — neckline shaping uses both K2tog and SSK
- Knit Brick and Mortar Baby Blanket — uses decreases for the border
- Simple Color Block Knit Blanket — beginner-friendly with tilt decrease practice
Save This Knit Tilt Decrease Tutorial
Want to come back to this knit tilt decrease tutorial later? Save it to Pinterest so you can find it whenever you need a quick refresher — and share it with your knitting friends who could use the help!