
October 21st, 2020
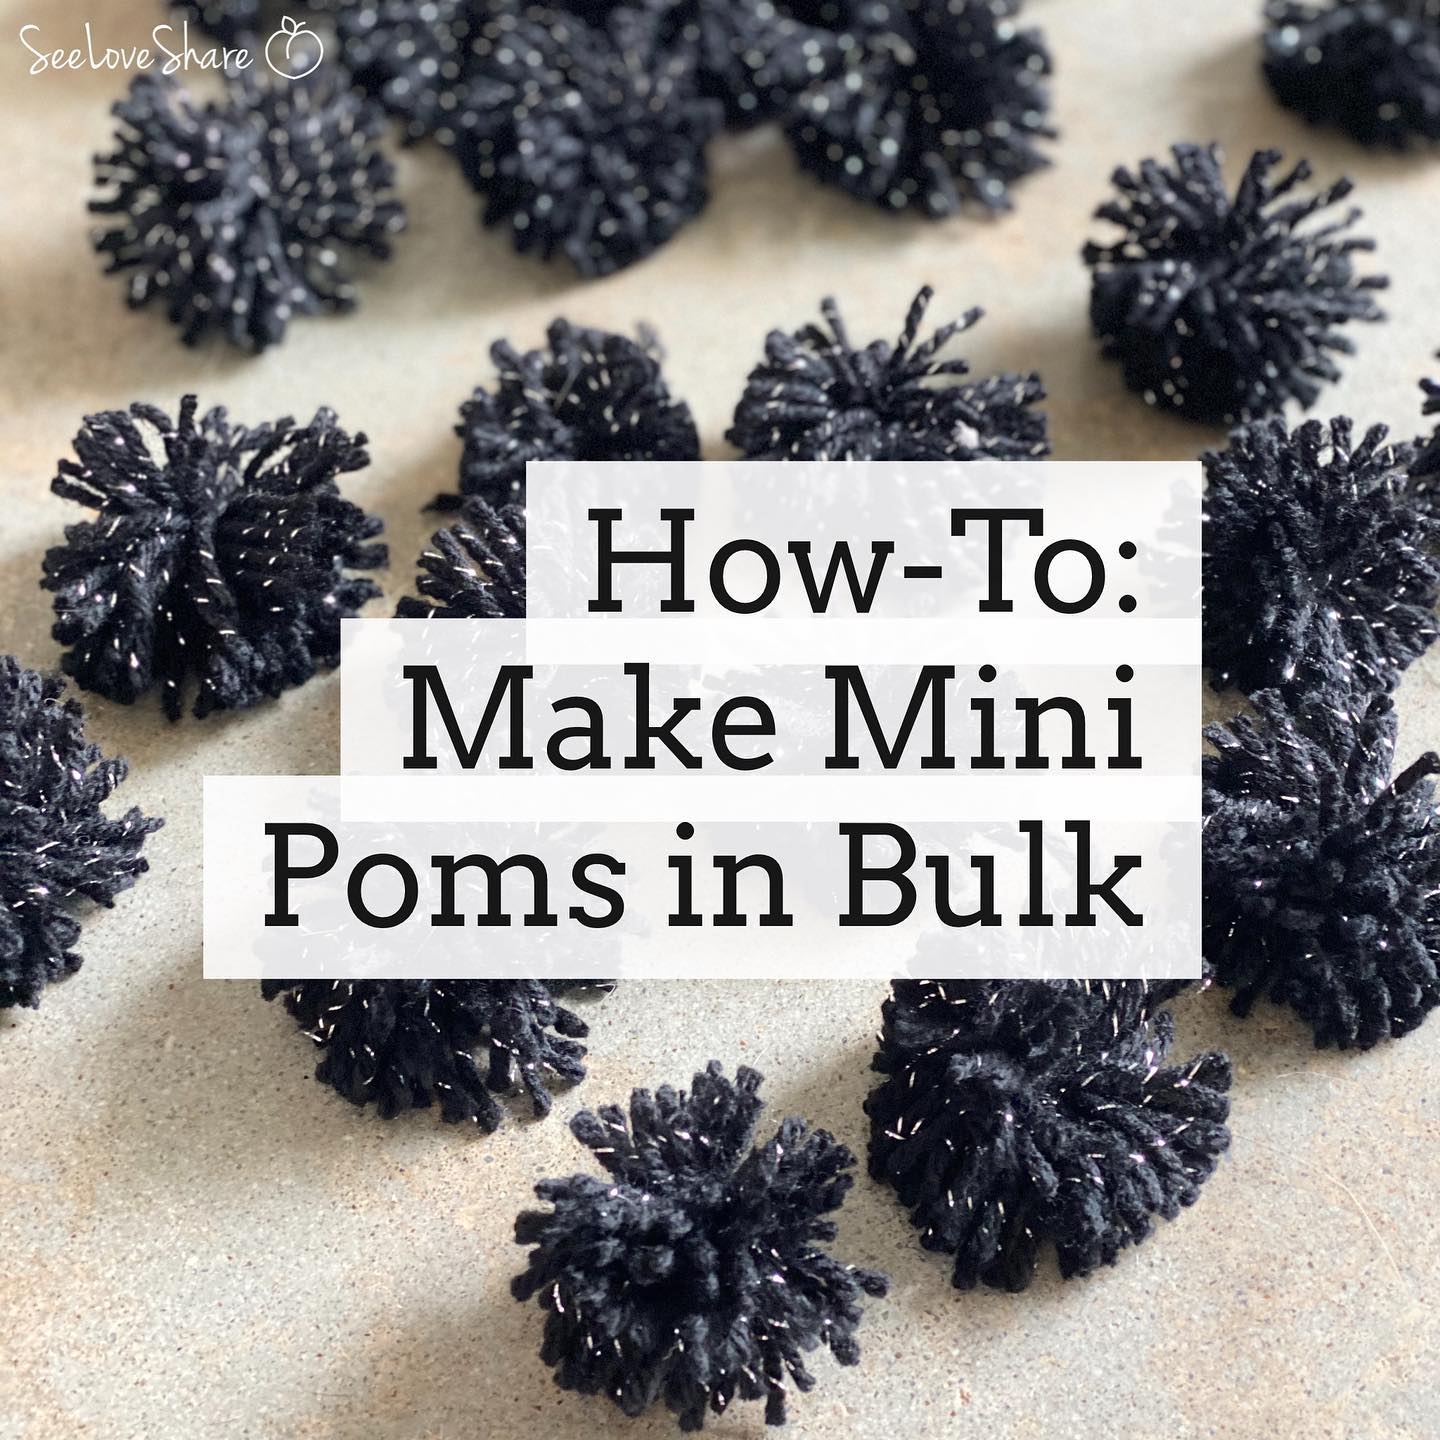
How to Make Mini Pom Poms in Bulk — Easy DIY Tutorial
If you’ve ever wondered how to make mini pom poms for crochet projects, Halloween wreaths, garlands, or hat embellishments — this bulk-pom hack is going to change your life. Instead of fussing with single pom pom makers one at a time, this method lets you crank out 10, 20, or even 30 mini poms in a single sitting. It’s the technique I use for every multi-pom project on the blog, and once you try it, you’ll never go back to single poms again.
This tutorial covers exactly how to make mini pom poms in bulk using nothing but yarn, scissors, and a piece of cardboard. No special tools required, no pom pom maker needed. Perfect for Halloween projects, holiday wreaths, baby blankets, hat tassels, fashion accessories, and home decor.
Why You’ll Love This How to Make Mini Pom Poms Hack
This bulk pom pom method is the ultimate crafting time-saver:
✔ Make 10-30 mini pom poms in a single sitting
✔ No specialty tools required — just yarn, cardboard, scissors
✔ Step-by-step video tutorial included
✔ Perfect for multi-pom projects: Halloween wreaths, garlands, hats
✔ Beginner-friendly — anyone can master this how to make mini pom poms technique
✔ Use up yarn scraps and stash-busters
✔ Customizable size — works for tiny to medium poms
✔ Great kid-friendly craft activity for the whole family
Pattern Details
This tutorial teaches you how to make mini pom poms in bulk by winding yarn around a cardboard form and cutting through all the poms at once. The method works for any yarn weight and any color combination, and the finished poms are roughly 1.5-2 inches in diameter.
Skill Level
Beginner. If you can wrap yarn and cut with scissors, you can do this!
Finished Size
Mini pom poms approximately 1.5 – 2 inches in diameter. Adjust cardboard width for larger or smaller poms.
Materials You’ll Need
- Worsted weight yarn in your color of choice — Red Heart Super Saver is my go-to for poms (durable, affordable, comes in tons of colors)
- A piece of cardboard approximately 3-4 inches wide (cereal box, shipping box scrap, etc.)
- Sharp fabric scissors — sharper is better, dull scissors create raggedy poms
- Additional short lengths of yarn for tying off each pom (~6 inches per pom)


The bigger and thicker your cardboard, the bigger your poms. For mini poms (the focus of this how to make mini pom poms tutorial), 3-4 inch wide cardboard is the sweet spot. Wool blends and acrylics both work — wool gives slightly fuzzier poms.
The How to Make Mini Pom Poms in Bulk Method
Step 1: Cut Your Cardboard
Cut a strip of cardboard about 3-4 inches wide and as long as you want your pom pom assembly line to be. The longer the cardboard, the more poms per batch! A 12-inch strip of cardboard will give you about 10-12 mini poms per session.
Step 2: Wrap Yarn Around the Cardboard
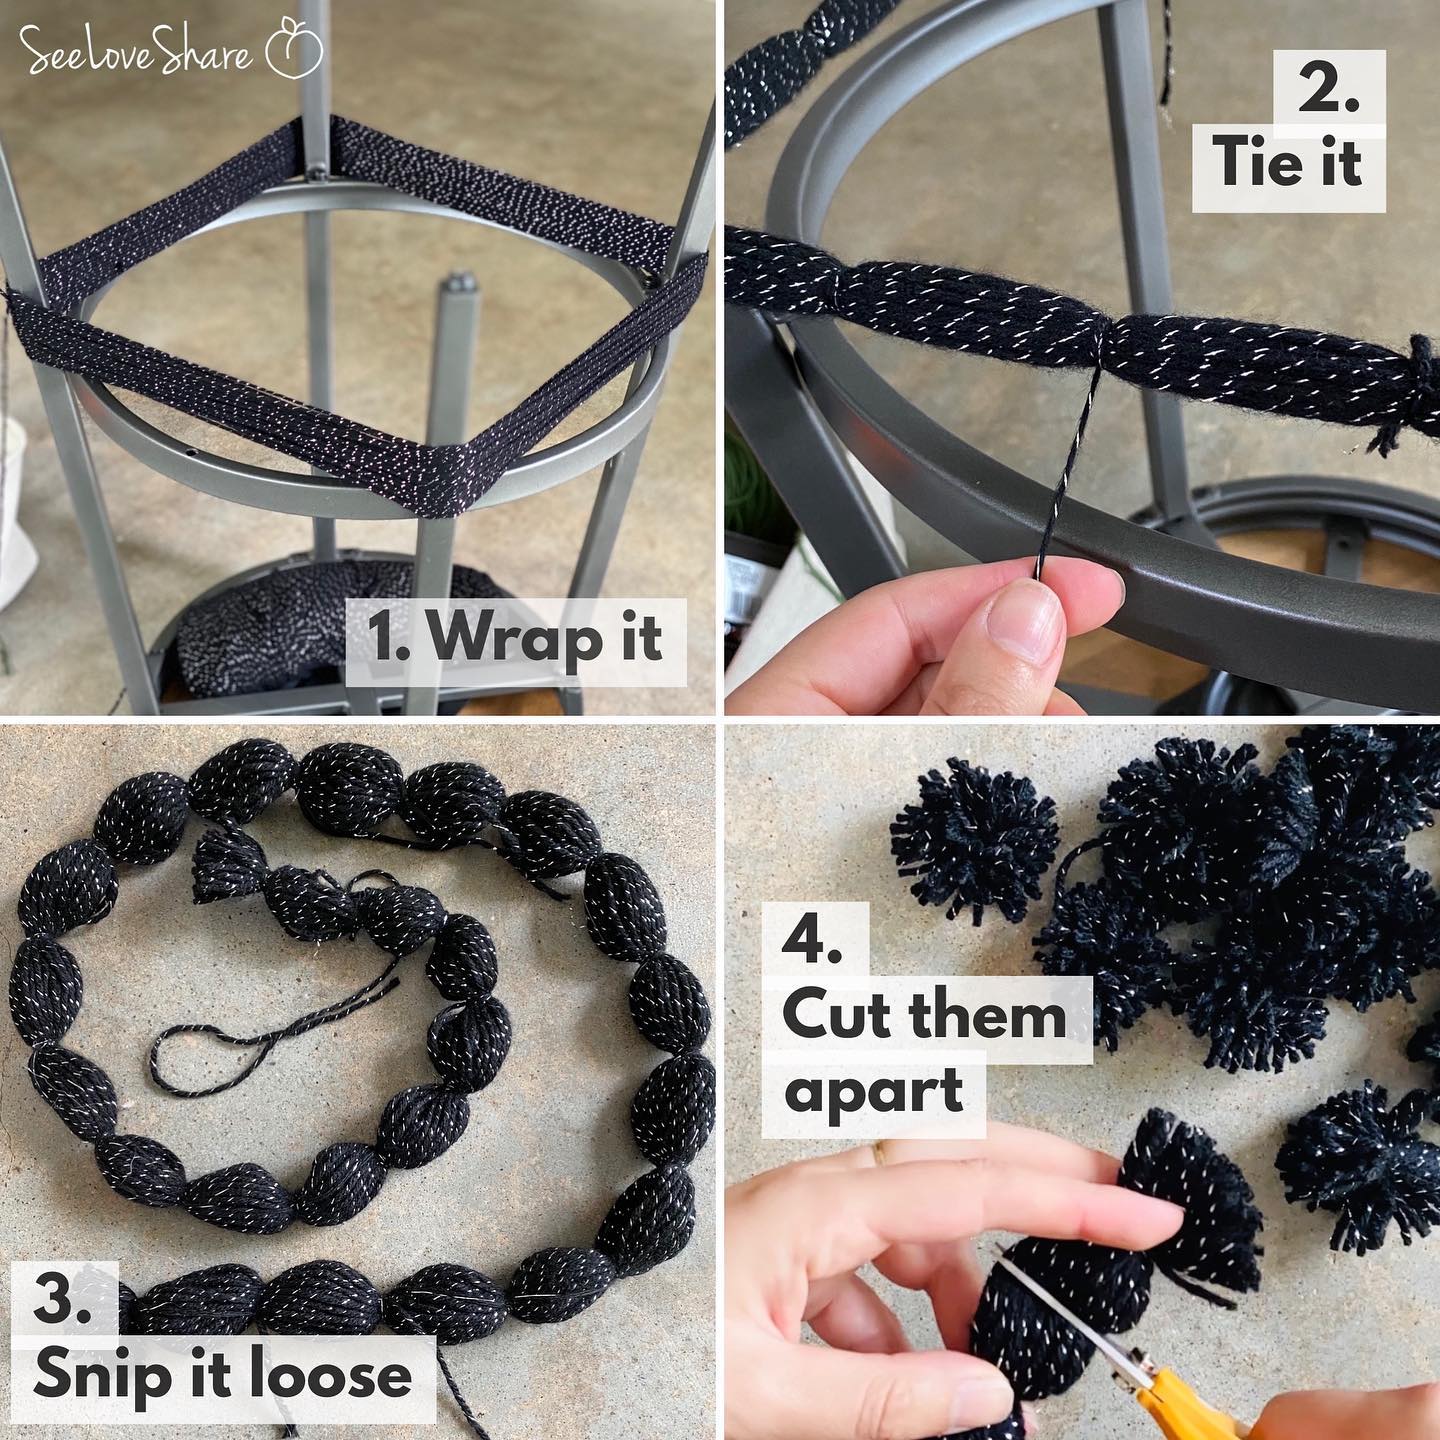
Hold the cardboard horizontally. Begin wrapping the yarn around the full length of the cardboard, going around and around. Wrap densely — the more wraps, the fuller your poms will be. Aim for 100-150 wraps for nicely-puffy mini poms.
Step 3: Tie Off Sections
Cut multiple short lengths of yarn (about 6 inches each). Slide each tie-off underneath the wrapped yarn, evenly spaced along the length of the cardboard — about 1.5-2 inches apart for mini poms. Tie each one tightly with a double knot, pulling firmly to gather the yarn together.
Tip: leave the tie-off tails long — you’ll use these later to attach the pom to your project (wreath, hat, garland, etc.).
Step 4: Cut Between the Ties
With your sharp scissors, cut through the yarn loops halfway between each tie-off. This separates the wrapped yarn into individual mini poms. Each cut creates two pom edges, so you’ve effectively doubled your output with a single cut.
Step 5: Trim and Fluff
Each pom will look ragged and uneven at first — that’s normal! Hold one pom by its tie-off tails and gently roll it between your palms. Then trim the longer strands with your scissors to give each pom a rounded, even shape. The more time you spend trimming and fluffing, the more polished your poms will look.
Repeat for each pom. With practice, you can produce 10-15 mini poms in 20-30 minutes once you’ve mastered this how to make mini pom poms hack.
Watch the Video Tutorial
This bulk pom pom technique is much easier to understand visually. Watch the full step-by-step video here:
Tips for the Perfect Mini Poms
A few extra tips to take this how to make mini pom poms method from “good” to “Pinterest-worthy”:
- Wrap densely: the fuller the wrap, the puffier the finished pom. Don’t be stingy with yarn — 100+ wraps is the minimum.
- Use sharp scissors: dull scissors crush yarn ends and create ragged poms. Sharp fabric scissors give crisp, even ends.
- Tie tight, tie twice: double knots prevent the pom from falling apart. Pull the tie firmly into the bundle before knotting.
- Trim with care: the trimming step is where you get the polished, perfect-circle look. Take your time with each pom.
- Mix colors for a marbled look: wrap two colors at once for a heathered or marbled pom effect.
- Save scraps for fluffing: small yarn snips can be pushed into hollow spots to fill out uneven poms.
- Adjust cardboard size for different pom sizes: 2-inch cardboard = tiny poms; 5-inch cardboard = medium poms; 8-inch cardboard = large poms.
Project Ideas Using Mini Pom Poms
Once you’ve mastered how to make mini pom poms in bulk, here’s where to use them:
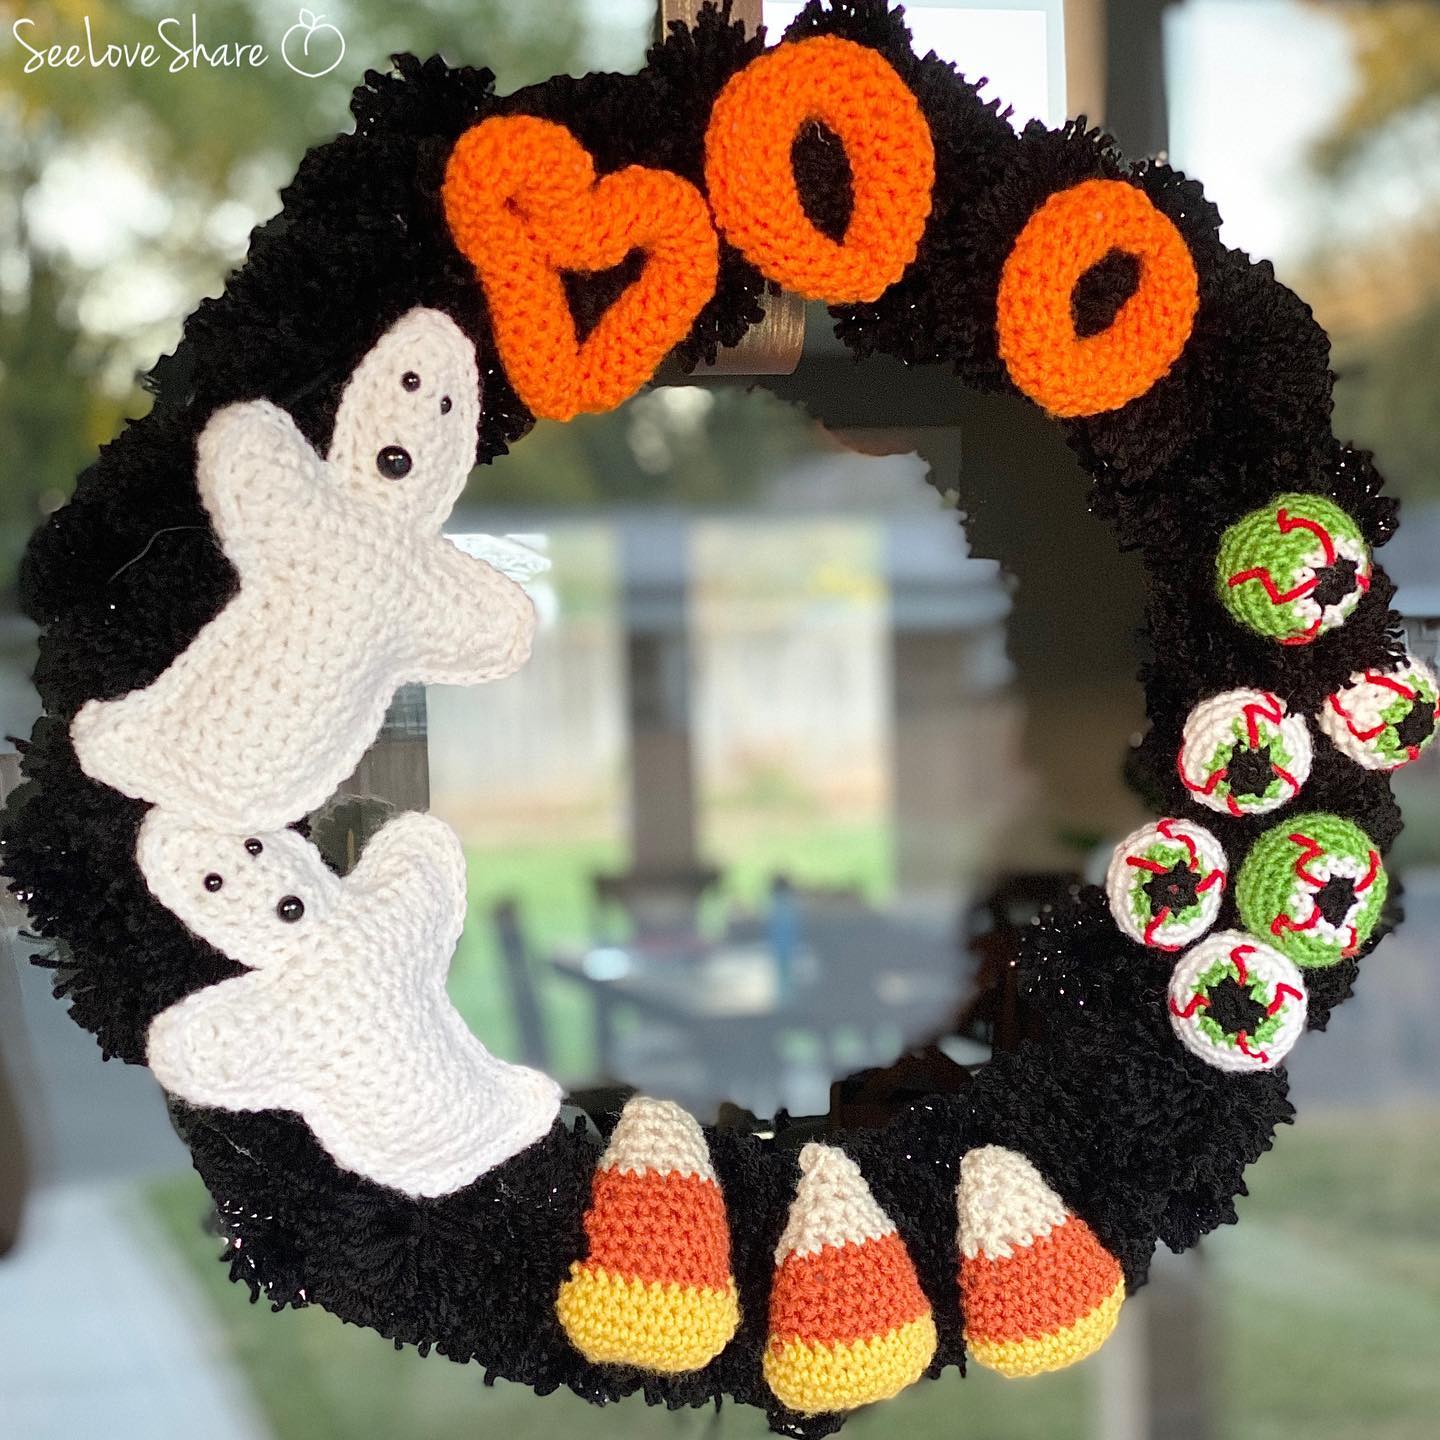
- Halloween wreaths: attach orange and black mini poms for a festive seasonal display.
- Garland banners: string mini poms onto twine for nursery, party, or holiday banners.
- Hat embellishments: sew a mini pom on top of any beanie for instant polish.
- Crochet appliqué: add mini poms as accents on bags, scarves, or pillows.
- Baby blanket trim: sew poms along the edge of a blanket for textural detail.
- Gift wrap: tie a mini pom around a ribbon for an extra-special handmade gift presentation.
Frequently Asked Questions
How long does it take to learn how to make mini pom poms this way? About 5 minutes to learn, 20-30 minutes to produce a full batch of 10-15 mini poms.
How many wraps for a full pom? 100-150 wraps for mini poms. More wraps = fuller, fluffier poms. Less than 80 wraps may leave gaps.
What yarn weight works best? Worsted weight (#4) is ideal for mini poms. Lighter yarns make stringier poms; super bulky won’t work well at this scale.
Can I use a pom pom maker instead? Sure — but you’ll spend 5x longer on the same number of poms. The cardboard bulk method is the fastest approach when you need a lot of poms.
How do I attach the finished poms? The long tie-off tails are your attachment point — use a yarn needle to weave the tails into your project, or tie them directly through wreath wire / crochet stitches.
Can I make different-sized poms in one batch? Yes! Just space your tie-offs at different intervals — 1 inch apart gives tiny poms, 2.5 inches gives slightly larger ones.
Can I sell items I’ve embellished with these poms? Yes — small batch sales are allowed for personal income. Please credit SeeLoveShare as the technique source.
More Crochet Tutorials You’ll Love
If you enjoyed learning how to make mini pom poms in bulk, you’ll love these related tutorials:
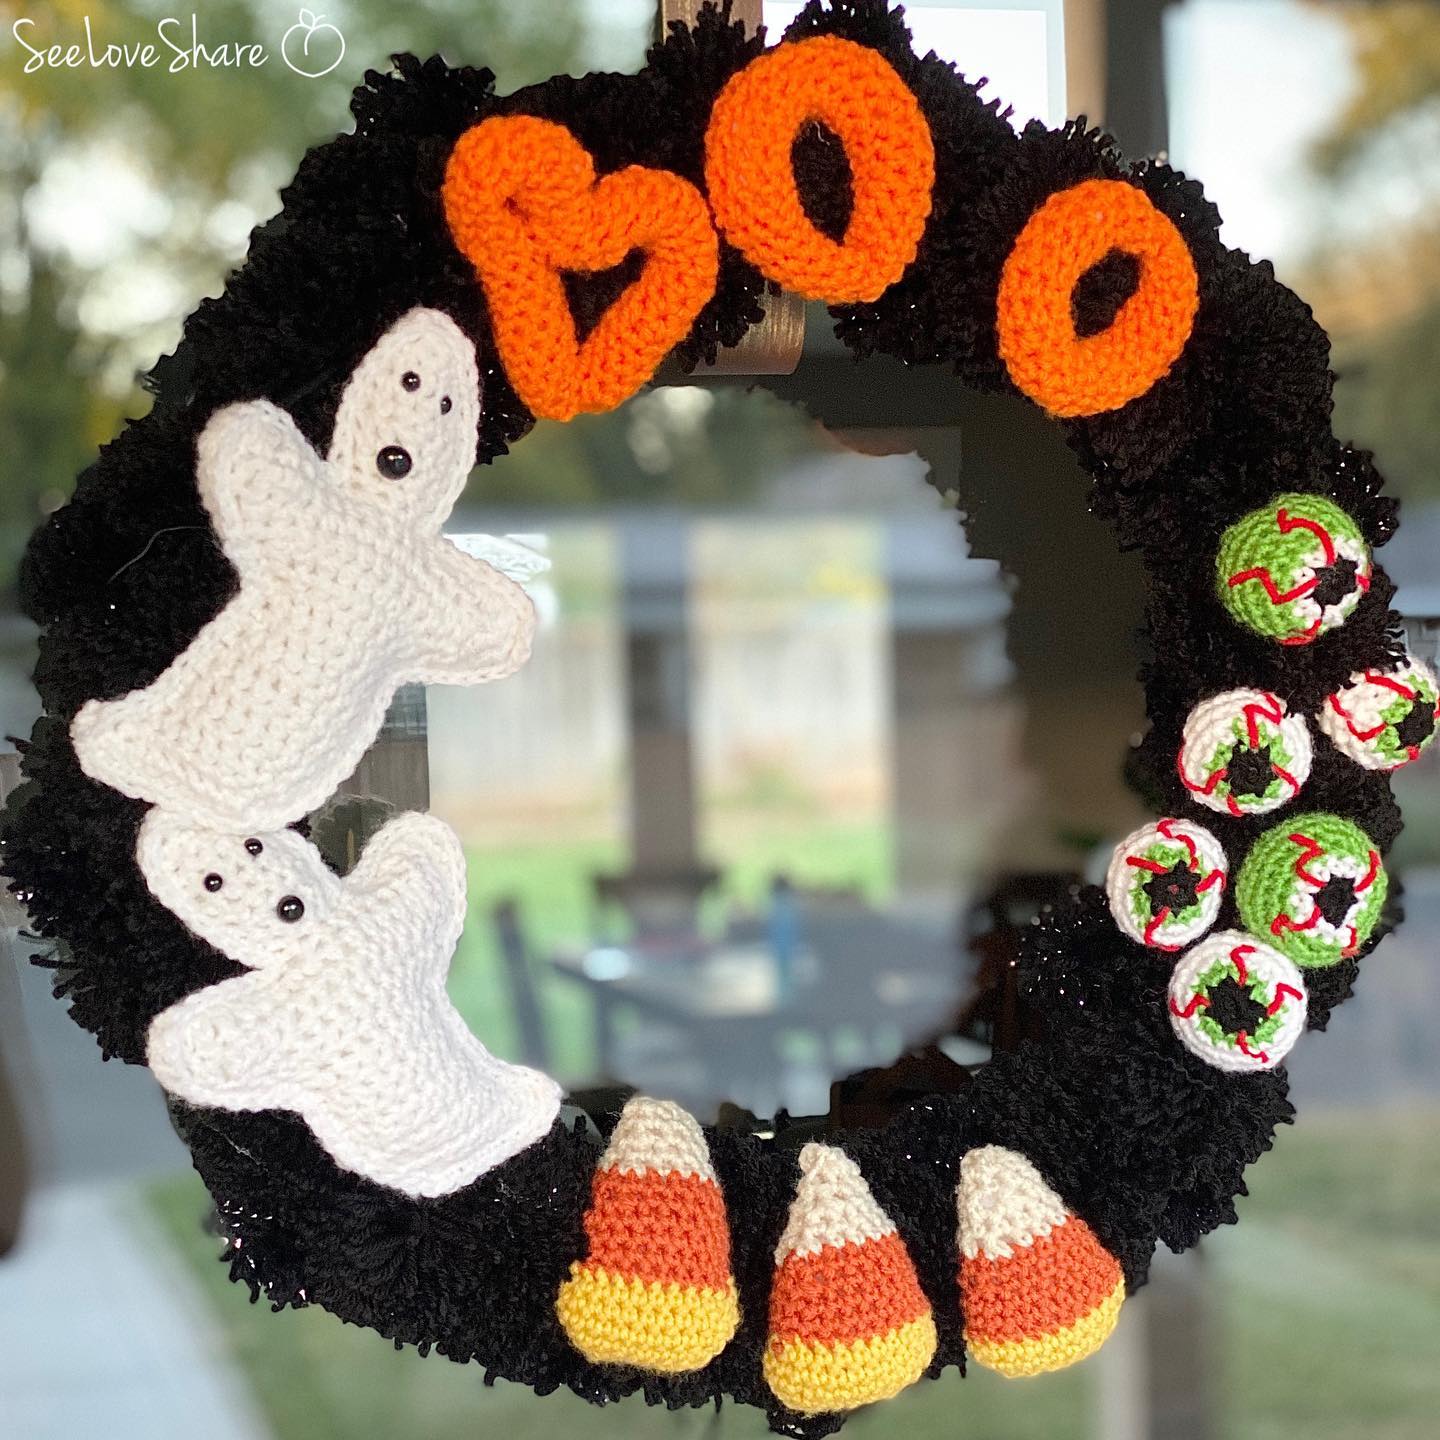
 Halloween Crochet Wreath — Free DIY with Ghosts, Eyeballs & BOO Letters
 How to Make Bulky Yarn — Easy DIY Tutorial
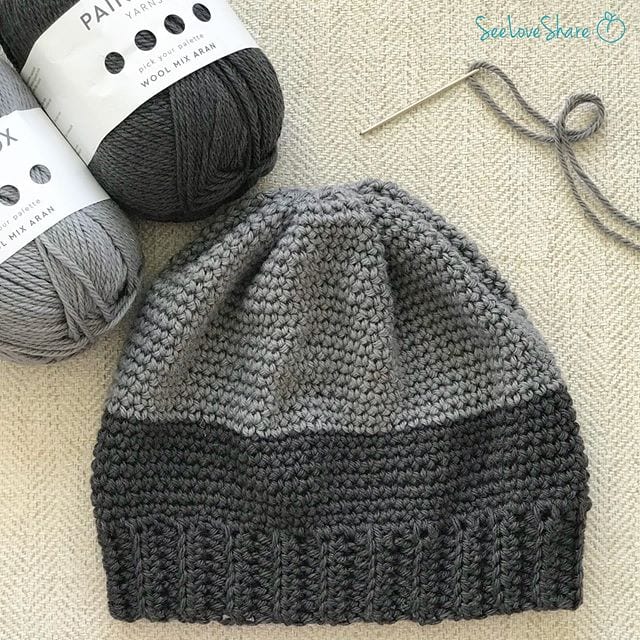
- Two Toned Beanie — add a pom pom topper
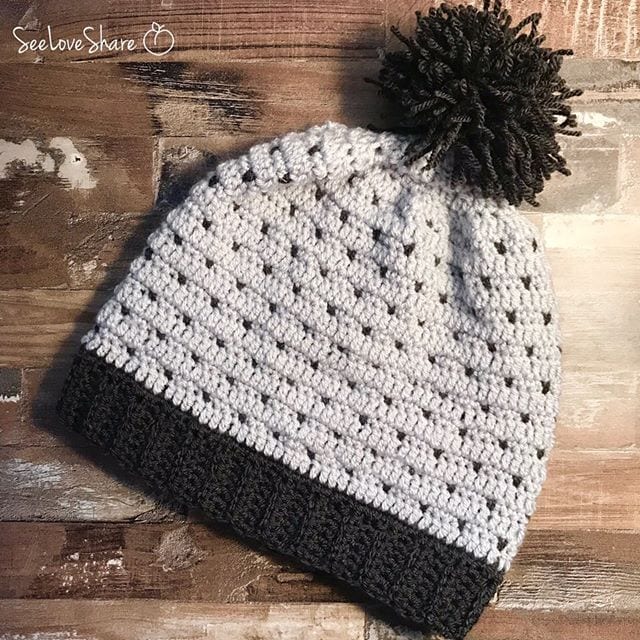
- Slouchy Beanie Pattern with Pom Pom Topper
 Textured Crochet Stitches Round-Up
Save This How to Make Mini Pom Poms Tutorial
Want to come back to this how to make mini pom poms tutorial later? Save it to Pinterest so you can find it the next time you need a batch of poms for a project — and share it with your crafty friends!