
September 8th, 2026
Crochet Bobble Stitch Pillow Patterns: 13 Easy Motifs for Christmas, Hanukkah & Fall
I have made thirteen of these now, and I still like making them. Crochet bobble stitch pillow patterns all work the same way: a bobble stitch pillow is a crochet cushion cover where clusters of raised bobbles form a picture — a tree, a menorah, a pumpkin — sitting proud of a flat single crochet background. No appliqué, no embroidery, no sewing pieces on afterwards. The picture is the fabric.
This page gathers all thirteen crochet bobble stitch pillow patterns in one place — seven for Christmas, three for Hanukkah, three for autumn. They all finish at 16″ × 16″, and three of them — the Snowman, the Dreidel and the Maple Leaf — have the full written pattern free right here on the blog. Before the patterns, though, here is everything I wish someone had told me before I made the first one.
First, what a bobble actually is
A bobble is five partial double crochet worked into one stitch and then closed together. You end up with six loops on the hook, then yarn over and draw through all six at once. That is the whole skill — one stitch, and it unlocks every pattern on this page. If you have never made one, my step-by-step bobble stitch tutorial walks through it slowly with photos.
Everything else is single crochet. If you can chain, single crochet and count, you can make any pillow here.
Six things worth knowing before you start
These apply to all thirteen crochet bobble stitch pillow patterns, so they are worth reading once here rather than rediscovering them the hard way on pillow number two.
1. A bobble pops out on the side facing away from you
This is the one that surprises almost everybody. As you close a bobble it forms on the far side of the fabric — the side you cannot see. That is why the bobble rows in these patterns are worked with the wrong side facing you. You are making the motif blind, and it pushes through to the front. Trust the count and turn the work over at the end of the row to admire it.
2. Push each bobble through with your finger
As you draw the yarn through those six loops, nudge the bobble away from you with a fingertip so it seats firmly on the right side. A bobble that is left half-hearted looks flat once the cover is on a pillow form, and you cannot fix it later.
3. Do not add a closing chain after a bobble
Some bobble patterns tell you to chain one to close. Do not do it here. It opens a small gap in the single crochet fabric and, worse, it quietly throws your stitch count off by one — which shifts the whole motif a column sideways further up.
4. Counting is genuinely the whole job
The motif is a grid. Every bobble sits at a specific stitch number, so one missed stitch does not just make the row short — it moves the picture. Count at the end of every row. It feels fussy for the first few rows and then it becomes automatic, and it is far quicker than frogging back six rows because the tree has grown a lopsided branch.
5. Contrast matters more than the colour you pick
Any shade you love will work. What decides whether the motif reads from across the room is how far apart the two values sit — a mid green on cream reads beautifully, a mid green on tan disappears. Charcoal, rust and icy blue all look wonderful in place of the traditional colours. Squint at your two balls of yarn together; if they blur into one, pick again.
6. Block the panel before you sew it up
Bobble fabric tends to draw in a little, and a panel that comes off the hook slightly wonky will square up beautifully with a wet block. It also settles the bobbles so they sit at an even height. My guide to blocking covers it if you have not done it before — it is much less of a production than it sounds.
All 13 crochet bobble stitch pillow patterns, at a glance
- Finished size: 16″ × 16″ for every pattern. The Snowman and Christmas Wreath are also written for 18″ × 18″, and the Menorah includes notes for scaling up.
- Free on the blog: three of the thirteen — the Snowman, the Dreidel and the Maple Leaf. The other ten are printable PDF patterns.
- Yarn and hook: most use worsted (#4) with a 5.5 mm hook; the Pumpkin uses bulky (#5) with a 6.0 mm hook. Each pattern page lists its own.
- Skill level: confident beginner. One new stitch to learn, then a lot of very calm single crochet.
- Construction: a front panel carrying the motif and a plain back panel, joined at the end.
Buying any of the printable PDFs? Use code SEELOVE15 for 15% off in the SeeLoveShare Etsy shop.
The Christmas pillows
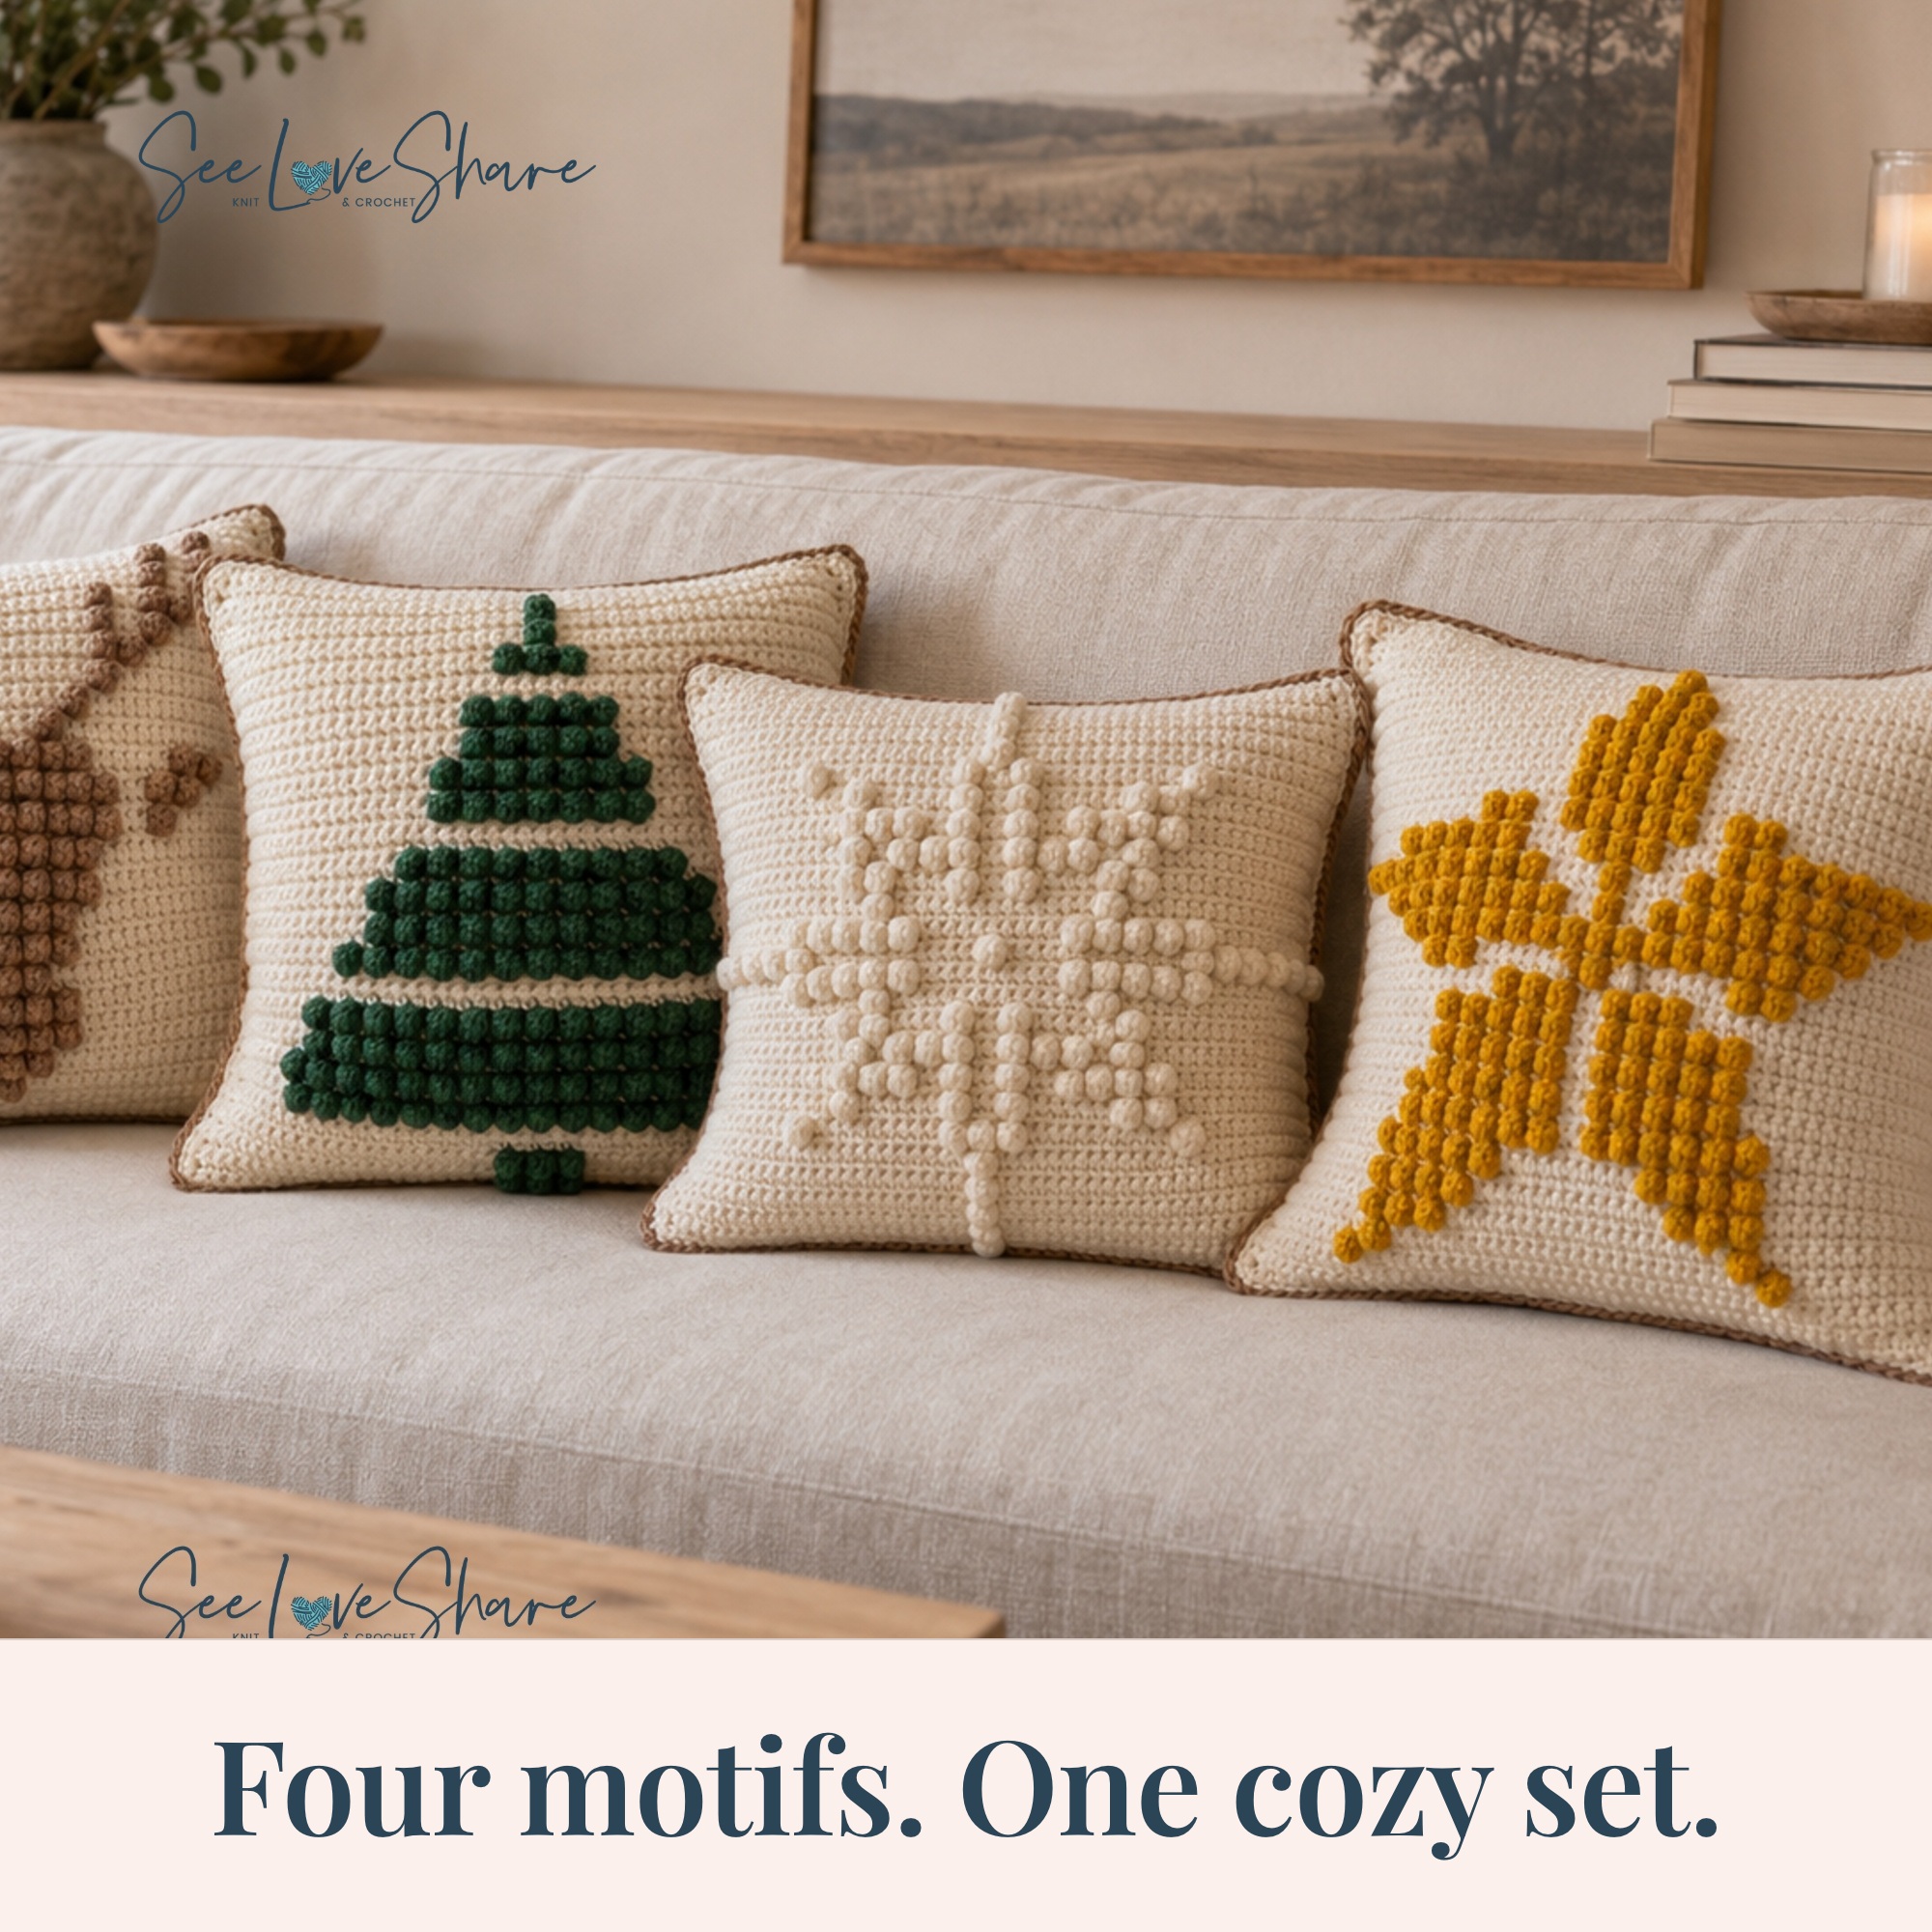
The biggest group, and where most people start. The first four — Tree, Star, Snowflake and Reindeer — were designed together, in the same colours and the same proportions, so they sit on a sofa as a family rather than as four separate projects. You can absolutely make just one.

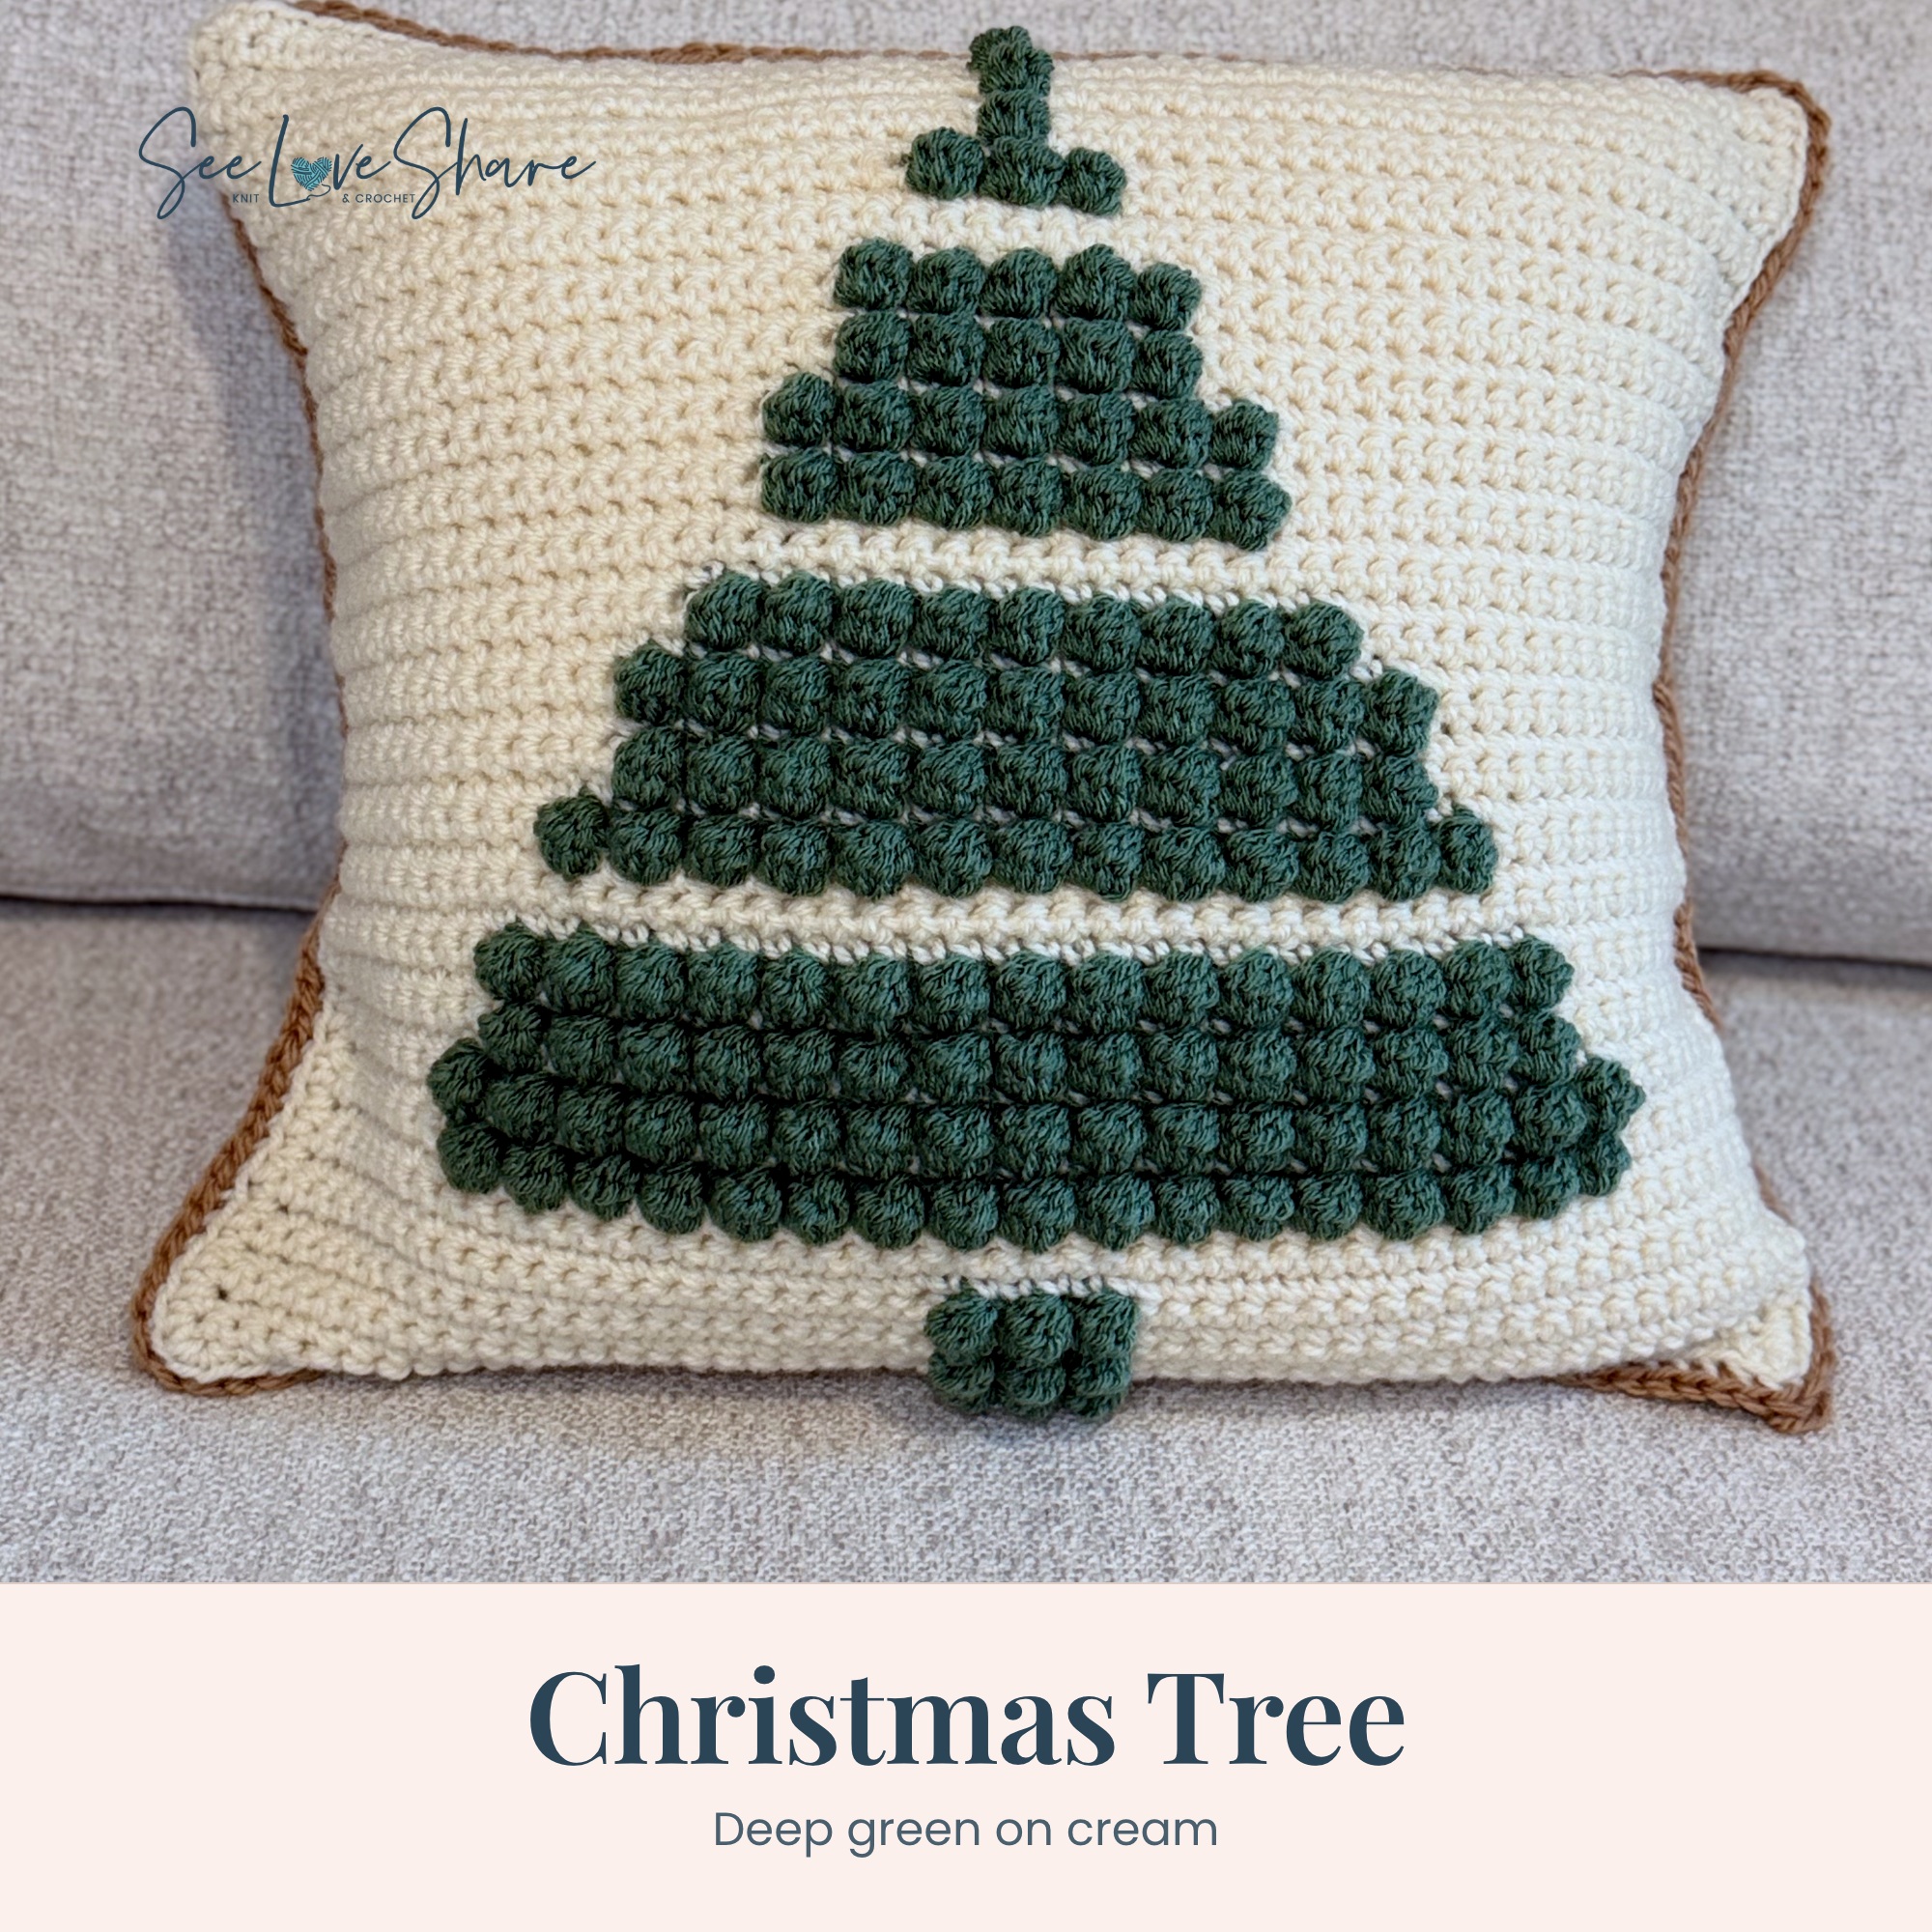
Christmas Tree Pillow
The one people ask about most. It is a broad triangle of bobbles on a cream ground, and because the shape is simple and symmetrical it is very forgiving — a stitch slightly out of place still reads as a tree. A kind first project if you have never worked from a bobble grid.
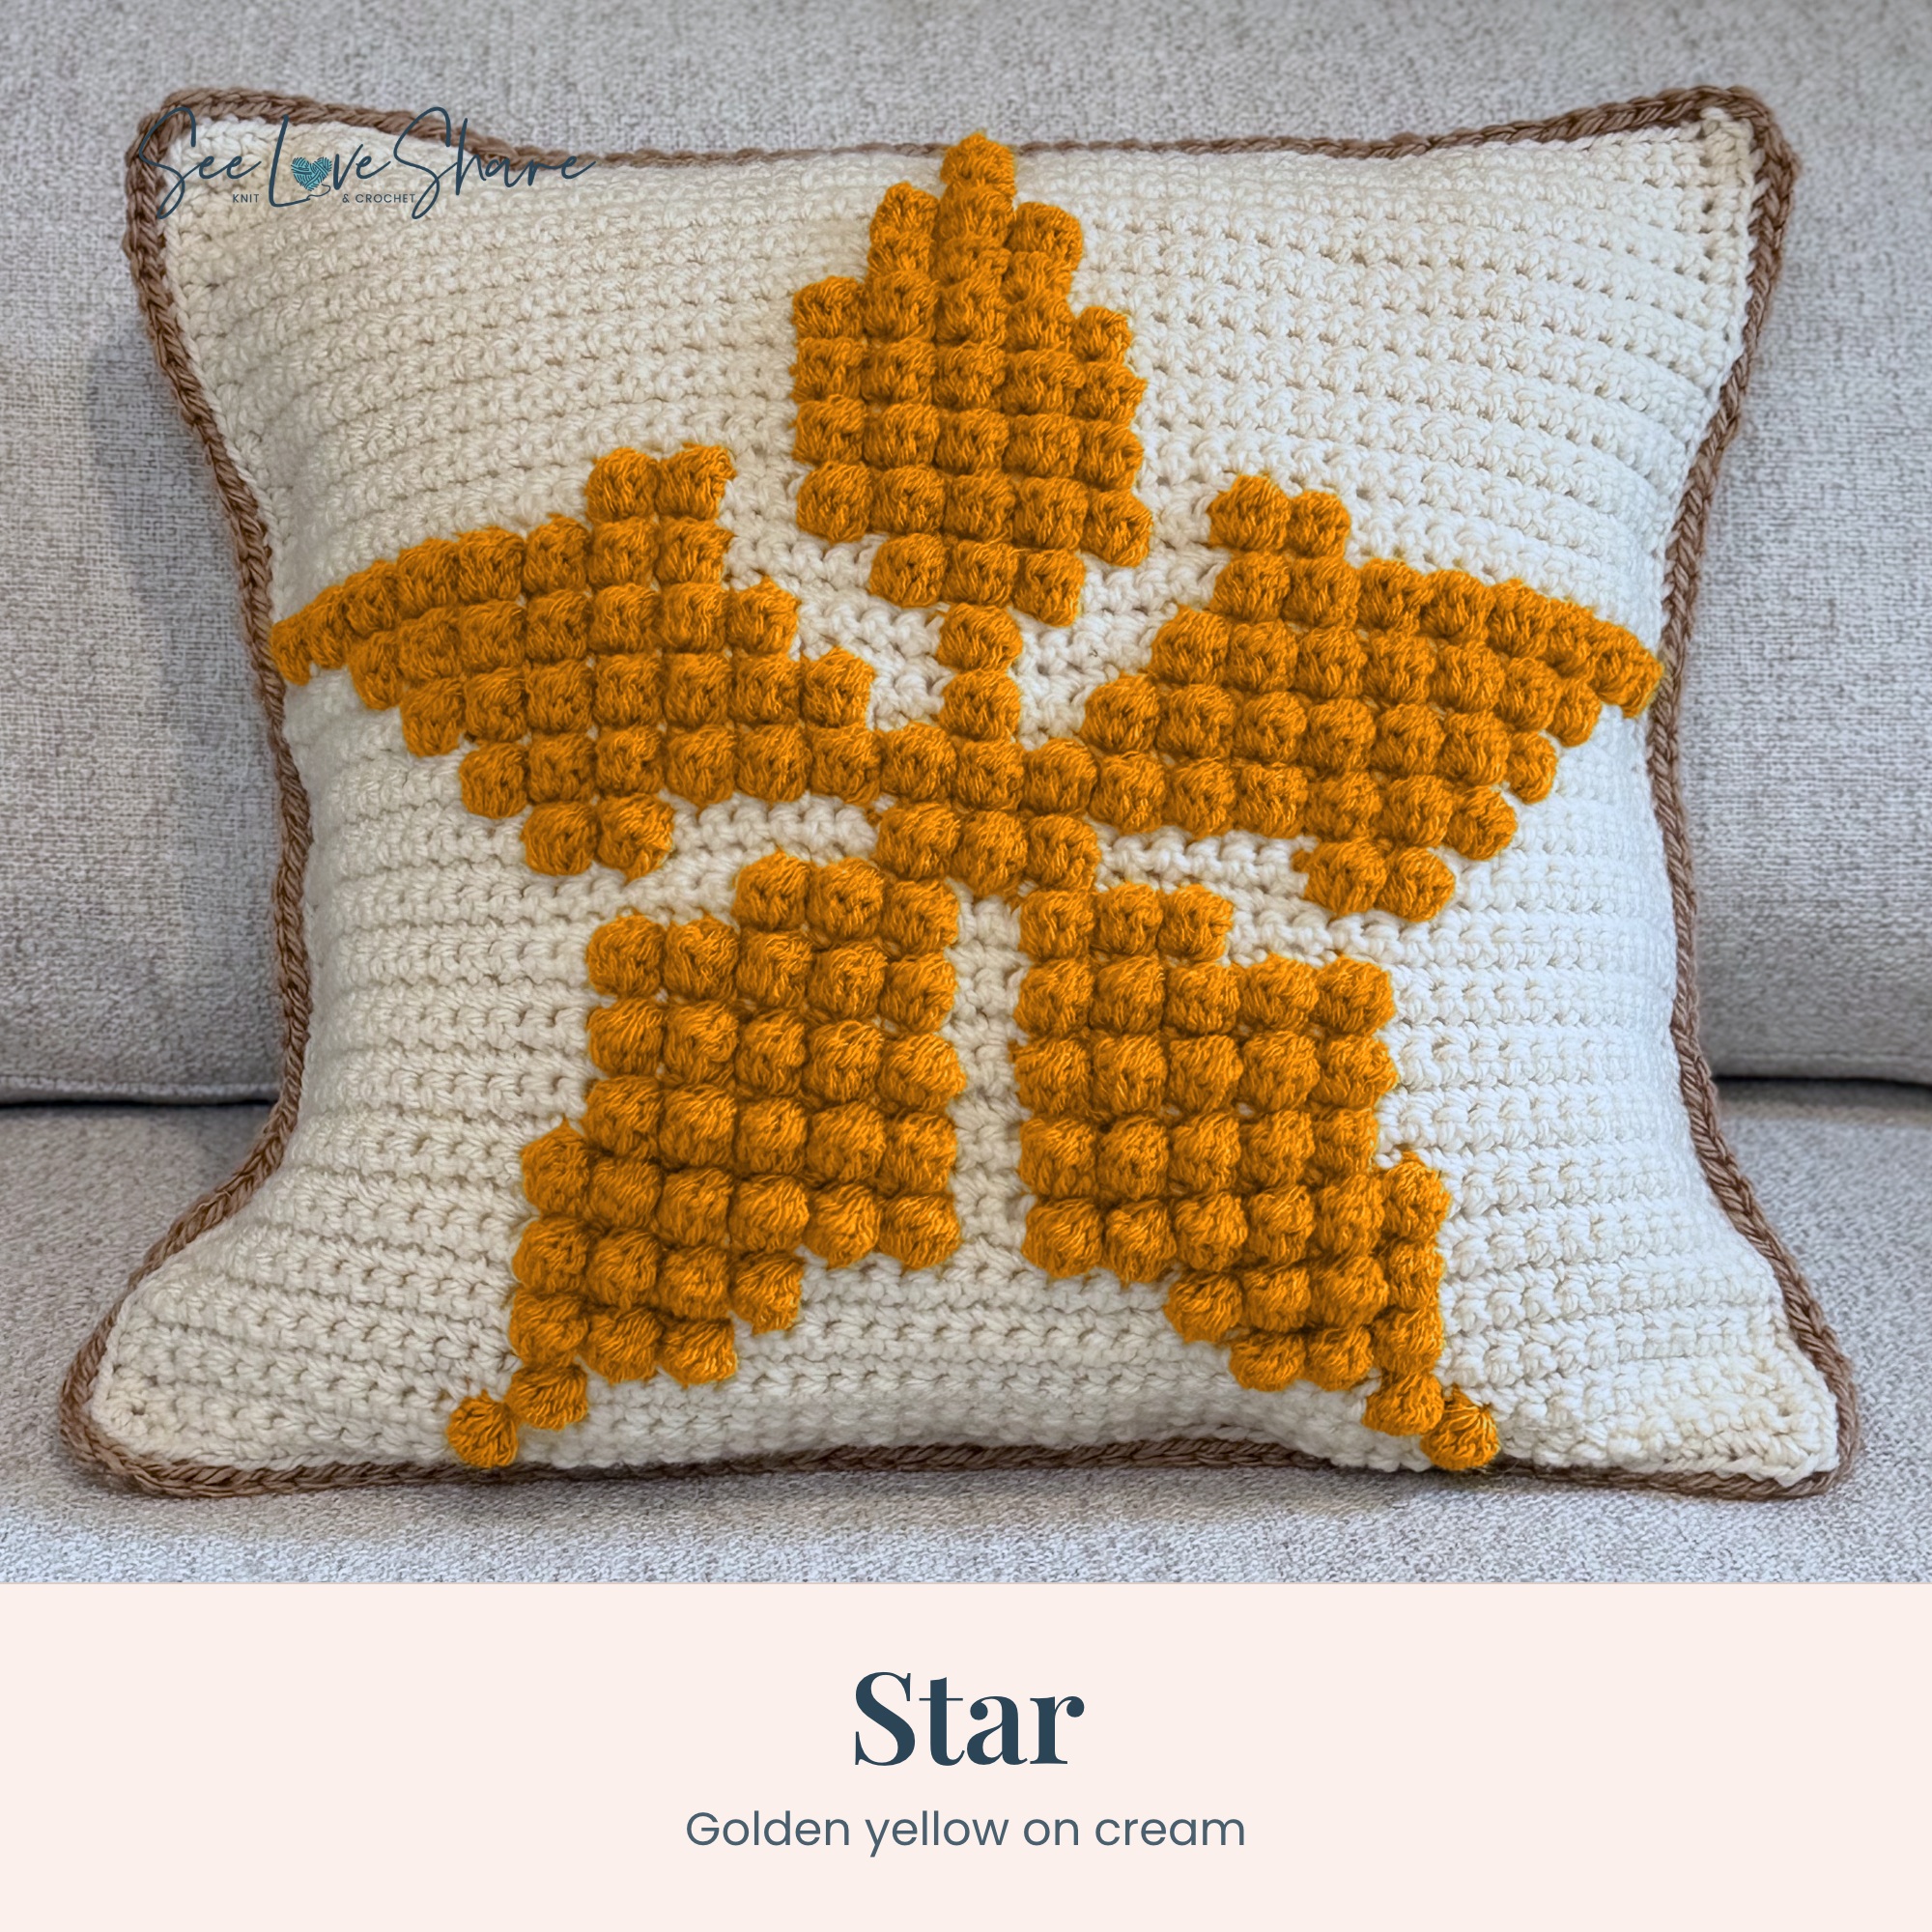
Christmas Star Pillow
Five points, all of them straight lines — nothing curved to count around. If someone told me they were nervous about their first bobble motif, this is the one I would hand them. It also looks lovely in a metallic or a pale gold if you want something less obviously festive.
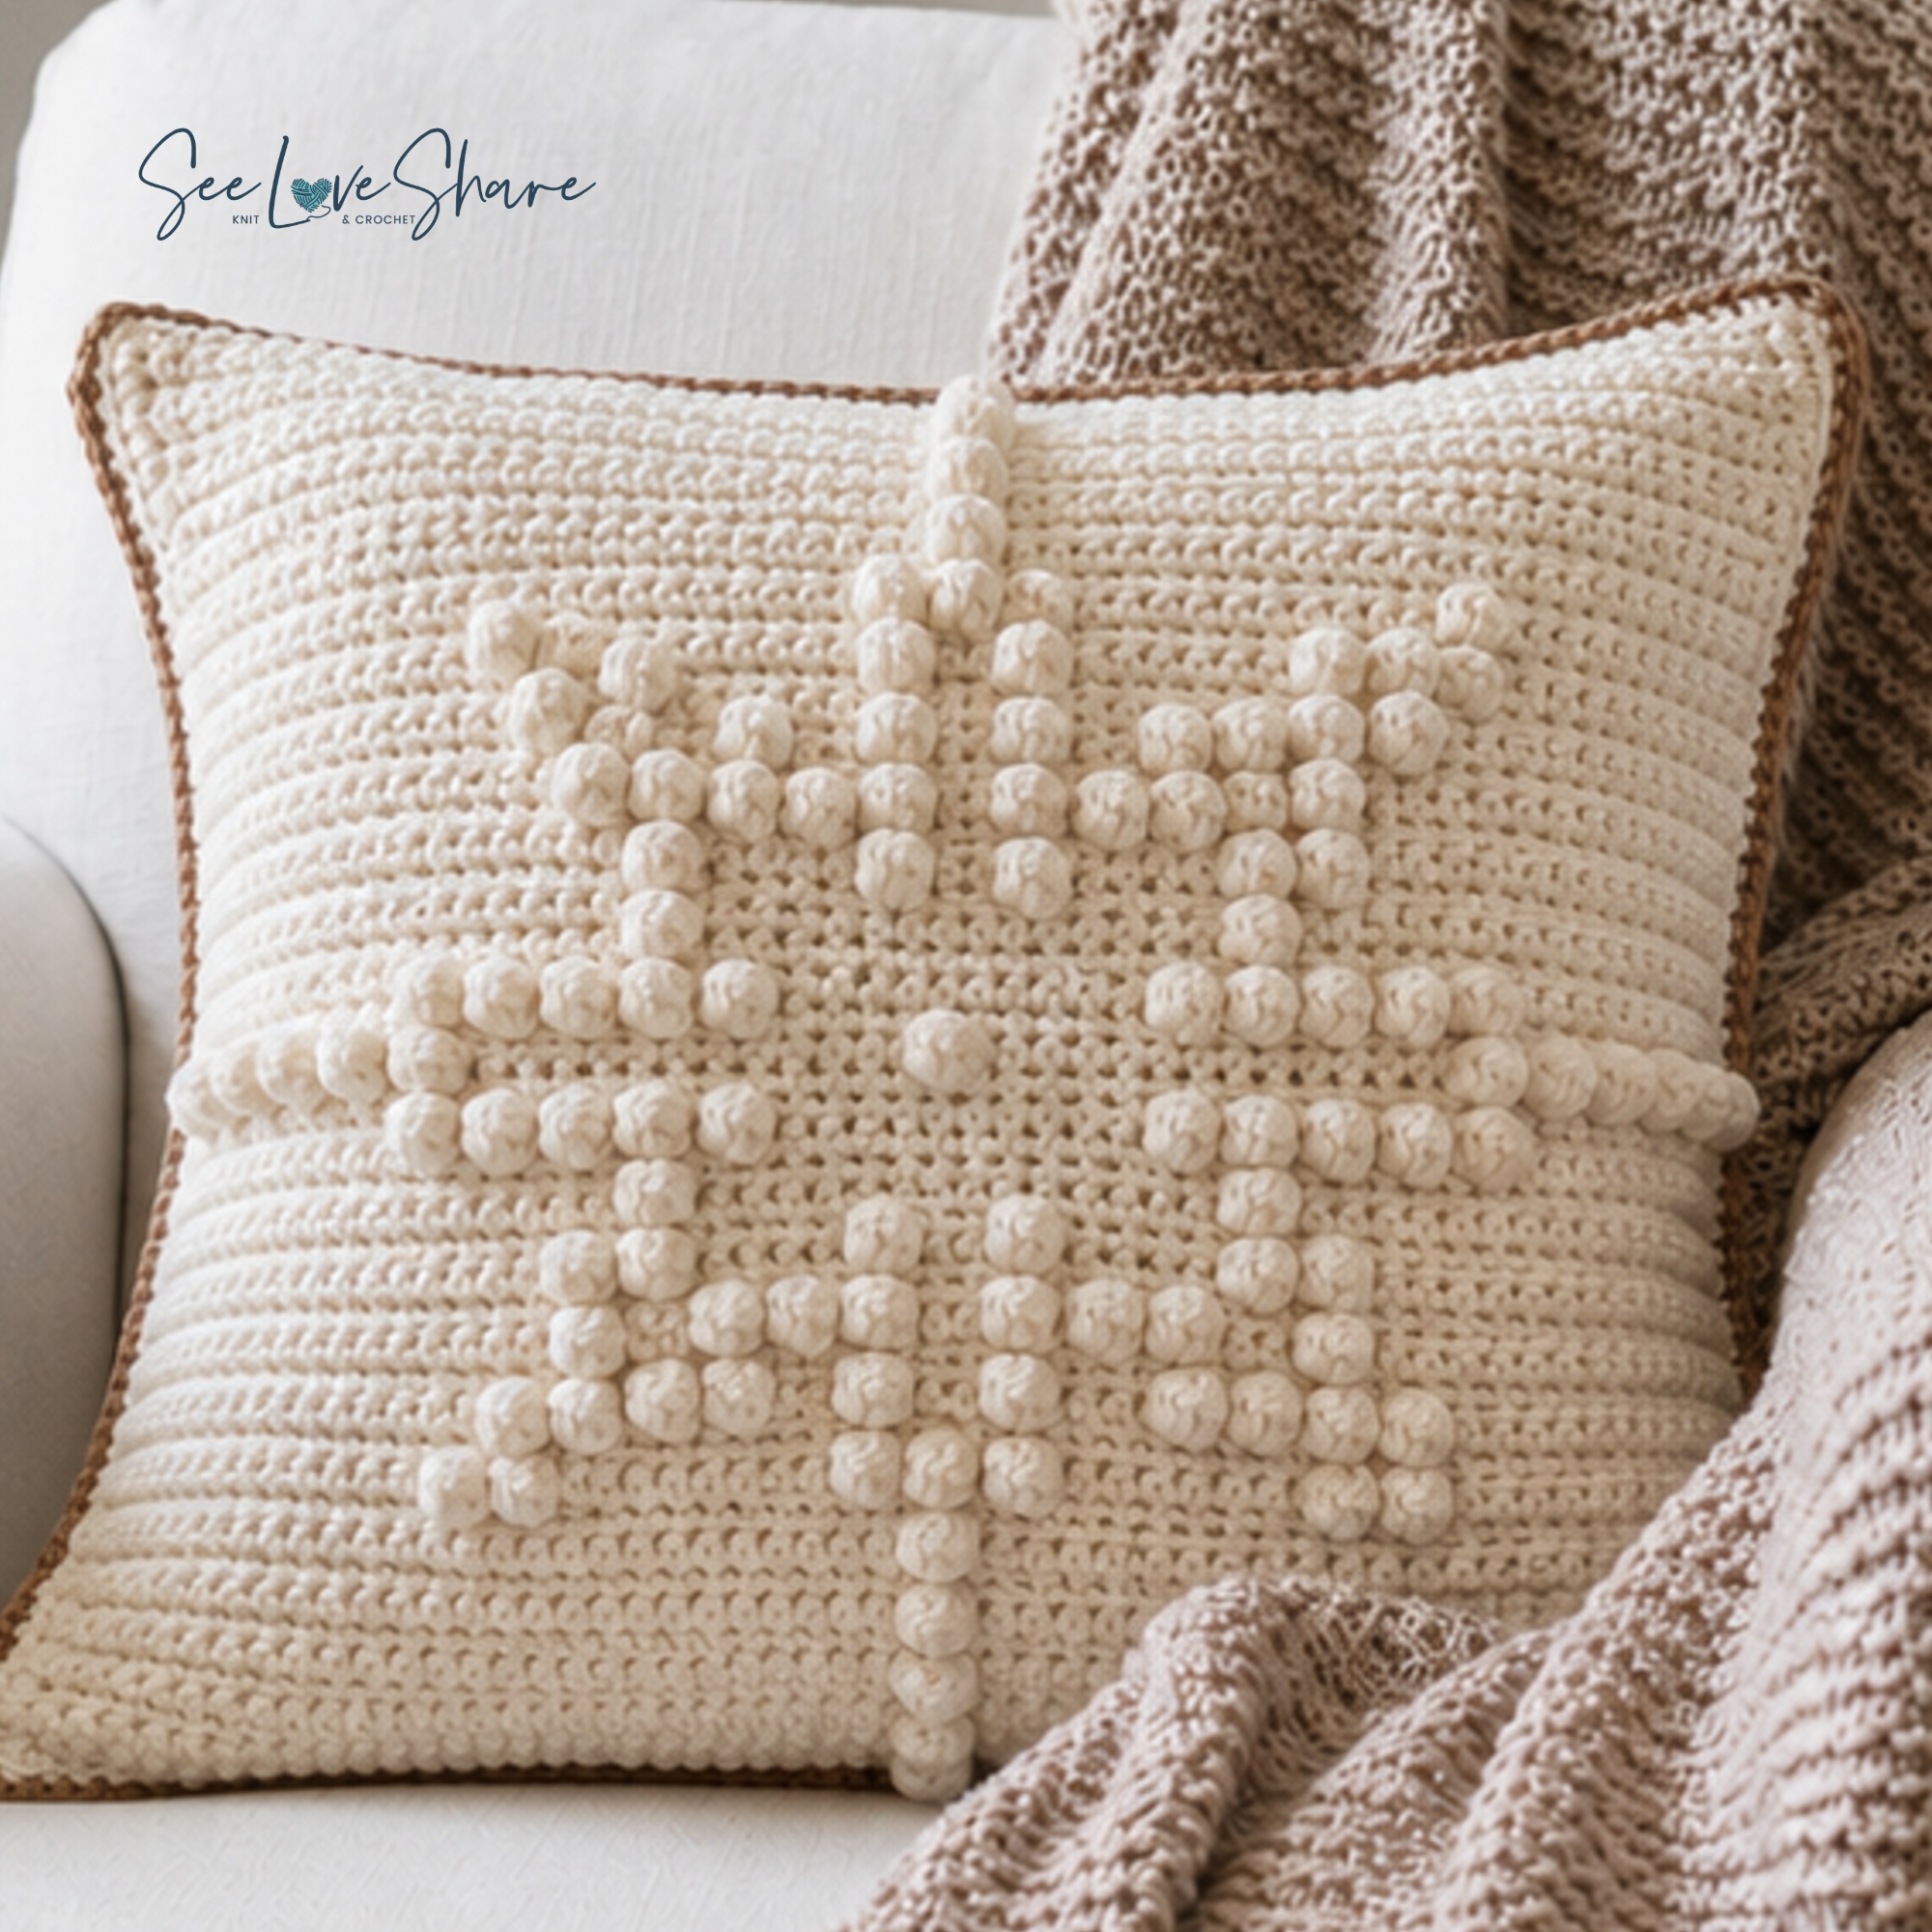
Snowflake Pillow — tone on tone
One colour from start to finish. No carrying yarn, no colour changes, nothing to tangle — the snowflake shows up purely as shadow and texture, and it shifts through the day as the light moves. This is the easiest pattern in the collection and the one that suits a room where you do not want anything shouting Christmas.
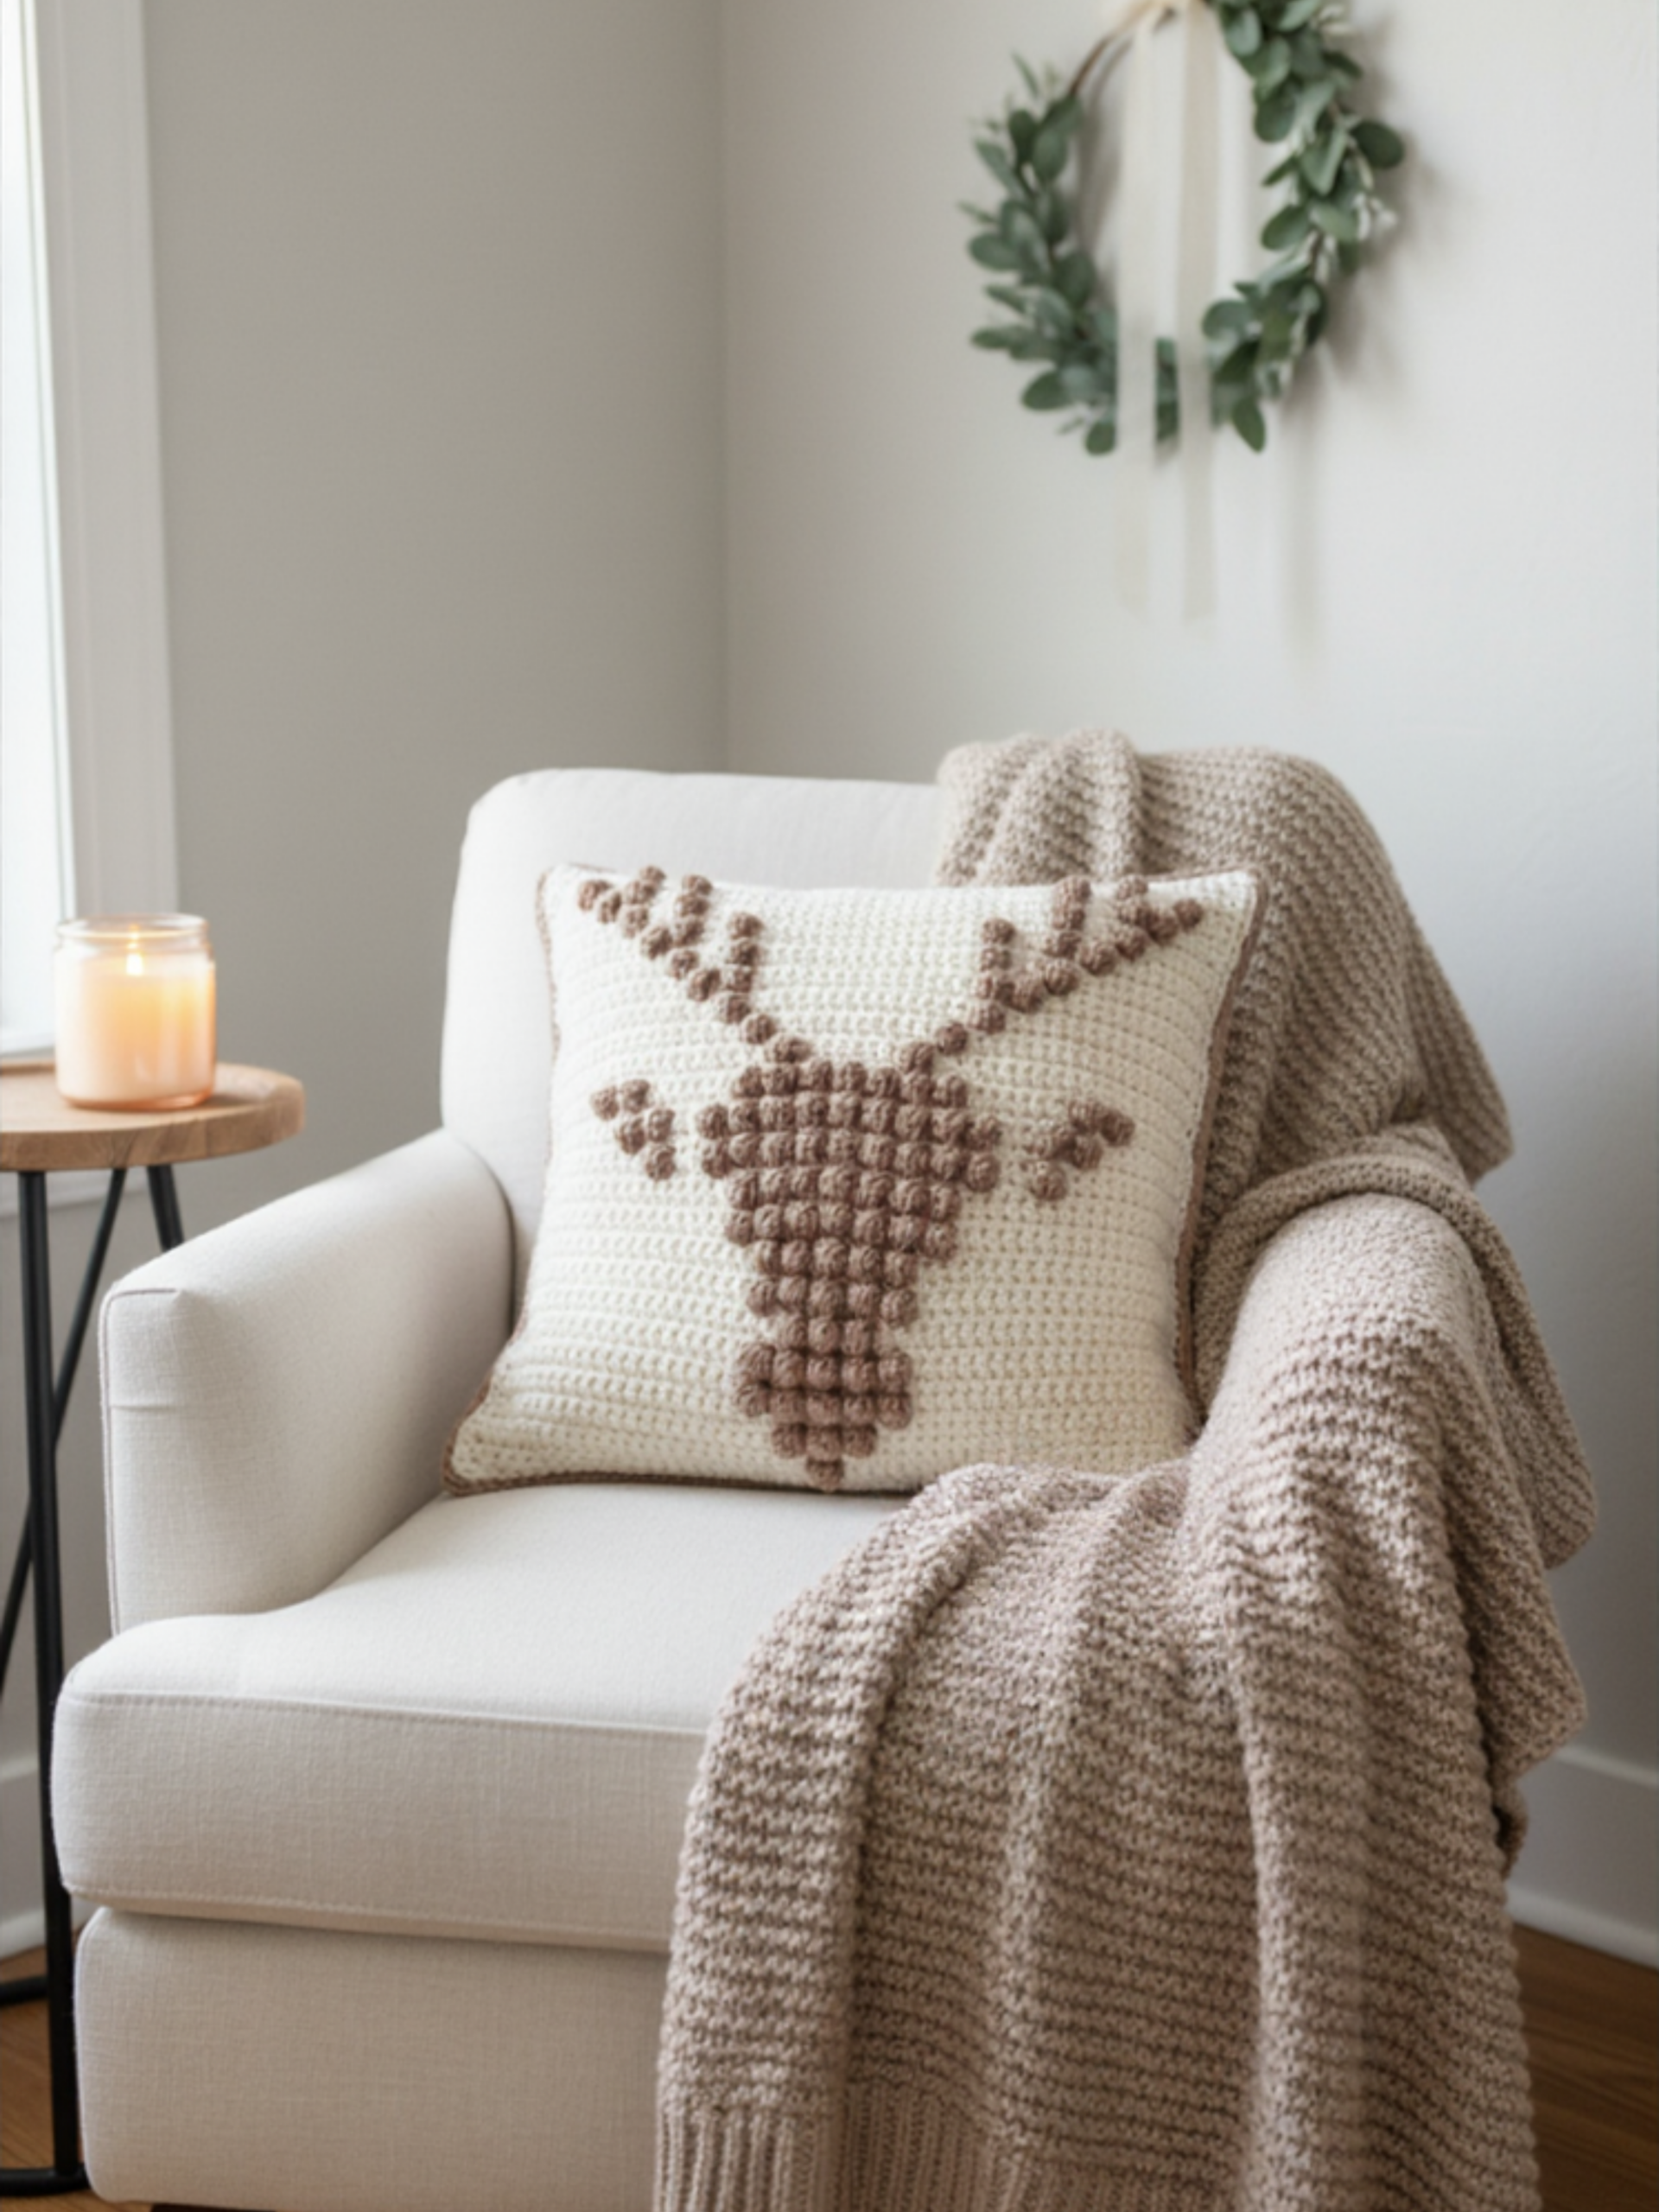
Reindeer Pillow
My favourite of the four to look at once it is finished. The antlers mean more counting than the others — they are the fiddliest few rows in the whole set — but they are also what makes it read as a reindeer rather than a deer-ish shape, so it is worth slowing down for. Save this one for your second or third.
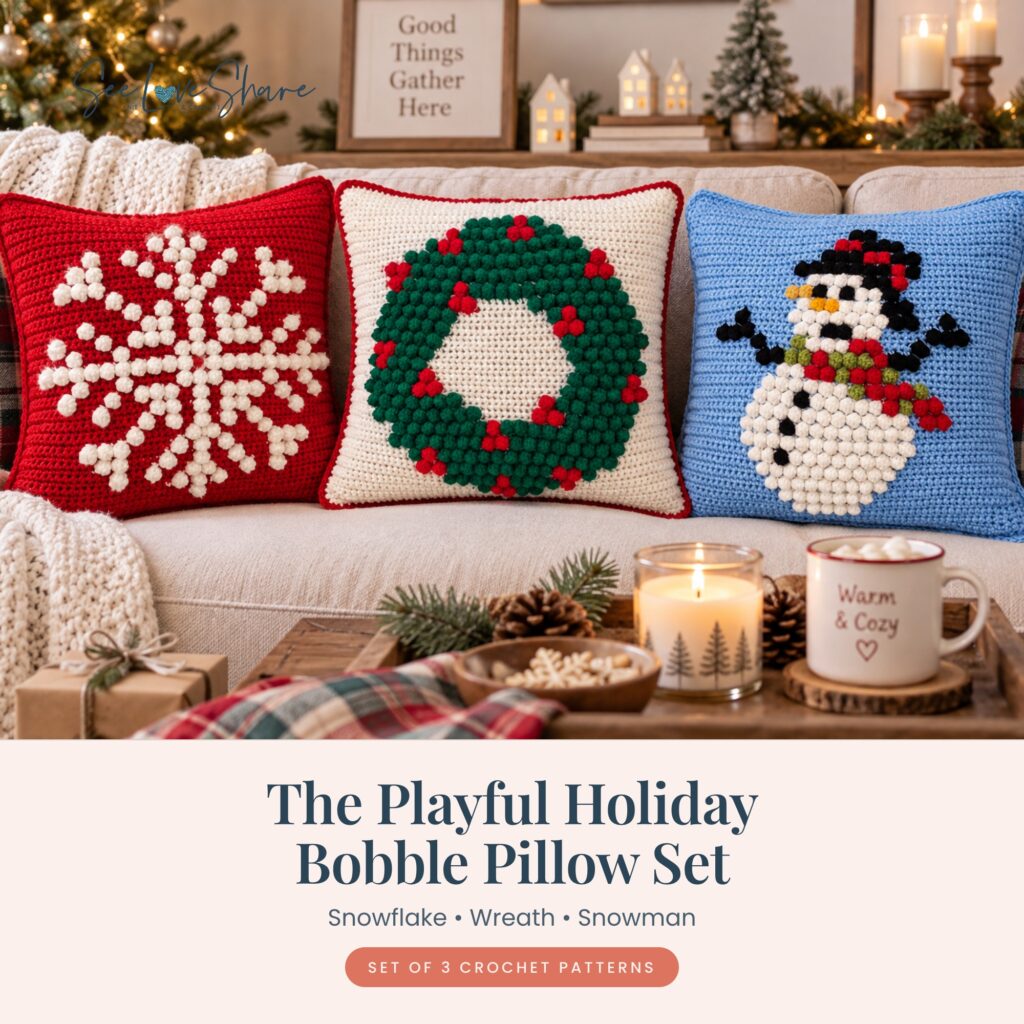
If you are thinking of making several, I have written up how the first four work together as a set over on Crochet Christmas Pillow Patterns — colours, order, and roughly how long each one took me. The brighter three — Snowflake, Wreath and Snowman — have their own write-up over on the Playful Holiday Bobble Pillow Set.
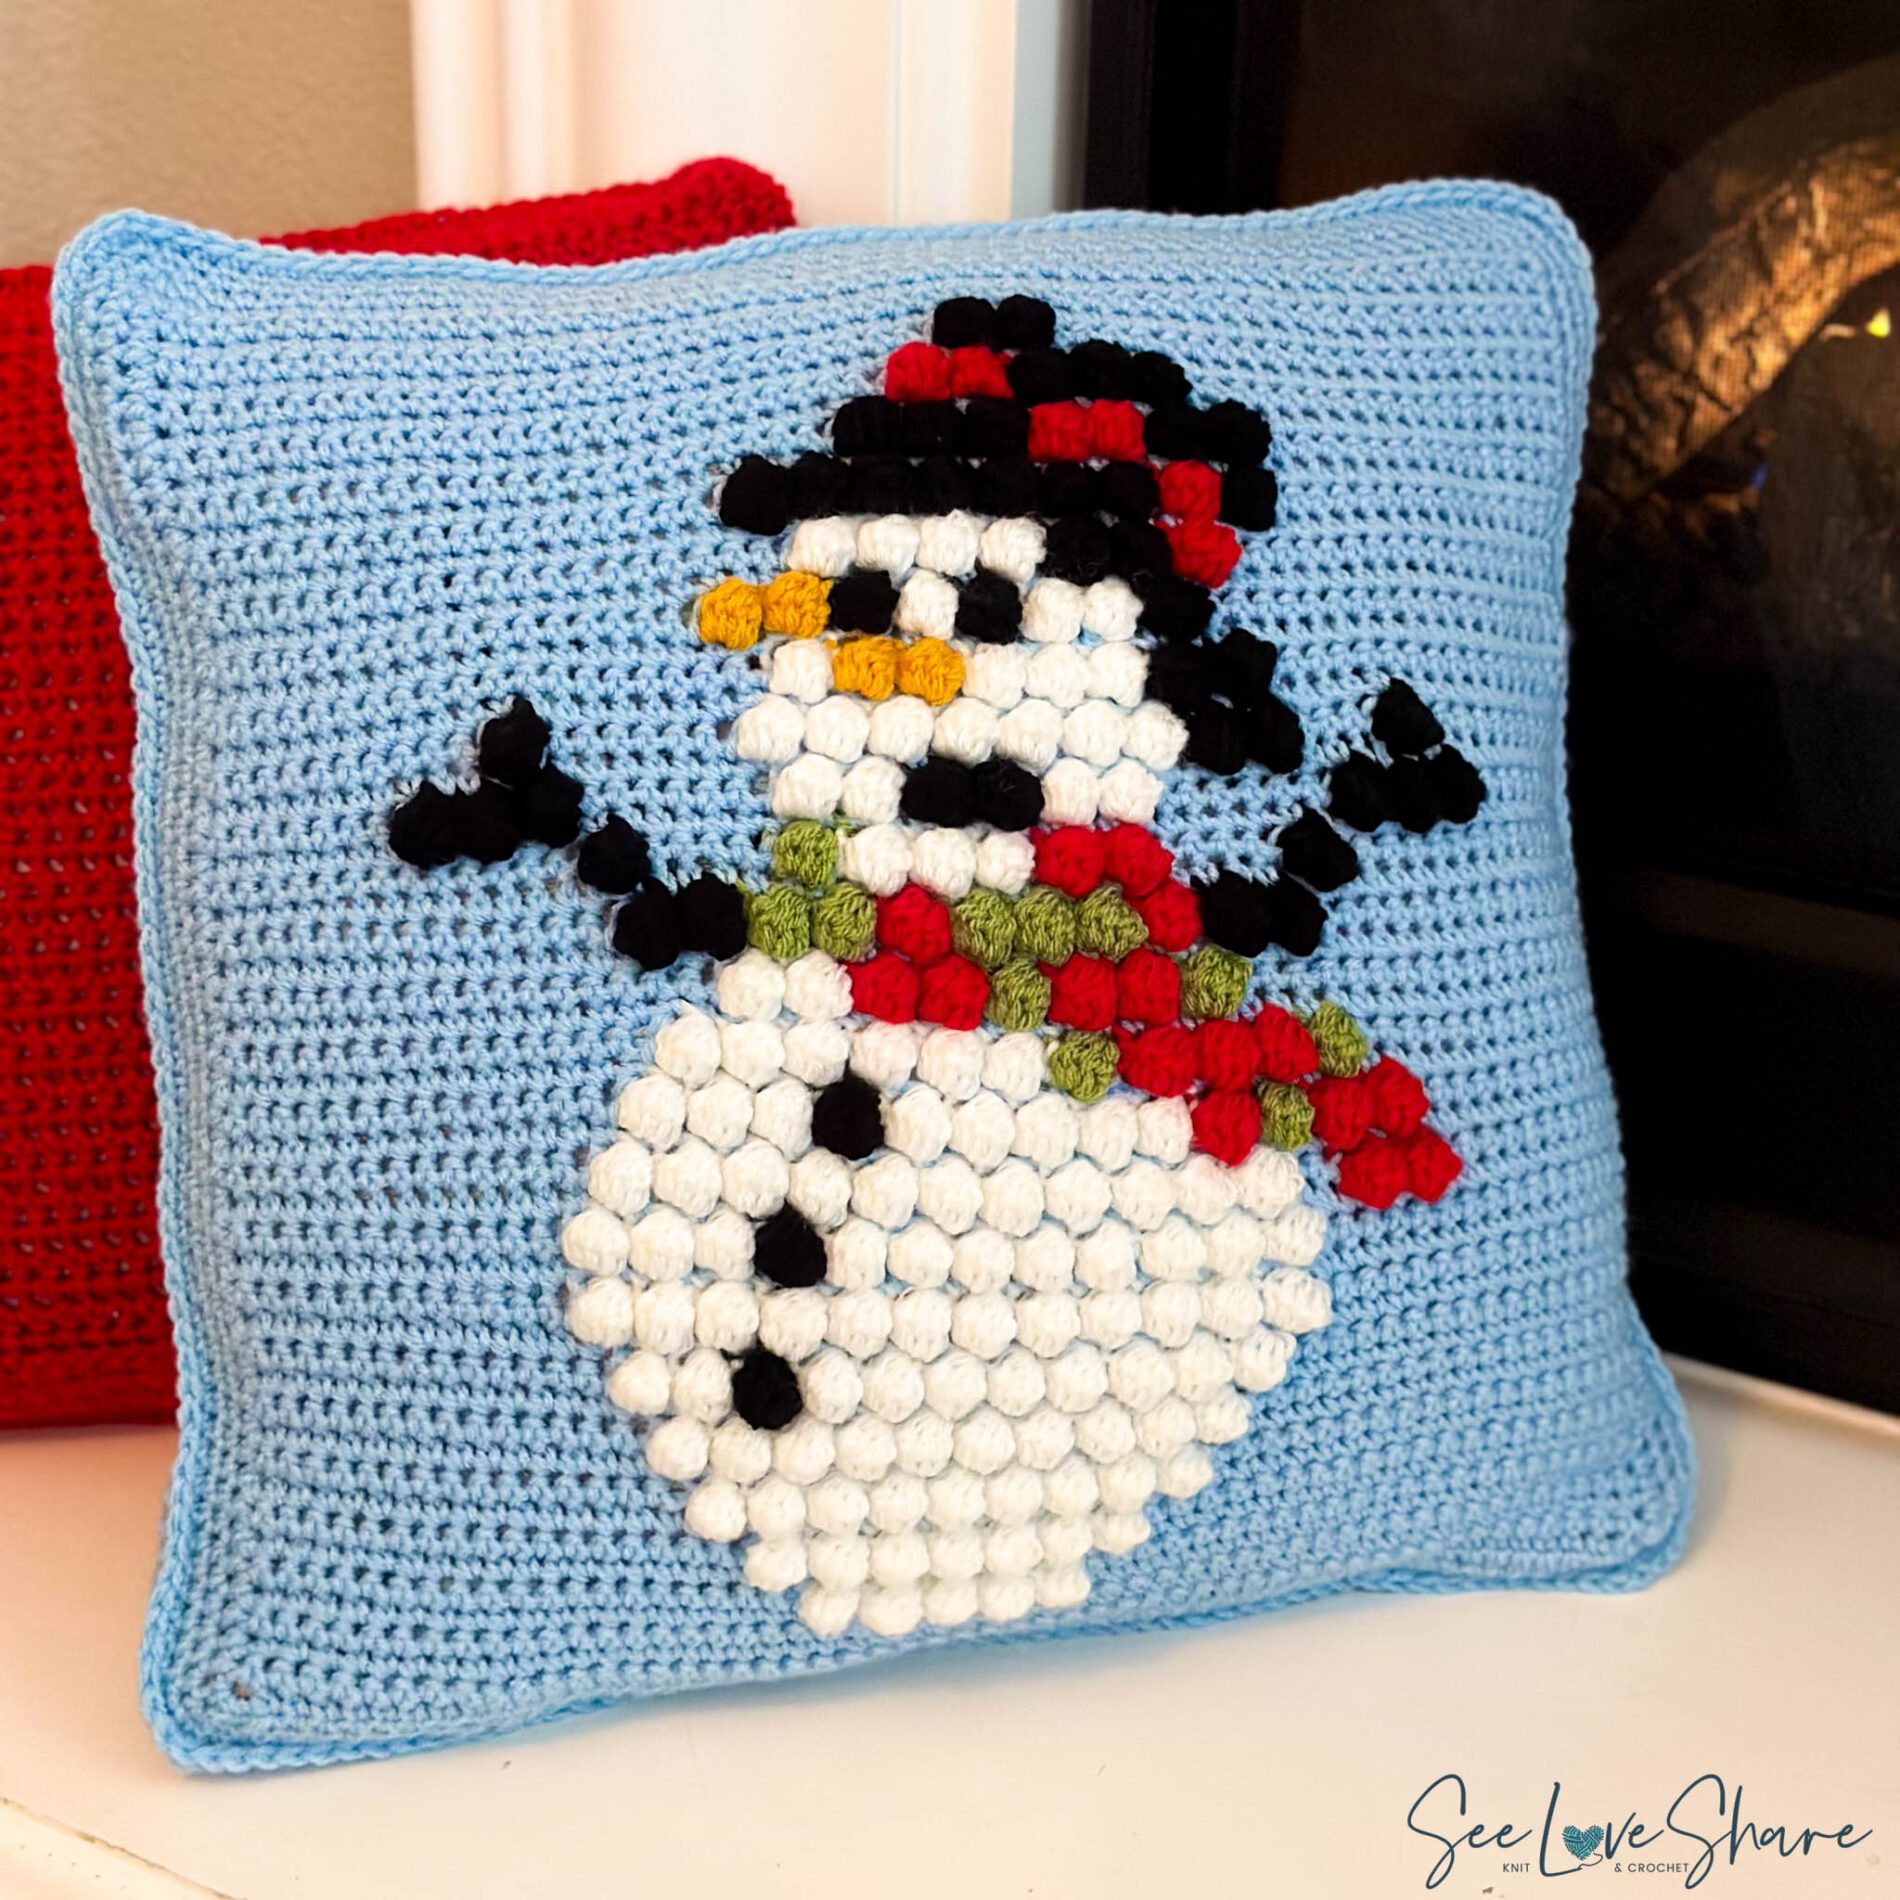
Snowman Pillow
Three stacked circles, which sounds easy and is mostly easy — the curves take a little more attention than a straight-sided motif. The nice thing about a snowman is that he is not really a Christmas decoration, so this one can stay out through January and February when everything else has gone back in the box. Written for both 16″ and 18″ covers.
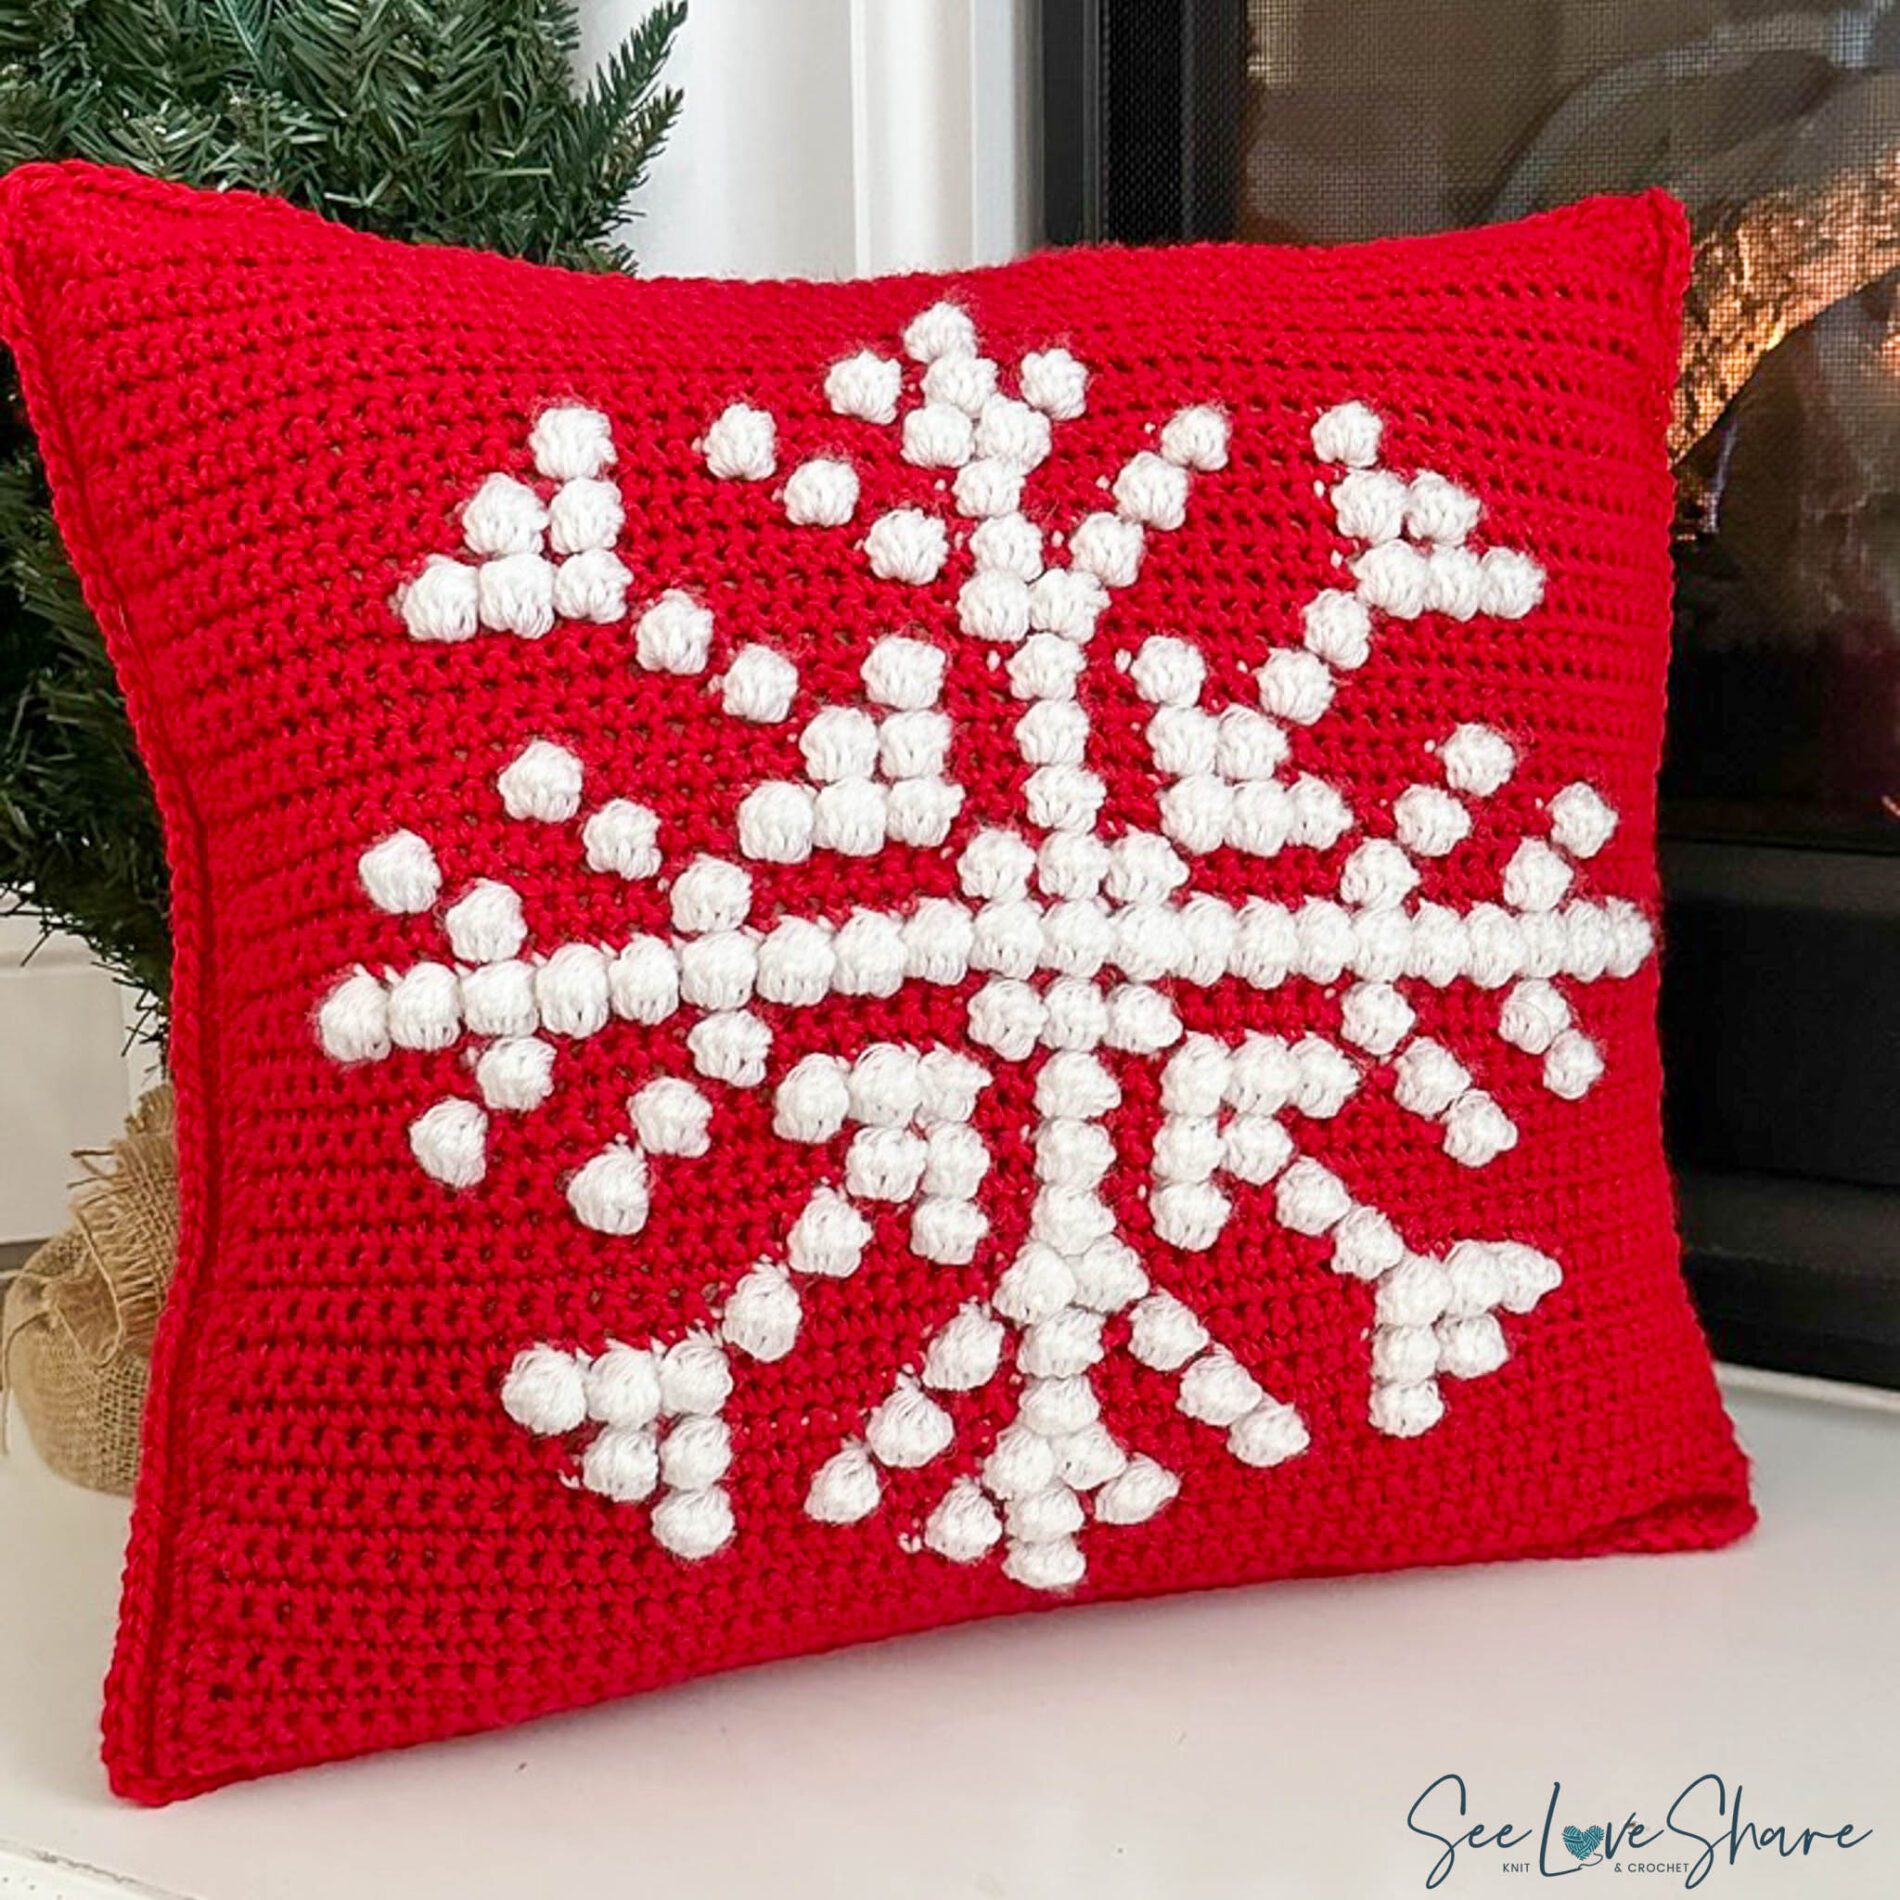
Snowflake Holiday Pillow Cover
Worth saying clearly, because it confuses people: this is not the same pattern as the tone-on-tone snowflake further up. This one is two colours worked in intarsia, so the motif sits in high contrast against the ground — the bolder, more traditional version of the same idea. If you want a snowflake that reads from the doorway, it is this one.
Christmas Wreath Pillow
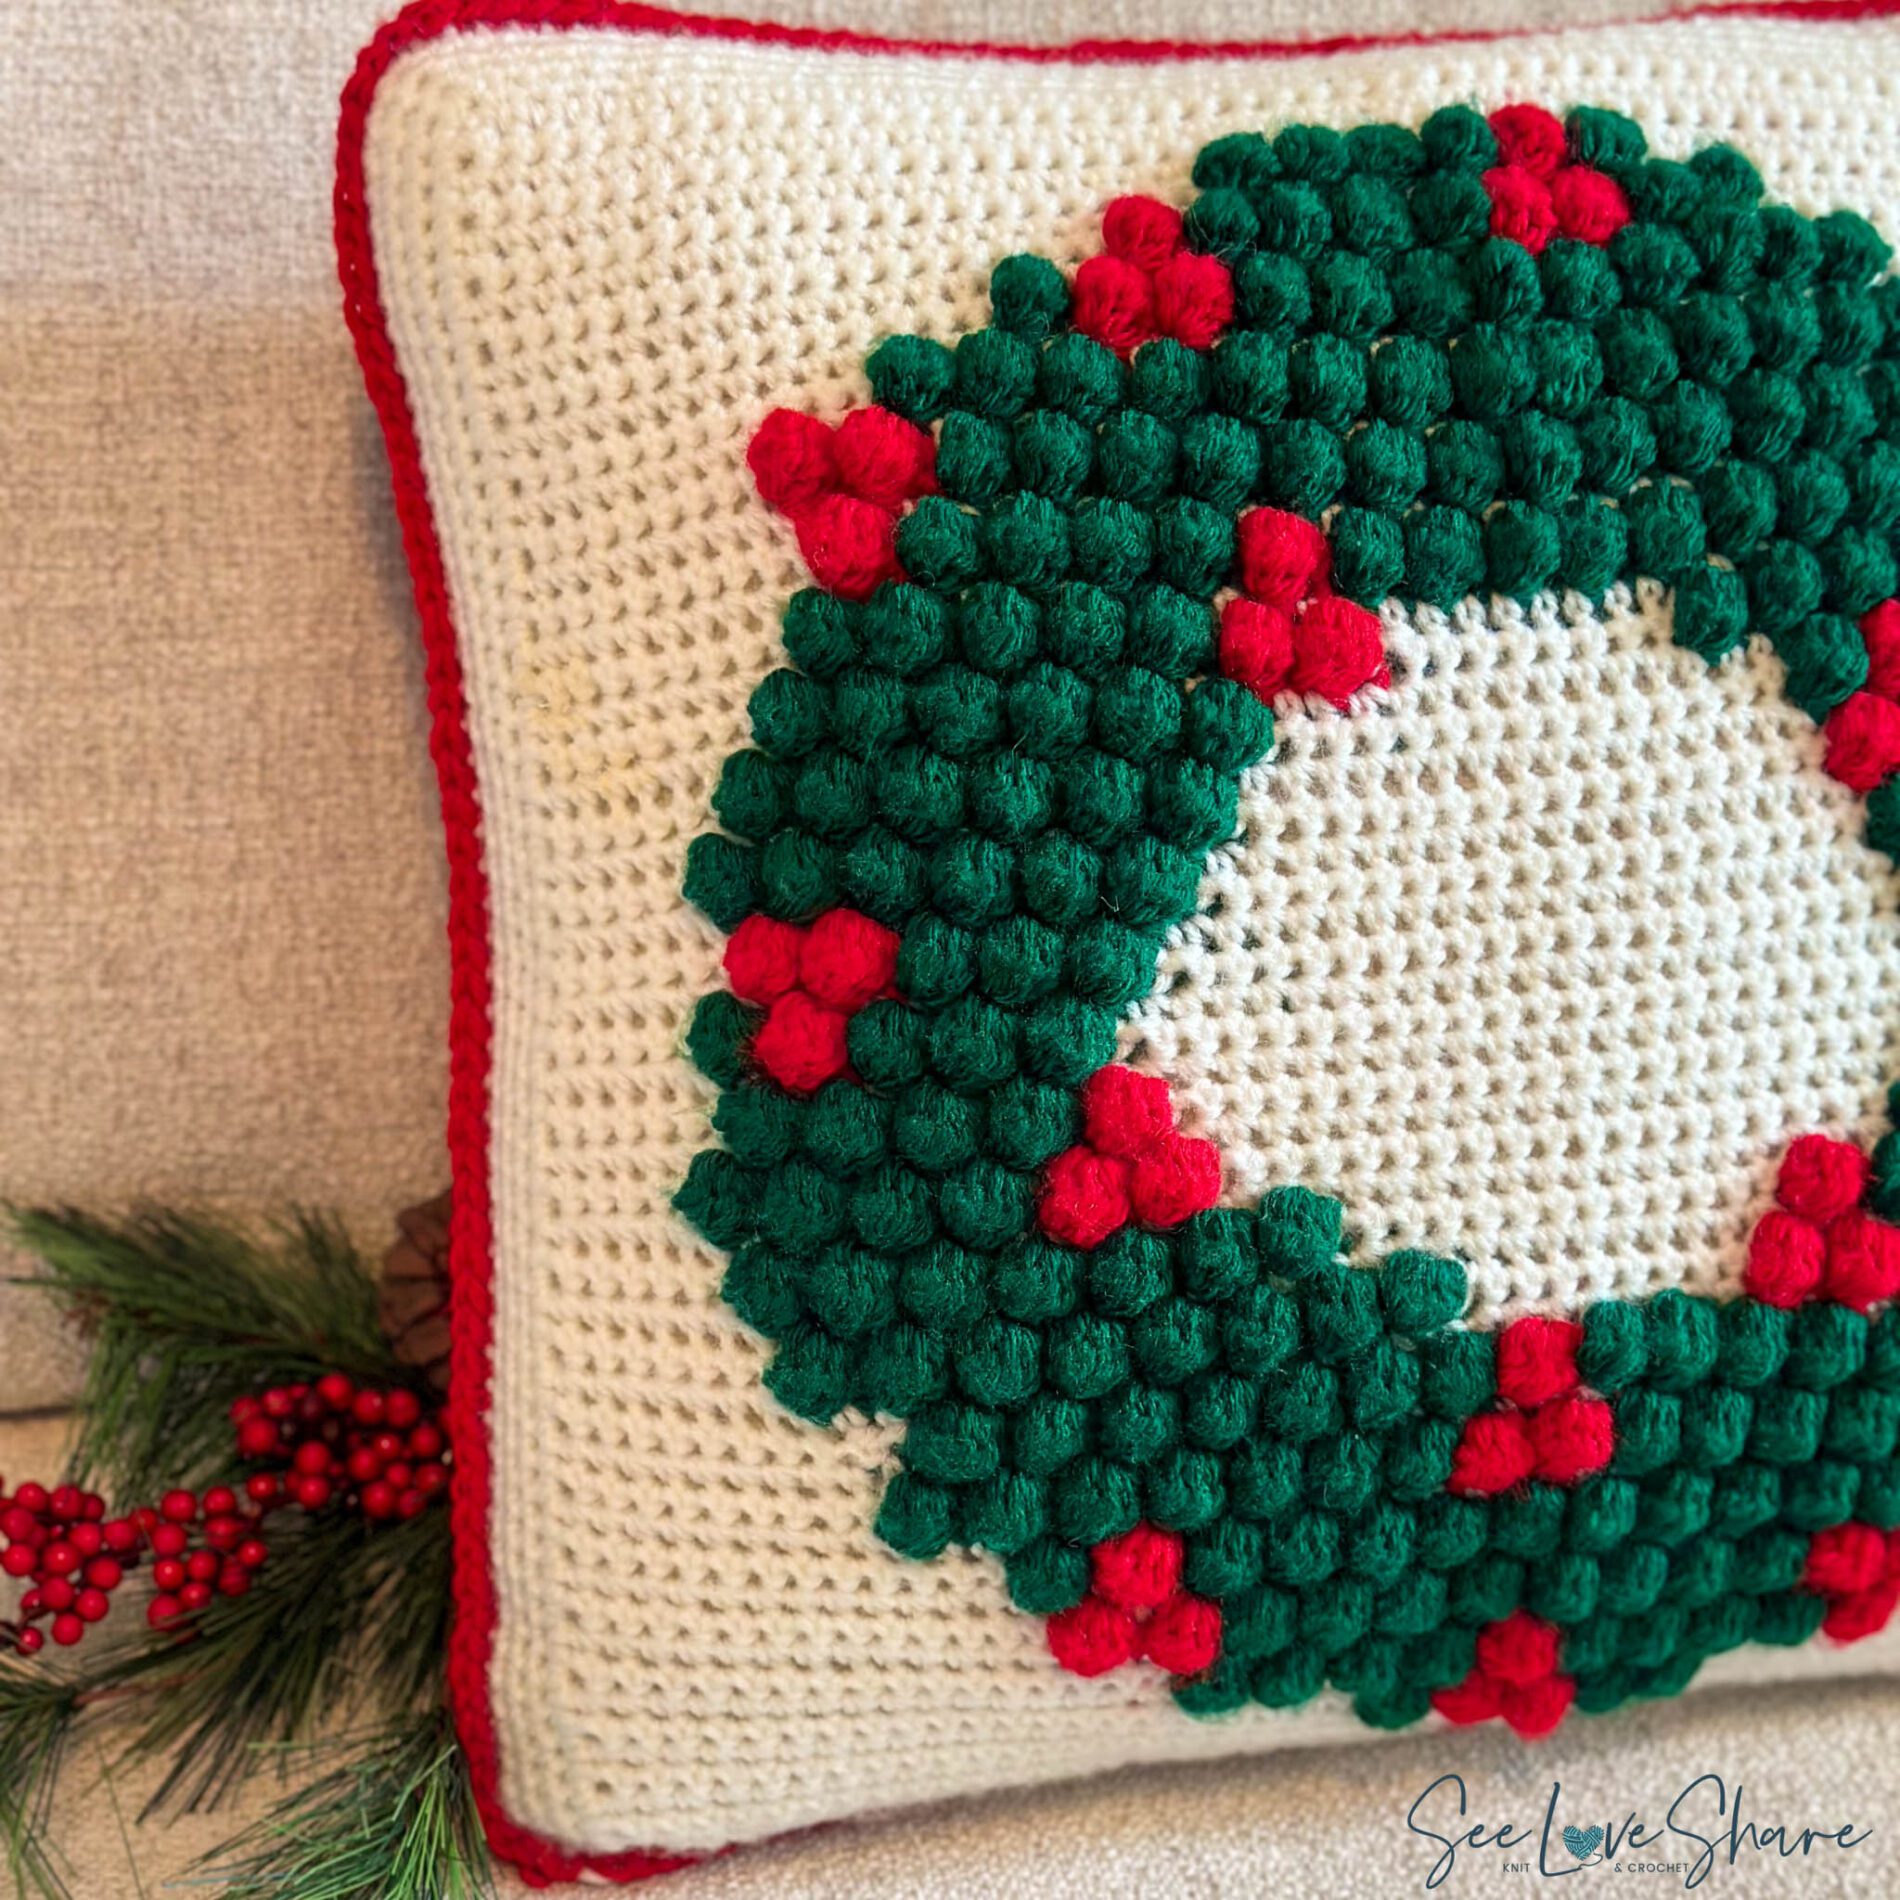
The most ambitious thing on this page. A full ring worked in intarsia means you are counting a curve on both the inside and the outside edge at once, and there is nowhere to hide a miscount. I would not start here — but once two or three of the others have taught you what good bobble tension feels like, it is a genuinely satisfying make. Written for 16″ and 18″.
The Hanukkah pillows
Hanukkah decor is genuinely hard to find in crochet, which is the reason these three exist. Same 16″ cover, same construction, same single new stitch as everything else here.

Menorah Pillow
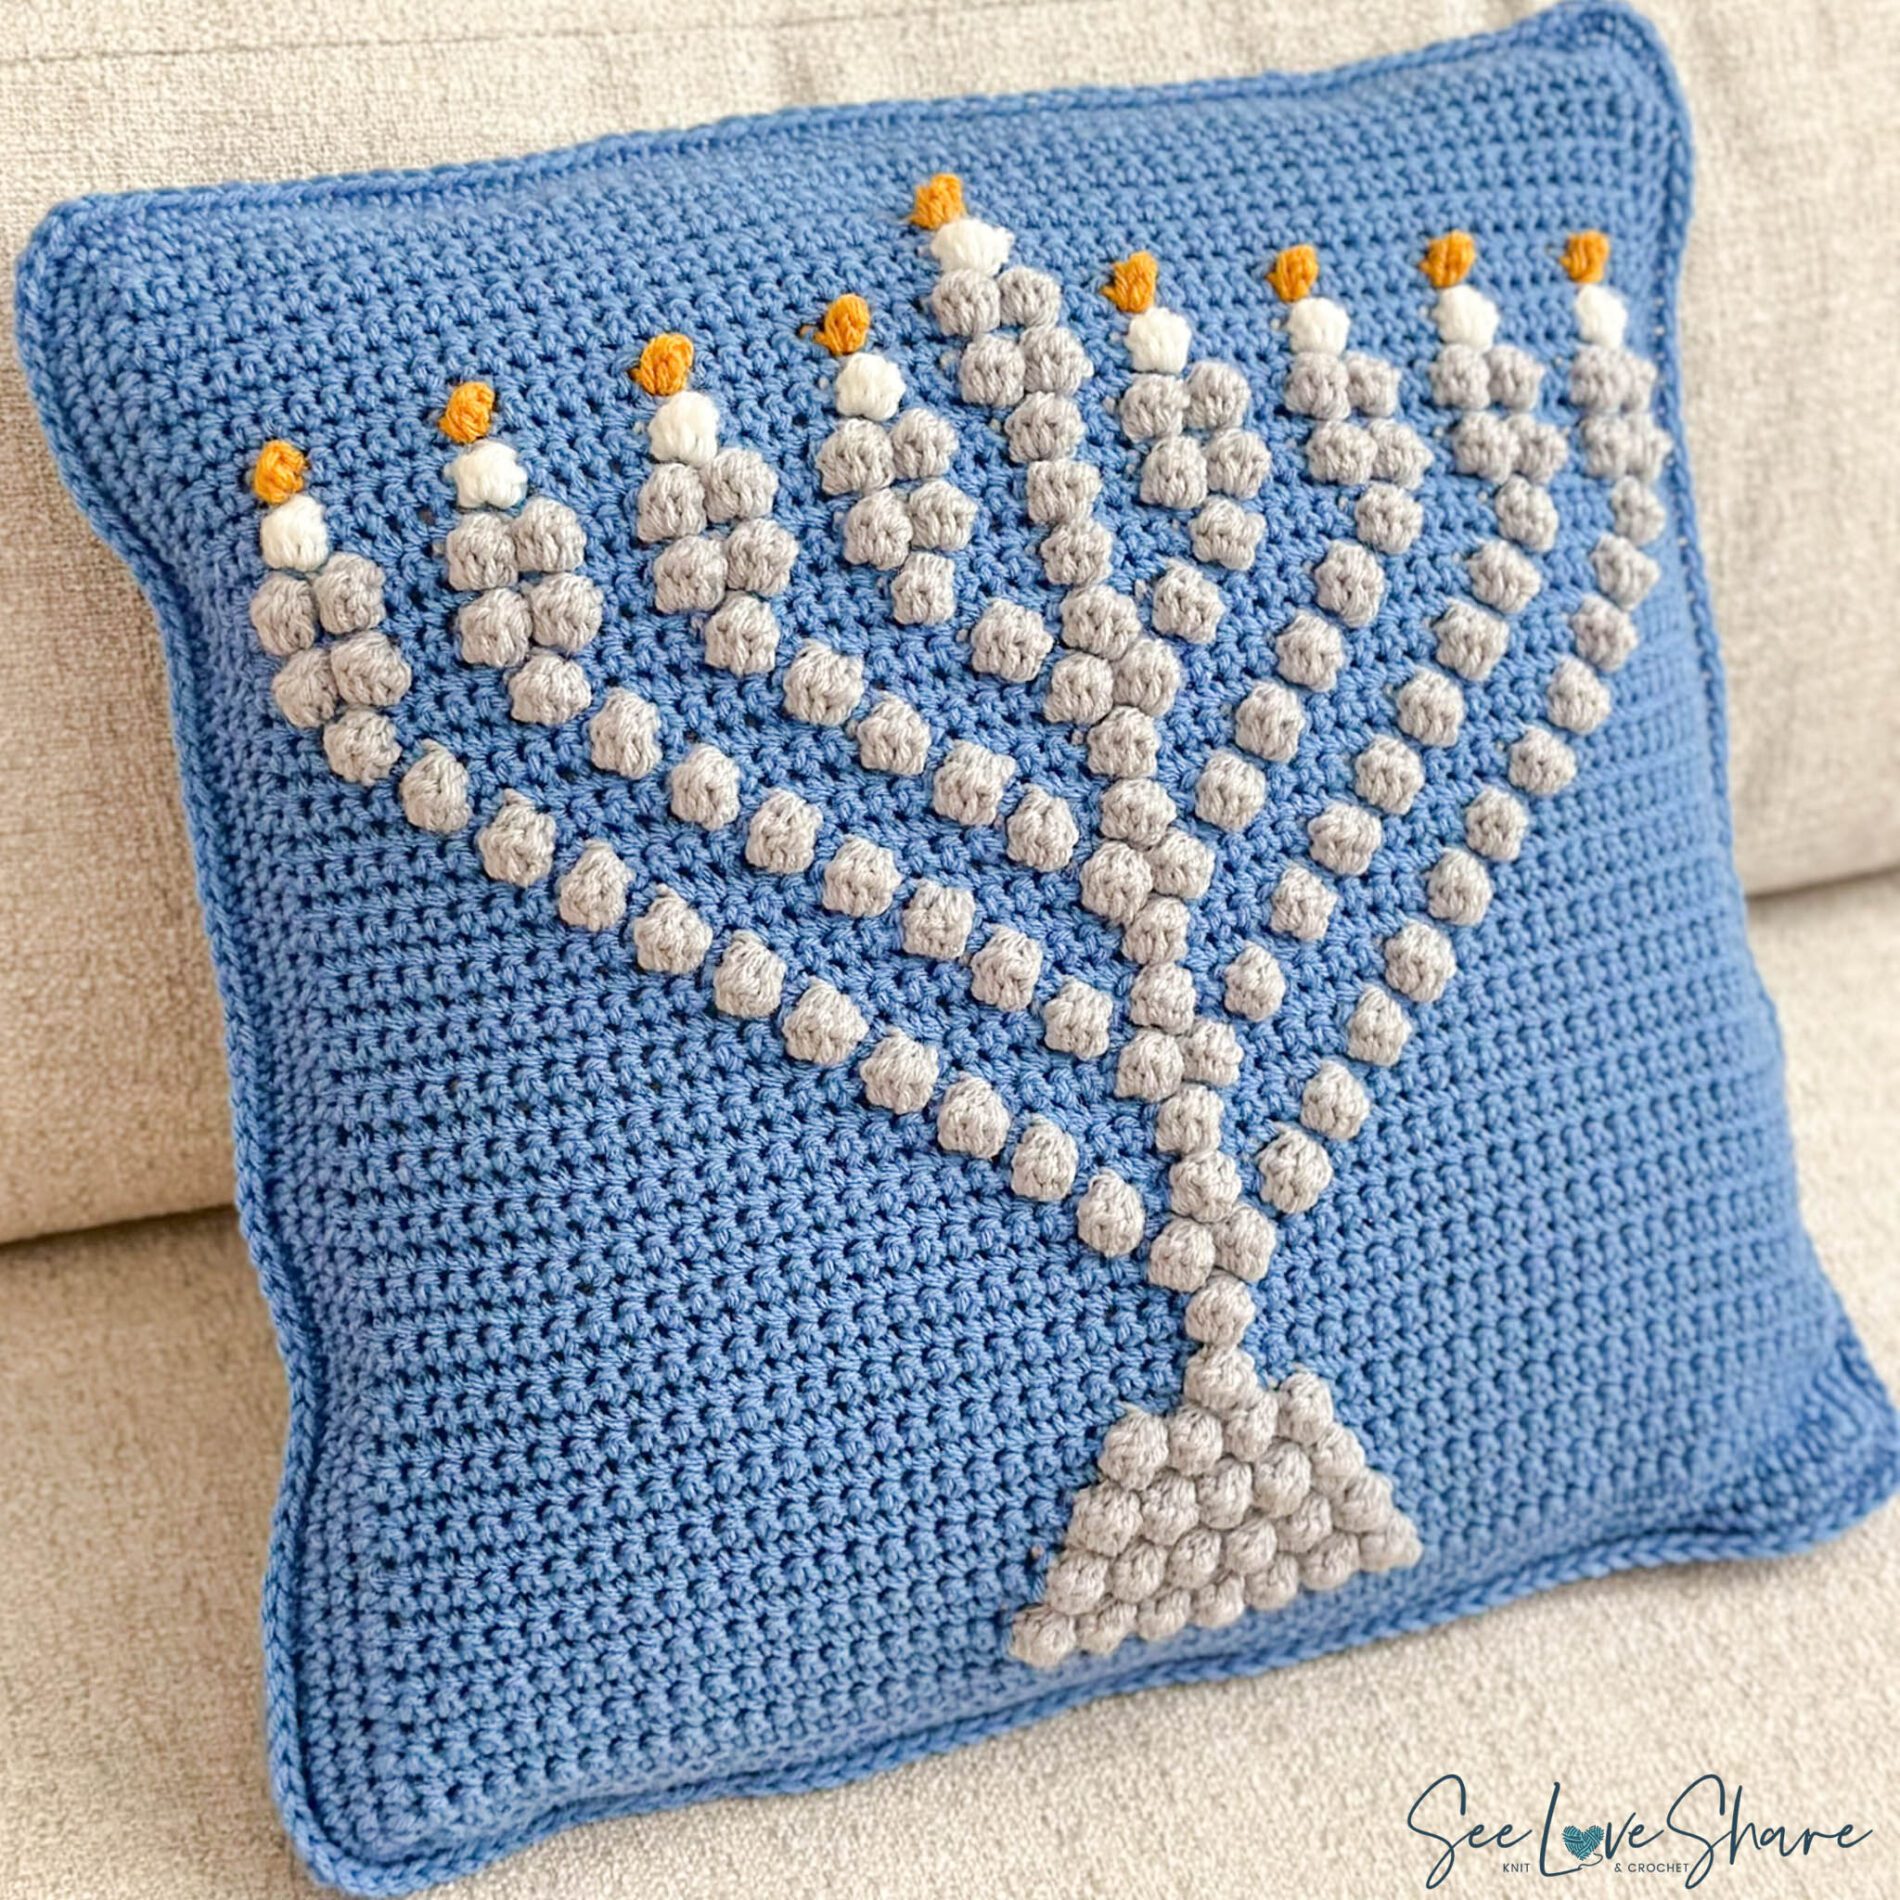
Nine candles, which means nine vertical lines of bobbles running up the panel — all straight, all evenly spaced, and unexpectedly easy to keep track of because you can see at a glance if one is out of line. The shamash standing taller in the middle is the detail that makes it. Includes notes if you want it larger than 16″.
Dreidel Pillow
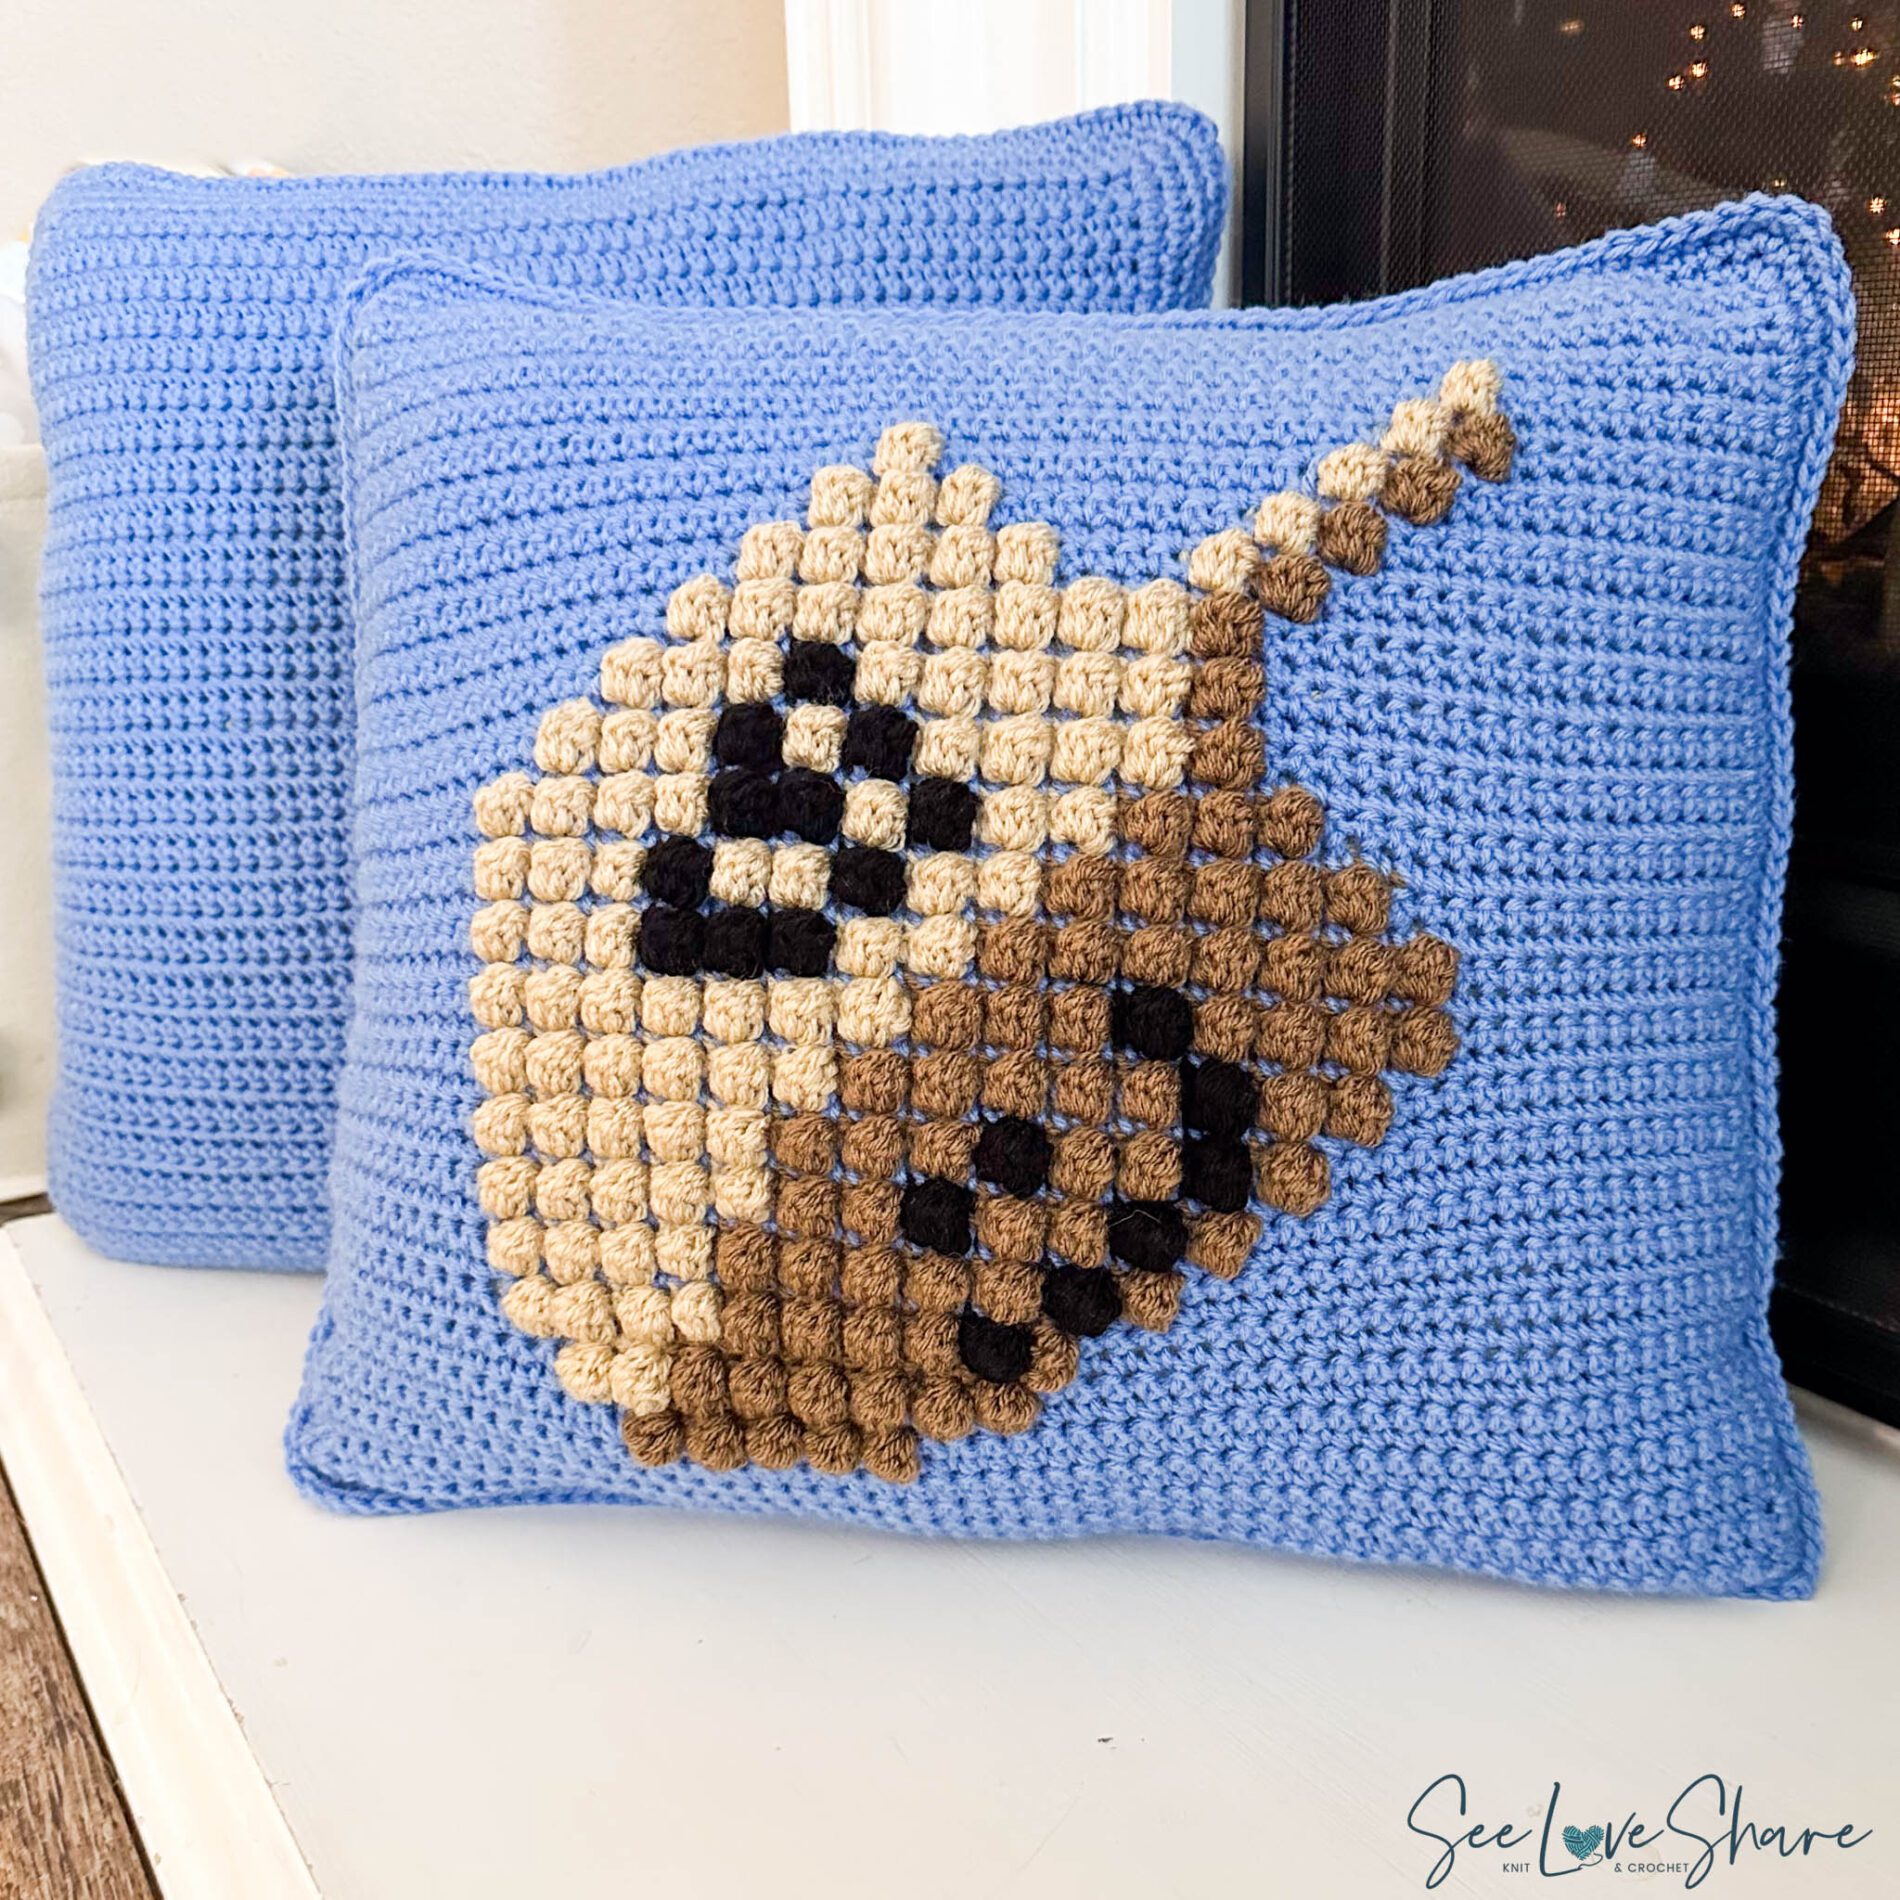
One big central shape with clean diagonal sides — forgiving, quick to see progress on, and the one I would make first of the three. The free written pattern is here on the blog, so it is also a no-risk way to find out whether you enjoy this kind of chart before committing to anything.
Star of David Pillow
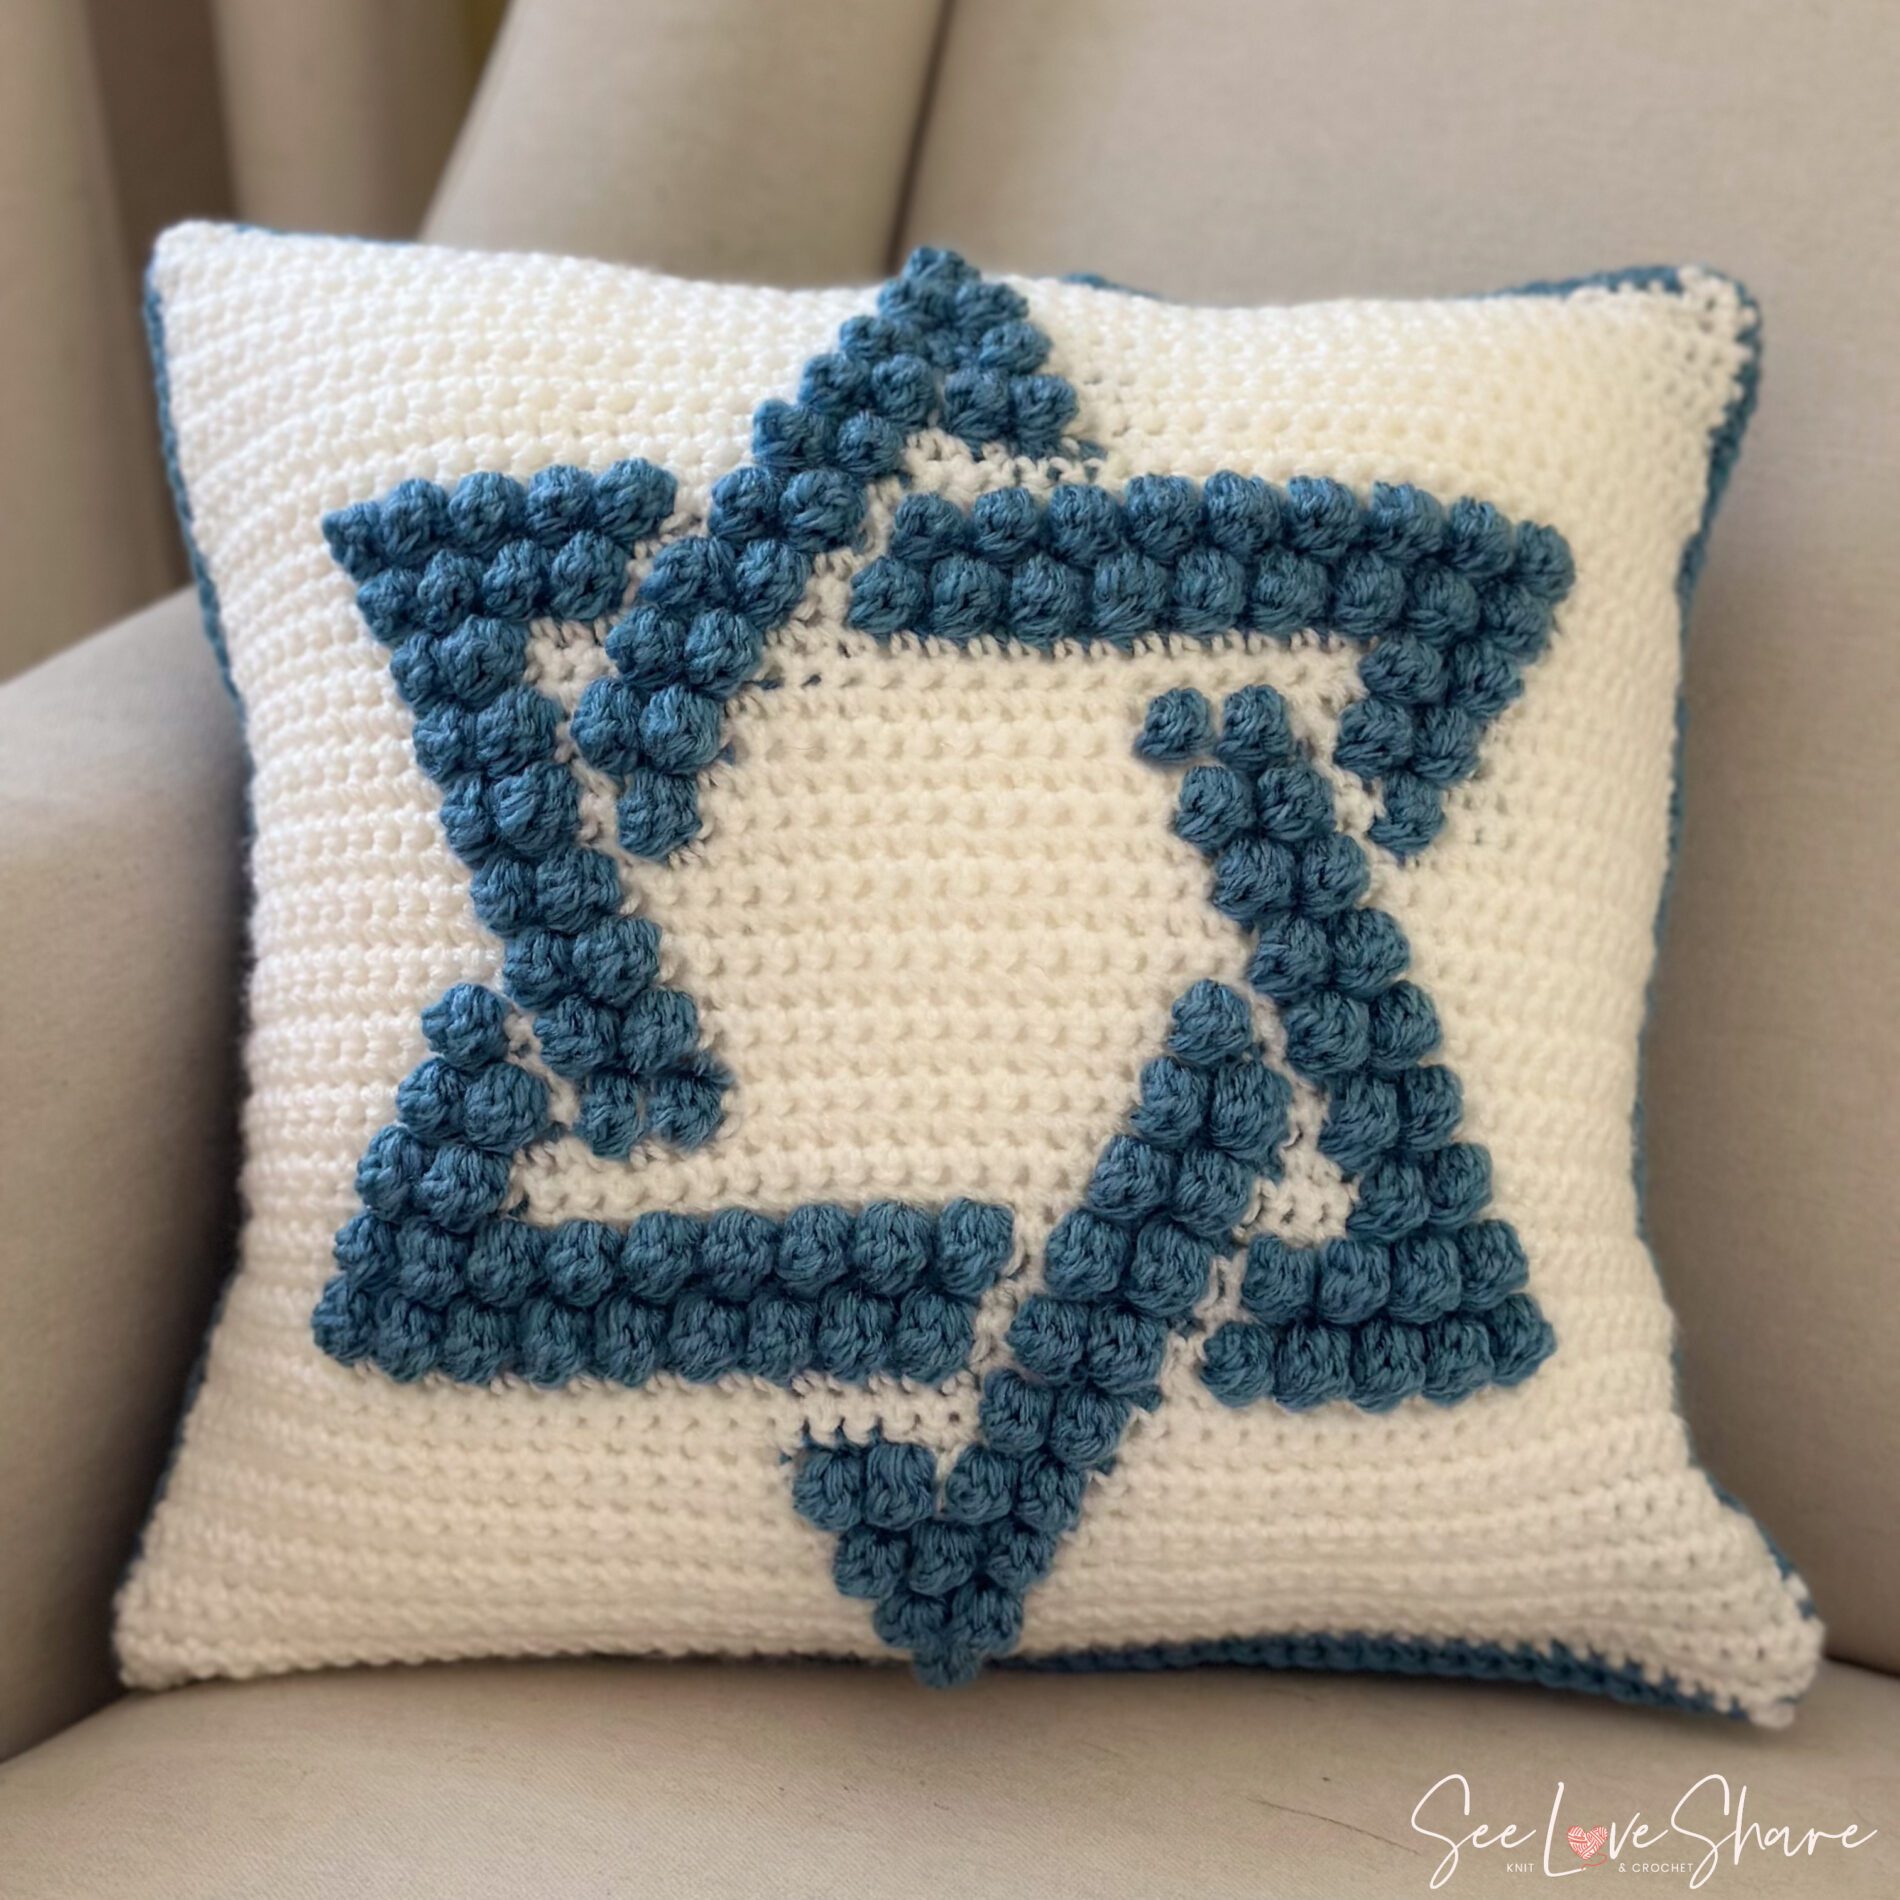
Two interlocking triangles. It looks far more complicated than it is — because the whole motif is symmetrical, the second half of every row mirrors the first, so once you have counted to the middle you already know how the row ends. Worked in worsted #4.
All three, plus the rest of my Hanukkah patterns, are gathered on the Hanukkah crochet roundup.
The autumn pillows
These three were designed in the same three colours so they can share a sofa. They are also the fastest of the thirteen, because two of them use a chunkier yarn.
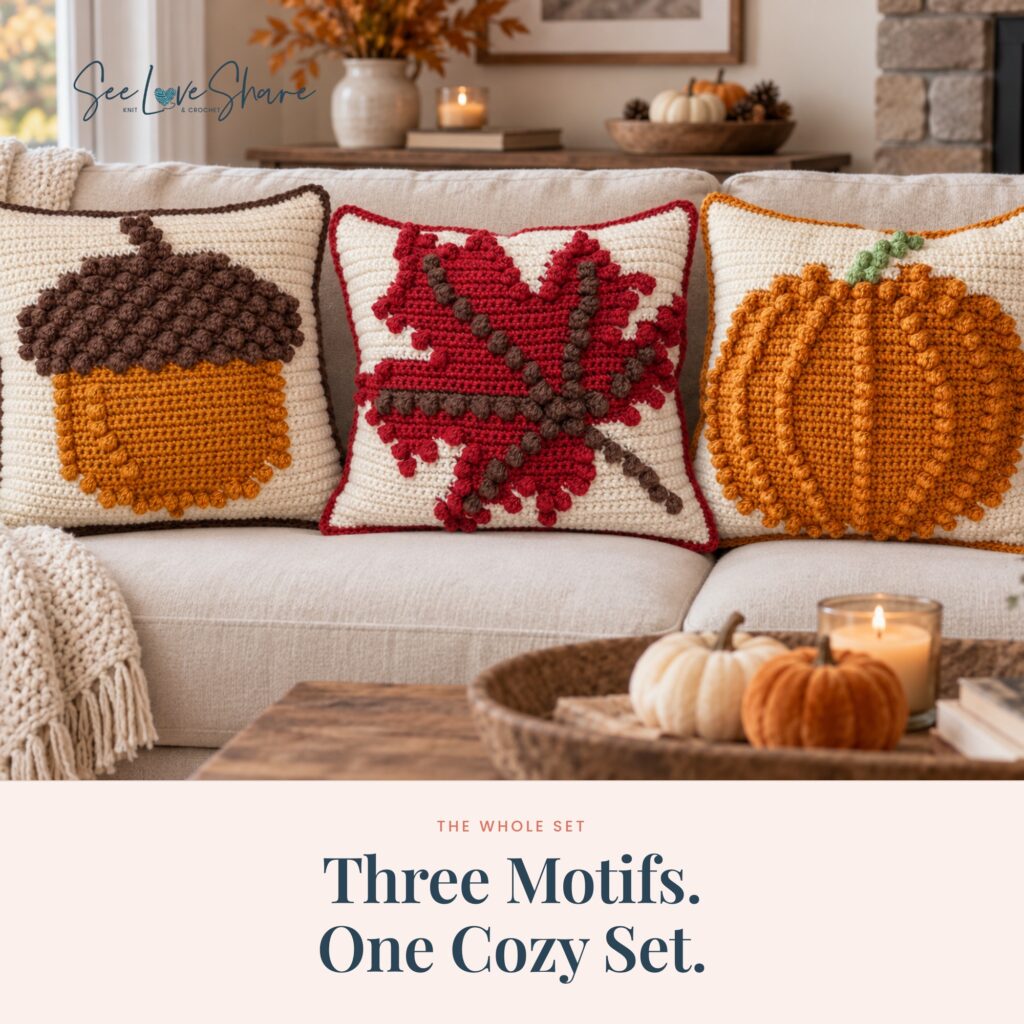

Pumpkin Pillow
Bulky yarn on a 6.0 mm hook, which means big confident bobbles and a cover that grows properly fast — this is the weekend one. The curl of the stem is the only place you need to slow down. If you have made a pumpkin of any kind before, none of this will surprise you.
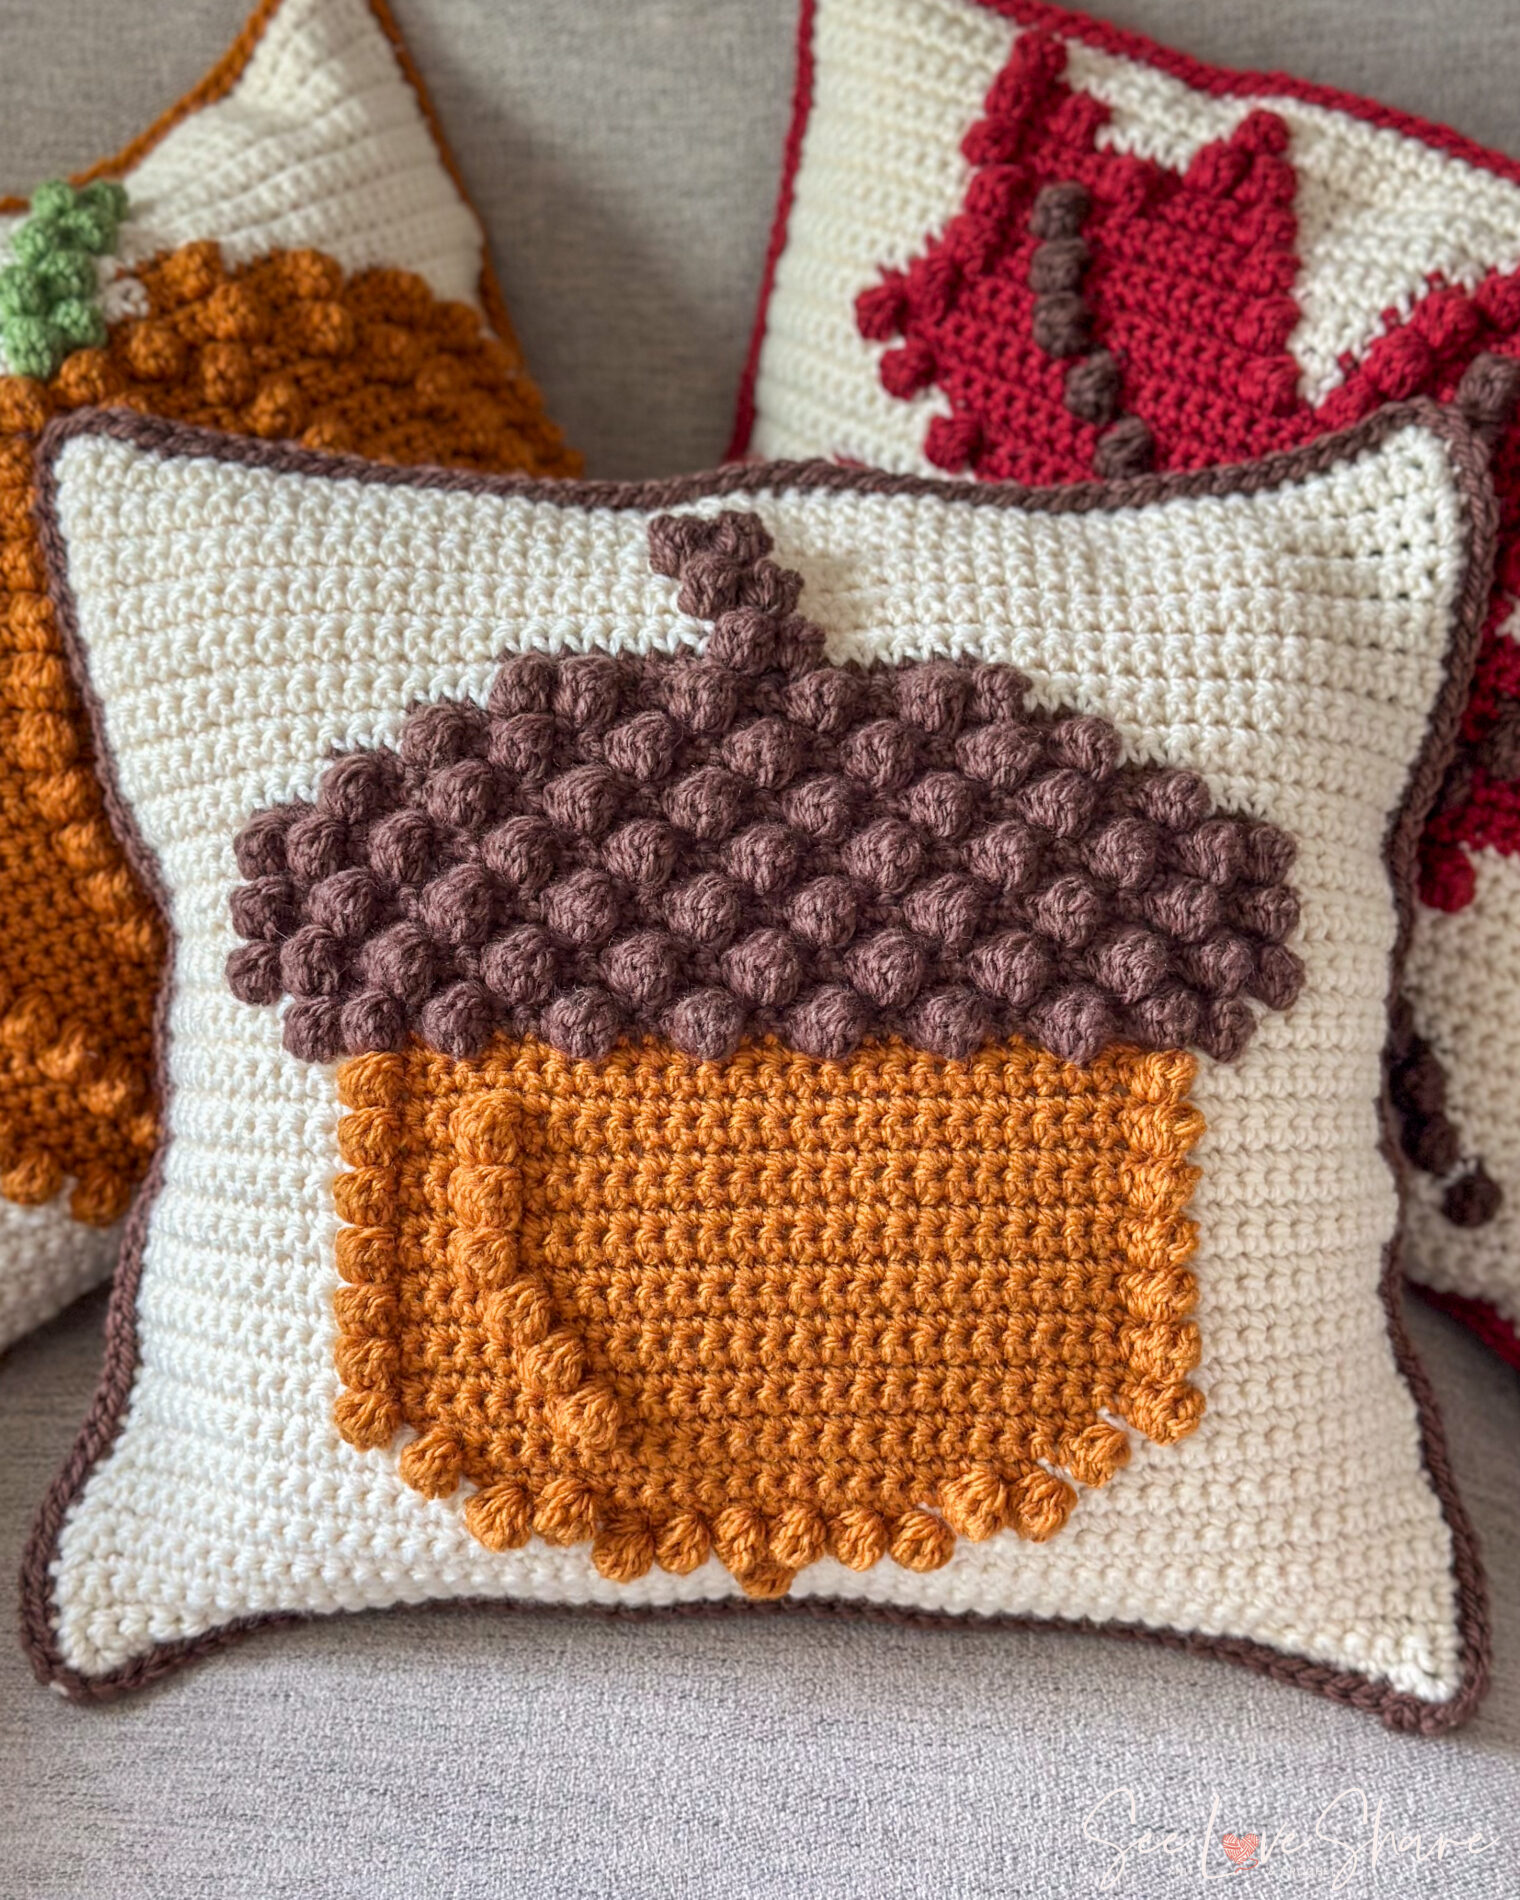
Acorn Pillow
The quiet one of the three. A single acorn with a textured cap, and the pattern I reach for when a room is not really committed to orange — in soft browns and creams it reads as autumn without announcing it. The cap is the interesting bit to crochet.
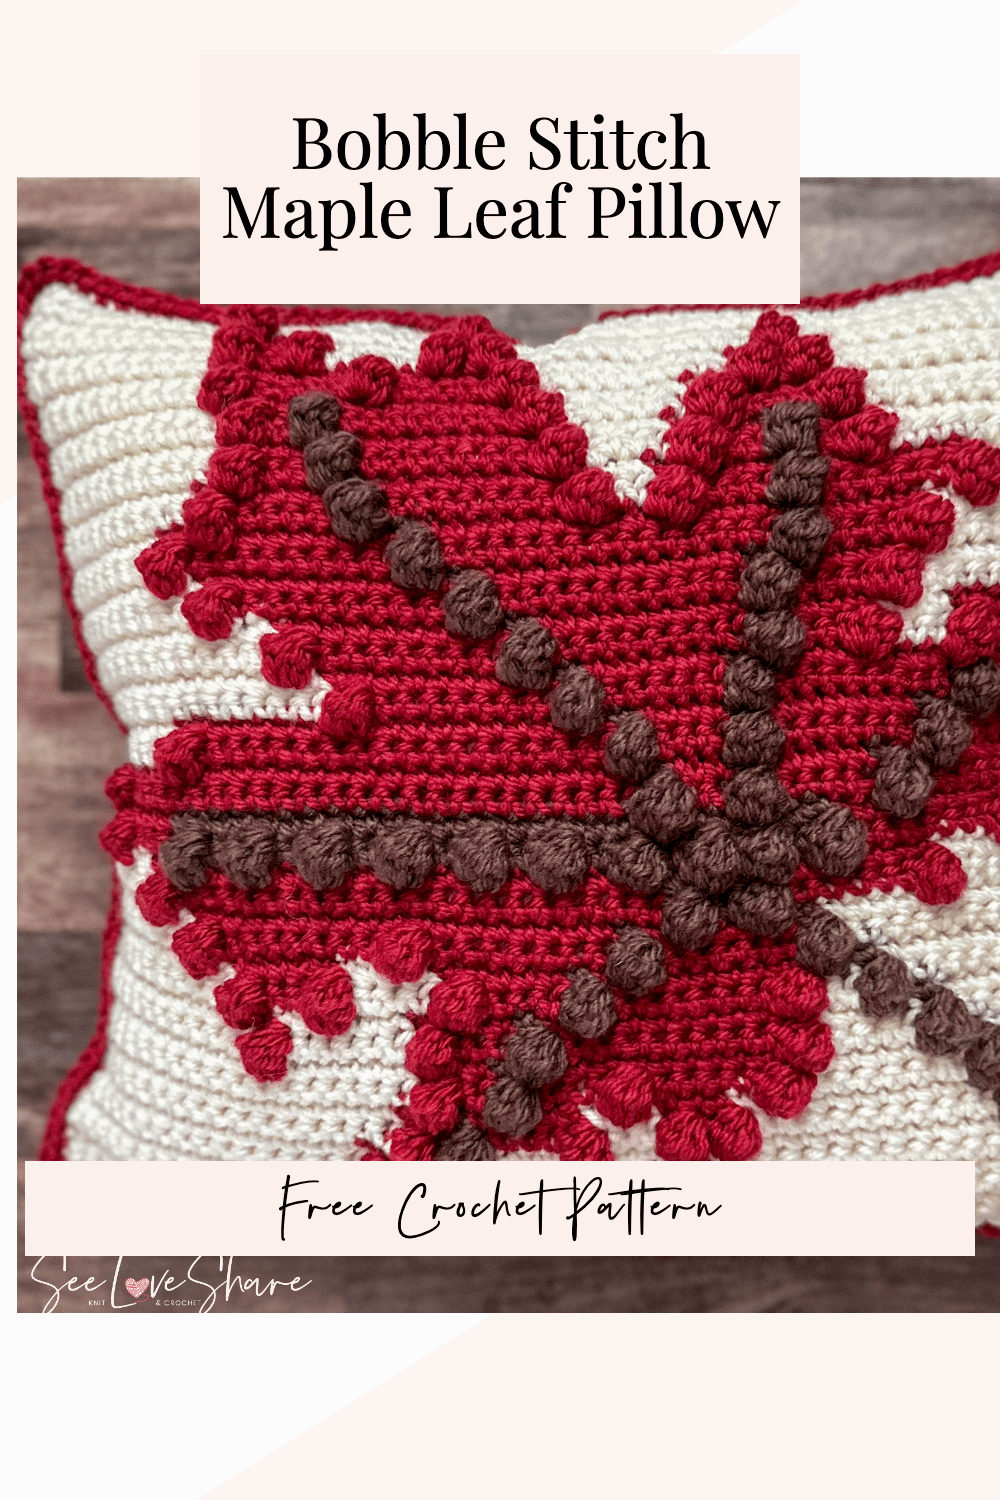
Maple Leaf Pillow
Five lobes and a stem, and the most unmistakably autumn of the three. The lobes involve a bit more back-and-forth counting than the pumpkin, but the shape forgives small errors well. It is also the free one, so it is a good way to try the trio before deciding on the other two.
There is more on how the autumn three sit together in the fall pillow roundup.
Not sure which to start with?
Honestly, start with whichever one you like the look of — you will finish a pillow you actually want far faster than a sensible one. All thirteen crochet bobble stitch pillow patterns use the same construction, so nothing is wasted whichever you pick. But if you would like a steer:
- You have never made a bobble: the tone-on-tone Snowflake. One colour, nothing to carry, and all your attention can go on the stitch itself.
- You want it finished this weekend: the Pumpkin. Bulky yarn on a 6.0 mm hook covers ground quickly.
- You would rather not spend anything yet: the Maple Leaf, the Dreidel or the Snowman — the three written out free on the blog, and all forgiving.
- You want the biggest reaction from visitors: the Christmas Tree or the Reindeer.
- You have made a few and want a proper project: the Christmas Wreath.
One last thing, and it is the reason I ended up with thirteen of these rather than one: they are all built the same way. Same square, same background stitch, same construction — only the grid changes. The first one takes a while because you are learning to read the chart and keep your bobbles honest. The second one goes much faster. By the third you are just following the picture, and it becomes the sort of project you can do in front of the television.
Questions I get asked
What is a bobble stitch pillow?
All crochet bobble stitch pillow patterns work the same way: a bobble stitch pillow is a crochet cushion cover where clusters of raised bobble stitches form a picture — a tree, a star, a pumpkin — against a flat single crochet background. The motif comes from texture and stitch placement rather than from appliqué or embroidery, so nothing is sewn on afterwards.
What size are these pillows?
All thirteen finish at roughly 16 inches square, sized for a standard 16″ pillow form. The Snowman and Christmas Wreath are also written for an 18″ × 18″ cover, and the Menorah includes notes for scaling the chart up.
Which of the patterns are free?
Three of the thirteen have the complete written pattern free on the blog: the Snowman, the Dreidel and the Maple Leaf. The other ten are printable PDF patterns. All three of the free ones also have a printable PDF version if you would rather work from paper than a screen.
Why do my bobbles keep ending up on the wrong side?
They are meant to. A bobble forms on the side of the fabric facing away from you as you close it, which is why the bobble rows are worked with the wrong side facing. It feels strange the first time — you are making the picture without being able to see it — but turn the work over at the end of the row and it will all be there.
What is the difference between the two snowflake pillows?
They are two different patterns. The Snowflake Pillow (tone on tone) is worked in a single colour, so the snowflake reads purely as texture and there are no colour changes at all — it is the easiest pattern in the collection. The Snowflake Holiday Pillow Cover is a two-colour intarsia design with a high-contrast motif, and it is the bolder, more traditional look.
What yarn and hook do I need?
It varies. Most use worsted weight (#4) with a 5.5 mm (US I/9) hook; the Pumpkin uses bulky (#5) with a 6.0 mm (US J/10) hook. Each pattern page lists its own yarn, colours and hook. Substitute freely — just keep enough contrast between your two colours for the motif to read.
Do I need to know intarsia or colourwork?
Not for most of them. The tone-on-tone Snowflake uses one colour and needs no colourwork at all. Most of the others use simple two-colour changes. Only the Snowflake Holiday Pillow Cover and the Christmas Wreath are true intarsia designs — those are the two to save until you are comfortable with the rest.
Can I make one bigger than 16 inches?
Yes, and the easiest way is to add plain background stitches and rows around the outside of the existing chart. That keeps the motif the same size and simply widens the border, which usually looks better than trying to scale the picture itself. The Snowman and Christmas Wreath already include 18″ instructions, and the Menorah comes with scale-up notes.
If you make one of these, I would genuinely love to see it — tag me and I will come and admire it.