

June 28th, 2018
How to Use a Yarn Swift — Step-by-Step Tutorial with Ball Winder
Learning how to use a yarn swift is one of the best skills you can add to your knitting and crochet toolkit. A yarn swift (paired with a ball winder) turns those frustrating, tangle-prone hanks of yarn into perfectly wound cakes in just minutes — no more begging family members to hold their arms outstretched while you slowly unspool. Once you learn how to use a yarn swift, you’ll wonder how you ever managed without one. 🧶
If you have the space for one and a lot of yarn hanks waiting to be wound, knowing how to use a yarn swift is a total game-changer. I noodled on getting one for a while before I saw a demo at Stitches West, and after that demo I was sold. The process is simple, mesmerizing, and saves so much time you’ll wonder why you didn’t get one years ago. Step-by-step instructions and a video tutorial below!

Why You’ll Love Learning How to Use a Yarn Swift
✔ Wind a full hank of yarn in 2-5 minutes
✔ No more begging family members to hold yarn arms-outstretched
✔ The yarn swift keeps tension even, preventing tangles
✔ Pair with a ball winder for perfect center-pull yarn cakes
✔ Knowing how to use a yarn swift unlocks beautiful indie-dyed hanks
✔ Folds up flat for compact storage between projects
✔ Works with wool, cotton, acrylic — any fiber
✔ One-time investment pays back after just a few skeins
Tools You’ll Need
- 🌀 Yarn Swift (umbrella swift works best — folds flat for storage)
- 🎡 Ball Winder (creates perfect center-pull yarn cakes)
- 🧶 A hank of yarn ready to be wound
- ✂️ Scissors (for cutting the ties on the hank)

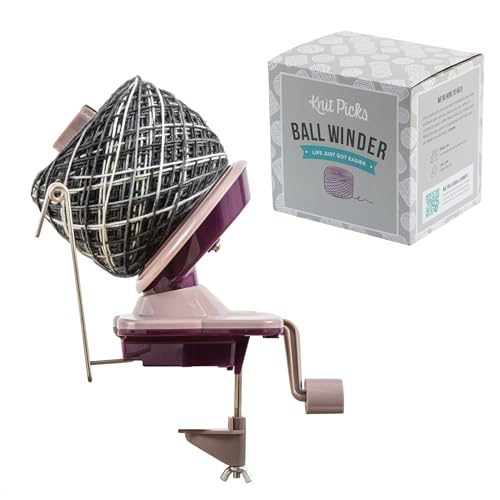

The combo of a yarn swift and ball winder is what makes the magic happen. The swift holds the hank open and rotates as you wind, while the ball winder pulls and shapes the yarn into a tidy center-pull cake. For premium yarn brands and fiber info, the Craft Yarn Council has great resources on yarn weights and standards.
How to Use a Yarn Swift — Step by Step
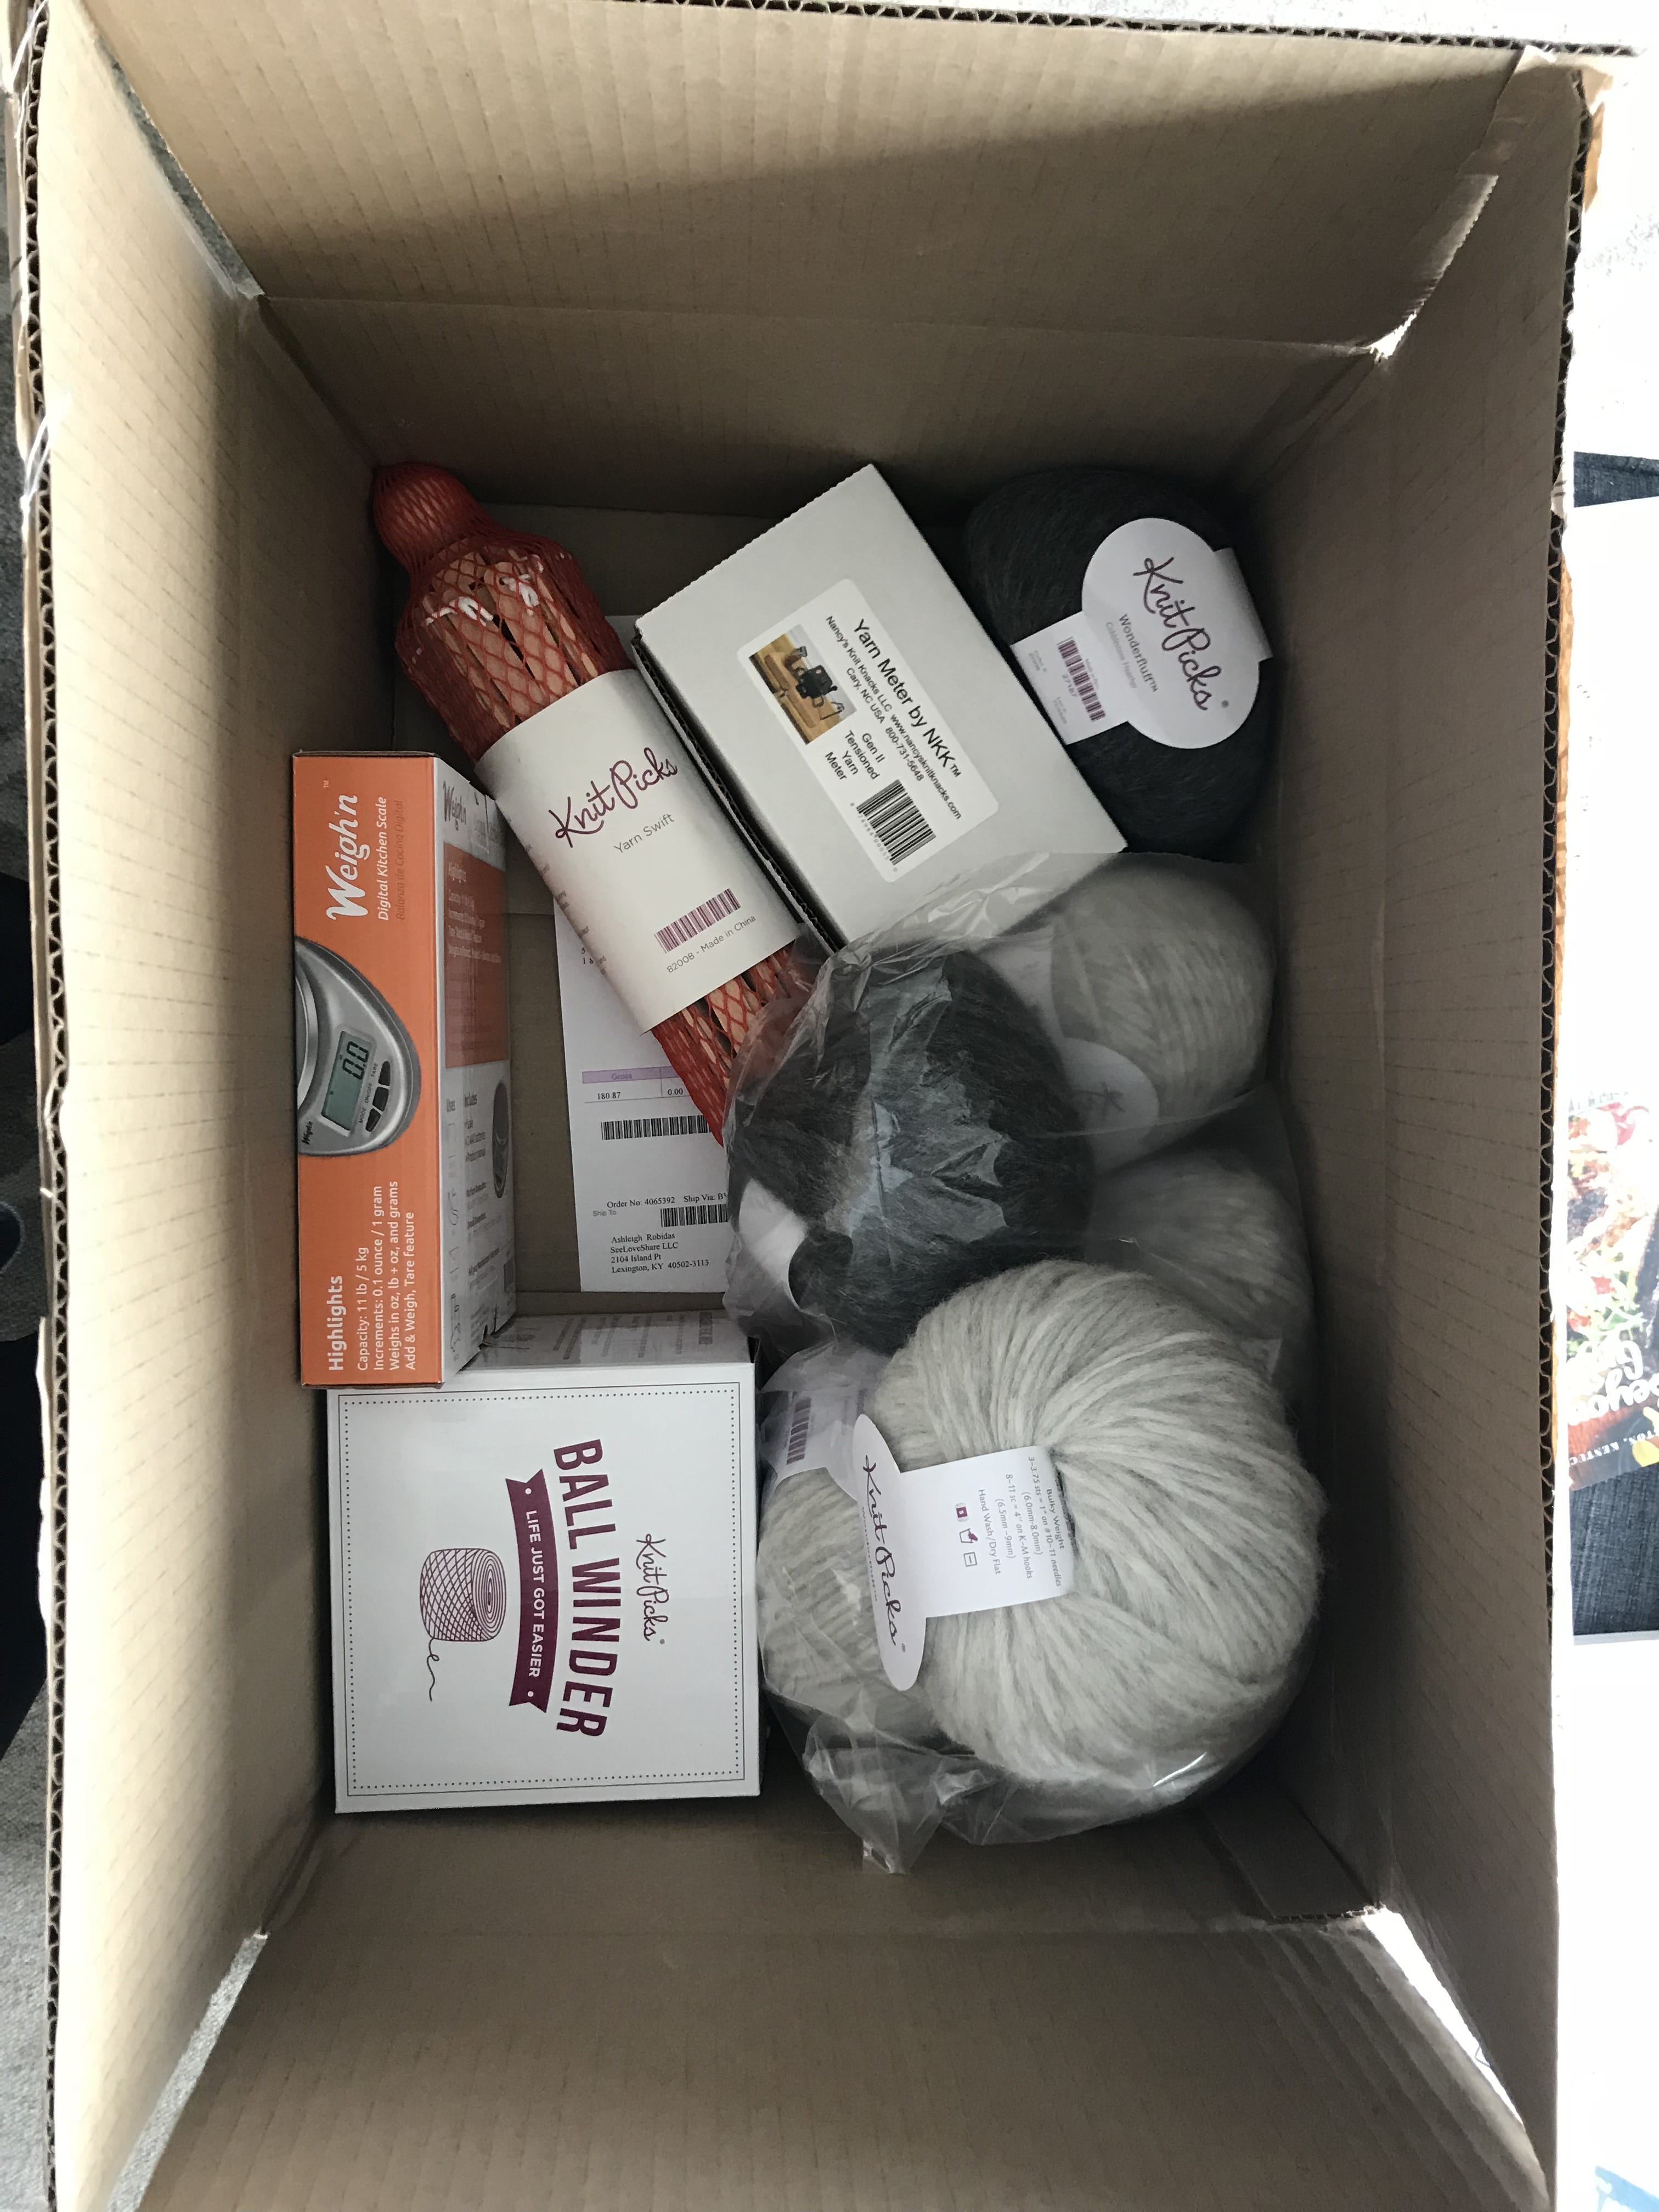
- Set up the yarn swift: clamp the swift to a sturdy table edge. Open the umbrella arms until they’re spread evenly. Tighten the locking mechanism so the swift doesn’t collapse mid-wind.
- Untwist the hank: gently untwist the yarn hank into a large loop. Don’t cut anything yet — leave the figure-8 ties intact for now.
- Drape the hank on the swift: loop the untwisted hank over the swift arms. Adjust the arm width so the yarn sits taut but not strained — the hank should be fully extended without stretching.
- Cut the ties: carefully snip ONLY the figure-8 ties holding the hank together. Do NOT cut the working yarn itself. Most hanks have 3-4 ties.
- Set up the ball winder: clamp the ball winder to the table about 2 feet from the swift. Thread the yarn end through the winder’s guide arm and secure to the winder spindle.
- Start winding: turn the ball winder handle slowly at first. The swift will rotate as the yarn pulls. Once you find a steady rhythm, you can wind faster. A full skein takes 2-5 minutes.
- Finish the cake: when the entire hank is wound, the swift stops rotating. Lift the finished yarn cake off the winder spindle and you’re ready to knit or crochet!
Video Tutorial — Watch It in Action
Sometimes seeing the process is easier than reading about it. Here’s a quick video showing exactly how to use a yarn swift and ball winder together:
Tips for Using a Yarn Swift
- Adjust the arms gently: when learning how to use a yarn swift, set the arm width before draping the hank — too tight stretches the yarn, too loose causes tangles.
- Wind slowly at first: until you understand the rhythm, wind at a slow steady pace. Once you’ve got it, you can crank away.
- Check for tangles regularly: if the swift suddenly stops, stop winding and untangle before continuing — don’t force it.
- Cut ONLY the ties: the figure-8 ties hold the hank organized. Cut them, but never cut the actual working yarn or the cake will fall apart.
- Center-pull or outside-pull: ball winders make center-pull cakes. To use, pull from inside the cake (more stable) or outside (the cake rolls as you knit).
- Store cakes upright: stand finished yarn cakes on their flat ends to maintain shape and prevent flattening.
- Once you know how to use a yarn swift, indie-dyed yarn becomes easy: most hand-dyed and indie wool comes in hanks — your swift unlocks all those beautiful options.
Frequently Asked Questions
How long does it take to use a yarn swift? Once you know how to use a yarn swift, a single hank takes 2-5 minutes. Practice makes it faster.
Do I need both a swift and a ball winder? Technically no — you can wind by hand if you have someone to hold the hank. But for solo crafters or large quantities, the combo is essential.
Can I wind any yarn weight? Yes — yarn swifts work with lace, fingering, DK, worsted, and bulky weights. The ball winder may struggle with very chunky yarns; check the max capacity.
How do I store the yarn swift between uses? Umbrella swifts collapse down to a compact size — store standing or hanging on a hook. Tabletop swifts have a small footprint and live happily on a shelf.
Why did my swift suddenly stop? Usually a tangle. Stop winding immediately, gently untangle, and resume. If the hank was twisted before loading, you may need to start over.
Is it worth investing in a yarn swift? Absolutely. If you knit or crochet regularly and especially use hand-dyed or indie yarn, knowing how to use a yarn swift saves hours of frustration over time.
More Tutorials & Patterns You’ll Love
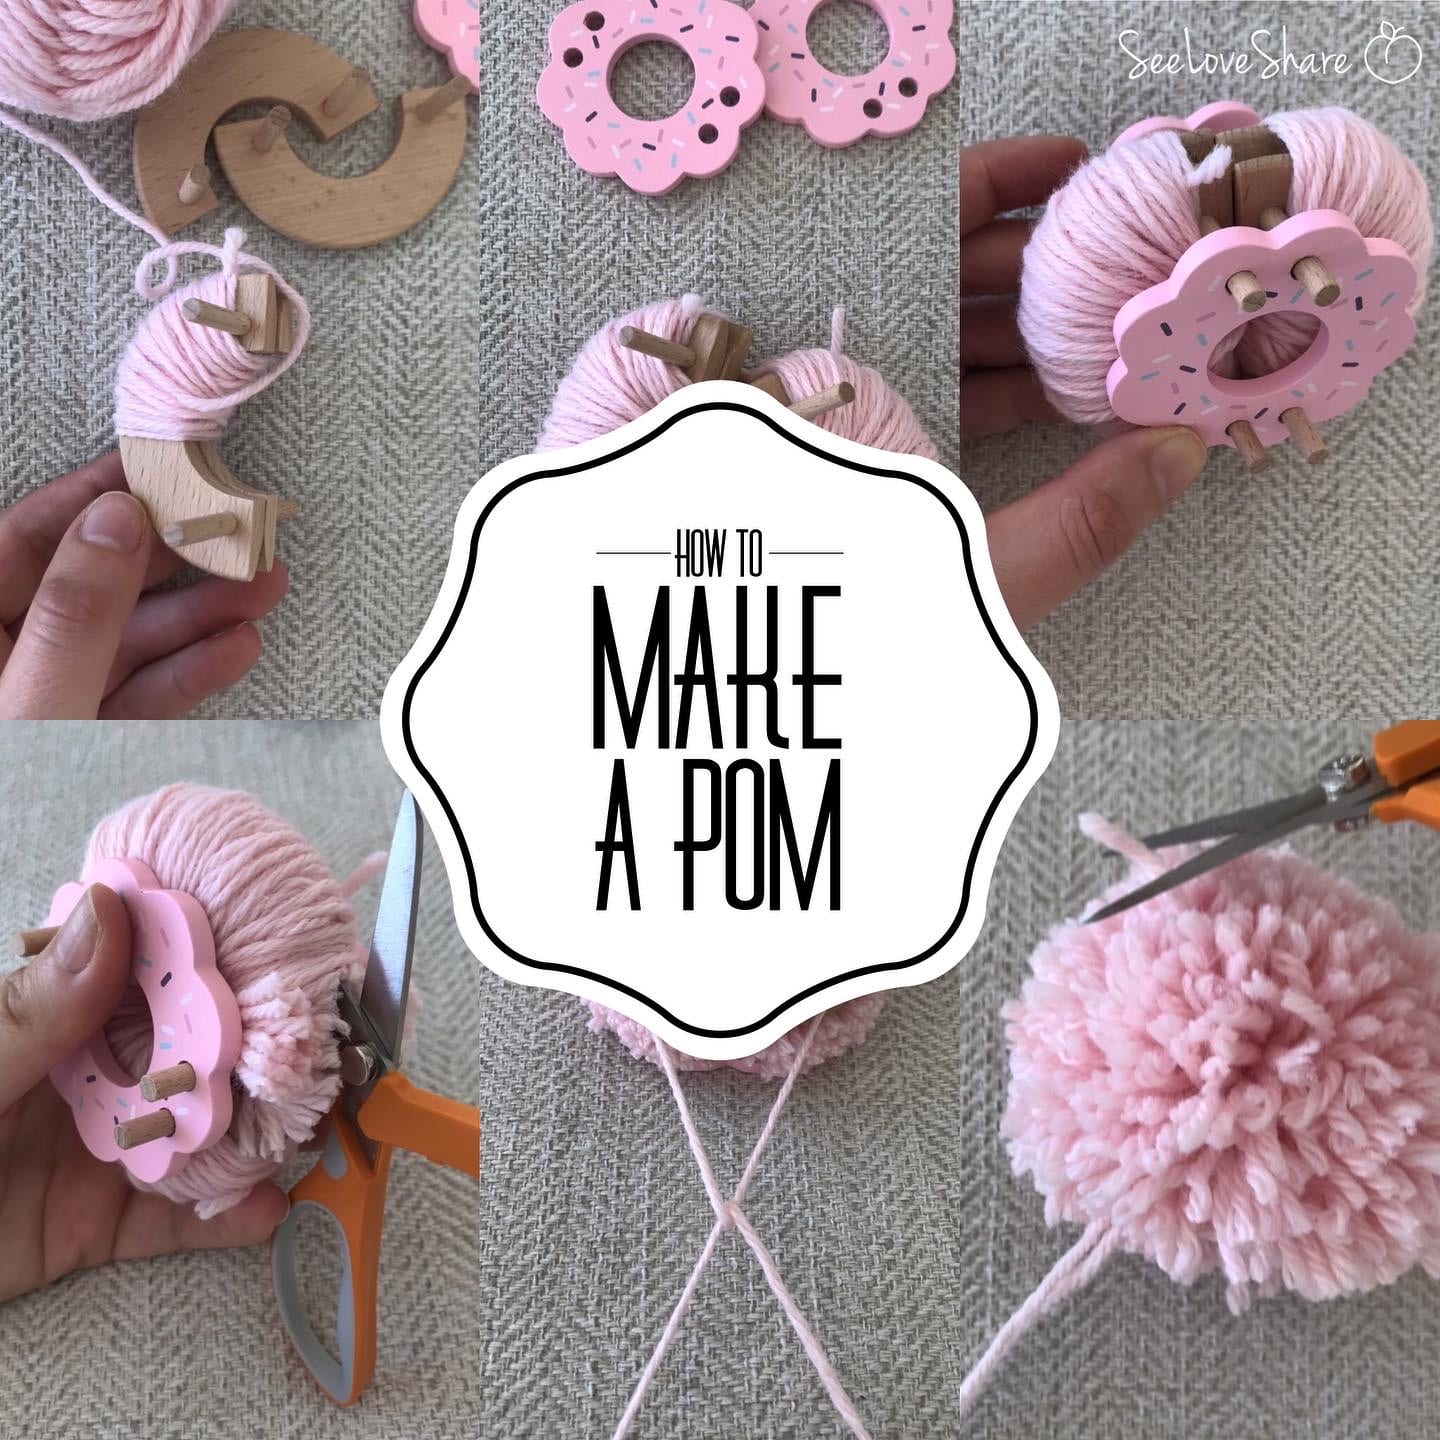
 How to Make a Pom Pom Tutorial
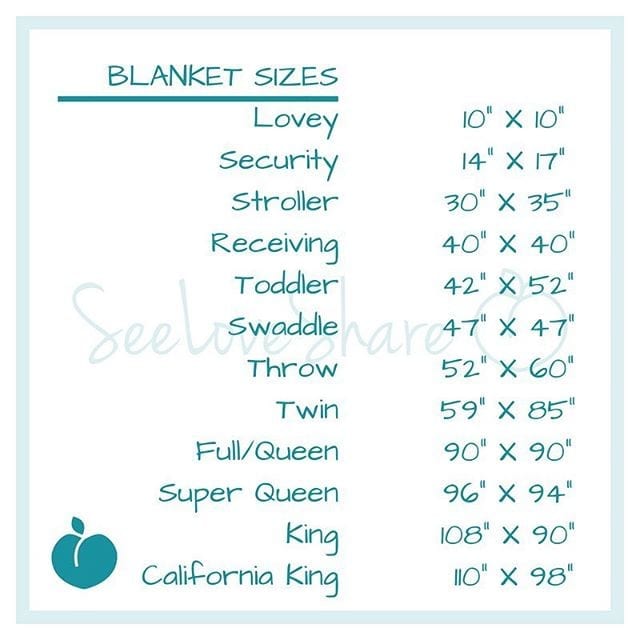
 Standard Blanket Sizes Guide
- Browse All Tips & Tutorials
- Honeycomb Knit Throw — Chunky Cable
Save This How to Use a Yarn Swift Tutorial
Want to come back to this how to use a yarn swift tutorial later? Save it to Pinterest so you can reference it next time you’ve got a hank waiting — and share it with your knitting and crochet friends!