
August 13th, 2023
Hudson’s Simple Knit Throw Blanket — Beginner Friendly Knit Pattern
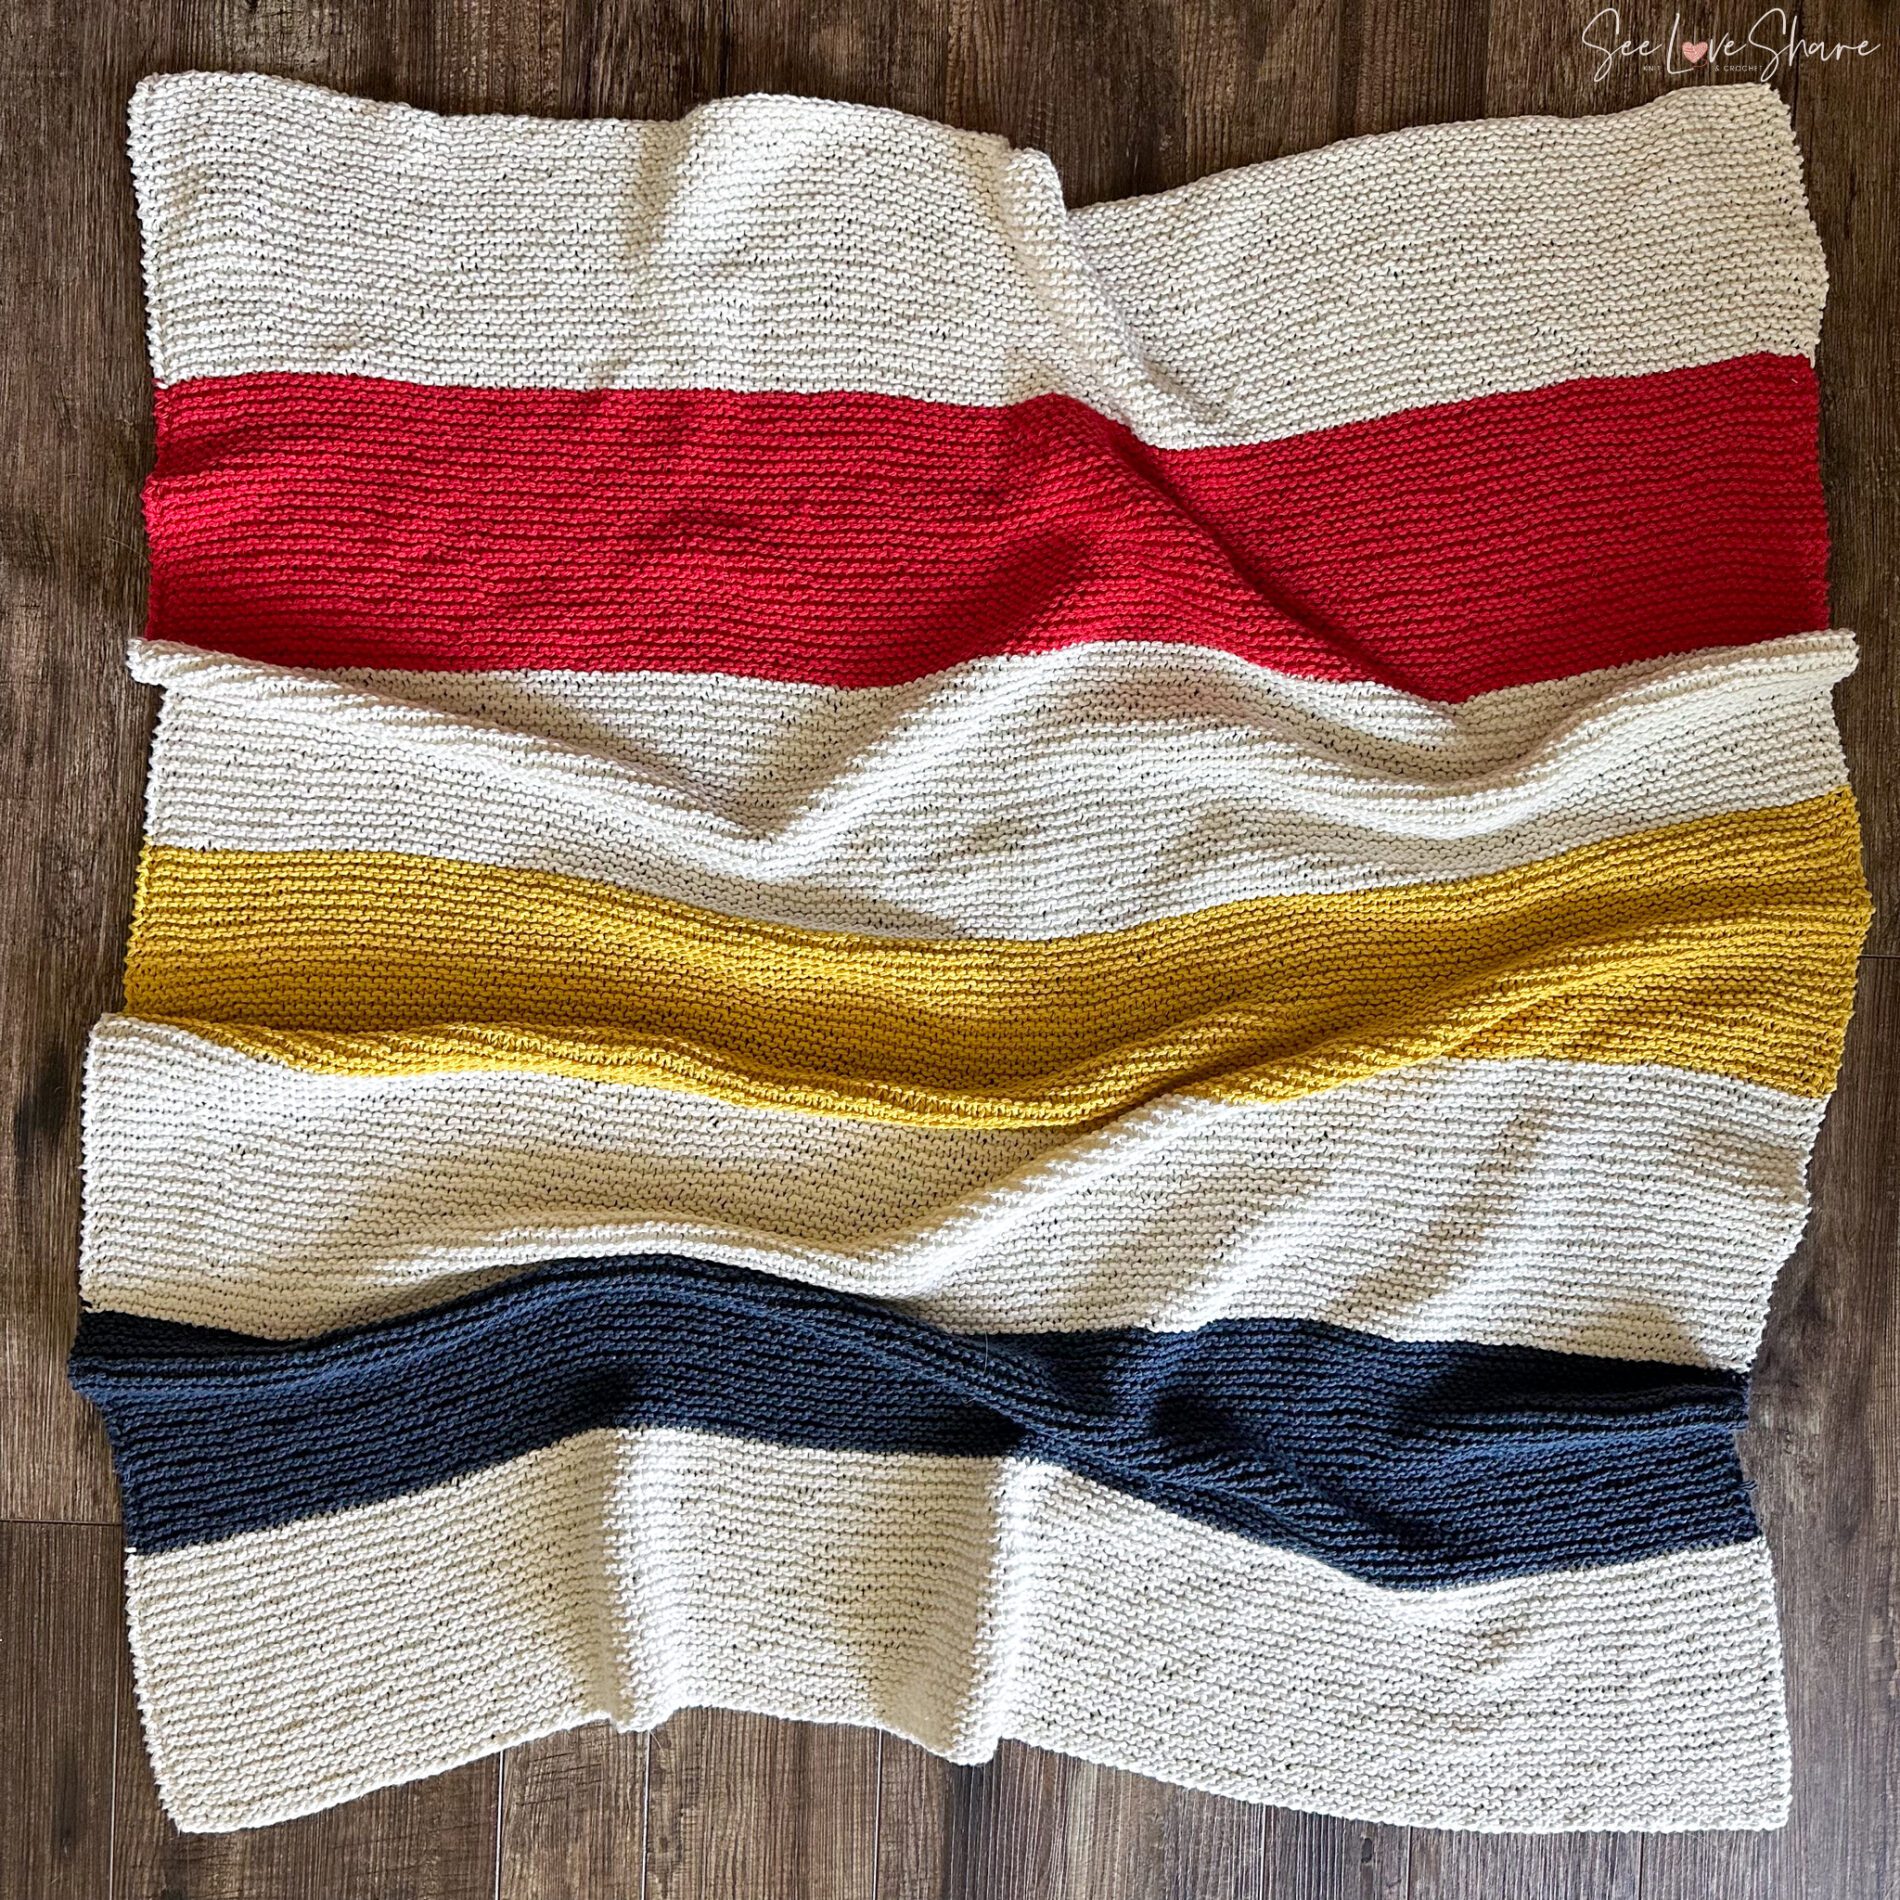
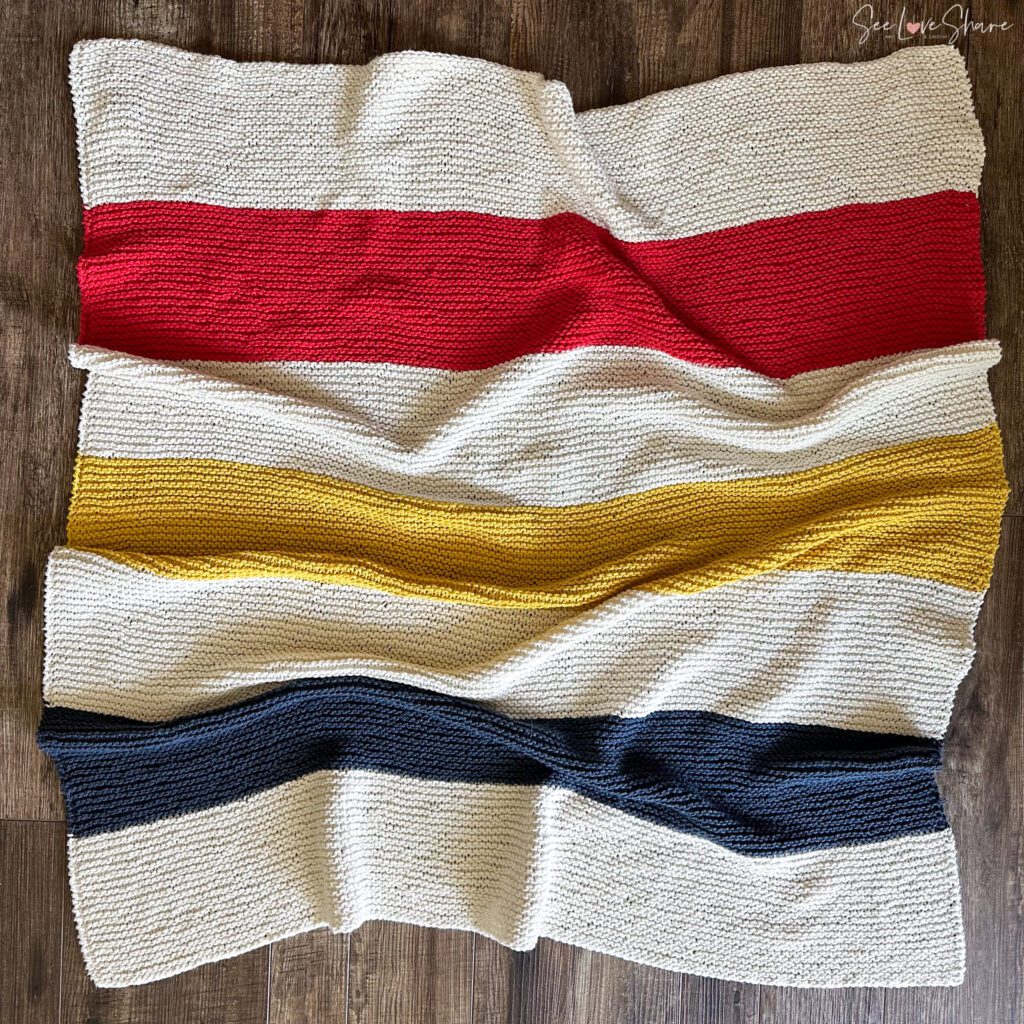
This simple knit throw blanket is the cozy, beginner-friendly project that proves first knits can absolutely double as heirloom-worthy decor. Worked entirely in garter stitch on a circular needle (back and forth — no joining!), Hudson’s throw layers four colors with thoughtful color changes and a polished edge that makes the finished blanket feel far more advanced than it actually is.
Whether this is your first time picking up needles or you’re returning to knitting after a long break, this simple knit throw blanket pattern is designed to set you up for success. The full ad-free printable PDF is available on Etsy with row-by-row instructions, color change cues, and finishing details — keep reading for everything you need to know about the pattern, materials, and tips for that gallery-worthy edging.
Get the Printable PDF
Hudson’s Simple Knit Throw Blanket Pattern PDF
Instant download with the full row-by-row pattern, color change cues, edging tutorial, and finishing tips in a clean, ad-free, print-friendly layout — perfect for taking to your knitting chair. Use code SEELOVE15 for 15% off.
Why You’ll Love This Simple Knit Throw Blanket
This simple knit throw blanket proves that beginner knits don’t have to look beginner. The combination of garter stitch (the easiest stitch in knitting) with intentional color blocking and a clean edge treatment elevates the finished piece to something you’d happily display on a guest bed or living room sofa.
- ✅ Garter stitch all the way — every row is just the knit stitch, so you only need to learn one thing
- ✅ Worked flat on a circular needle — the long cord holds all the stitches comfortably without committing you to knitting in the round
- ✅ Four-color design — main color with three contrasts gives a layered, intentional look without complex colorwork
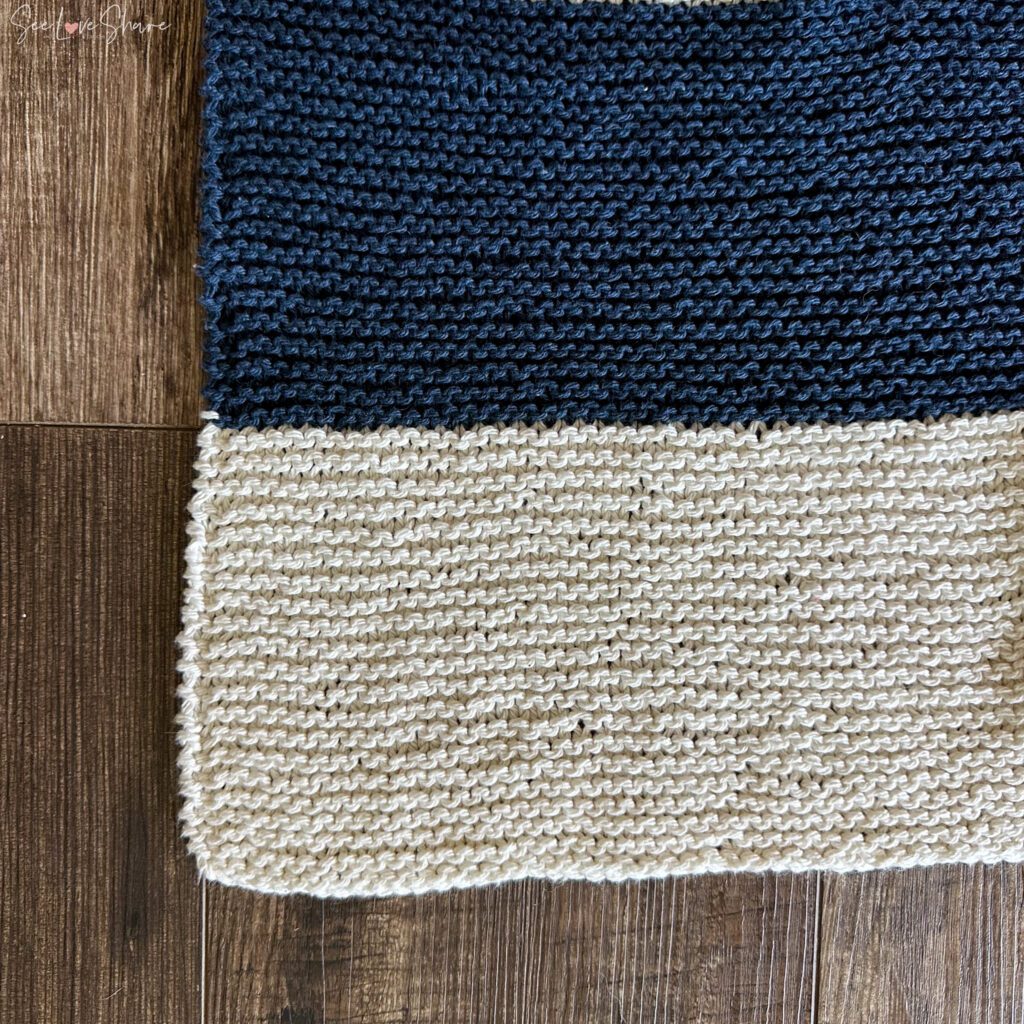
- ✅ Polished knit edging — the finishing technique transforms it from “first knit” to “where can I buy that?”
- ✅ Easily customizable size — the pattern is fully scalable; add or remove stitches to make it a baby blanket, lap throw, or full bed throw
- ✅ Ad-free printable PDF — take the pattern to your knitting chair without phone screens timing out mid-row
Simple Knit Throw Blanket Pattern Details
| Skill Level | Beginner — ideal first knitting project |
| Construction | Worked flat on a circular needle, garter stitch throughout |
| Finished Size | Approximately 40 x 42 in (easily resized) |
| Yarn Weight | Worsted (#4 medium) — 100% cotton |
| Needles | 4.5mm (US 7) circular needle with 29 in cord |
| Yardage | 500 yards main color + 120 yards each of 3 contrast colors (860 total) |
| Format | PDF instant download (Etsy) |
Prefer it ad-free?
Get the printable pattern PDF
The full written pattern, photos and notes — clean, ad-free, and yours to keep and print. Use code SEELOVE15 for 15% off.
Get the printable PDF on Etsy → Get it on Ravelry →Materials for the Simple Knit Throw Blanket
- 🧶 Main Color (MC): Min 500 yards of 100% cotton worsted weight (#4). I used Lily Sugar’n Cream in Ecru.
- 🧶 Contrast Color 1 (CC1): 120 yards Lily Sugar’n Cream in Red
- 🧶 Contrast Color 2 (CC2): 120 yards Lily Sugar’n Cream in Yellow
- 🧶 Contrast Color 3 (CC3): 120 yards Lily Sugar’n Cream in Bright Navy
- 🧷 4.5mm (US 7) circular needle with 29 in cord
- 🧵 Tapestry needle for weaving in ends
- ✂️ Yarn scissors
Shop the materials


Yarnspirations stocks the full Lily Sugar’n Cream range if you want to swap the contrast colours for something seasonal. If you’d like to substitute yarn, the Craft Yarn Council yarn weight system guide is helpful — any 100% cotton worsted will work beautifully.
Pattern Notes
This simple knit throw blanket uses a circular needle, but it’s worked flat — back and forth across the needle, not joined in the round. The long cord simply holds all those throw-width stitches comfortably (a straight needle would never fit them all). Cotton is the perfect yarn choice for this kind of project because it’s washable, durable, and only gets softer with use.
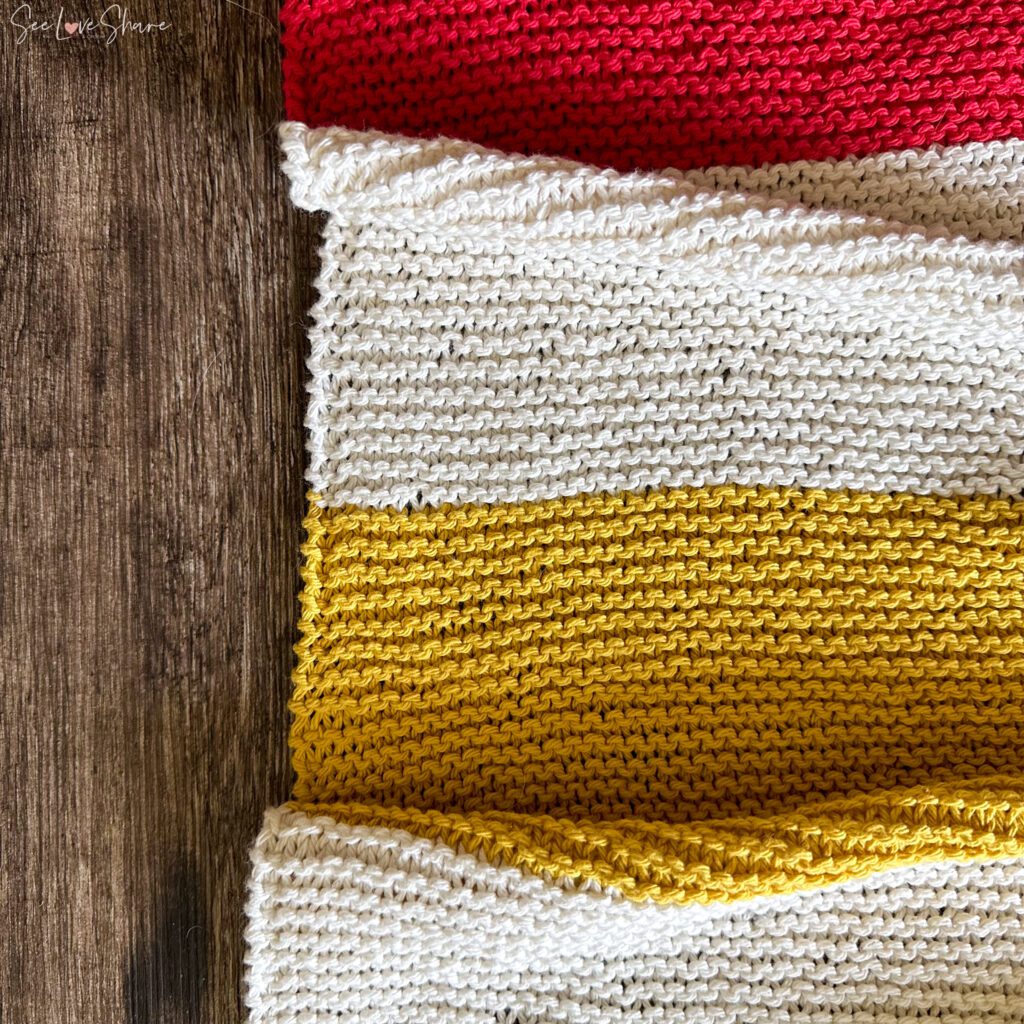
The two details that take this pattern from “first knit” to “wait, you made that?” are the color change technique and the side edging — both of which are covered with photos in the printable PDF.
Tips for Beginners
- Knit every row. This simple knit throw blanket is pure garter stitch — every row, both sides, is just the knit stitch. The repetition builds muscle memory fast and develops an even tension.
- Aim for consistent tension. Don’t worry if your first few rows look uneven — tension settles in after the first few inches. Your future self will be impressed.
- Practice your slip-stitch edge. Slipping the first stitch of every row (instead of knitting it) creates that clean, finished look along the sides. The PDF walks you through it.
- Plan color changes at the start of a row. Always change colors at the very start of a new row — never in the middle. Cleaner edges, less yarn waste, and easier weaving in.
- Weave in ends as you go. Stop every couple of color changes to weave in tails. Saves you from a marathon finishing session at the end.
- Embrace the mistakes. Unravelling a few rows is part of knitting. The process is just as valuable as the finished blanket — and you can absolutely fix anything.
Ready to Cast On?
Hudson’s Simple Knit Throw Blanket Pattern PDF
Full pattern with row-by-row instructions, color change tutorial, and clean-edge technique in a print-friendly PDF — taken to your knitting chair without the ads. Use code SEELOVE15 for 15% off.
Simple Knit Throw Blanket FAQ
Is this really beginner friendly?
Yes — this simple knit throw blanket pattern is genuinely a first-knit-friendly project. If you can cast on, knit a stitch, and bind off, you have everything you need. The optional details (slip-stitch edge, color changes) are walked through with photos in the PDF.
How long does it take to knit?
Plan on 25–40 hours of knitting depending on your speed. Most beginners finish in 2–4 weeks of casual evening knitting. The garter stitch is incredibly meditative, which makes it disappear faster than you’d expect.
Can I make it bigger or smaller?
Absolutely. The simple knit throw blanket scales beautifully — add or subtract stitches from the cast-on count to change the width, and knit more or fewer rows to change the length. The PDF includes guidance on calculating yarn needs for different sizes.
Why does the pattern use a circular needle if it’s not knit in the round?
The 29 in cord holds the full width of the throw comfortably — straight needles aren’t long enough. You still knit back and forth (turn at the end of each row) just like you would on straights. It’s a common technique for any wide flat knit.
Can I substitute the cotton with a different fibre?
You can — any worsted weight (#4) yarn works, but cotton is the recommended choice for this style of throw because it’s machine washable, durable, and softens with use. A wool/acrylic blend would also work beautifully if you prefer a softer, warmer fabric.
Can I sell finished blankets?
Yes — small batch sales of finished items made from this simple knit throw blanket pattern are welcome. Please credit SeeLoveShare as the designer and don’t redistribute or resell the pattern itself.
Get Free Patterns by Email
More Cozy Throw & Blanket Patterns You’ll Love
 Easy Peasy Chunky Knit Throw — bestselling super-chunky knit throw
 Easy Crochet Baby Blanket — quick beginner crochet blanket
- Block Stitch Lap Blanket — two-color textured crochet blanket
- Browse All Blanket Patterns
- Browse All Knit Patterns
- Beginner-Friendly Patterns


Save This Simple Knit Throw Blanket Pattern for Later
Want to come back to this simple knit throw blanket later? Save it to Pinterest so you can find it when you’re ready to cast on. I’d love to see your finished throws — tag @seeloveshare on Instagram! 🧶
This simple knit throw blanket pattern, photos, and PDF are © SeeLoveShare LLC. For personal use only — please do not redistribute or resell the pattern. Small-batch sales of finished items are welcome with credit. Thank you for supporting an independent designer! 🧶