
Free Crochet Free Holiday All Holiday Patterns
November 7th, 2021
Interactive Hanukkah Menorah – Free Crochet Pattern
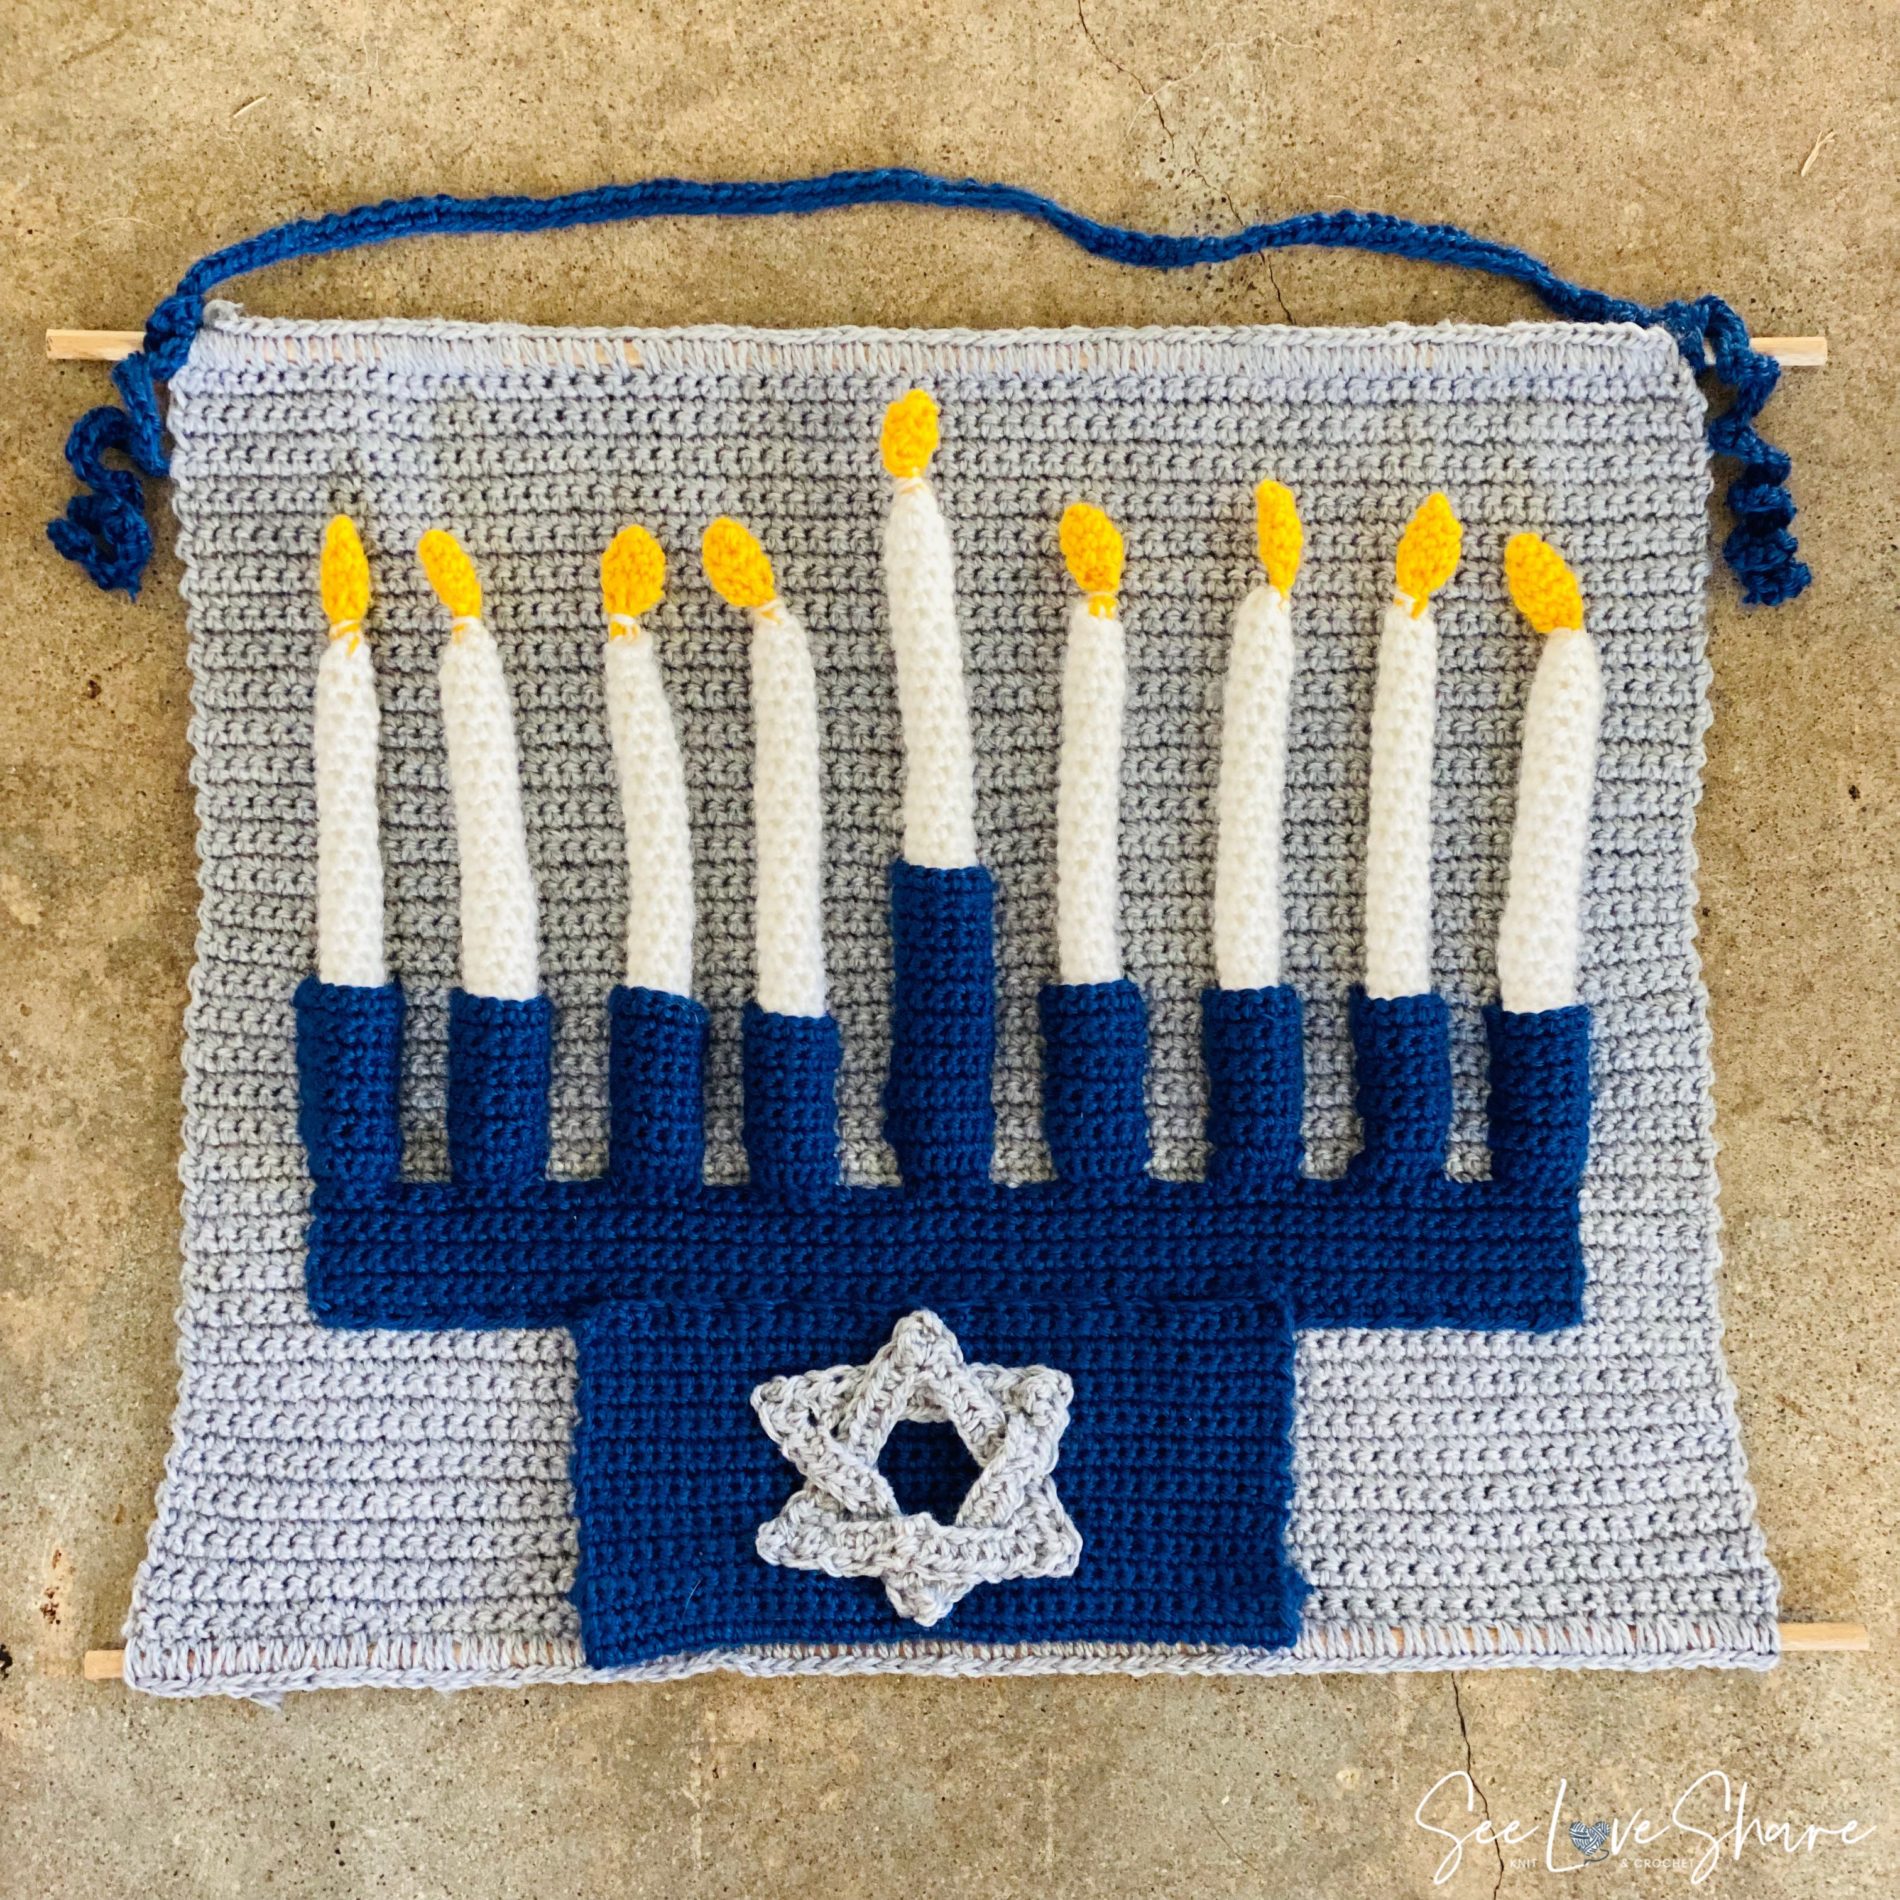
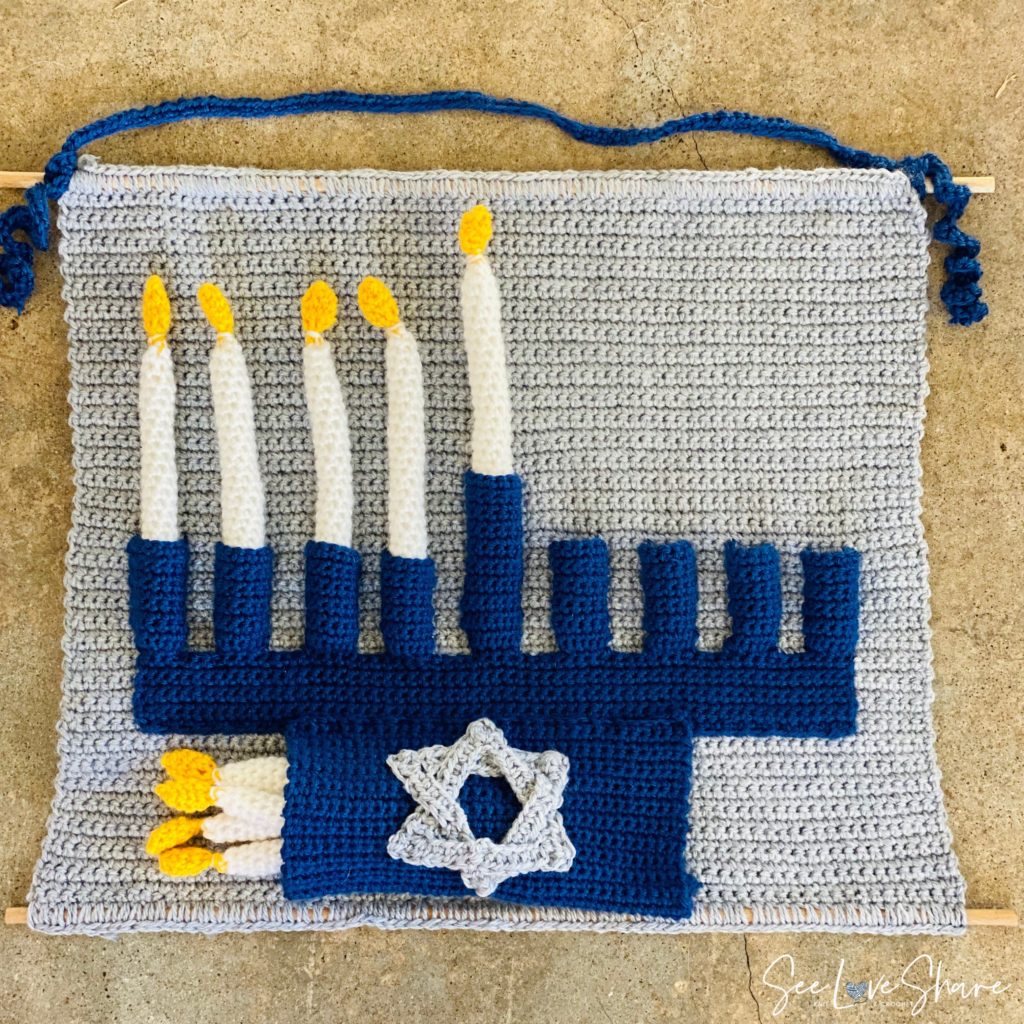
This crochet menorah pattern is one of the most special projects I’ve ever designed — an interactive wall-hanging menorah with soft, stuffable candles that slip into pocket holders, so kids (and grown-ups) can “light” a new candle every night of Hanukkah. 🕎
I designed this when our community asked for more inclusive holiday patterns, and our family was the perfect testing ground. We’re a mixed-faith-holiday-celebrating crew — yes, we have a Christmukkah tree — and at the time I made this, Hudson was still on the way (he arrived just before Hanukkah that year). Today, he’s the one placing a new candle in the menorah every night, and watching him do it is exactly the kind of small moment I hoped this pattern would create for other families.
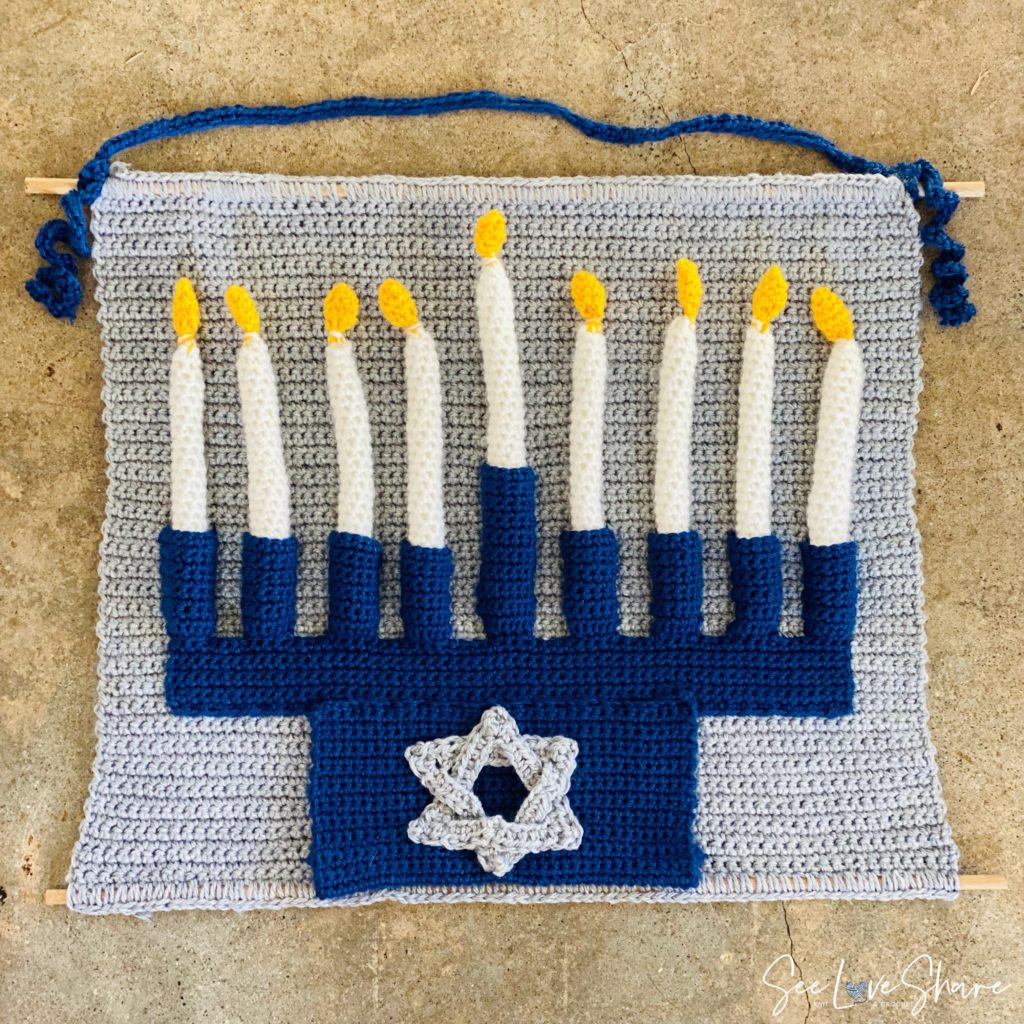
It’s worked up in 5 simple pieces — a backdrop, the menorah, the base/candle pocket, 9 candles, and a curly hanging tie — and assembled into a single beautiful wall hanging that can be used year after year.
Why you’ll love this crochet menorah pattern
- Interactive design — children can place a new candle each night of Hanukkah
- Heirloom potential — soft, durable, and built to last for years
- Beginner-friendly stitches — single crochet, half double crochet, and basic shaping
- Inclusive and meaningful — perfect for mixed-faith families or anyone celebrating Hanukkah
- Customizable colors — make it traditional or adapt to your family’s palette
- Wall-hangable — finishes with optional dowels for a polished display
Pattern details
- Skill Level: Beginner / Confident Beginner
- Finished Size: Backdrop 18″ × 14″ (20″ × 15″ with optional dowels) · Candles 6.5″ × 3.4″ (7″ with flame)
- Construction: 5 separate pieces (backdrop, menorah, candle pocket, candles, curly tie) sewn together
- Time: A weekend project
Want the ad-free printable PDF?
If you’d rather work from a clean printable PDF — the kind you can take with you on the couch (or to the yarn shop) — I have an ad-free version of this Interactive Crochet Menorah Pattern in the SeeLoveShare Etsy shop with full color photos and assembly diagrams.
Prefer it ad-free?
Get the printable pattern PDF
The full written pattern, photos and notes — clean, ad-free, and yours to keep and print. Use code SEELOVE15 for 15% off.
Get the printable PDF on Etsy → Get it on Ravelry →Materials
- Bernat Softee Baby yarn in:
- Flannel — for the backdrop
- Navy — for the menorah and candle pocket
- White — for the candles
- Buttercup — for the candle flames
Shop the materials
- 4.0 mm crochet hook (size G/6) — crochet hook bundle here
- 2 wooden dowels — 20″ length, 5/16″ width — find them here (I picked mine up from a local craft store in 36″ lengths and cut them down)
- Polyfil for stuffing the candles
- Tapestry needle for assembly
- Scissors


Gauge
16 sc × 19 rows = 4″ × 4″ (10 cm × 10 cm) with a 4 mm hook.
Abbreviations
Ch: Chain · Sc: Single crochet · Hdc: Half double crochet · Sl st: Slip stitch · Sc2tog: Single crochet 2 stitches together · St(s): Stitch(es) · BLO: Back loop only
Pattern notes
This pattern is worked in 5 distinct pieces:
- Backdrop
- Menorah (with candle holders)
- Menorah base / candle pocket
- Candles (×9, including the taller Shamash)
- Curly tie (for hanging)
Once all pieces are complete, you’ll sew them together onto the backdrop. Full assembly instructions are below the pattern.
Crochet menorah pattern — written instructions
Backdrop
With Flannel, ch 73.
Row 1: Sc in 2nd ch from hook, sc to end, ch 1, turn. (72 sc)
Row 2: Sc in each st across, ch 1, turn. (72 sc)
Repeat Row 2 until work measures 14″. Fasten off.
Menorah
With Navy and 4.0mm hook, ch 61.
Row 1: Sc in 2nd ch from hook, sc to end, ch 1, turn. (60 sc)
Row 2: Sc in each st across, ch 1, turn. (60 sc)
Repeat Row 2 until work measures 1.5″. Ch 1, turn.
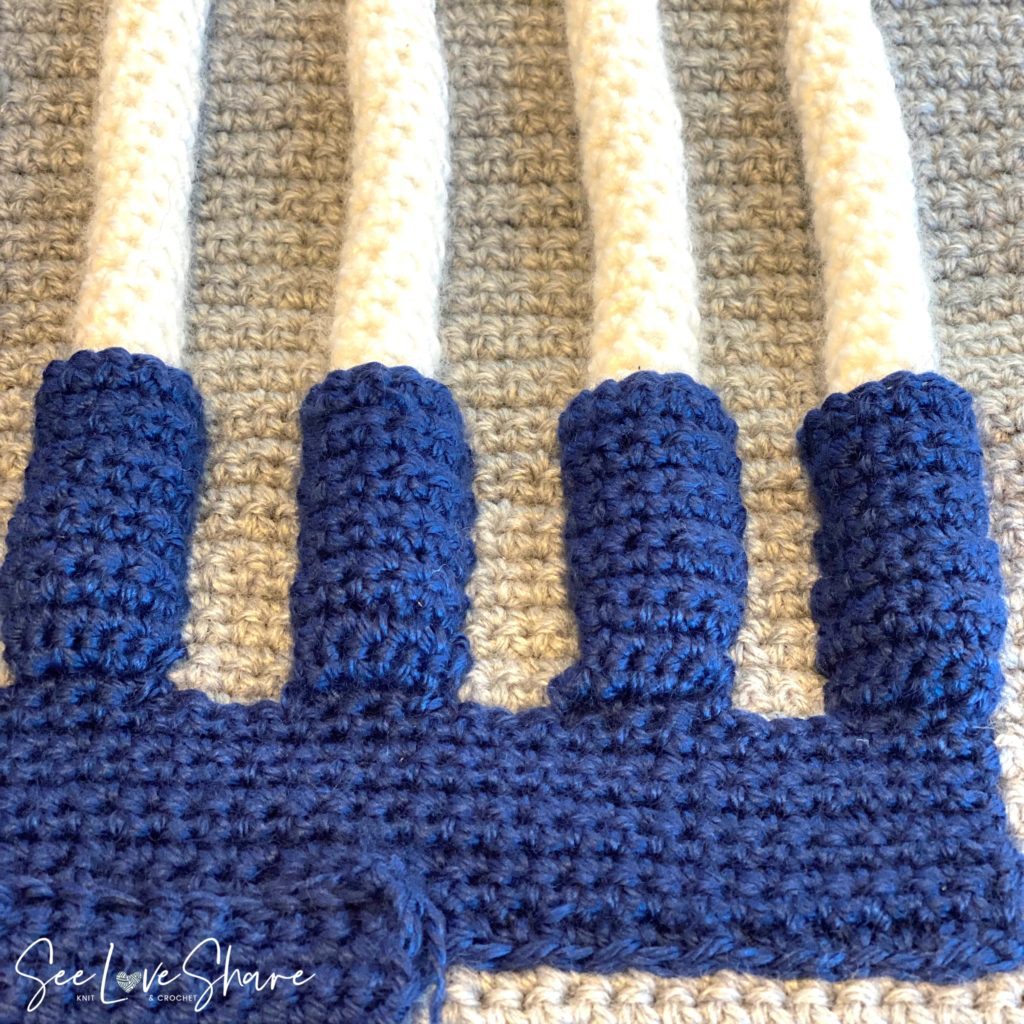
Begin candle holders. Each candle holder is worked separately, beginning at one edge of the menorah base. There should be 3 stitches of space between each holder.
Candle Holder #1:
Row 1: Sc in next 4 sts, ch 1, turn. (4 sc)
Row 2: 2 sc in each of the 4 sc, ch 1, turn. (8 sc)
Rows 3–12: Sc in each st to end, ch 1, turn.
Row 13: Sc in each st to end. Fasten off.
Candle Holders #2–4 and #6–9: Resume yarn at the menorah base, 3 stitches from the previous holder. Repeat Rows 1–13 of Candle Holder #1.
Candle Holder #5 — the Shamash (lead candle, taller). Resume yarn 3 stitches from Holder #4.
Row 1: Sc in next 4 sts, ch 1, turn. (4 sc)
Row 2: 2 sc in each of the 4 sc, ch 1, turn. (8 sc)
Rows 3–22: Sc in each st to end, ch 1, turn.
Row 23: Sc in each st to end. Fasten off.
Menorah base / candle pocket
With Navy and 4.0mm hook, ch 37.
Row 1: Sc in 2nd ch from hook, sc to end, ch 1, turn. (36 sc)
Row 2: Sc in each st across, ch 1, turn. (36 sc)
Repeat Row 2 until work measures 5″. Fasten off.
Candles — make 9
The candles are worked in continuous rounds from the bottom up.
With White and 4.0mm hook, ch 4, join with sl st in first ch to form a loop.
Round 1: 6 sc within loop. (6 sts)
Round 2: Working in BLO, sc in each st around. (6 sts)
Round 3: Sc in each st around. (6 sts)
Continue working sc in each st around, lightly stuffing with polyfil every inch or so as you go. The candle should hold its shape but not be overstuffed (avoid stretching).
Continue until the candle measures 6″. Fasten off, leaving a long tail to cinch the top closed.
To close the top: Thread the tail onto your tapestry needle, weave through all 6 sc at the top, and pull tight. Secure the cinch but don’t cut the tail — you’ll use it again to attach the flame.
Flame — make 9
With Buttercup and 4.0mm hook, ch 4, join with sl st in first ch to form a loop.
Round 1: 4 sc within loop. (4 sts)
Round 2: 2 sc in each st around. (8 sts)
Round 3: Sc in each st around. (8 sts)
Round 4: Sc2tog around. (4 sts)
Round 5: Sc2tog around. (2 sts) Fasten off, leaving a long tail.
Tie the flame’s tail to the candle’s tail, securing the flame upright on top of the candle.
Curly tie (for hanging)
This piece becomes the decorative curly hanging cord that lets the menorah hang from a hook or nail. The corkscrew shape comes from the 2 sc in each chain — once worked, the strip will naturally curl on its own.
With Navy, ch 121.
Row 1: 2 sc in 2nd ch from hook, 2 sc in each ch to end. (244 sc) Fasten off, leaving long tails on both ends for tying to the dowels.
Assembly
- Sew the menorah onto the backdrop. Center the menorah piece on the backdrop and position it approximately 3.5″ from the bottom edge. Sew the right side edge, along the bottom, and up the left side edge.
- Form the candle holder pockets. Each candle holder needs to be sewn up either side to form a little pocket for a candle to slide into. Each holder should sit straight up from the menorah base, with 3 stitches of space between holders. The top of each holder stays open. Tip: To make the Shamash sit higher than the others, stuff the base of its holder with about an inch of polyfil before assembly.
- Attach the menorah base / candle pocket. Center the base piece at the bottom of the menorah and sew along its top edge. Sew the bottom edge one row up from the bottom of the backdrop. The base will naturally form a pocket between itself and the backdrop where the candles can be tucked away.
- Attach the dowels (optional). Skipping this step is fine, but the dowels add structure that helps the menorah hold its shape on the wall. To attach the top dowel: with the right side of the work facing you, pick up the first stitch and sc around the dowel, continuing in each st across. For the bottom dowel, turn the work upside down and repeat.
- Attach the curly tie. Tie one end of the curly tie to each end of the top dowel, leaving enough length to hang on a hook or nail.
- Optional Star of David embellishment. Attach a Star of David to the center of the menorah base for a finishing decorative touch (see below for the free pattern).
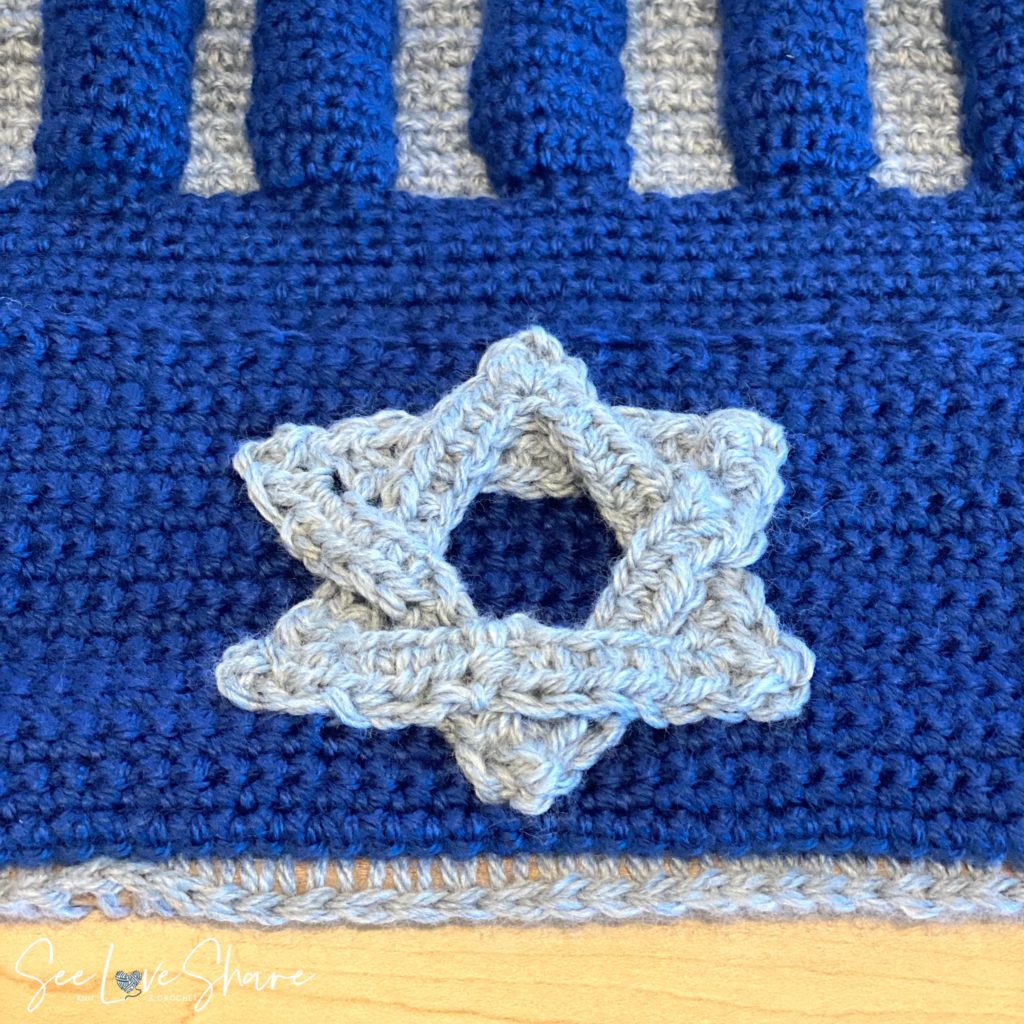
Add a Star of David embellishment
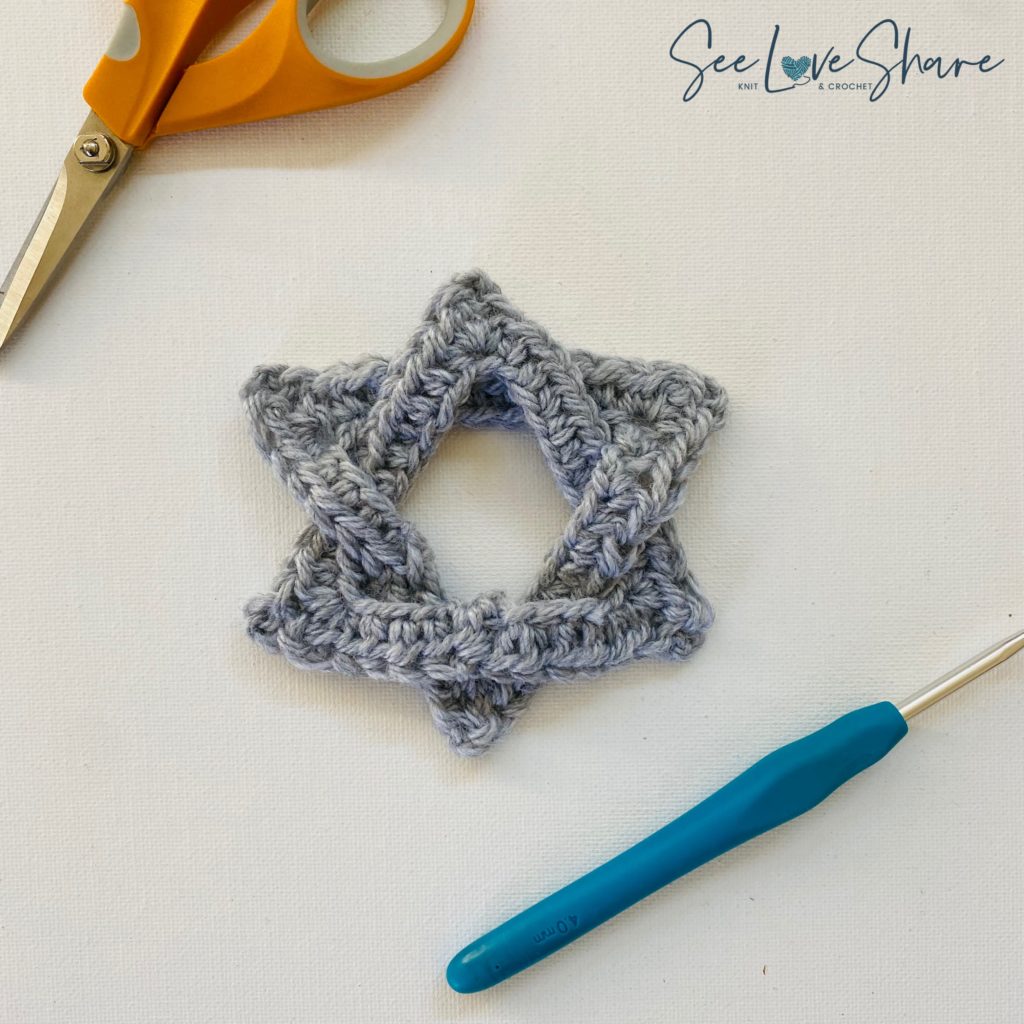
For a finishing touch, you can add a beautiful crochet Star of David to the center of the menorah base. The full free pattern is its own post — quick, beginner-friendly, and works up in just minutes.
👉 Get the free Star of David crochet pattern here →
More Hanukkah crochet patterns you’ll love
 Simple Star of David — Free Crochet Pattern — beginner-friendly Hanukkah ornament that works up in minutes
- Crochet Six Point Star — Brioche Stitch Ornament Pattern — a textured 6-point star ornament
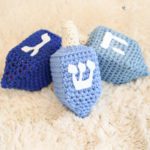
- Dreidel Dreidel Dreidel — Free Crochet Pattern — a soft, stuffable crochet dreidel
- Menorah Bobble Stitch Pillow — Crochet Pattern — an intermediate intarsia menorah pillow
- Browse all Holiday Patterns on the SeeLoveShare blog

Made one? I’d love to see it! Tag me on Instagram @seeloveshare or share your make in our free Facebook community. Happy Hanukkah! 💛