
Free Knit Free Holiday All Holiday Patterns
December 1st, 2017
Knit Mitten Ornament Pattern — Free Christmas Decor
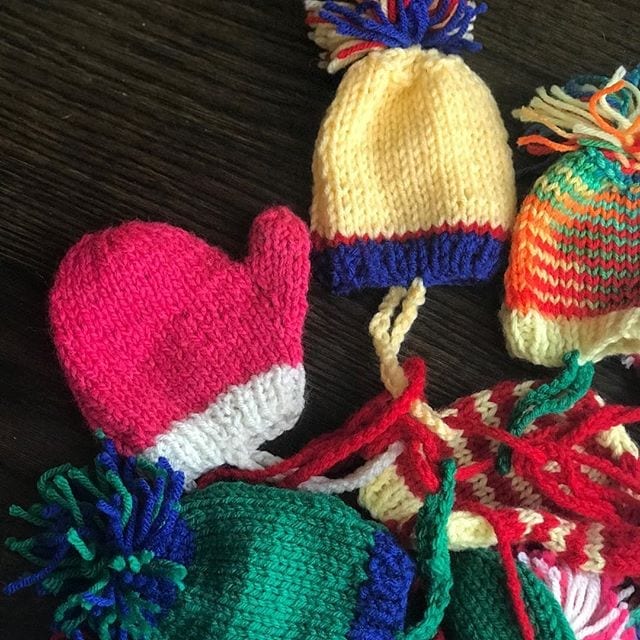
This knit mitten ornament pattern is one of the most charming handmade Christmas decorations you can knit in an afternoon — a tiny pair of striped mittens connected by a long chain, perfect for draping over a tree branch, hanging on a wreath, stringing across a mantel, or tying onto a wrapped gift. The classic red, green, and white color palette gives them that nostalgic vintage Christmas feel, but they look just as beautiful in modern neutrals or unexpected colors like dusty blue and copper.
Each mitten is small enough to use up scraps of holiday yarn, so this is a great stash-busting project. The pattern works up quickly on size US 5 needles, and the simple stripe pattern means you can knit while watching a Christmas movie without losing your place. Make a single pair as a tree ornament, or knit several pairs in different colors for a coordinated holiday garland.
Love Christmas Knit Decor?
Bobble Stitch Christmas Tree Trio Pattern
If you love this knit mitten ornament pattern, you’ll adore my Bobble Stitch Christmas Tree Trio — three coordinating trees in beginner-friendly bobble stitch. Perfect mantel companion to your knit mittens. Use code SEELOVE15 for 15% off.
Why You’ll Love This Knit Mitten Ornament Pattern
- Beginner friendly — uses basic knit, purl, and increase/decrease techniques
- Quick to make — a pair takes a couple of evenings, perfect for last-minute gifts
- Tiny yarn requirements — uses small amounts in each color, ideal for stash scraps
- Endlessly customizable — solid, striped, or full Fair Isle versions all work
- Versatile finished decor — tree ornaments, wreath accents, gift toppers, garlands, package decoration
- Memorable handmade gift — a tiny pair of mittens on a hand-tied gift makes the gift itself feel handmade
Knit Mitten Ornament Pattern Skill Level
Easy. If you’re comfortable with basic knit and purl, K1 P1 ribbing, and simple shaping (increases and decreases), you can work this knit mitten ornament pattern.
Materials for the Knit Mitten Ornament Pattern
- 1 skein Red Heart Super Saver yarn in Frosty Green (Color A)
- 1 skein Red Heart Super Saver yarn in Ranch Red (Color B)
- 1 skein Red Heart Super Saver yarn in Soft White (Color C)
- 1 skein Red Heart Fiesta yarn in Millenium (Color D — for the cuff)
- 3.75 mm (US 5) knitting needles
- 5 mm (US 8) knitting needles
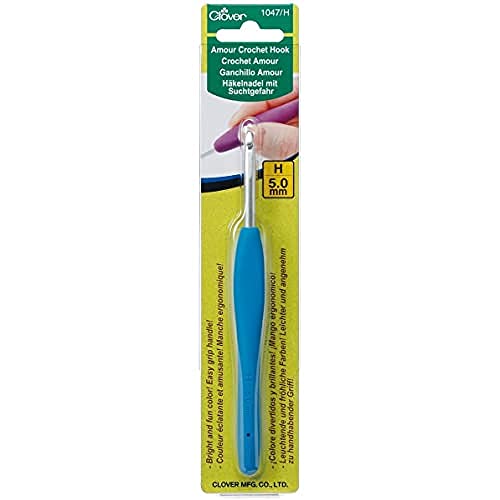
- 3.25 mm (US 3) crochet hook — for the connecting chain
- Yarn / tapestry needle
- Stitch holder
Shop the materials


You only need small amounts of each color, so this is the perfect project for using up Christmas yarn scraps from larger holiday makes.
Knit Mitten Ornament Pattern Abbreviations
- K — knit
- P — purl
- St st — stockinette stitch
- Inc — knit into the front and back of the same stitch (1 stitch increased)
- K2tog — knit two stitches together
- P2tog — purl two stitches together
- st(s) — stitch(es)
Knit Mitten Ornament Pattern Notes
Directions for this knit mitten ornament pattern are written for one size. Yarn weight and needle size will determine the finished mitten size — heavier yarn and bigger needles produce larger ornaments, finer yarn and smaller needles produce more delicate ones.
Stripe Pattern (2-Color Version)
2 rows in Color A or B, then 2 rows in Color C. Repeat throughout the body of the mitten.
Knit Mitten Ornament Pattern Instructions (Make 2)
Cuff Ribbing
With Color D (or your desired color for a solid mitten), cast on 22 stitches.
- Row 1 (RIGHT SIDE): *K1, P1; repeat from * across.
- Repeat Row 1 five more times.
Begin Pattern
Working in stockinette stitch, begin your desired stripe pattern (or continue in solid color) for 2 rows.
Shape Thumb
- Row 1 (RIGHT SIDE): K10, inc in next 2 sts, K10 — 24 sts.
- Row 2 and all even rows: Purl.
- Row 3: K10, inc, K2, inc, K10 — 26 sts.
- Row 5: K10, inc, K4, inc, K10 — 28 sts.
- Row 6: Purl.
Divide for Thumb
- Next Row (RIGHT SIDE): K10, cast on 2 sts, place next 8 sts on stitch holder; K10 — 22 sts.
- Work even for 9 rows.
Shape Top
- Next Row (RIGHT SIDE): *K2tog; repeat from * across — 11 sts.
- Next Row: *P2tog; repeat from * across to last st, P1.
Cut yarn, leaving a long end. Weave through remaining 6 sts and pull tightly to secure.
Thumb
Place the 8 sts from the holder onto the needle. With right side facing, attach yarn.
- Next Row: Inc, K6, inc — 10 sts.
- Work even for 3 rows.
- Next Row (RIGHT SIDE): *K2tog; repeat from * across.
Cut yarn, leaving a long end. Weave through remaining 5 sts, pull tightly, and fasten.
Finishing
To finish your knit mitten ornament pattern: sew the top and thumb seams. Sew the thumb base to the hand. With your crochet hook, attach yarn at the thumb side of the mitten on the beginning edge, chain 50, and slip stitch to the corresponding thumb edge of the second mitten. Fasten off and weave in all yarn ends.
Display Ideas for Your Knit Mitten Ornaments
One of the best things about this knit mitten ornament pattern is how versatile the finished pair is. Here are some of my favorite ways to display them:
- Tree ornaments — drape the connecting chain over a branch so the mittens hang on either side
- Christmas garland — knit several pairs in different colors and string them together for a mantel banner
- Wreath accent — tie a single pair onto a winter wreath for a cozy handmade detail
- Gift toppers — attach a tiny pair of mittens to wrapped gifts in place of a bow
- Stocking stuffers — hang a pair from the cuff of a stocking for an extra holiday touch
- Window decoration — drape a strand across a window above a sill for a cozy Christmas window display
- Place card holders — write guest names on tags and tuck them into the cuff for Christmas dinner
Tips for the Knit Mitten Ornament Pattern
A few notes from making many pairs of these knit mitten ornaments: pay close attention to the stripe pattern when shaping the thumb — it’s easy to lose track of color rows during shaping, and a wonky stripe shows on something this small. Keep your tension consistent, especially at color changes. When seaming, use mattress stitch for the cleanest finish — it nearly disappears on stockinette. And don’t skip blocking — even a quick steam press makes the finished mittens look store-bought rather than homemade.
Decorating the whole room? Pair it with our Knit Cable Braid Tree Skirt pattern for a cozy, coordinated holiday look.
More Free Christmas Patterns You’ll Love
If you love this knit mitten ornament pattern, here are more handmade Christmas projects to add to your queue:
 Easy Crochet Christmas Ornament Pattern — beginner friendly tree ornament
- Cable Knit Christmas Ornament — handmade cable-knit tree classic
- Ribbed Crochet Christmas Ornament — cozy puff-stitch texture
- Peppermint Candy Ornament Pattern — crochet & knit versions
- Browse all holiday and seasonal patterns
- More free crochet and knit patterns

Hang your knit mitten ornaments and tag @seeloveshare on Instagram — I love seeing your handmade Christmas decor! ❄️
Knit Mitten Ornament Pattern FAQ
How long does a pair of mitten ornaments take to knit?
About 2-3 evenings of relaxed knitting. The mittens themselves are small and quick, but allow time for the shaping and the connecting chain. Once you’ve worked your first pair, the second goes much faster.
What yarn weight works best for this knit mitten ornament pattern?
The pattern is written for worsted weight (#4) yarn on US 5 needles, which produces a mitten about the right size for a tree ornament. For more delicate ornaments, try DK or sport weight with US 3 needles. For bigger statement ornaments, use a chunky yarn with US 8 needles.
Can I make a single mitten instead of a pair?
Absolutely — just skip the connecting chain at the finishing step and add a small loop of yarn at the cuff for hanging. Single mittens are great for ornaments where you want to use just one as a focal point.
Do I need to know stranded colorwork or Fair Isle?
No — the basic version uses simple two-row stripes, which just requires carrying yarn loosely up the side of the work. If you want to add Fair Isle motifs, the pattern is easily adaptable, but no colorwork skills are required for the standard knit mitten ornament pattern.
How long should the connecting chain be?
The pattern calls for a 50-stitch crochet chain, which is the perfect length for draping over a Christmas tree branch. For garland use, you can make the chain longer (try 80-100 stitches) so the mittens have more space between them.
Can I sell finished mitten ornaments from this pattern?
Yes — small-batch sales of finished items are welcome. Please credit SeeLoveShare as the pattern designer and don’t redistribute or resell the pattern itself.
Get Free Patterns by Email
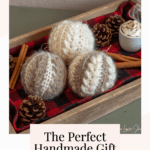
Save This Knit Mitten Ornament Pattern for Later
Want to come back to this knit mitten ornament pattern later? Save it to Pinterest so you can find it next time you’re planning your handmade Christmas decor. I’d love to see your finished mittens — tag @seeloveshare on Instagram! ❄️
This knit mitten ornament pattern, photos, and instructions are © SeeLoveShare LLC. For personal use only — please do not redistribute or resell the pattern. Small-batch sales of finished items are welcome with credit. Thank you for supporting an independent designer! ❄️