
Crochet Free Holiday Free Crochet
March 12th, 2022
Crochet Pot of Gold Pattern — Free St. Patrick’s Day Embellishment
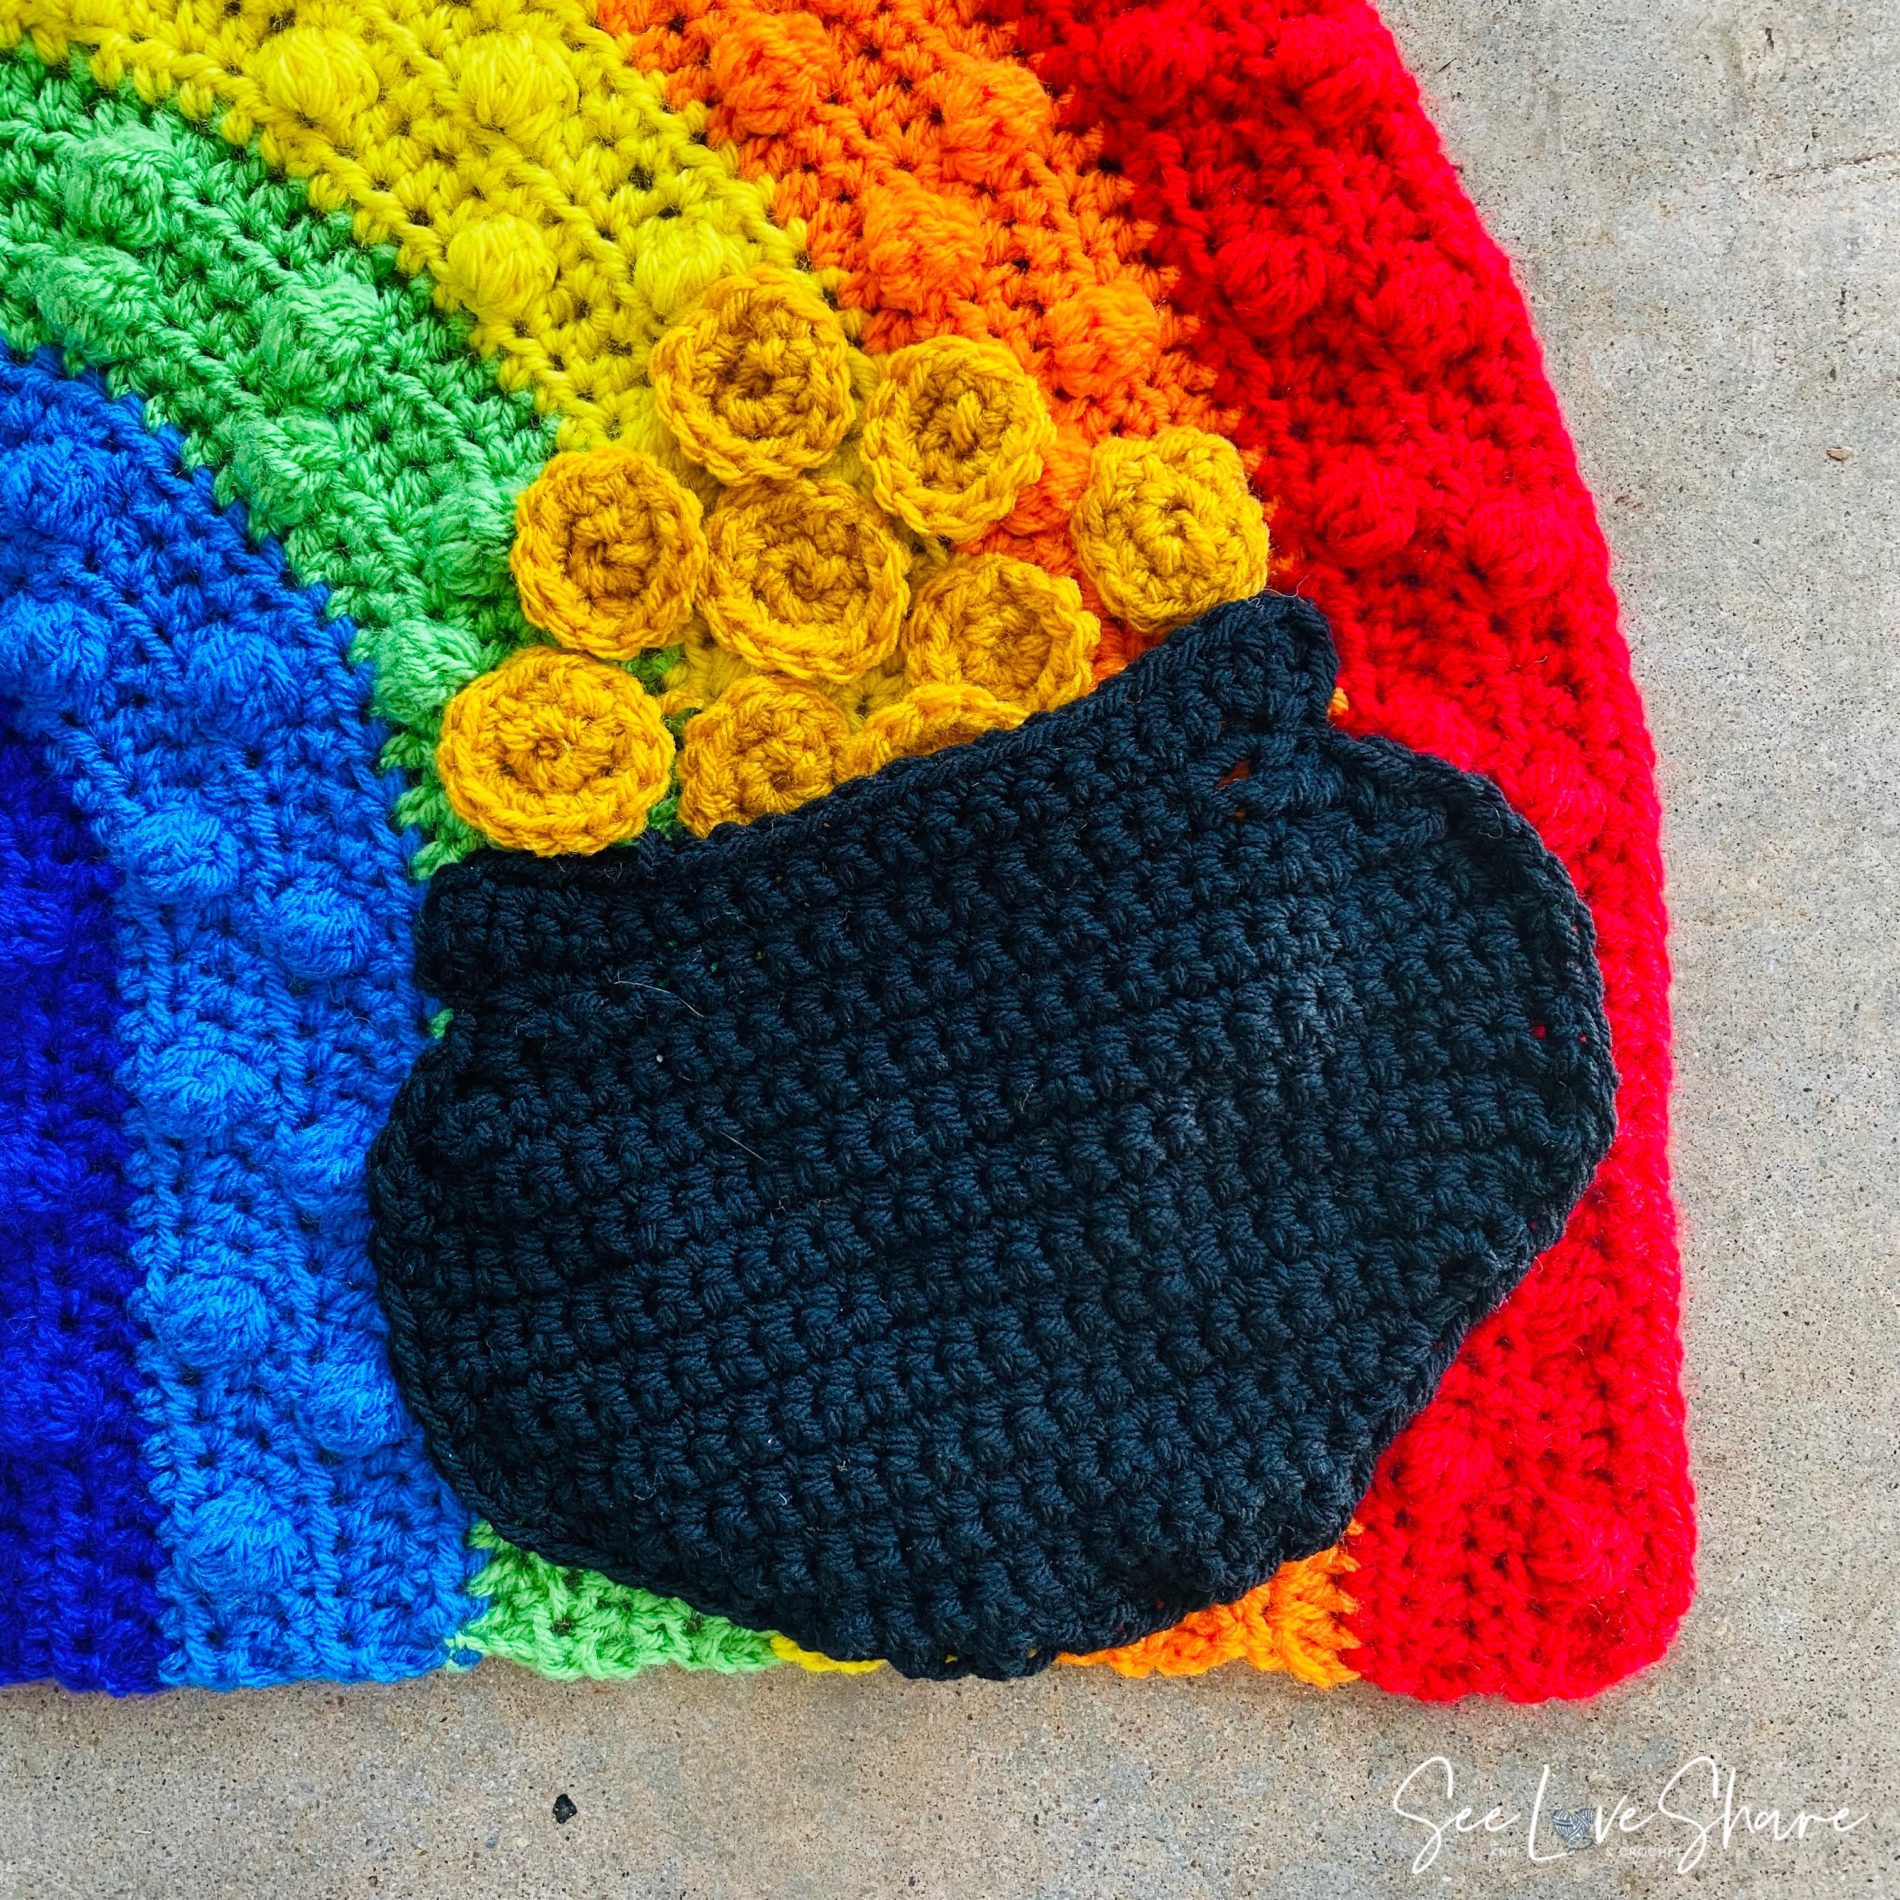
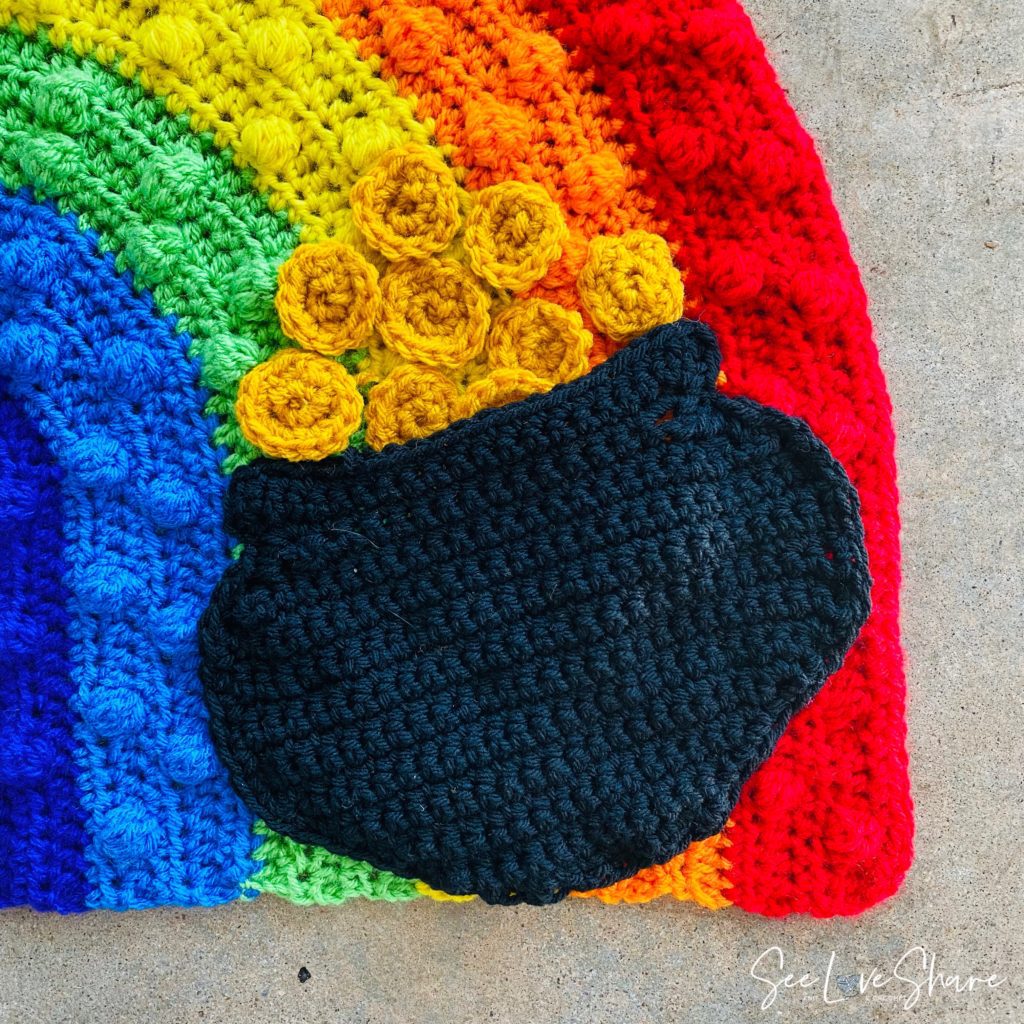
This crochet pot of gold pattern is the final piece in the St. Patrick’s Day rainbow set — grab some black and gold yarn and let’s finish your seasonal display! The pot is worked from the bottom up in black, then finished with nine gold coins peeking over the top. It’s a beginner-friendly weekend make that pairs perfectly with the rainbow and cloud patterns to complete your handmade St. Patrick’s Day decor.
The genius of this crochet pot of gold pattern is that everything stays simple — just sc, increases, decreases, and a basic round for the coins. Even confident beginners can knock this out in an afternoon, and the finished piece looks like it took way more skill than it actually did.
Why You’ll Love This Crochet Pot of Gold Pattern
This little pot of gold hits all the right notes for St. Patrick’s Day crafting:
✔ Beginner-friendly stitches (sc, increases, decreases)
✔ Quick weekend project — 2-3 hours total
✔ Pairs with the rainbow + cloud patterns for a full set
✔ Uses only black and gold yarn — minimal supplies
✔ Versatile crochet pot of gold pattern for cards, wreaths, garlands
✔ Adorable finishing touch for handmade St. Patrick’s Day gifts
✔ Customizable coin count for fuller or sparser look
✔ Reusable seasonal decor — bring it out year after year
Pattern Details
The crochet pot of gold pattern has two parts: the pot (worked flat from the bottom up with an sc edging) and the gold coins (small circles worked in the round). Make all 9 coins and the pot, then attach the coins to the top edge of the pot.
Skill Level
Beginner. Requires ch, sc, sc2tog, sc3tog, increases, and basic working in the round.
Finished Sizes
- Gold coins: approximately 1.5 inches wide
- Pot: 6 inches tall, 8 inches wide
Gauge
12 sc x 15 rows = 4 inches with a 6.0mm crochet hook.
Pattern Notes
Gold coins are worked in rounds. The pot is worked flat from the bottom up, then finished with an sc edging around the sides and bottom (the top stays open).
Materials You’ll Need
- Red Heart Super Saver in Black (for the pot)
- Red Heart Super Saver in Gold or yellow (for the coins)
- 6.0mm crochet hook from this complete hook set
- Tapestry needle for weaving in ends and sewing coins to the pot
- Scissors
Shop the materials


Black and gold are the classic colors for this crochet pot of gold pattern, but feel free to substitute deep navy + bright yellow for a more modern look. The pot uses just a small amount of black yarn, and each coin uses only a few yards of gold — perfect for stash-busting.
Abbreviations (US Terms)
- ch — chain
- sc — single crochet
- hdc — half double crochet
- dc — double crochet
- tr — treble crochet
- sc2tog — single crochet 2 together (decrease)
- sc3tog — single crochet 3 together (decrease)
- inc — increase (2 sc in next st)
- sl st — slip stitch
- sk — skip
- beg — beginning
- st(s) — stitch(es)
The Crochet Pot of Gold Pattern
Gold Coins (Make 9)
With gold yarn, ch 2. Work 6 sc into the 2nd ch from the hook.
Round 1: Inc in each sc around. (12 sts)
Bind off, leaving a long tail for sewing the coin to the pot edge or to your rainbow display.
Repeat 8 more times for a total of 9 coins. (Adjust the count up or down depending on how full you want the pot to look.)
The Pot
With black yarn, ch 12.
Row 1: Sc in 2nd ch from hook and each remaining ch. (11 sc)
Rows 2-10: 2 sc in first st, sc to last st, 2 sc in last st. Increase 2 sts in every row. Continue until you have 27 sc.
Rows 11-19: Work 8 rows even — sc in every st to end. (27 sc each row)
Rows 20-22: Sc3tog, sc to last 3 sts, sc3tog. After Row 22, you should have 15 sts.
Rows 23-24: 3 sc in first st, sc to last st, 3 sc in last st. (Increases 4 sts per row.) End with 23 sts after Row 24.
Do not bind off — continue directly into the edging.
Pot Edging
Sc around the edge of the pot — down the left side, across the bottom, and up the right side. Join with a sl st to the first st at the top of the pot.
Important: do not edge the top of the pot. The top stays open so the gold coins can peek over the edge.
Bind off and weave in ends with your tapestry needle.
Assembly
- Attach coins to pot: use the tapestry needle and the long tails on each coin to sew the coins along the top edge of the pot. Stack 2-3 coins peeking over the rim, and overlap a few in front for dimension.
- Add to your rainbow display: sew the finished pot to the bottom of your crochet rainbow with the cloud embellishments to complete the St. Patrick’s Day set.
- Or use it standalone: the pot also works beautifully on cards, wreaths, gift tags, or as a fridge magnet (just glue a magnet strip to the back).
Tips for the Perfect Pot of Gold
A few extra tricks to make your crochet pot of gold pattern look its best:
- Block the pot flat: a quick light steam helps the pot lie flat and gives the edging crisp definition.
- Vary coin sizes: work some coins with 4-5 sc in the magic ring and skip the increase round for smaller “back” coins to add depth.
- Use metallic yarn for sparkle: a metallic gold yarn or gold sparkle yarn gives the coins extra realism.
- Stack coins for dimension: sew 2-3 coins overlapping in the front and tuck a few more behind for a layered, “overflowing” look.
- Count stitches every few rows: the increases and decreases can be easy to miss — a quick count keeps your shaping accurate.
- Customize with extras: add a tiny embroidered “$” symbol on a coin or two for fun detail.
Frequently Asked Questions
How long does this crochet pot of gold pattern take? Plan for 2-3 hours total — about 5 minutes per coin, 1.5-2 hours for the pot, plus assembly time.
Is this beginner-friendly? Yes! If you can chain, sc, increase, and decrease, you can make this. The only “newer” skill is sc3tog, which is just three single crochets worked together.
Can I use a different yarn weight? Yes — heavier yarns make a larger pot, lighter yarns make it smaller. Just adjust the hook size to match your yarn and recheck gauge.
How many coins do I actually need? The pattern calls for 9 coins, but anywhere from 6-12 looks great depending on how full you want the pot to look.
How do I attach this to my crochet rainbow? Use the long tail from the pot’s last bind-off to sew the pot to the bottom of the rainbow. Position it so the coins peek up at the rainbow.
Can I make a 3D pot instead of flat? The pattern is designed flat for appliqué use. To make a 3D pot, you’d need to add a second matching panel and seam the sides — a fun customization!
Can I sell items made with this pattern? Yes — small batch sales are allowed for personal income. Please credit SeeLoveShare as the designer.
Complete Your St. Patrick’s Day Rainbow Set
This crochet pot of gold pattern is the final piece in the SeeLoveShare St. Patrick’s Day collection. Pair it with the other patterns for a complete display:
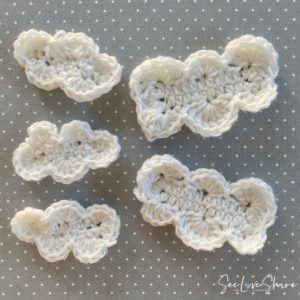
 Crochet Cloud Pattern — Free Puffy Embellishment
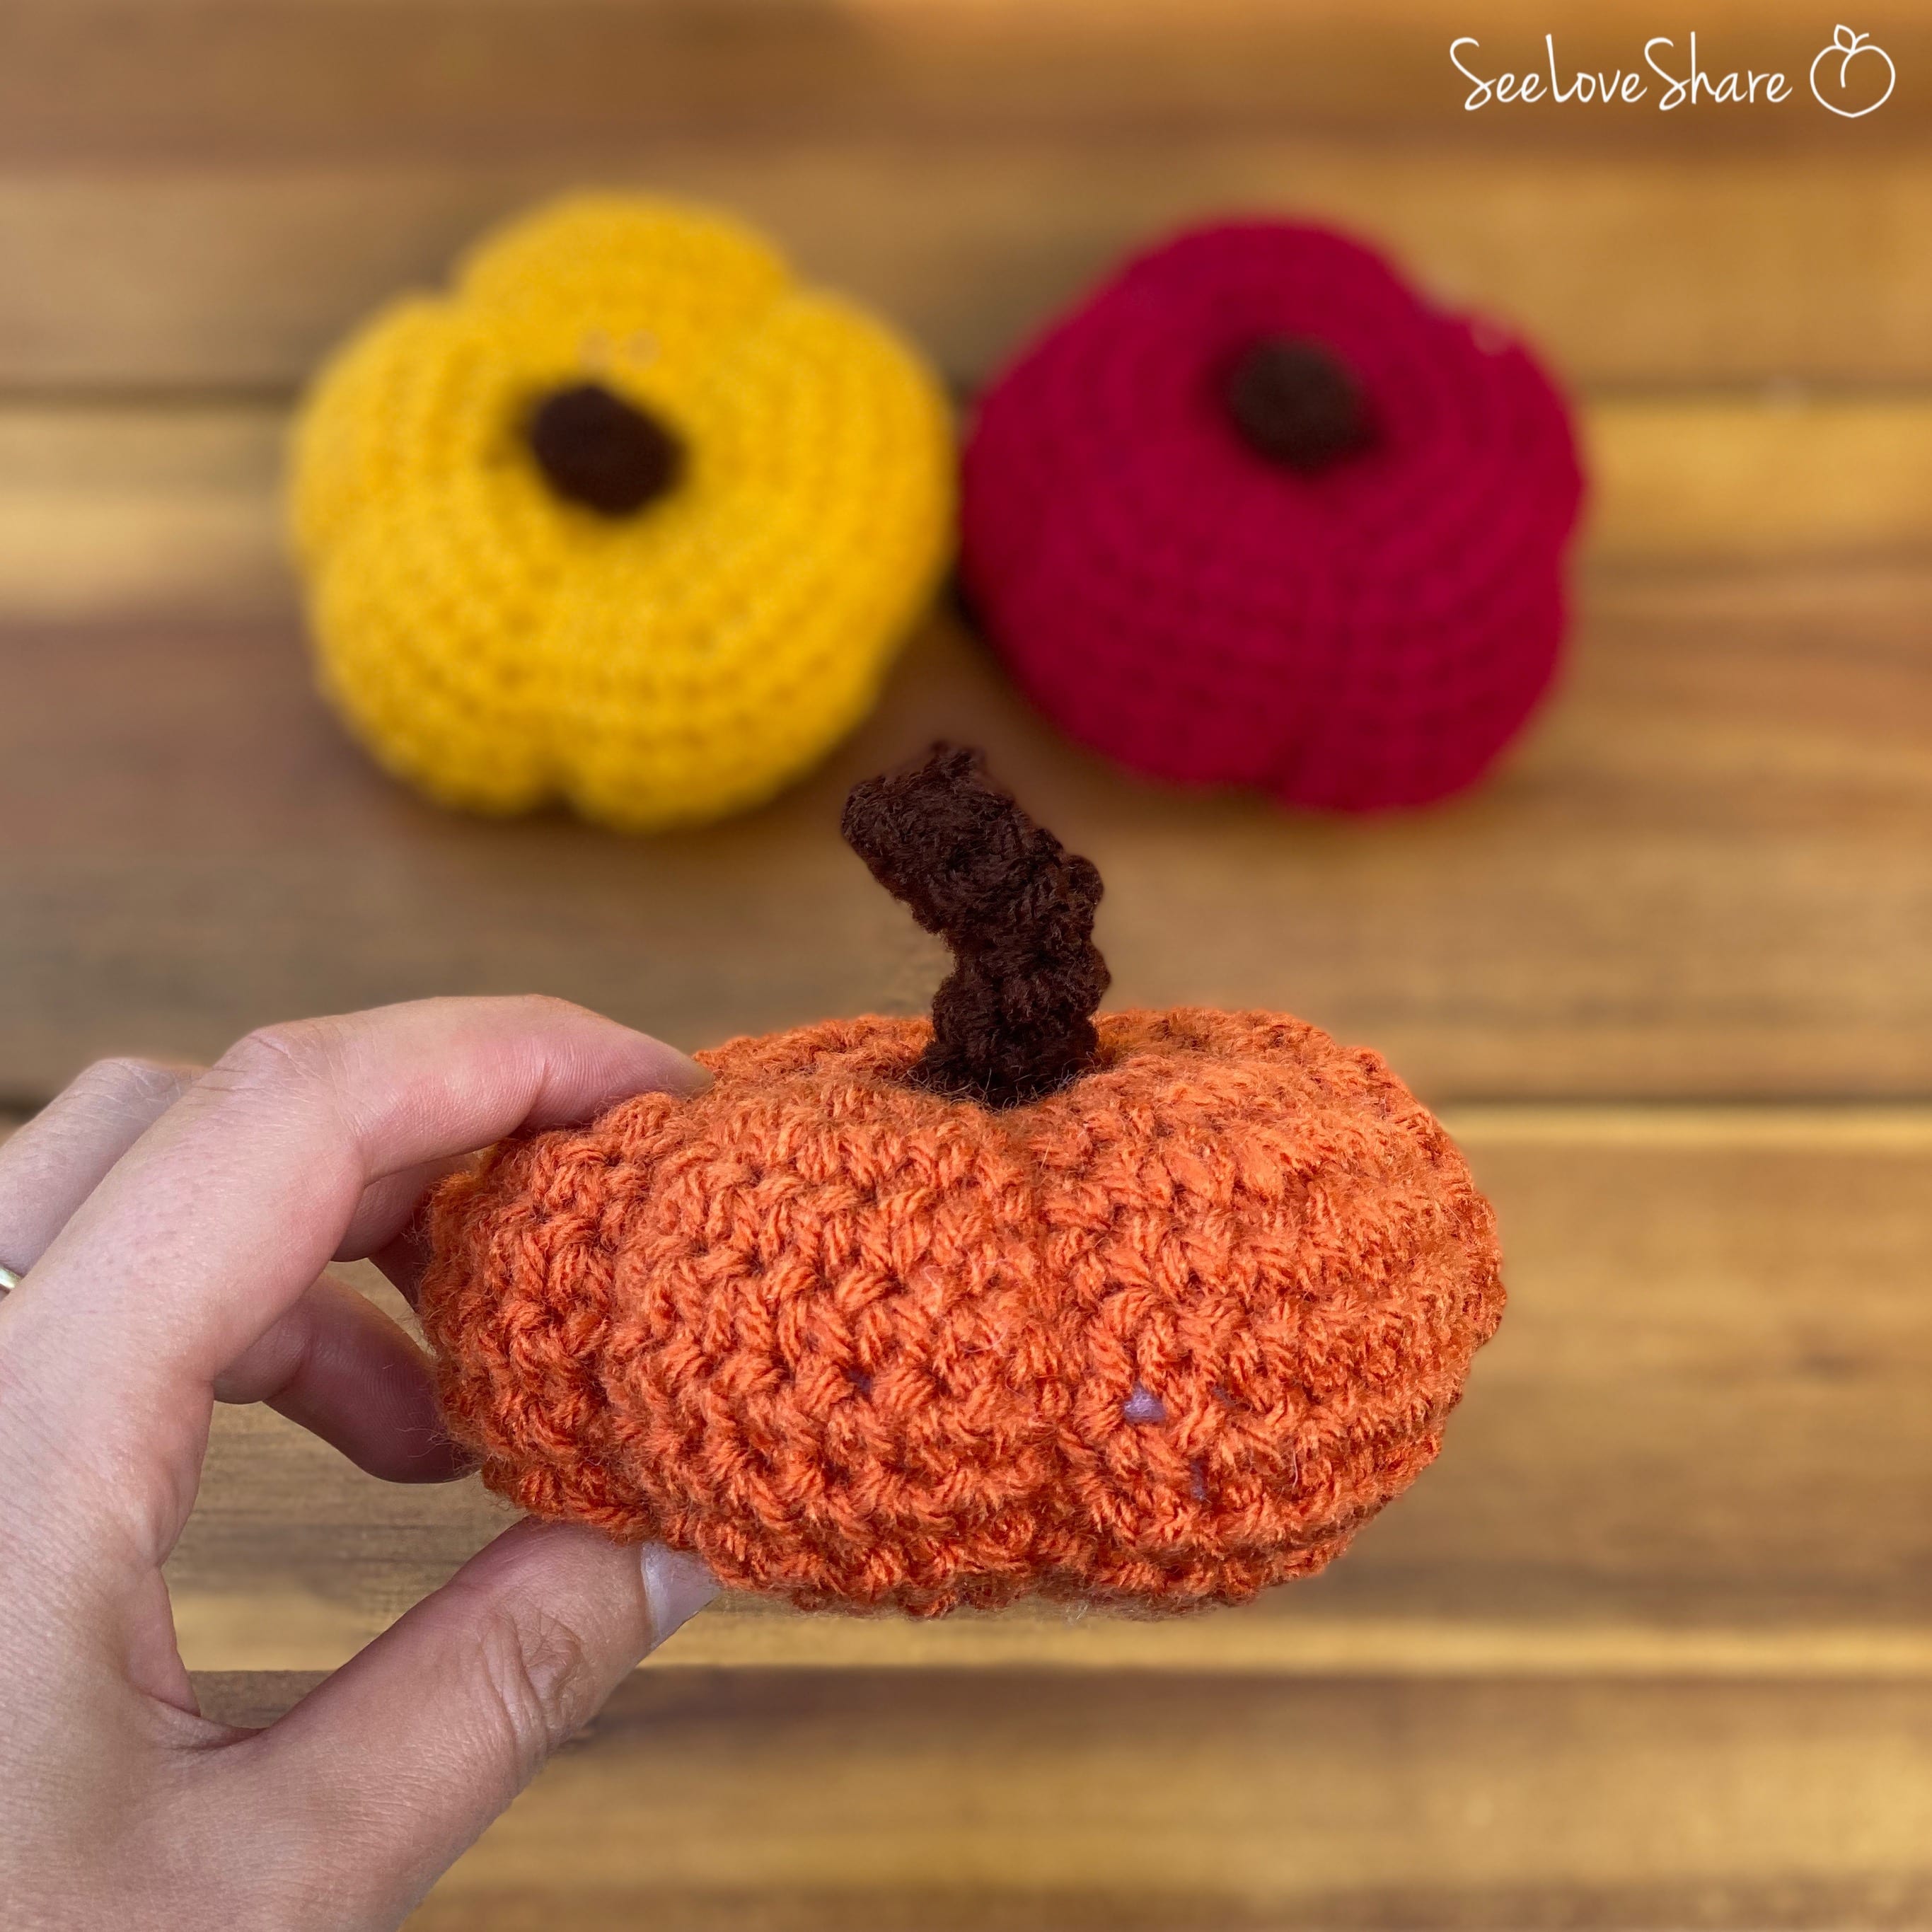
 Mini Crochet Pumpkin Embellishments
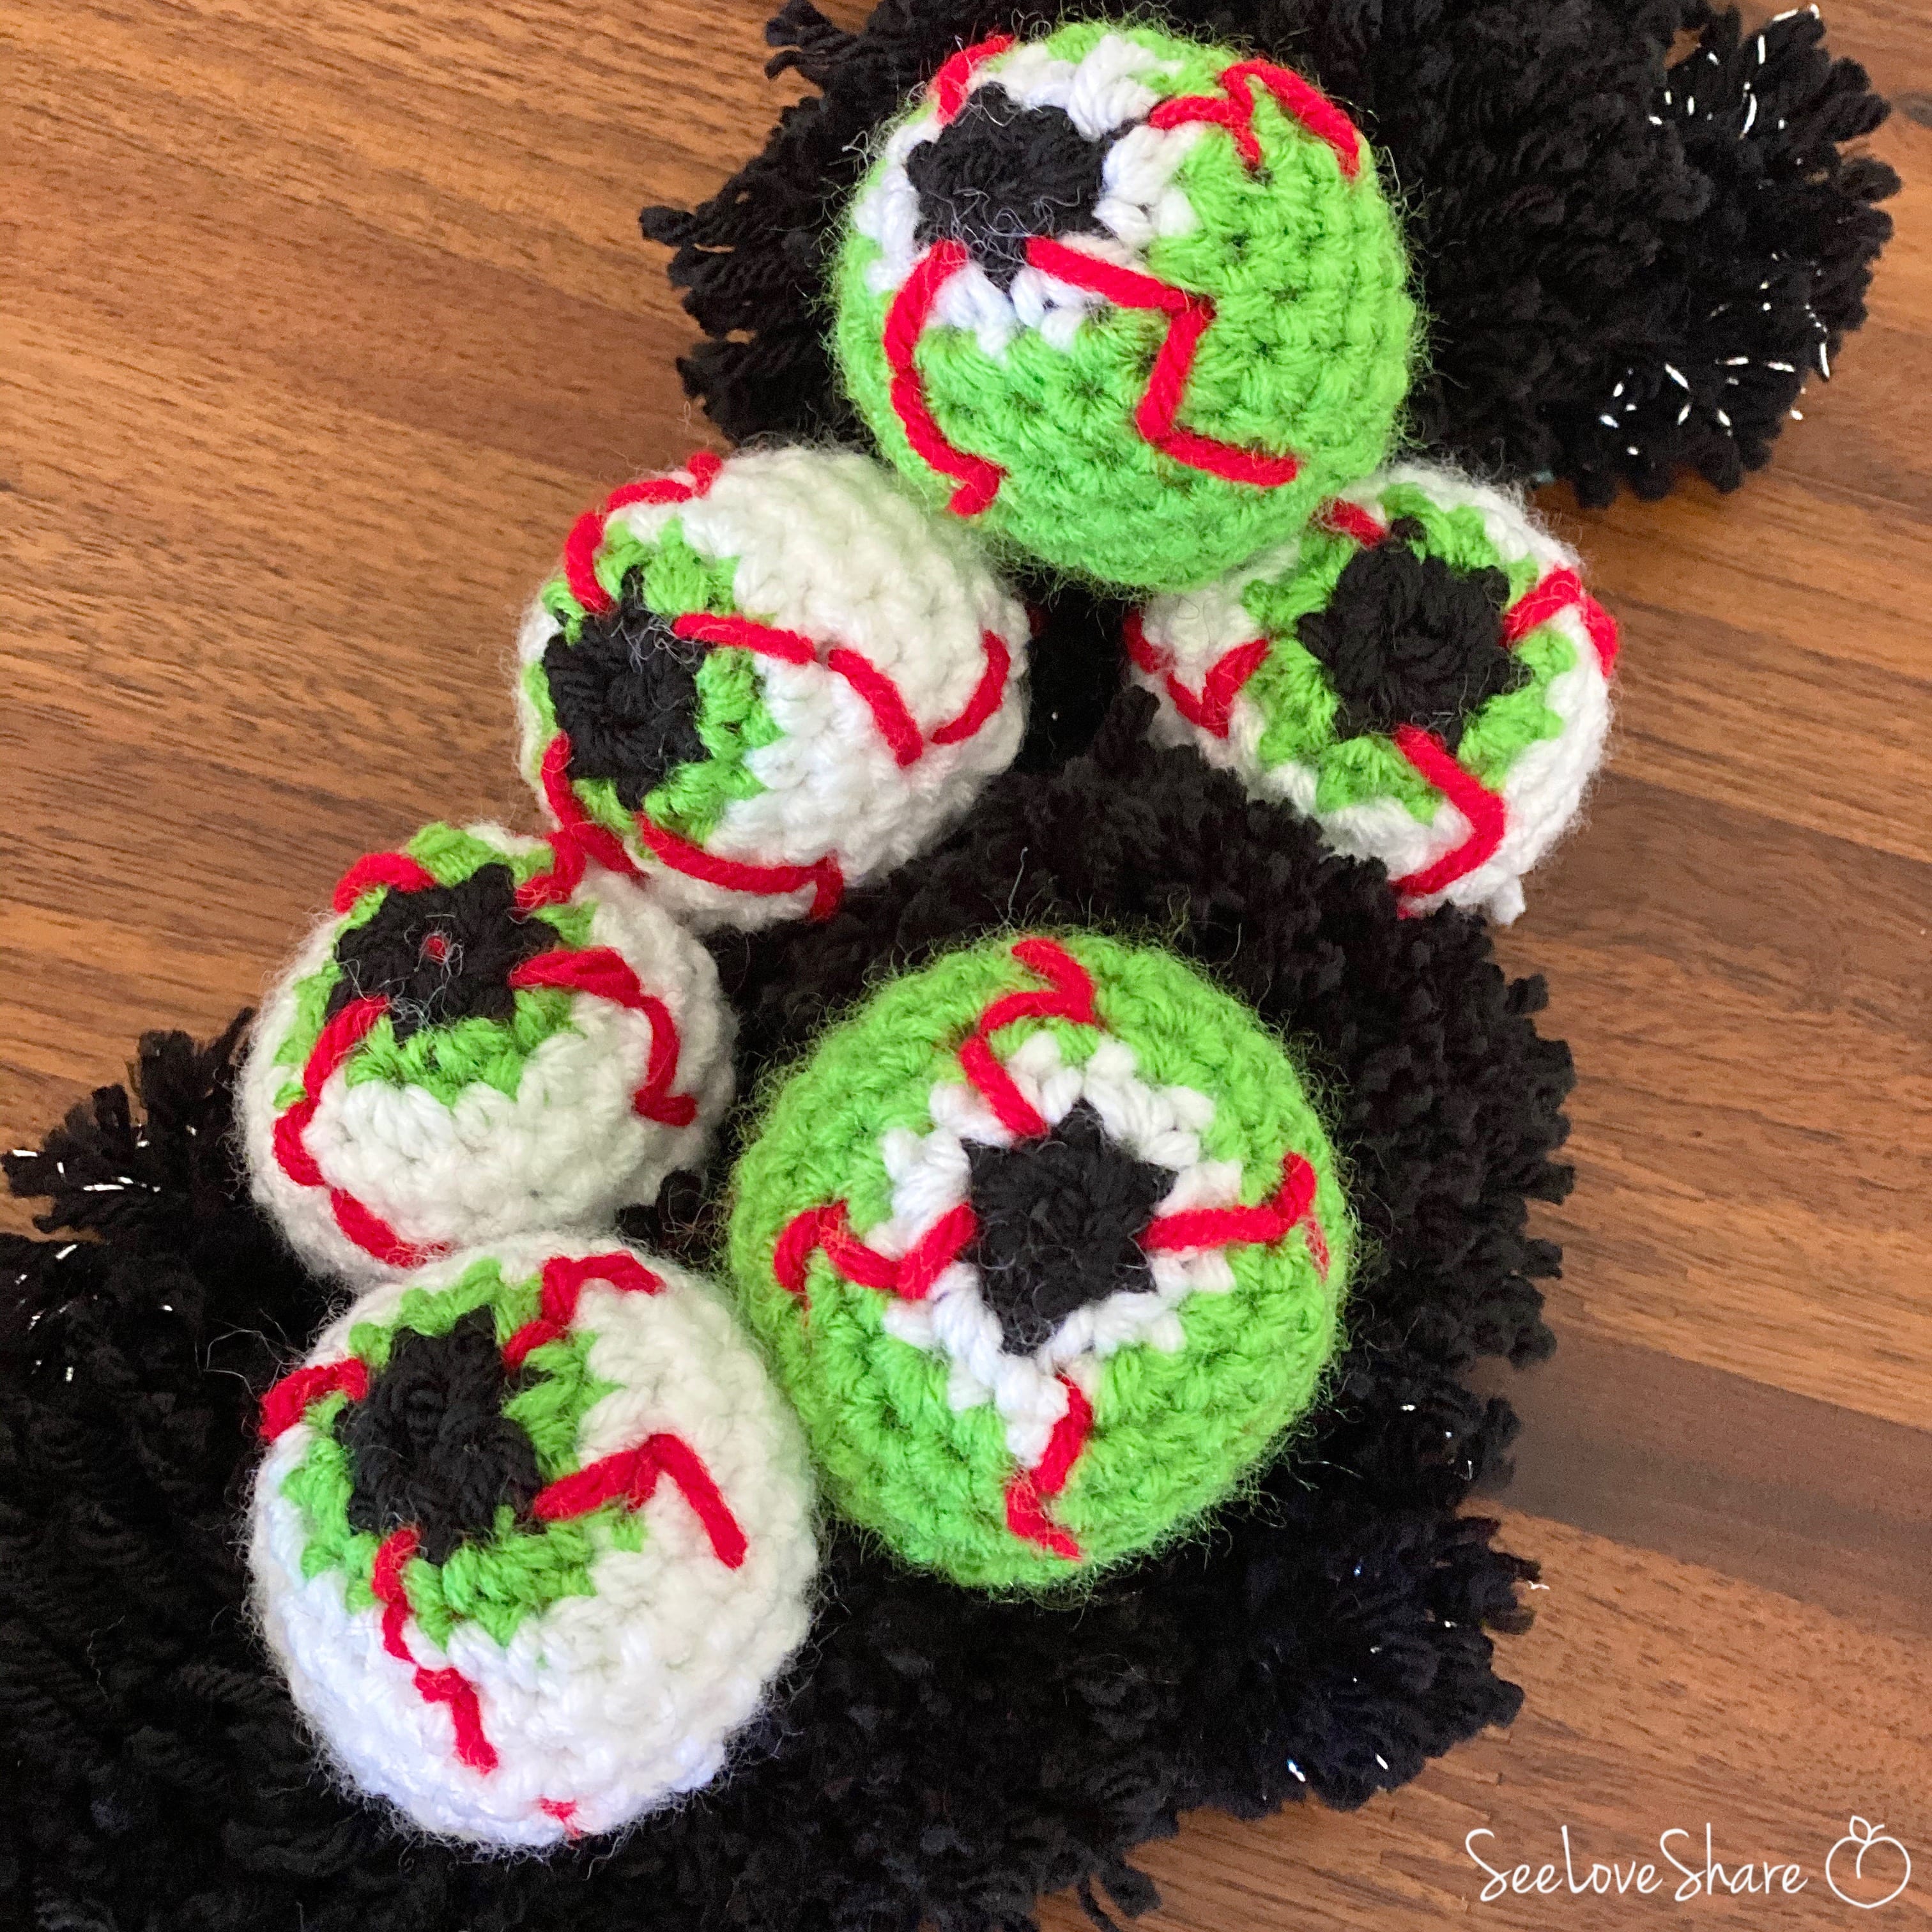
- Crochet Eyeball Pattern — Halloween Amigurumi
- Crochet Rainbow Nursery Decor — an amigurumi rainbow to top your pot of gold


Save This Crochet Pot of Gold Pattern
Want to come back to this crochet pot of gold pattern later? Save it to Pinterest so you can find it when St. Patrick’s Day crafting season hits — and share it with your crocheting friends!