All Baby/Toddler/Kids All Holiday Crochet
March 26th, 2022
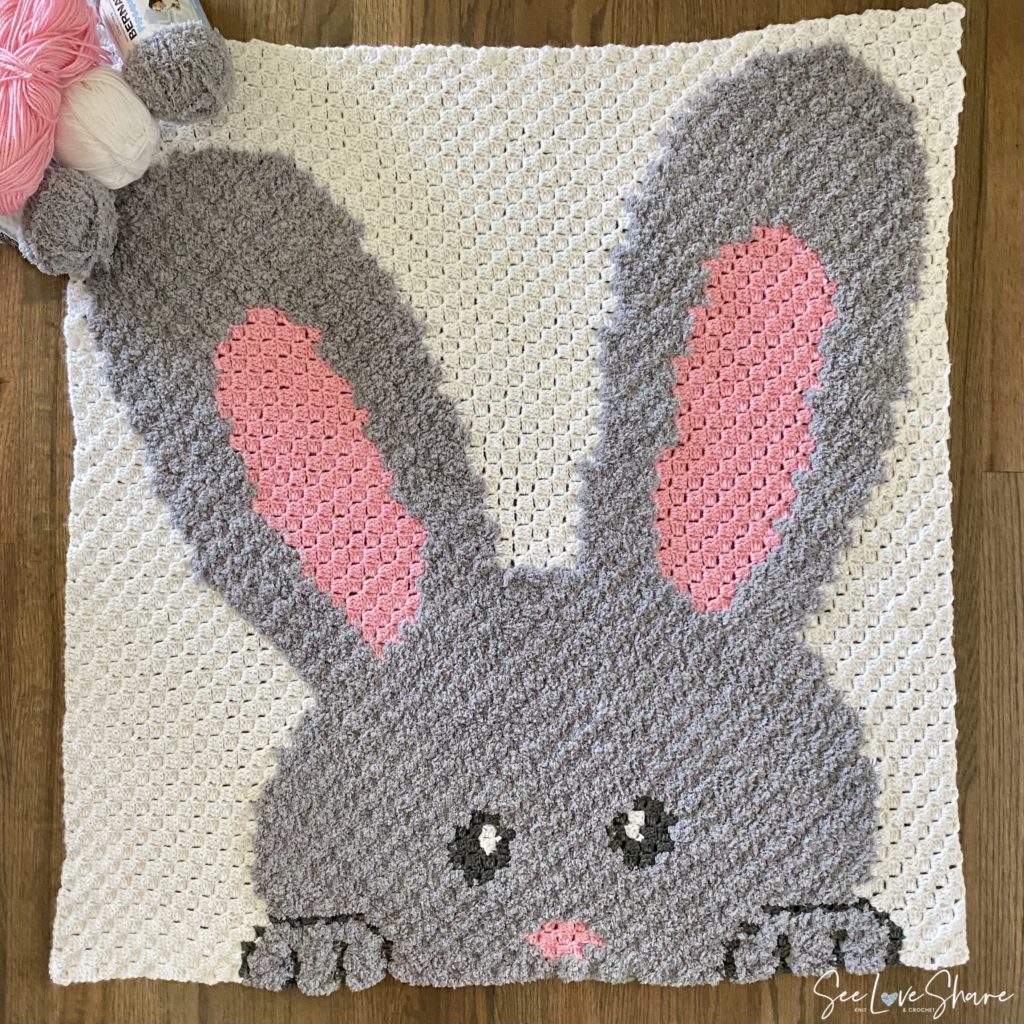
Baby Bunny C2C Throw – Crochet Pattern
Welcome to a slightly different pattern instructions! This pattern was designed online using a program that allows you to design the graph for free! Yes, free! It takes a bit of getting used to but once you get the hang of it, it’s a huge help when you work it up. They even include a row highlighter so you can easily keep track of where you are in the graph. I have linked to everything below and you can even get straight to my design to follow along there. This was a really fun pattern to design and work up. Watching the face of the bunny come together is really exciting to watch, every row has a meaningful impact! I really hope you enjoy this as much as we did!
UPDATE November 2024:
I hope that you’re enjoying your current knitting projects. It has been such a pleasure sharing my patterns with you and seeing your creativity bring them to life.
After much thought, I have made the difficult decision to no longer offer my patterns for free. This was not an easy choice—designing and sharing these patterns has always been a passion of mine and a way to connect with this amazing community.
However, the time, effort, and resources required to create, test, and perfect each pattern are significant. To continue bringing you high-quality, unique designs and to support the sustainability of my work, I will now be offering my patterns for purchase on Etsy.
I am incredibly grateful for your support over the years. Your kind words, encouragement, and enthusiasm mean so much to me. I hope you’ll continue to enjoy my patterns and support this new chapter.
Please visit my Etsy shop HERE to view and purchase my collection.
Thank you for your understanding and for being an integral part of this journey.
For the full pattern, please consider purchasing it HERE.
Use coupon code: SLSFriend10 for 10% off.
Pattern Notes:
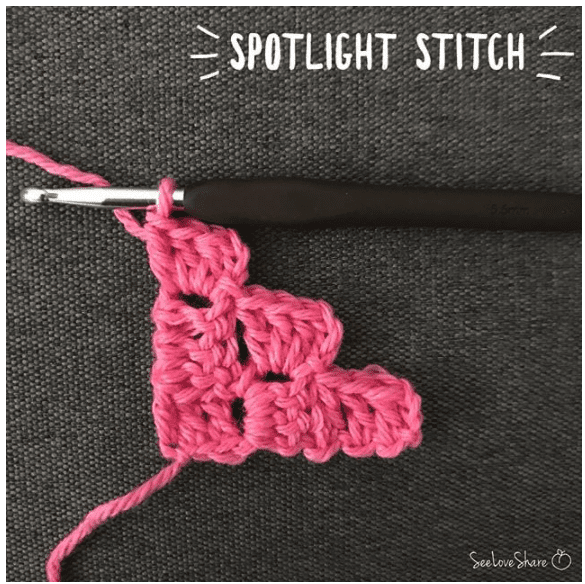
This pattern uses traditional C2C methodology. We are using two different yarns with different gauges so there are slight modifications we’ll make to adjust for that. We need to maintain the same block sizing for each yarn type so there are some small tweaks to look out for! For a refresher on how to work that up, see C2C spotlight stitch below.
Measurements:
Approx. 39x42in.
Materials:
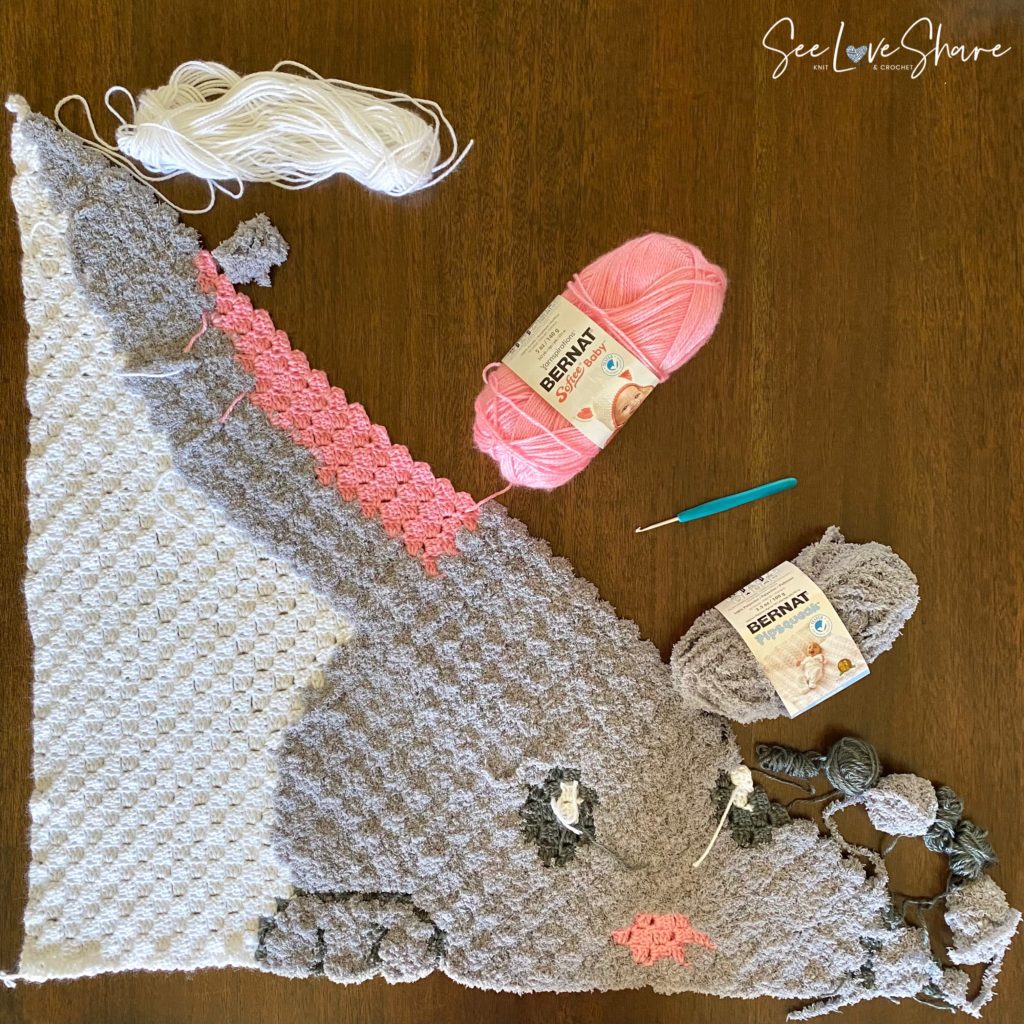
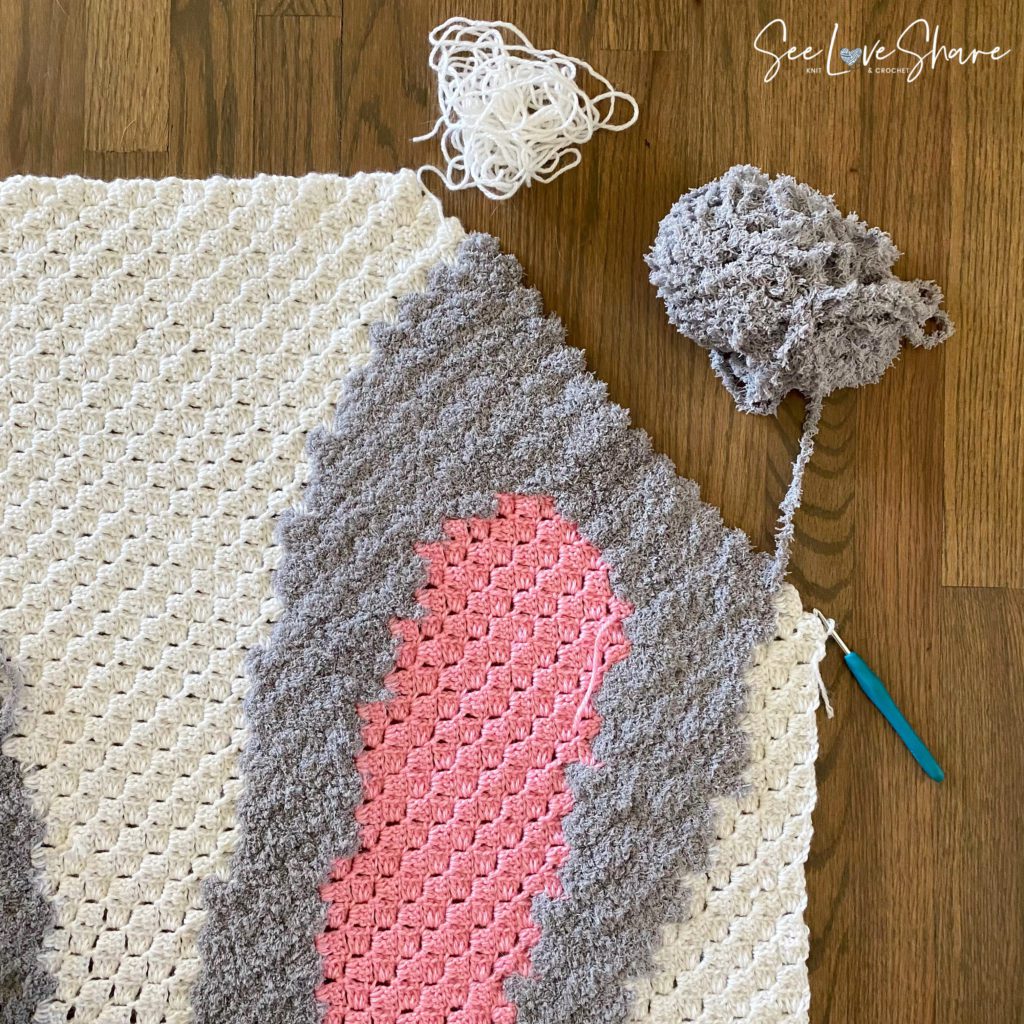
- 5 Balls of Bernat Pipsqueak in Elephant (for Bunny)
- 3 Balls of Bernat Softee Baby in White (for Backdrop and eyes)
- 1 Ball of Bernat Softee Baby in Prettiest Pink (for nose and ears)
- 1 Ball of Bernat Softee Baby in Baby Grey (for paws and eyes)
- 4.00 mm crochet hook
- Tapestry needle
- Scissors
Gauge:
Crochet Gauge: 16 sc and 19 rows with a 4 mm (U.S. G/6) crochet hook
Abbreviations:
Beg = Beginning
Ch = Chain
Dc = Double crochet
Inc = Increasing
Rem = Remaining
Rep = Repeat
Rnd(s) = Round(s)
RS = Right side
Sc = Single crochet
Sl st = Slip stitch
Sp(s) = Space(s)
St(s) = Stitch(es)
Block with Baby Softee: (Sl st. Ch 3. 3 dc)
Block with Pipsqueak: (Sl st. Ch 3. 2 dc)
Want to check out more Easter Patterns? Head this way…
Want a C2C Refresher? Check this out…