
All Afghans/Throws Knit Afghan Knit Baby/Toddler/Kids
August 13th, 2023
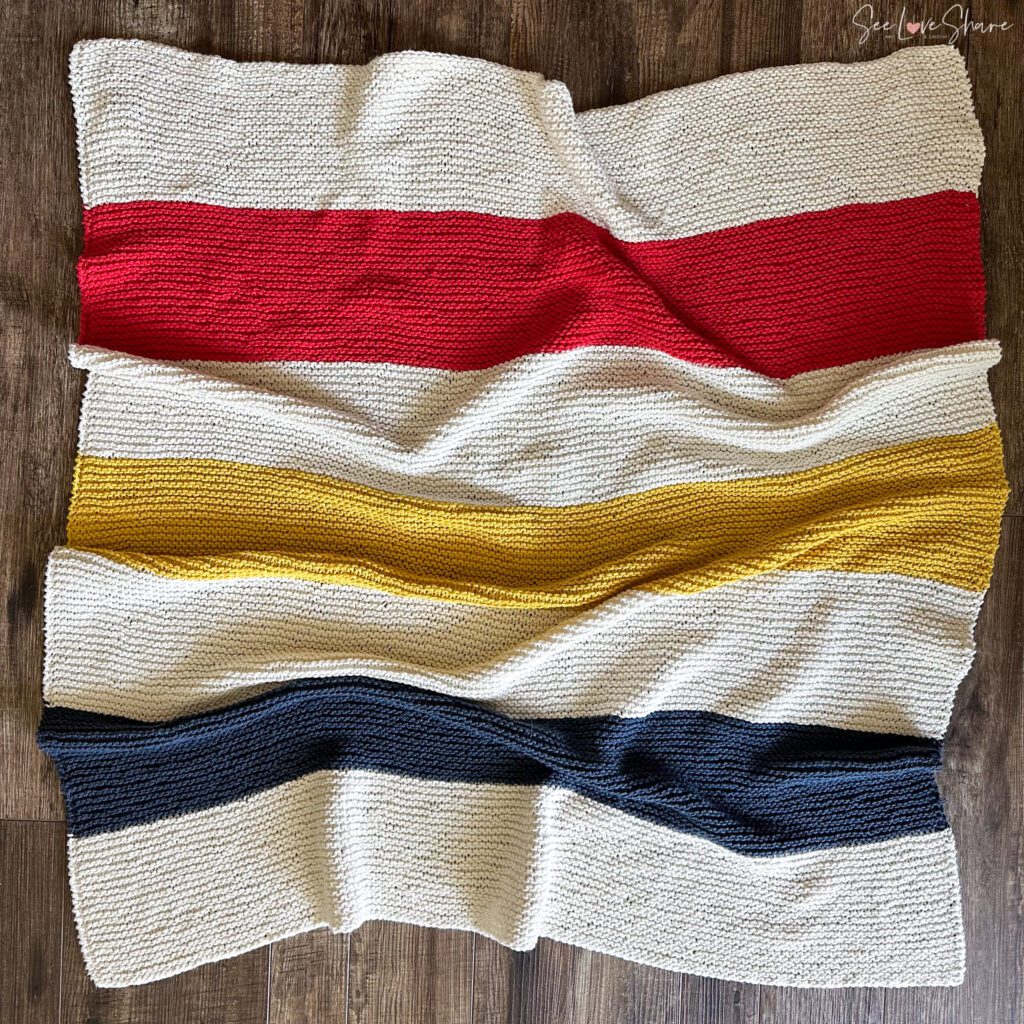
Hudson’s Simple Knit Throw Blanket – Beginner Friendly Pattern
There’s something incredibly rewarding about creating something with your own two hands, especially when it’s as comforting and cozy as a knitted blanket. If you’re a beginner eager to dive into the world of knitting, a simple blanket is the perfect project to start with. Not only does it allow you to learn the basics of knitting, but it also results in a warm and functional piece that you can cherish for years to come. In this blog post, we’ll guide you through the process of knitting a simple blanket, offering tips, encouragement, and a step-by-step approach.
Tips for Beginners!
- Knit in Garter Stitch: Start knitting every row in the garter stitch pattern. This repetition will help you become more comfortable with the knitting motion and develop an even tension.
- Maintain Consistency: As you knit, it’s important to maintain a consistent tension. This comes with practice, so don’t be discouraged if your stitches look uneven at first.
- Staying Patient and Practicing: As a beginner, it’s normal to encounter challenges and make mistakes. Remember that knitting is a skill that improves with practice. Don’t be afraid to unravel and start over if needed. The process is just as valuable as the finished product, if not more so.
Pattern Notes:
This pattern uses a circular needle but worked back and forth across the needle (you will not join). Changing colors and attention to edging and finishing bring elevate this pattern to extraordinary. We’ll point out these tips along the way.
Skill Level:
Beginner: Ideal first project
Measurements:
Approximately 40 x 42in. This pattern is easily adjusted to make it larger/smaller. Message me for specific calculations once you’ve chosen your yarn.
Materials:
- Yarn: Any 100% Cotton, Gauge: 4 – Medium – Worsted
- Main Color (MC): Min 500 yards
- Contrast colors (CC): select 3, 120 yards of each
- AS PHOTOGRAPHED:
- MC: LILY SUGAR’N CREAM THE ORIGINAL YARN, Ecru
- CC 1: LILY SUGAR’N CREAM THE ORIGINAL YARN, Red
- CC 2: LILY SUGAR’N CREAM THE ORIGINAL YARN, Yellow
- CC 3: LILY SUGAR’N CREAM THE ORIGINAL YARN, Bright Navy
- Size 4.5mm (US 7) circular needle with 29in cord
- Tapestry needle
If you’d like an Ad-Free Version or if you’d just like to support my effort – please consider purchasing a downloadable & printable version from my Etsy Shop! A little goes a long way. Thank you!
Pattern:
Begin Bottom Border:
With MC cast on 145 sts.
Row 1: Knit every stitch
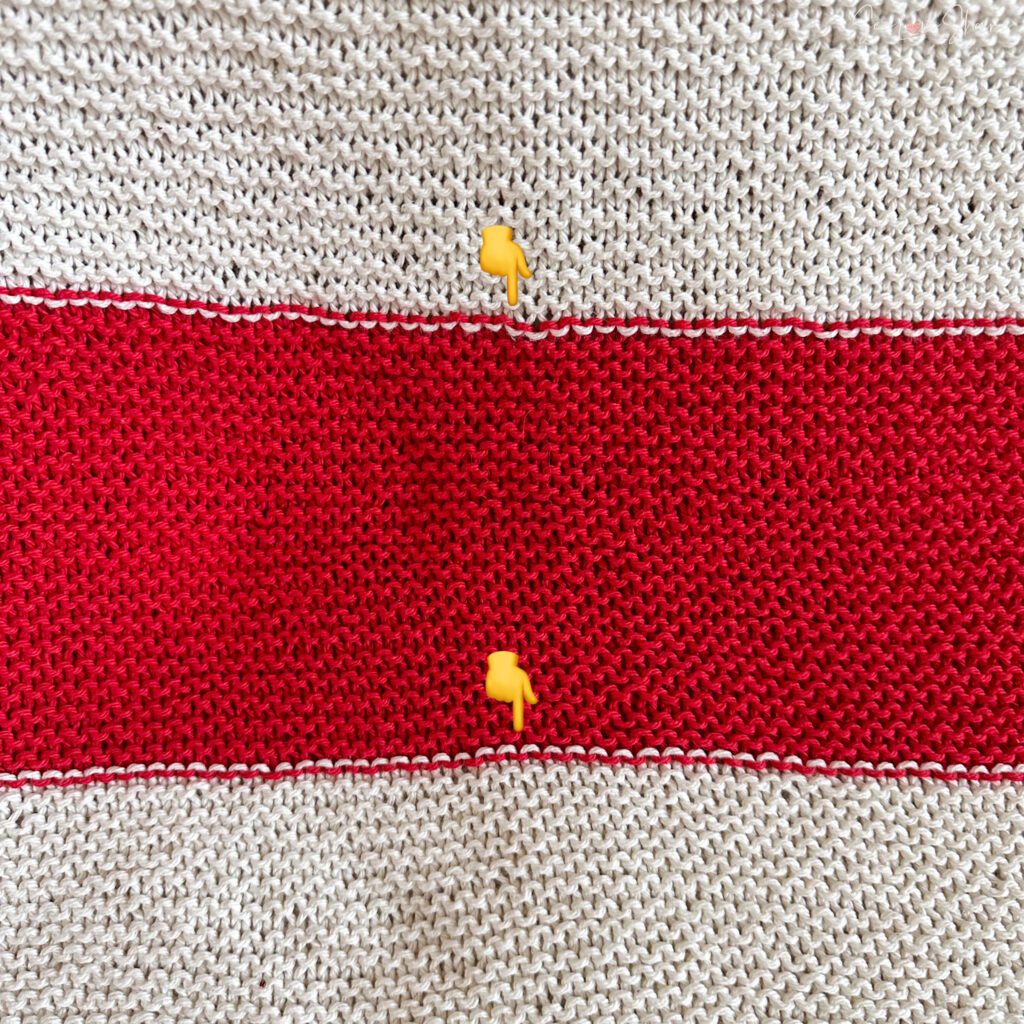
Row 2: Slip first stitch (leave unworked), K every stitch to end.
NOTE: Slipping the first stitch creates an elevated and clean edge. It’s a simple but effective trick that takes the work up a notch. Here is a closeup…
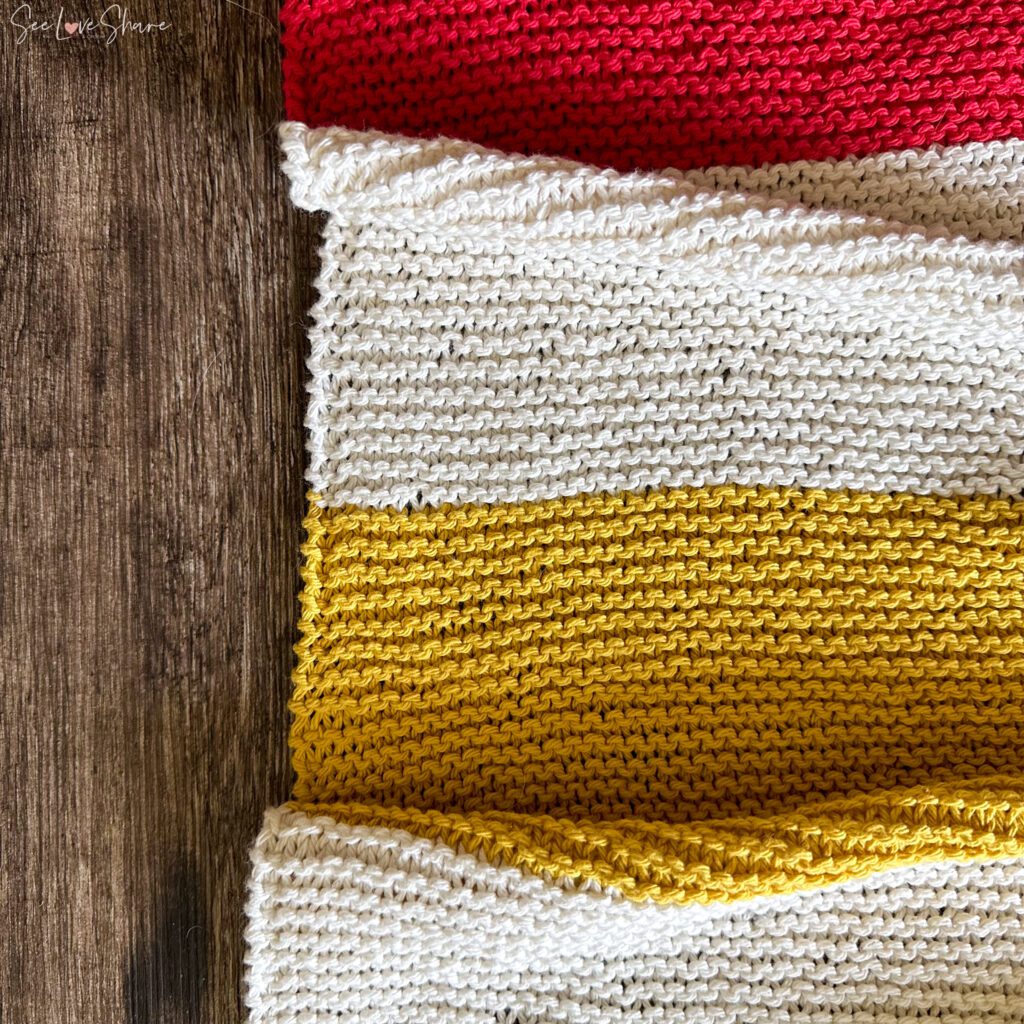
Repeat Row 2 until first color block in MC is approx. 6 inches then count your rows. In my case, I have 20 rows in each colour block. Change to CC 1.
Proceed repeating Row 2 for each color block, changing colors in the following pattern:
MC
CC1
MC
CC2
MC
CC3
MC
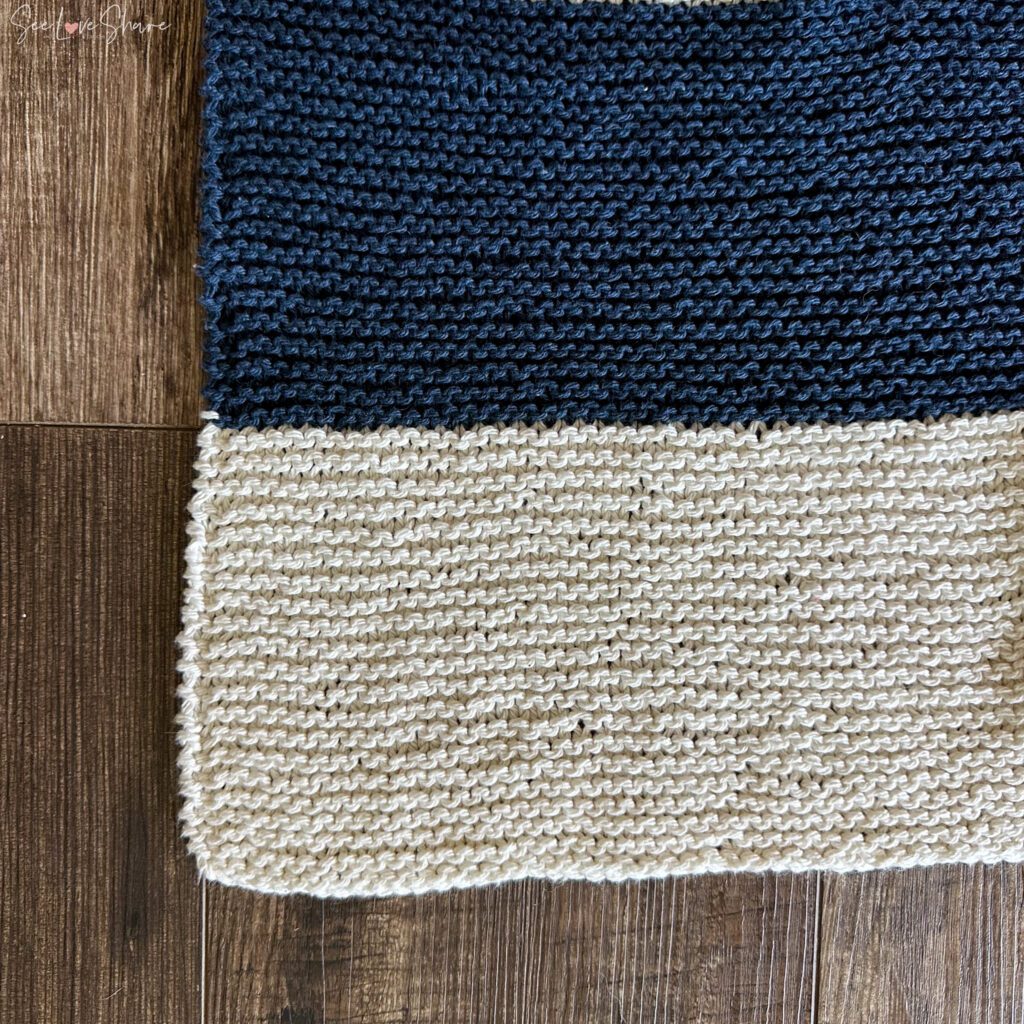
NOTE: Be sure to change colors after the exact same number of rows as the first color block. This will ensure all noticeable color changes/rows are on the same side of the work. This will create a “Front” and “Back” Side. Example of back side:
Finishing:
Bind off and weave in ends.
Optional: consider adding fringe or tassels!
Enjoy! And feel free to reach out with any/all questions/comments along the way – I’d love to hear from you!
One Response to Hudson’s Simple Knit Throw Blanket – Beginner Friendly Pattern
Comments are closed.