All Baby/Toddler/Kids Knit Baby/Toddler/Kids
August 15th, 2021
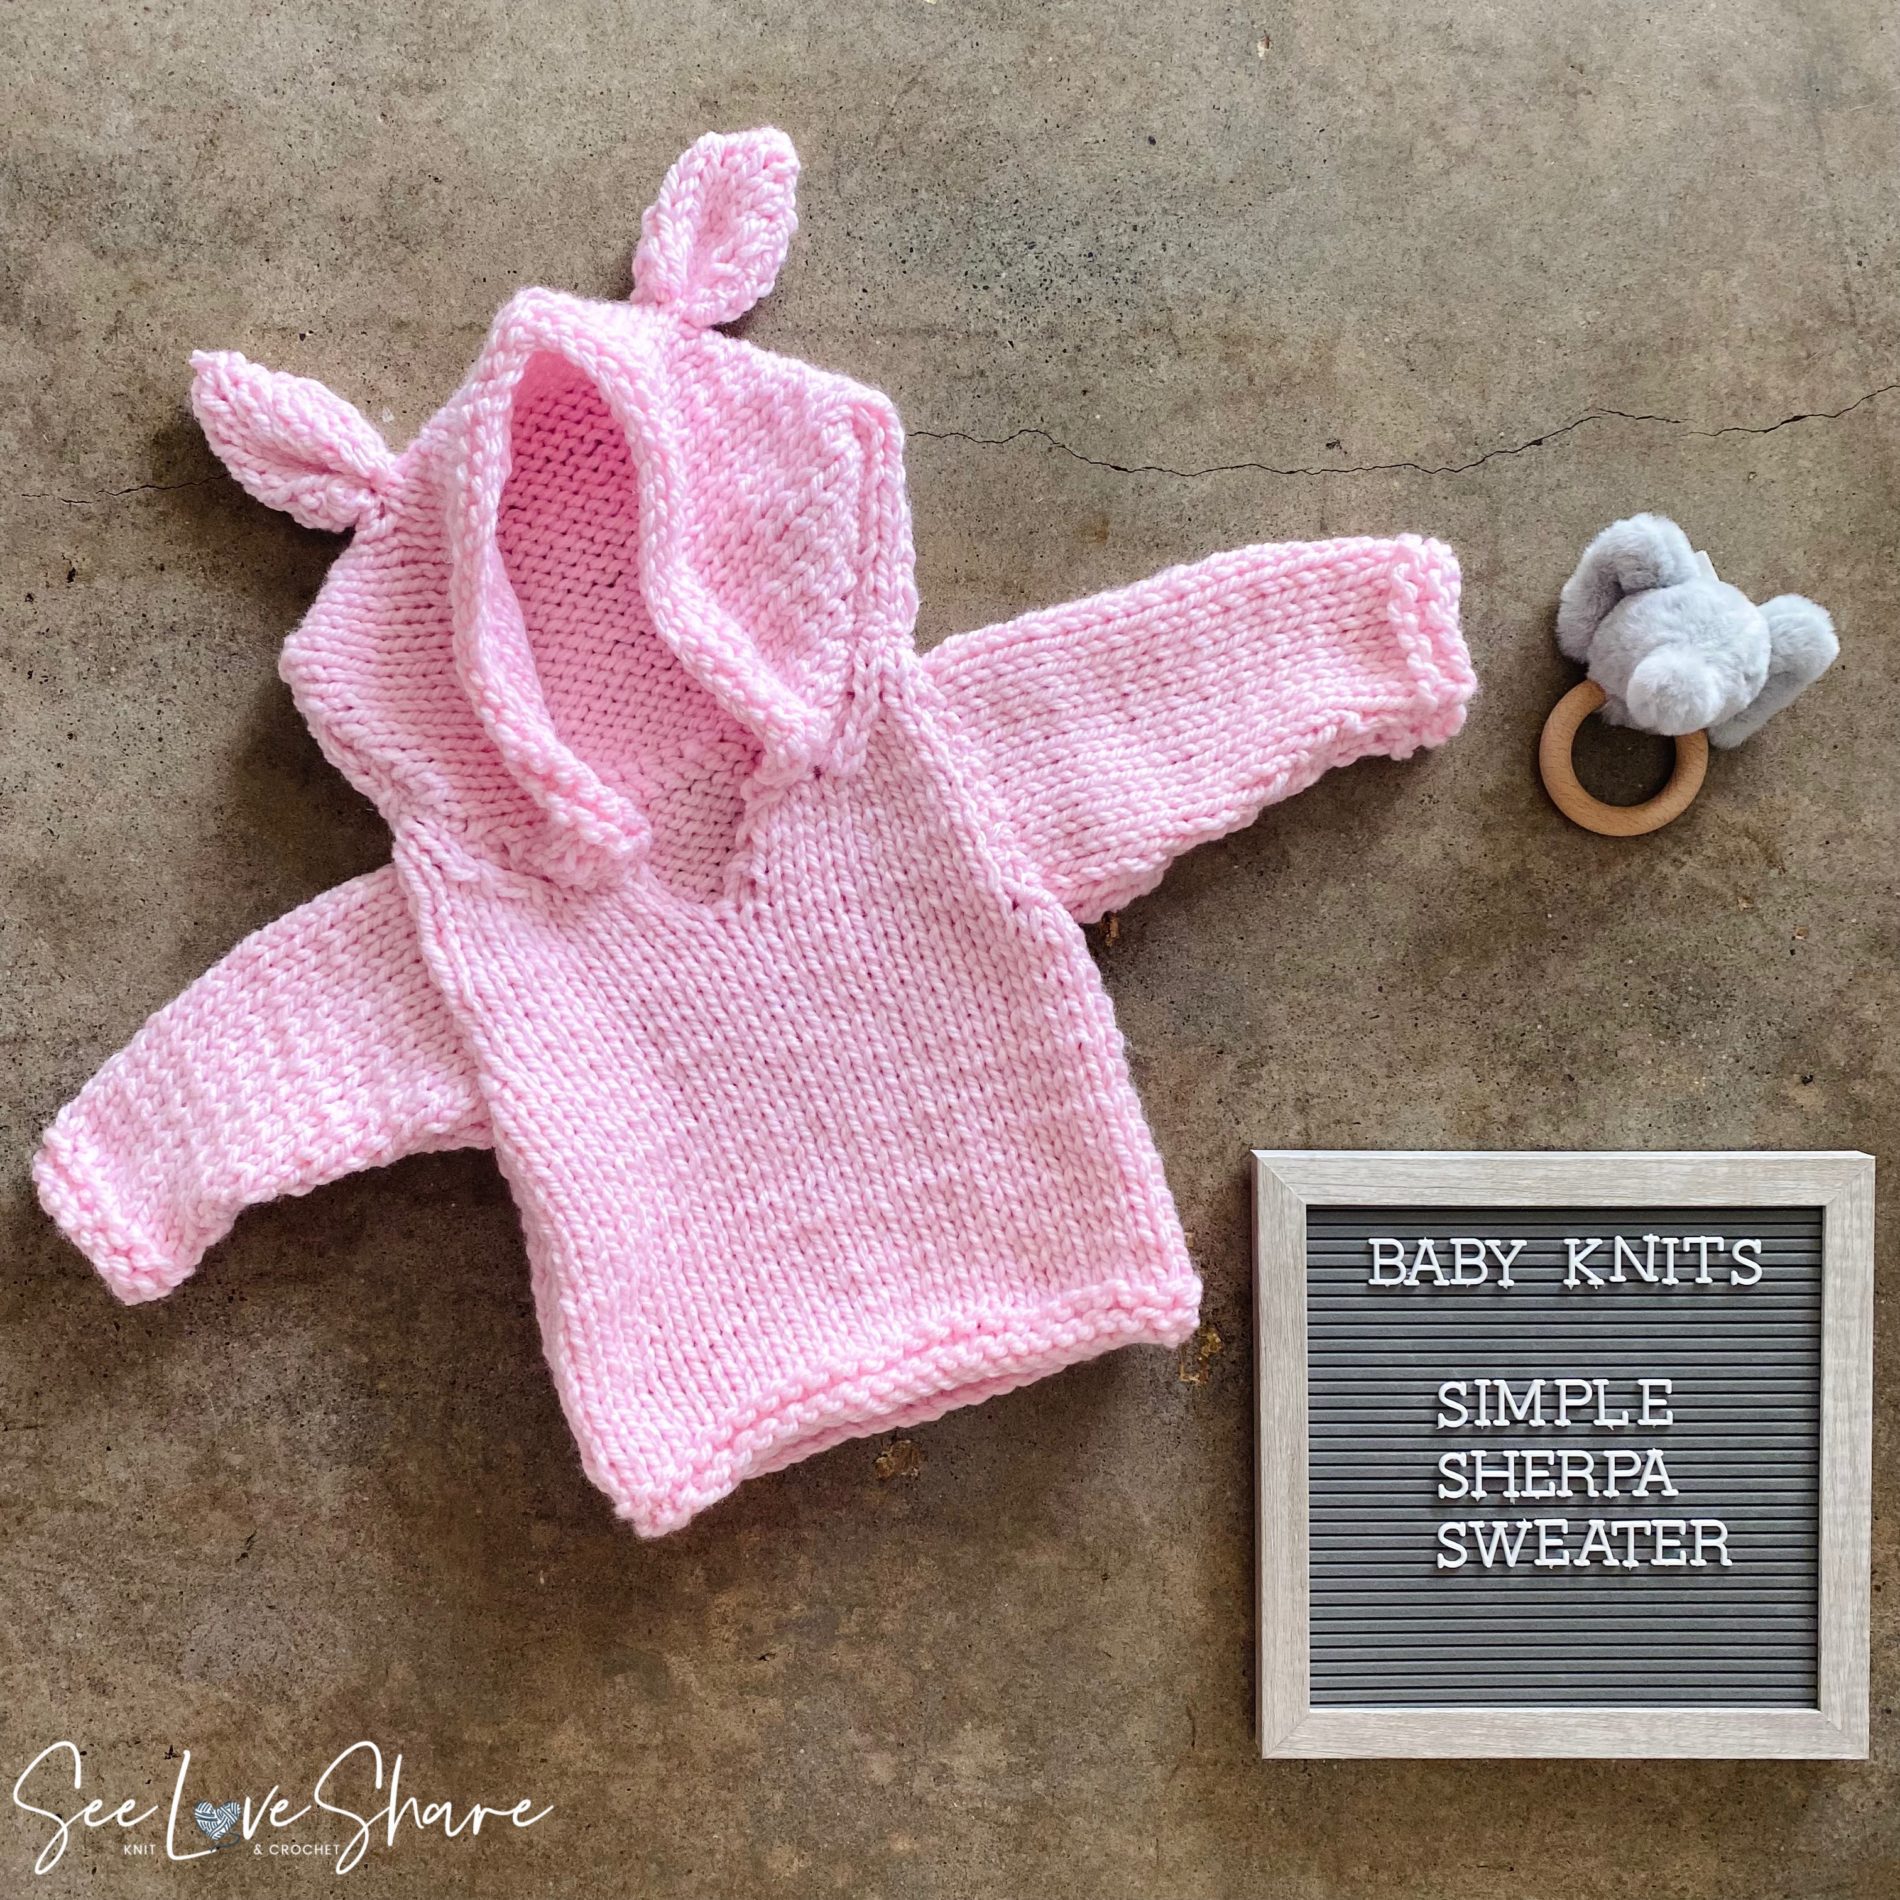
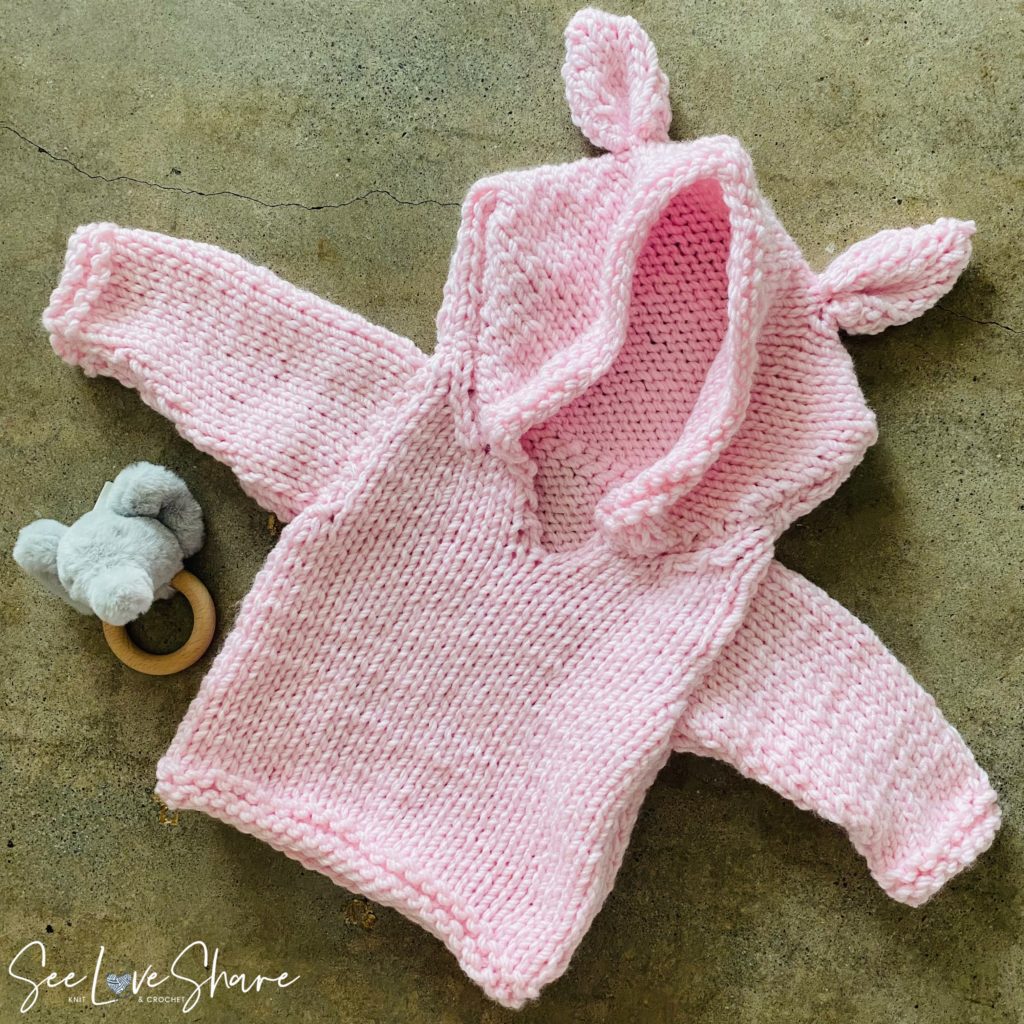
Simple Sherpa Sweater – Free Knit Baby Pattern
We do not label patterns as “Simple” loosely! This pattern really does work up in a flash by using basic knit and purl stitches. All the parts come together to create an adorable hoodie, perfect for a baby shower or any baby gift! Enjoy!

Pattern Notes:
Front, back, hood, sleeves ears and done! We’re using a super bulky (#6) yarn and large gauge needles (9.00mm) to work this one up quickly.
Measurements:
Pattern is written for sizes 6 (12, 18) mos. You can easily increase the size in multiples of 4 sts.
Chest: 21 (23, 24)in.
Materials:
- 3 Balls of Bernat Softee Chunky in colour of your choice. I used Baby Pink.
- 9.00mm needles
- Stitch Holder
- Scissors
- Tapestry needle
- Thread or fine yarn in similar color for assembly
Gauge:
Knitting Gauge: 11 sts and 16 rows with 9 mm knitting needles.
Abbreviations:
Sts: Stitches
Alt: Alternating
Beg: Beginning
RS: Right Side
WS: Wrong Side
Stockinette Stitch: Knit RS, Purl WS
K2tog: Knit two together
Pattern:
BODY
Back:
Cast on 28 (32, 36) sts
Row 1-3: Knit
Row 4: Knit (RS)
Row 5: Purl (WS)
Repeat Row 4-5, creating the Stockinette stitch, until work from beginning measures 6.5in (7in, 7.5in). End with a Purl row.
Shape armholes:
Cast off 3 sts at beg of next 2 rows 22sts (26, 30 sts).
Continue in stockinette stitch until work from armholes is 4.5in (5, 6in). End with a purl row. Cast off.
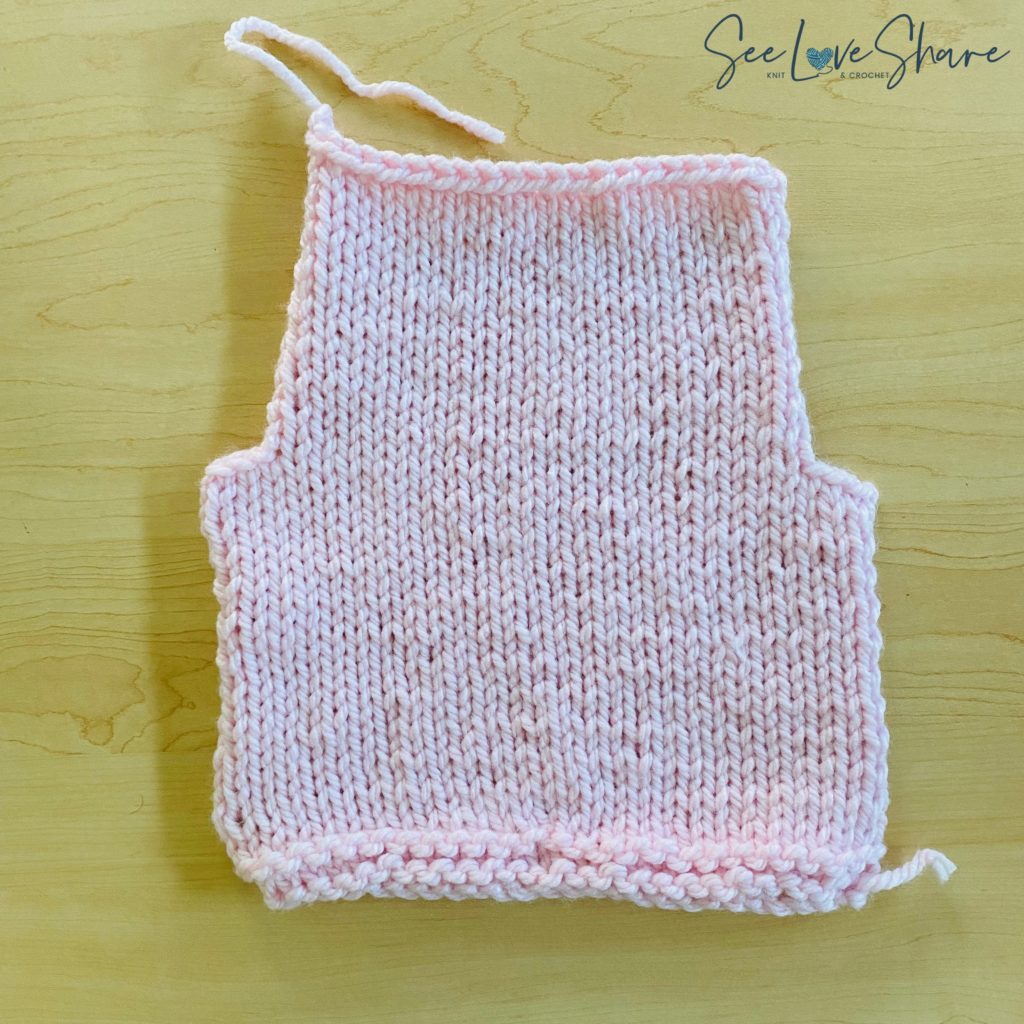
Front:
Cast on 28 (32, 36) sts
Row 1-3: Knit
Row 4: Knit (RS)
Row 5: Purl (WS)
Repeat Row 4-5, creating the Stockinette stitch, until work from beginning measures 6.5in (7in, 7.5in). End with a Purl row.
Shape armholes:
Cast off 3 sts at beg of next 2 rows 22sts (26, 30 sts).
Continue in stockinette stitch until work from armholes is 1in (1.5, 2in). End with a purl row
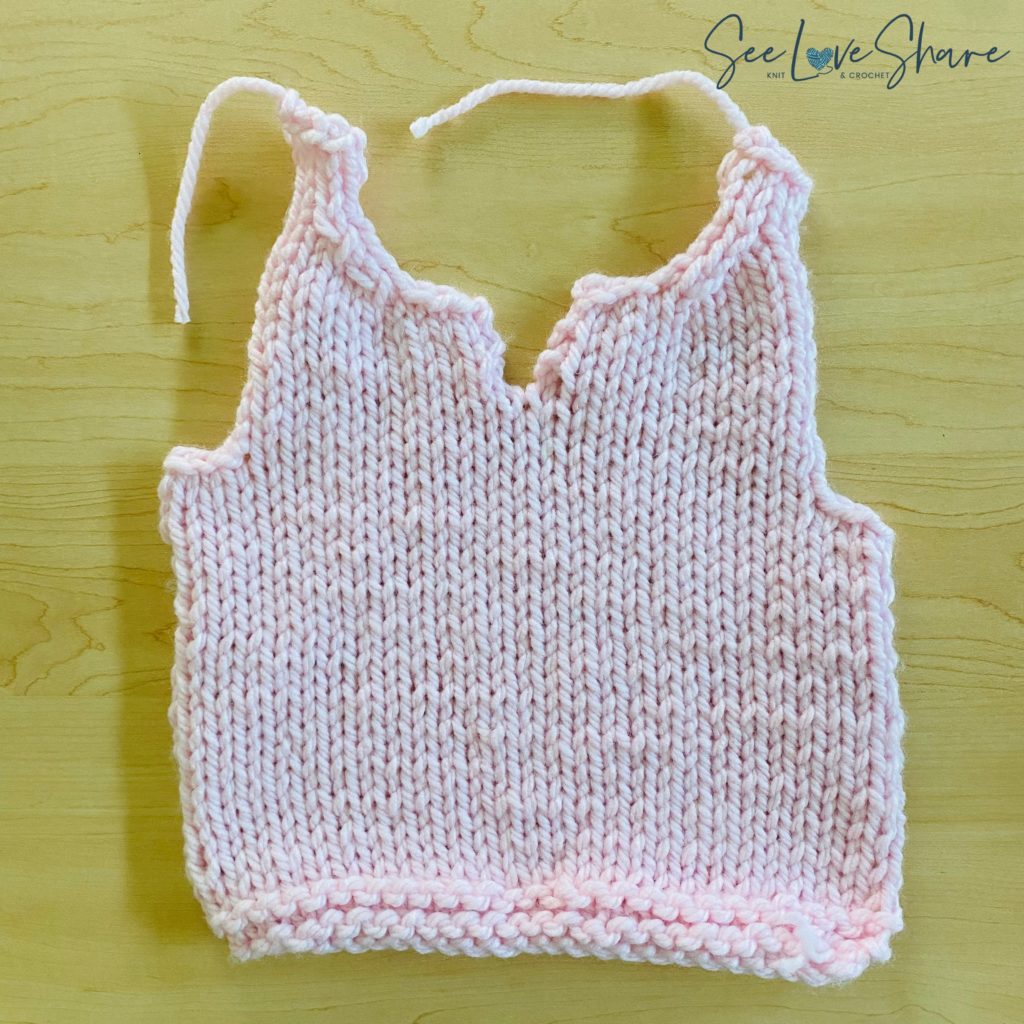
Begin working collar:
On RS, k 11 (13, 15). Place the remaining sts on stitch holder.
Row 1: Purl
Row 2: Knit
Row 3: Purl
Row 4: Knit
Row 5: Cast off 3 sts, purl to end
Row 6: Knit to last 3 sts, k2tog, k1
Row 7:P1, p2tog, p to end.
Repeat Row 6-7 1 (1,2) more times.
Continue in stockinette stitch until front panel matches the same length as the back. End with a purl row. Cast off.
Work sts on st holder:
With RS facing, join yarn to the first st, k to end of row.
Row 1: Purl
Row 2: Knit
Row 3: Purl
Row 4: Cast off 3 sts, Knit to end
Row 5: Purl to last 3 sts, p2tog, p1
Row 6: K1, k2tog, Knit to end
Row 7: Purl to last 3 sts, p2tog, p1
Repeat Row 6-7 1 (1,2) more times.
Continue in stockinette stitch until front panel matches the same length as the back. End with a purl row. Cast off.
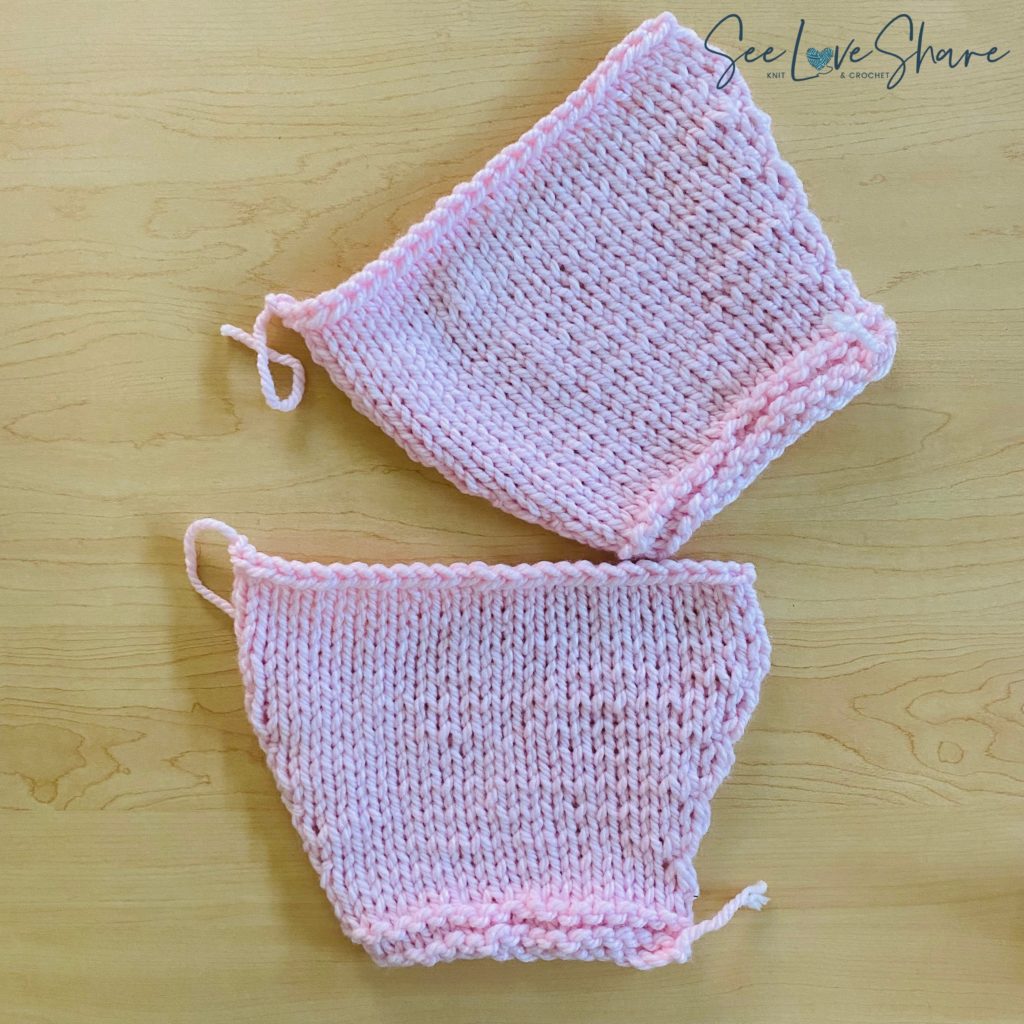
SLEEVES: Make 2
Cast on 17 (21, 21) sts,
Row 1-3: Knit
Row 4: Increase 1 st in first st, Knit to last st, increase 1 st in last st.
Row 5: Purl
Row 6: Knit
Row 7: Purl
Repeat Row 4-7 until 26 (30, 34) sts on needle.
Continue in stockinette st until work from beg is 7.5 (8.5, 9.5) in. End with a purl row, cast off.
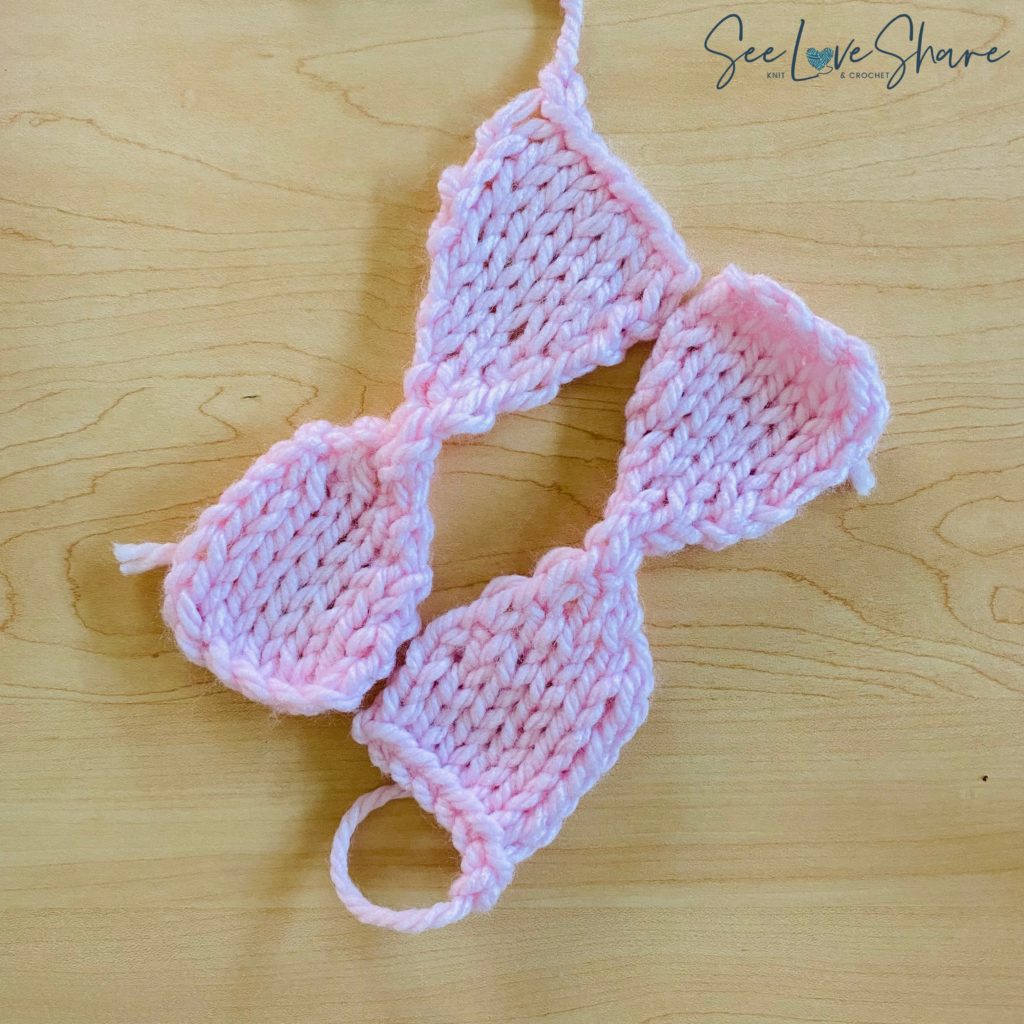
EARS: Make 2
Cast on 7 st,
Work 6 sts in stockinette st.
Row 7: (RS) Decrease 1 st at each end (5 sts)
Row 8: Purl
Row 9: (RS) Decrease 1 st at each end (3 sts)
Row 10: Purl
Row 11: (RS) Decrease 1 st, k1 (2 sts)
Row 12: Purl (2 sts)
Row 13: (RS) Increase 1 st, k1 (3 sts)
Row 14: Purl
Row 15: (RS) Increase 1 st at each end (5 sts)
Row 16: Purl
Row 17: (RS) Increase 1 st at each end (7 sts)
Row 18-24 work stockinette stitch. Cast off.
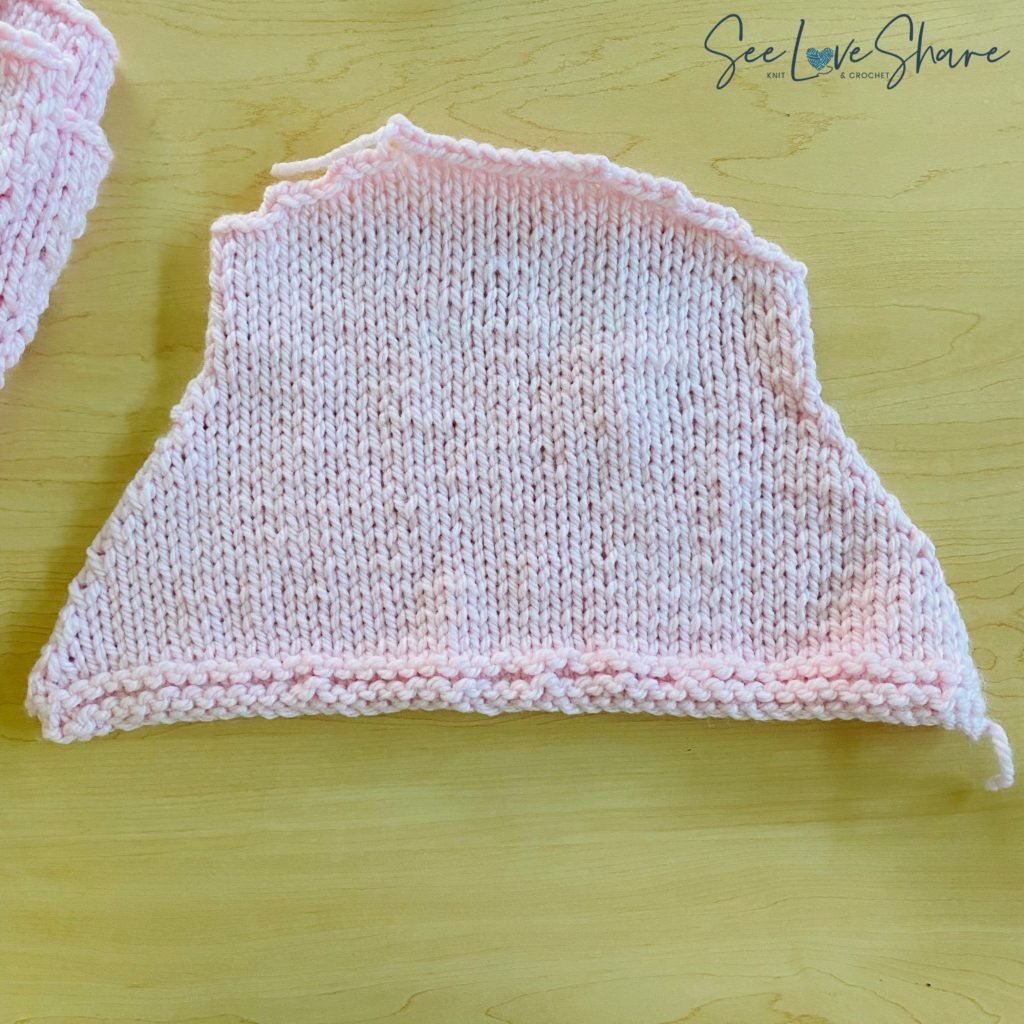
HOOD:
Cast on 50 (54, 58) sts,
Row 1-3: Knit
Row 4 +: work stockinette st, decreasing 1 st at each end of the next and every other row until 30 (34, 38) sts remain.
Work stockinette st for 2.5in more.
Cast off 3 (3, 4) sts at the beginning of next 6 rows. Cast off remaining sts.
Assembly:
Switch to matching thread or fine yarn. Begin by sewing the sleeves together with wrong side facing. Attach the front to the back panels stopping at the arm holes. Attach the sleeves at the armholes from the front/back panels, keeping the seam pointing downwards. Attach the hood as in the following photo. Attach the ears by folding them in half and sewing along the edges to seal them shut. Attach to the hood by folding the bottom of the ears in half (to create the pucker) and attach to the top of the hood per your preference.
Weave in ends and enjoy!
Want to check out more baby knit patterns? Click right here!