All Afghans/Throws All Baby/Toddler/Kids Crochet
May 21st, 2024
Easy Watermelon Waffle Stitch Crochet Baby Blanket
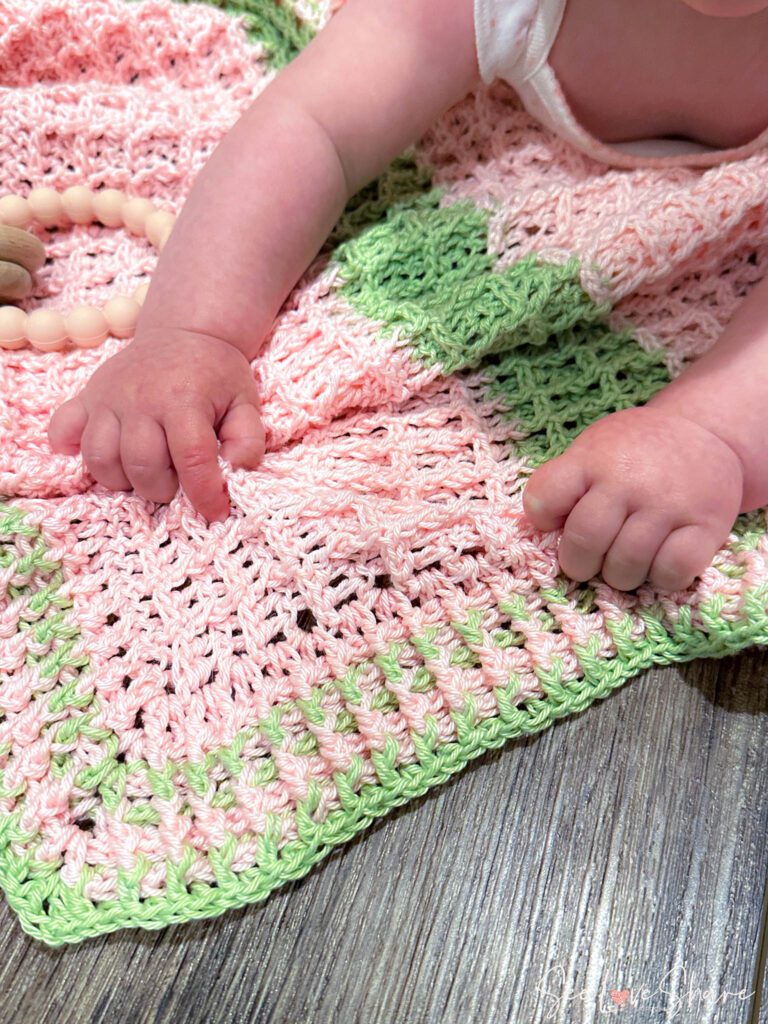
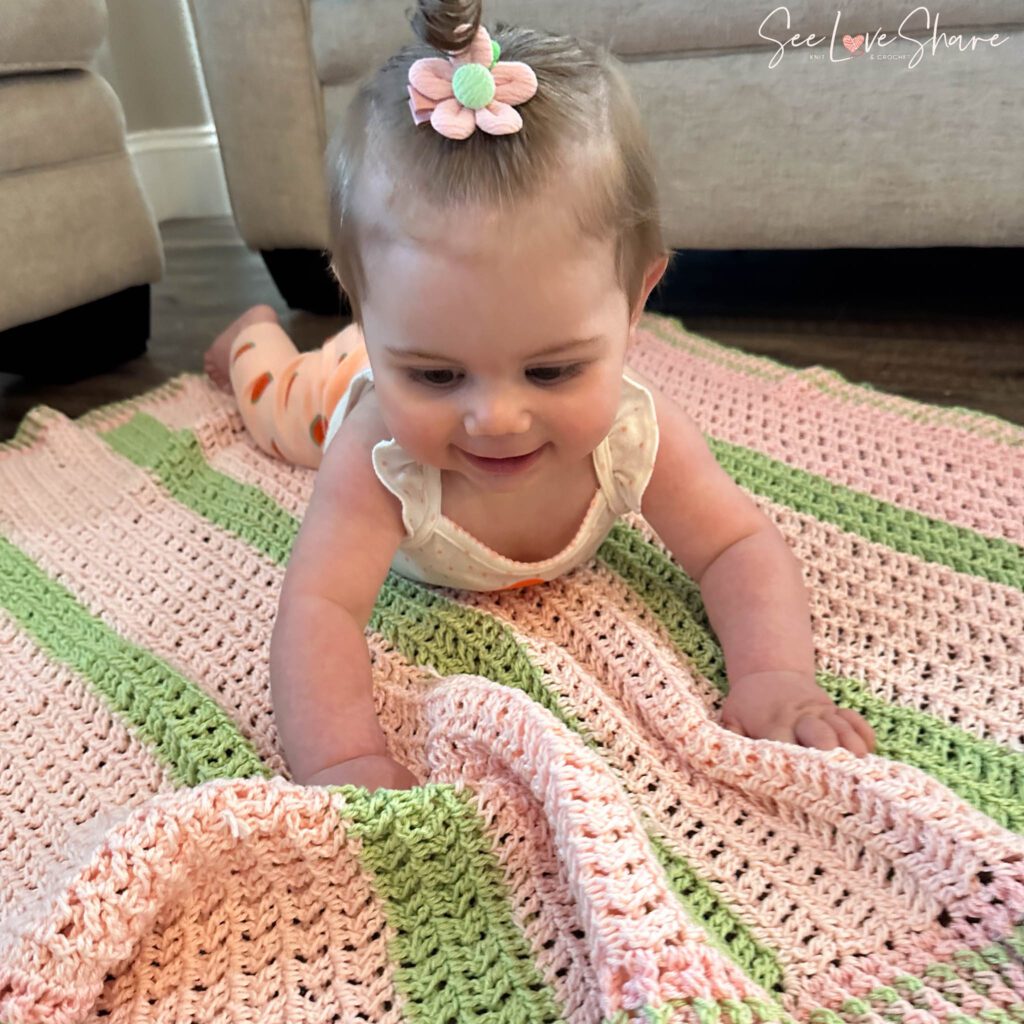
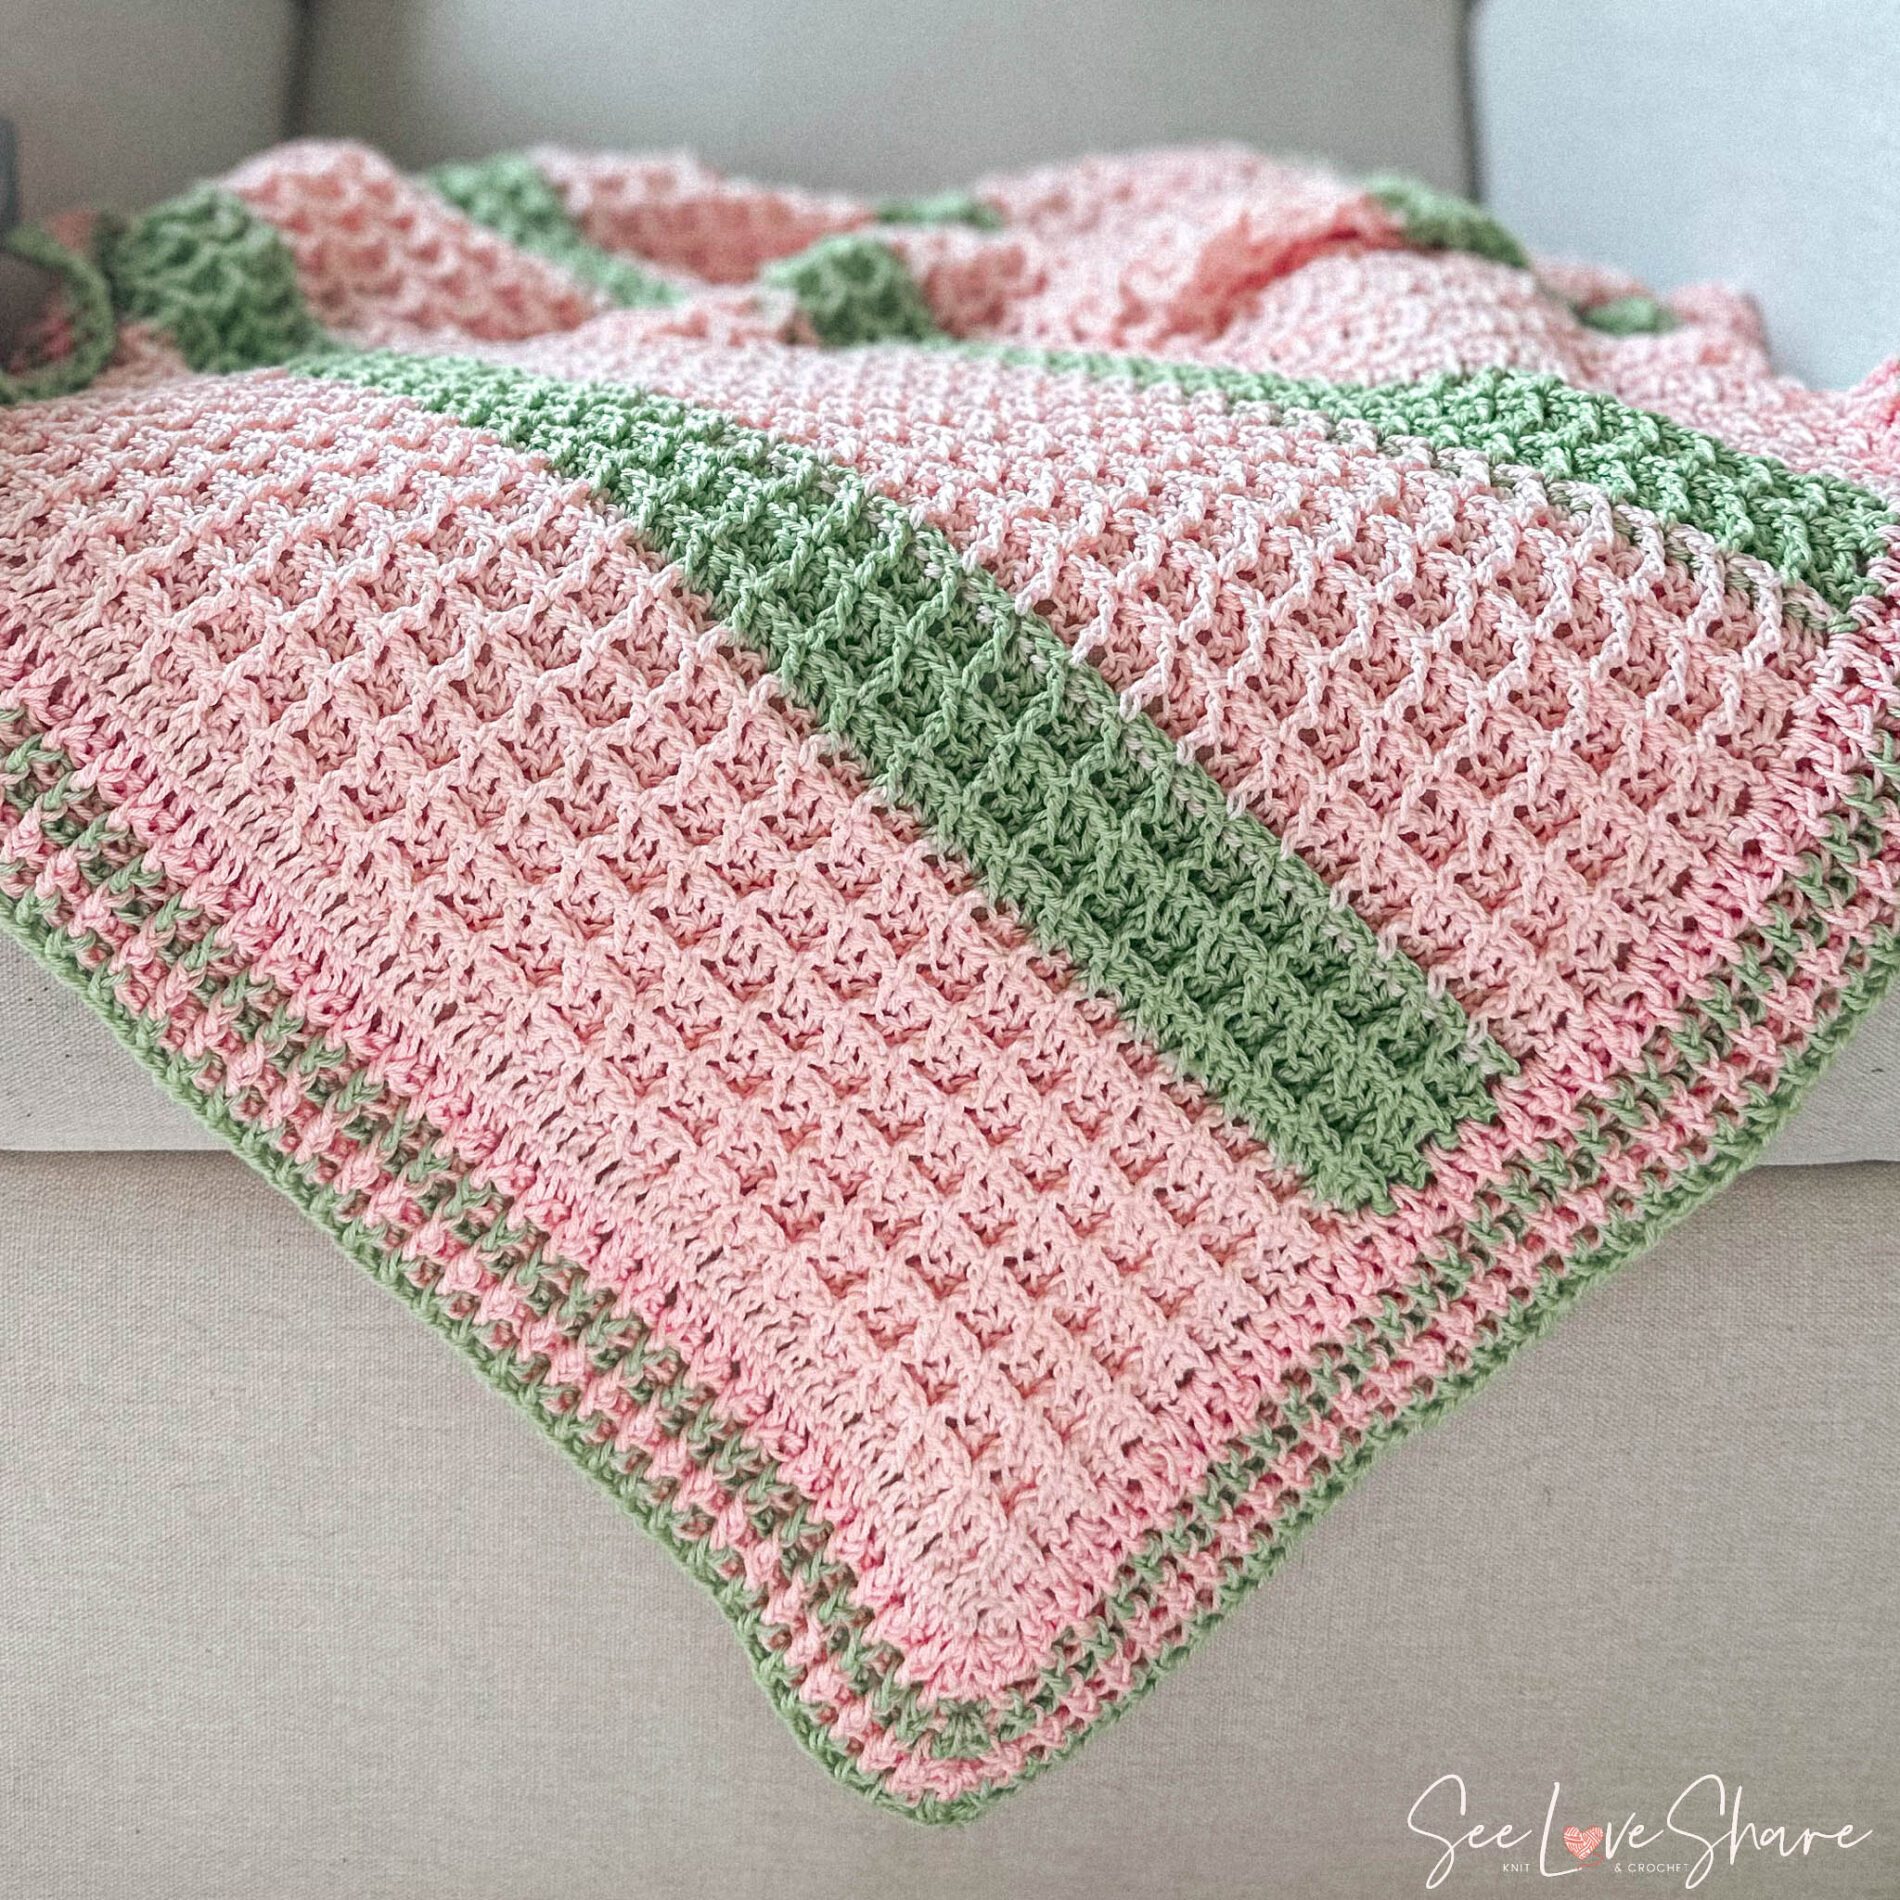
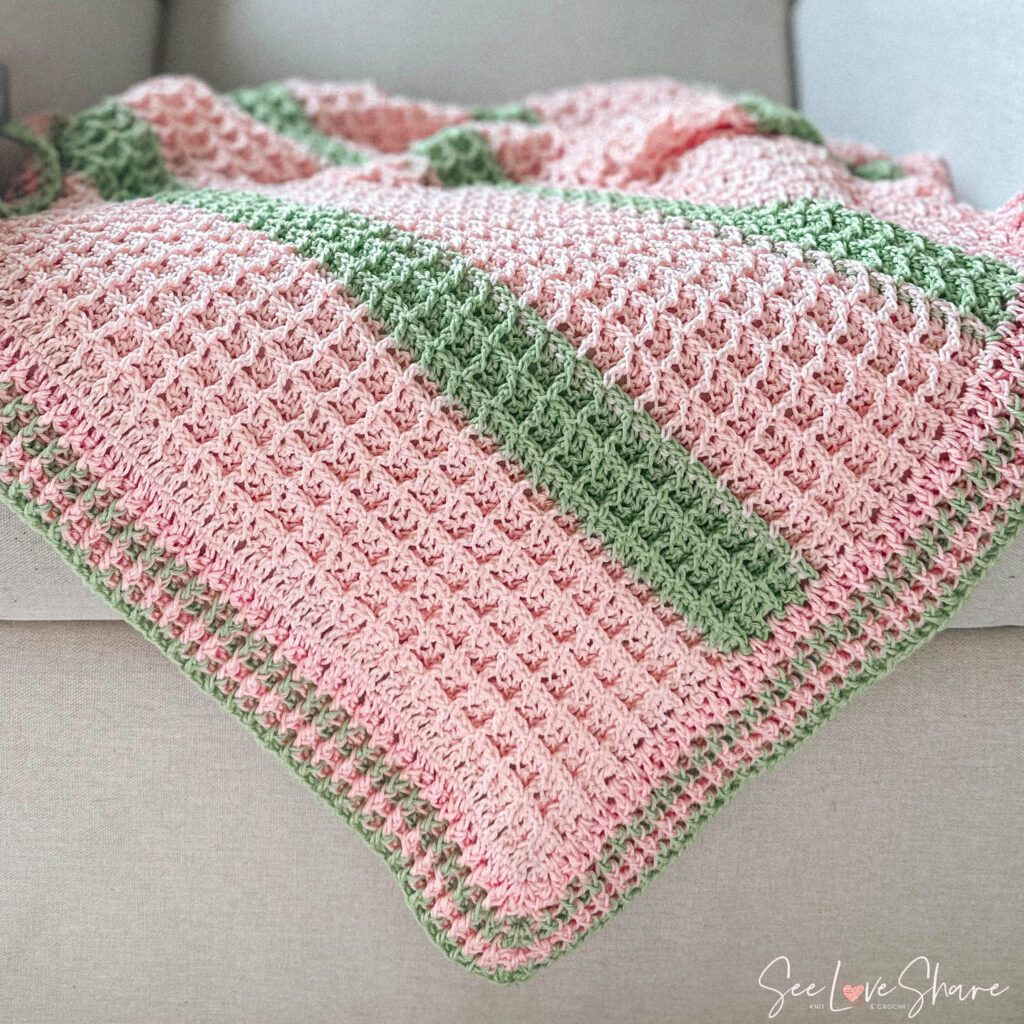
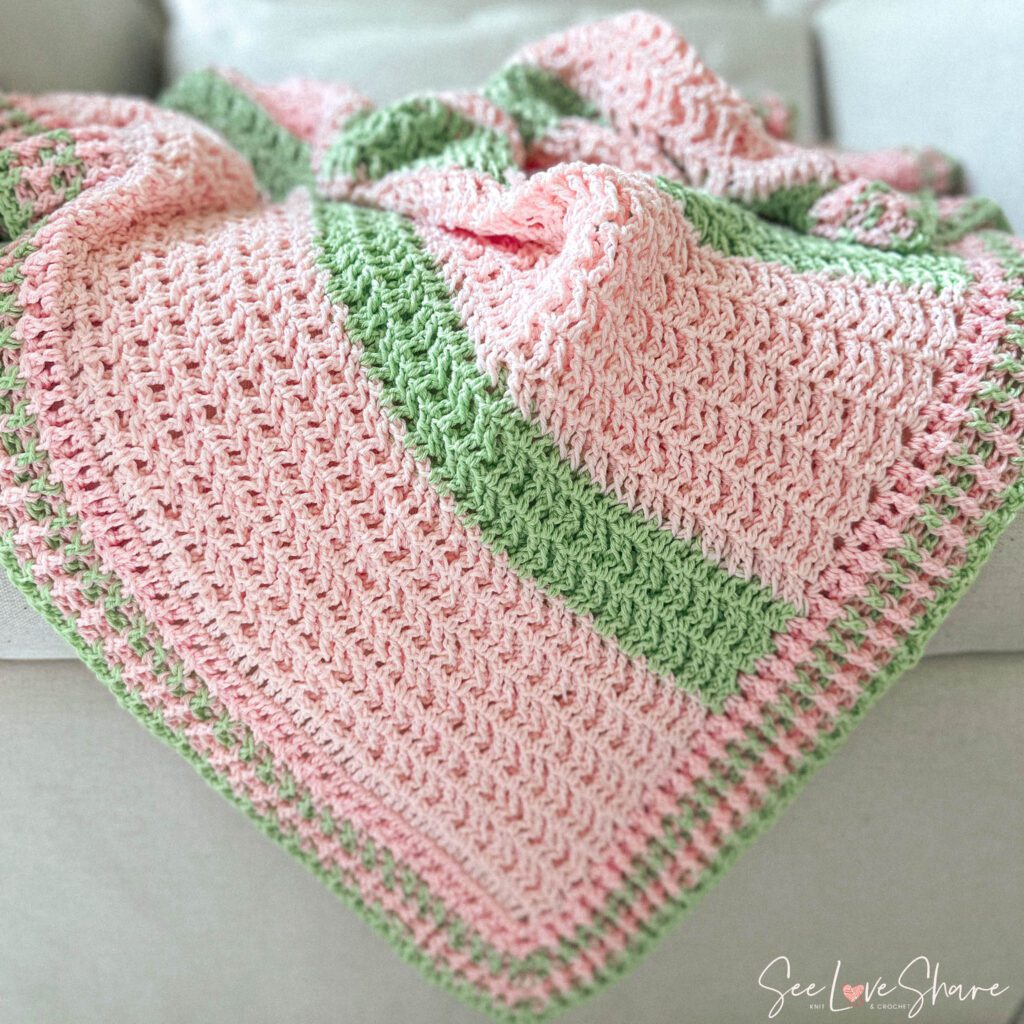
Add a splash of summer with this adorable Watermelon Waffle Stitch Crochet Baby Blanket!
This baby blanket is perfect for a summer-themed baby shower gift or a cozy addition to a nursery. The bright colors and simple pattern make it a delightful project for beginner crocheters. Happy crocheting!
UPDATE November 2024:
I hope that you’re enjoying your current knitting projects. It has been such a pleasure sharing my patterns with you and seeing your creativity bring them to life.
After much thought, I have made the difficult decision to no longer offer my patterns for free. This was not an easy choice—designing and sharing these patterns has always been a passion of mine and a way to connect with this amazing community.
However, the time, effort, and resources required to create, test, and perfect each pattern are significant. To continue bringing you high-quality, unique designs and to support the sustainability of my work, I will now be offering my patterns for purchase on Etsy.
I am incredibly grateful for your support over the years. Your kind words, encouragement, and enthusiasm mean so much to me. I hope you’ll continue to enjoy my patterns and support this new chapter.
Please visit my Etsy shop HERE to view and purchase my collection.
Thank you for your understanding and for being an integral part of this journey.
Front:
Back:
Pattern Notes:
This Watermelon Waffle Stitch Crochet Baby Blanket Pattern is written for a 40x40in baby blanket, but the width can be adjusted in {Ch multiple of 3+2}.
Tips on Changing Colors:
- Finish the Last Stitch with the Old Color:
- Work until there are two loops on the hook with the old color.
- Yarn Over with the New Color:
- Before completing the last stitch with the old color, yarn over with the new color.
- Pull Through Loops:
- Finish the last stitch by pulling through the last two loops with the new color.
- Secure the Old Color:
- Once you’ve changed colors, secure the yarn of the old color by either crocheting over the tail or by weaving it in later.
Skill Level:
Beginner / Intermediate: For knitters with some experience. More intricate stitches, shaping & finishing.
Measurements:
Approximately 40 x 40in
Materials:
- 12 Balls of Main Colour size 50 g/1.75 oz, 125 m/136 yds
- 6 Balls of Contrast Colour
- As photographed – Patons Grace in Blush (MC) and Ginger (CC)
- 3.75 mm (U.S. F/5) crochet hook
- Tapestry needle
Gauge:
- Crochet Gauge: 21 sc and 24 rows with a 3.75 mm (U.S. F/5) crochet hook
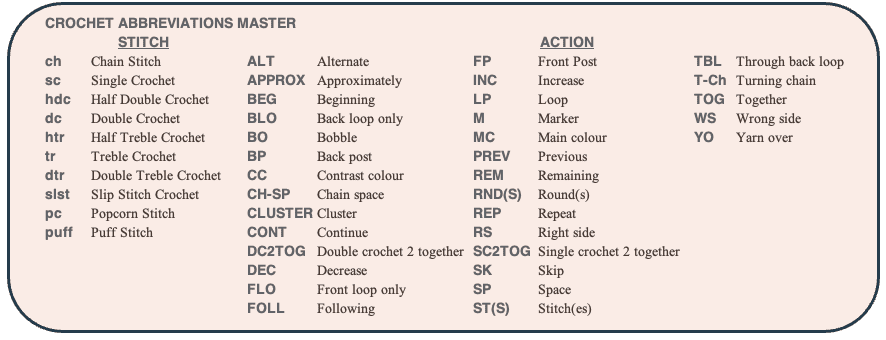
Abbreviations:
Pattern:
For an Ad-Free Version or if you’d just like to support my effort – please consider purchasing a downloadable & printable version from my Etsy Shop! A little goes a long way. Thank you!
