All Holiday All Home Decor Crochet
September 27th, 2022
Adjustable Douglas Fir Christmas Trees – Beginner Guide & Crochet Pattern
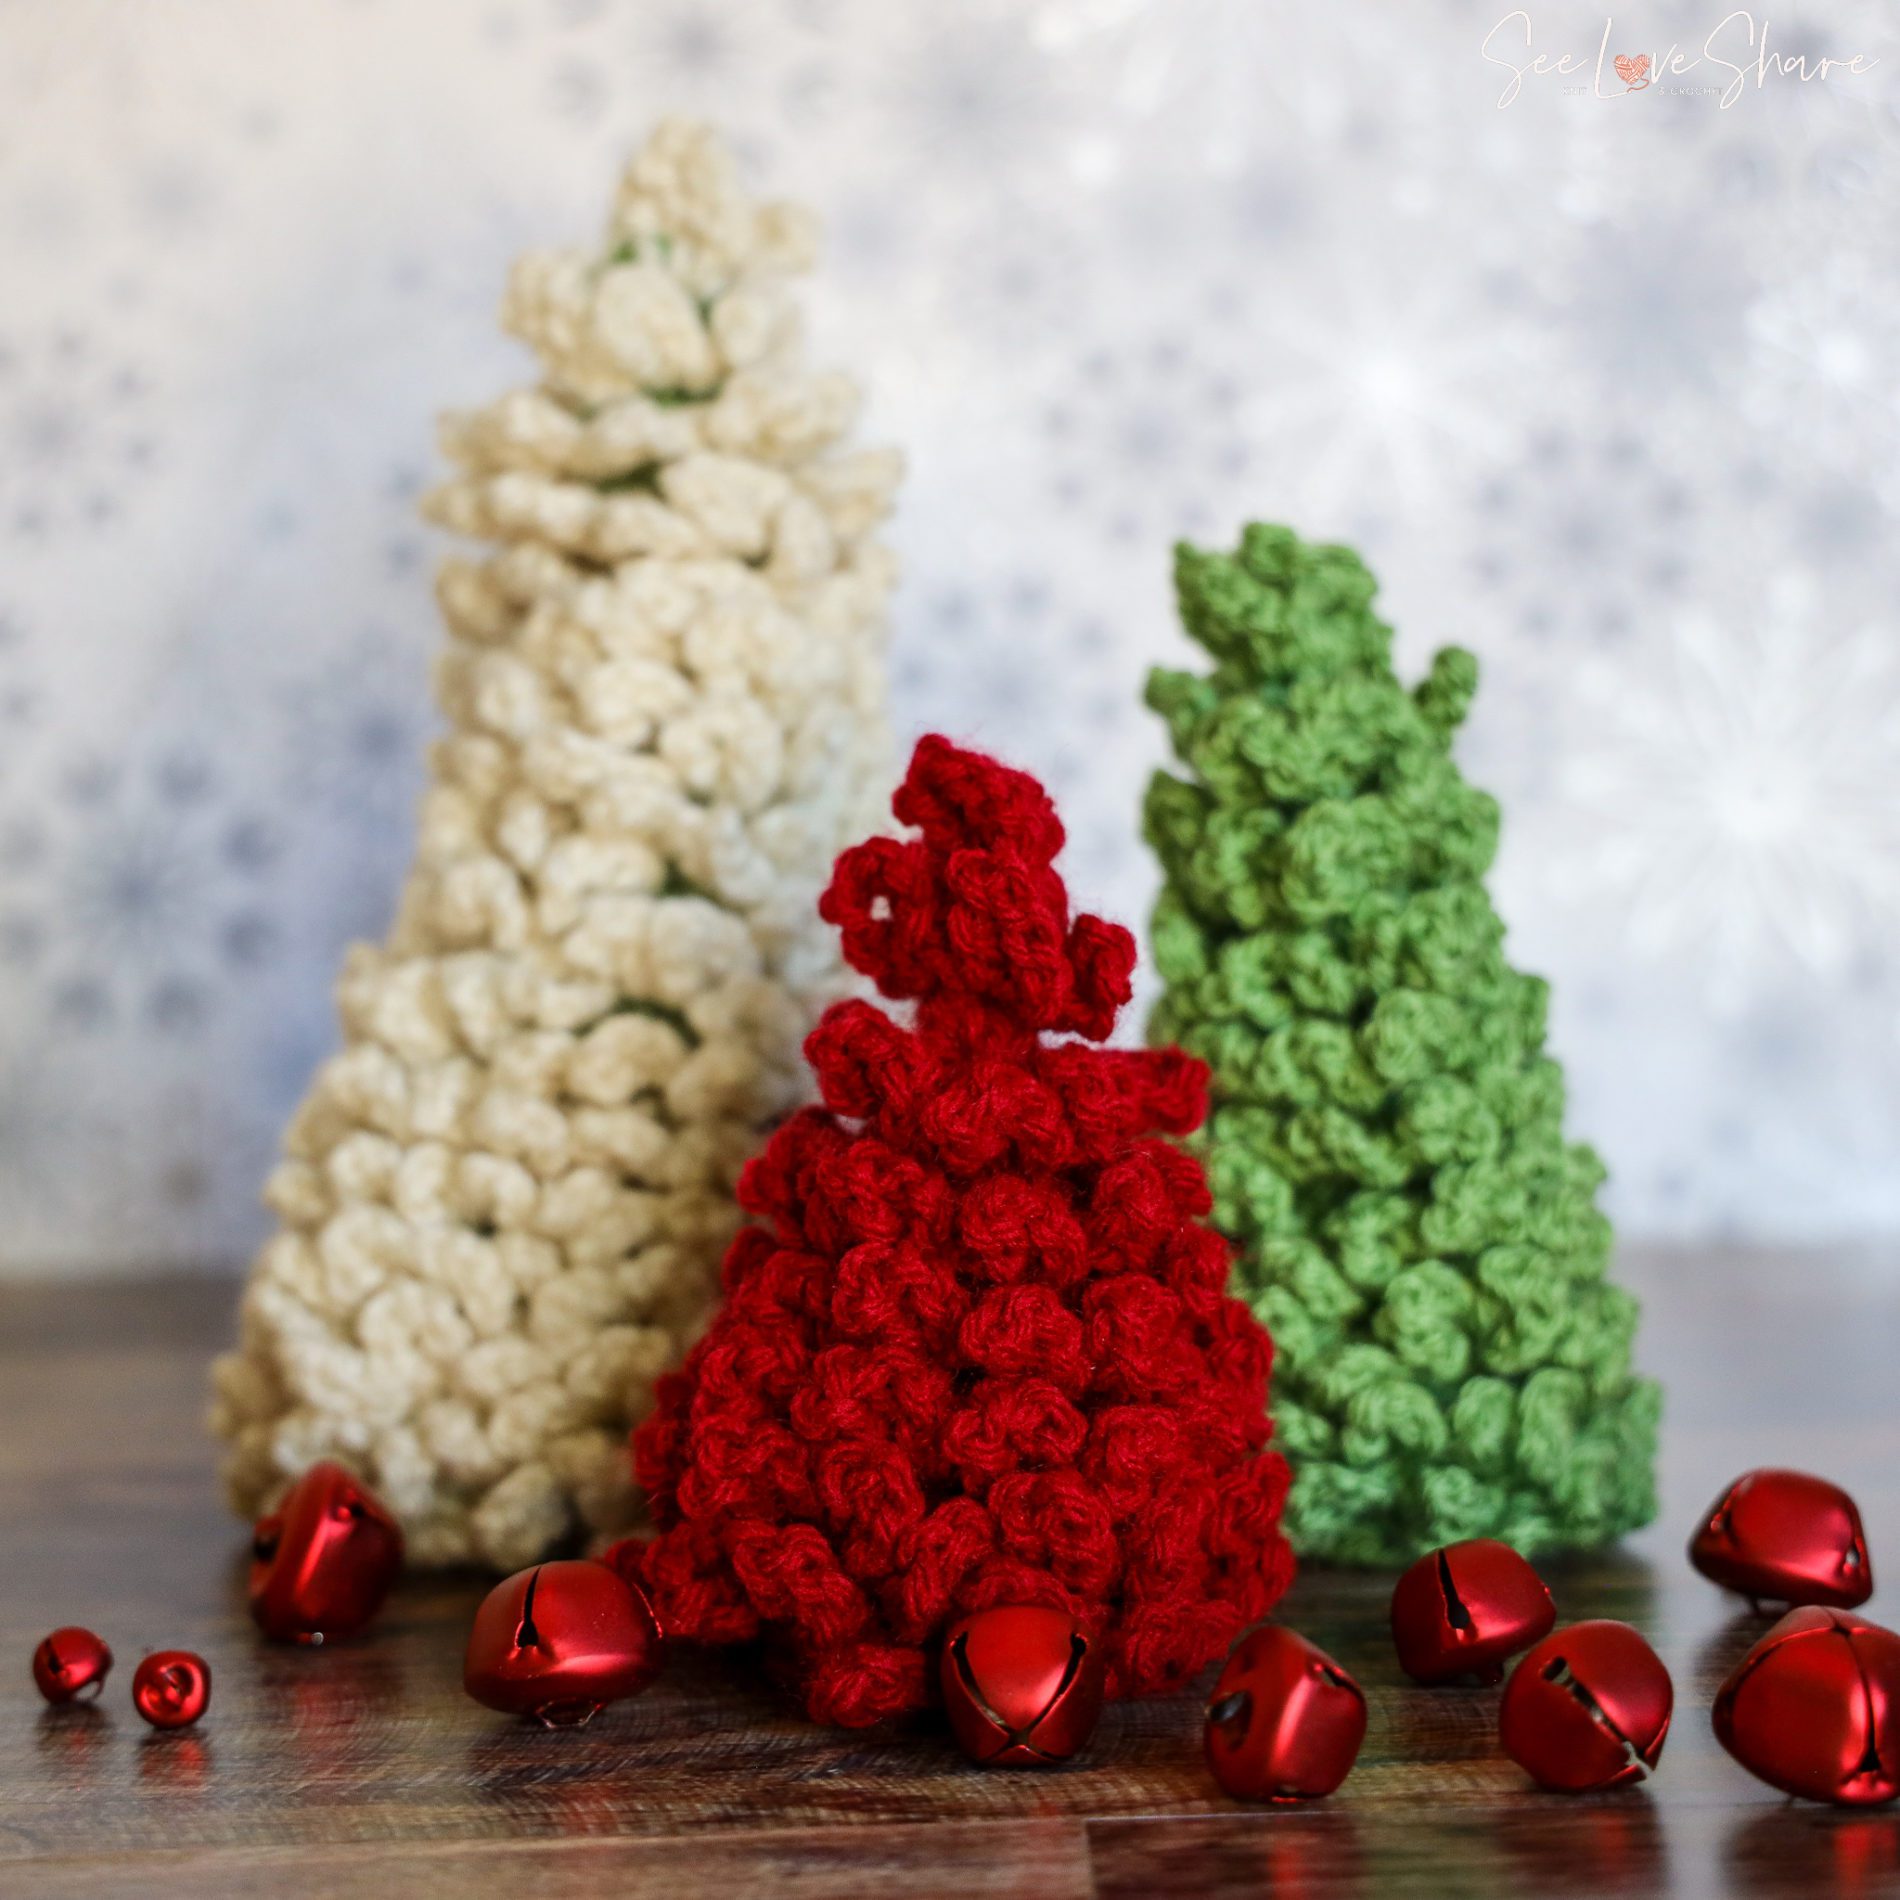
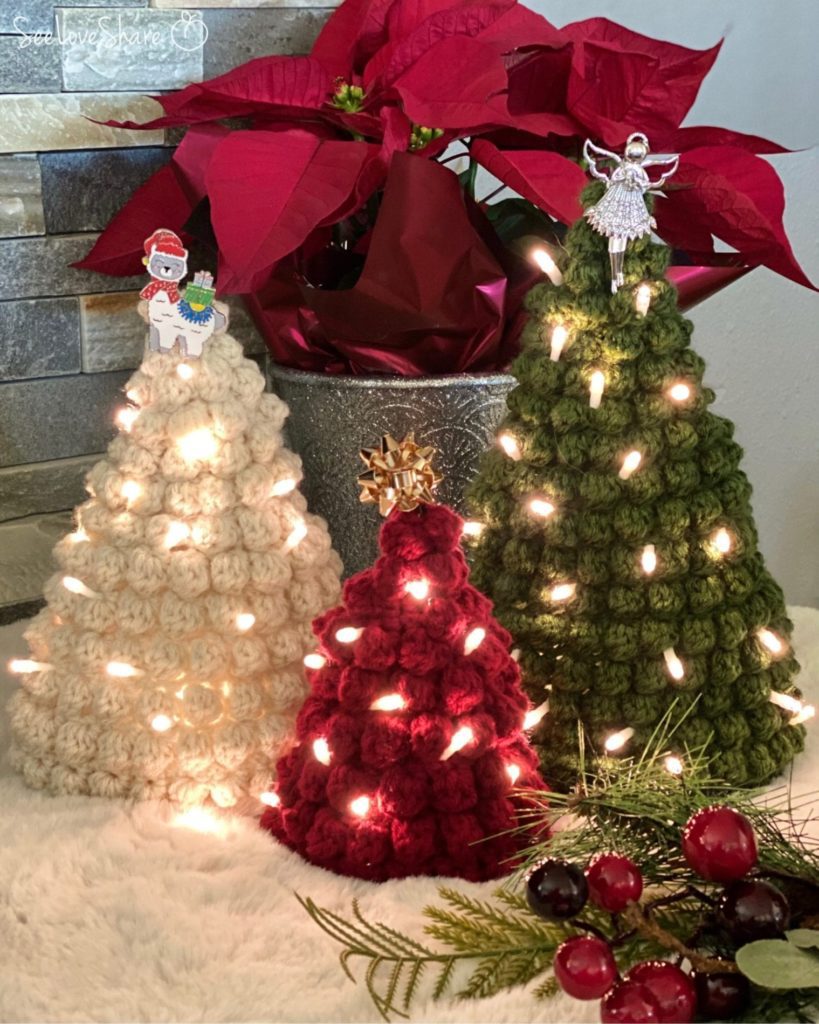
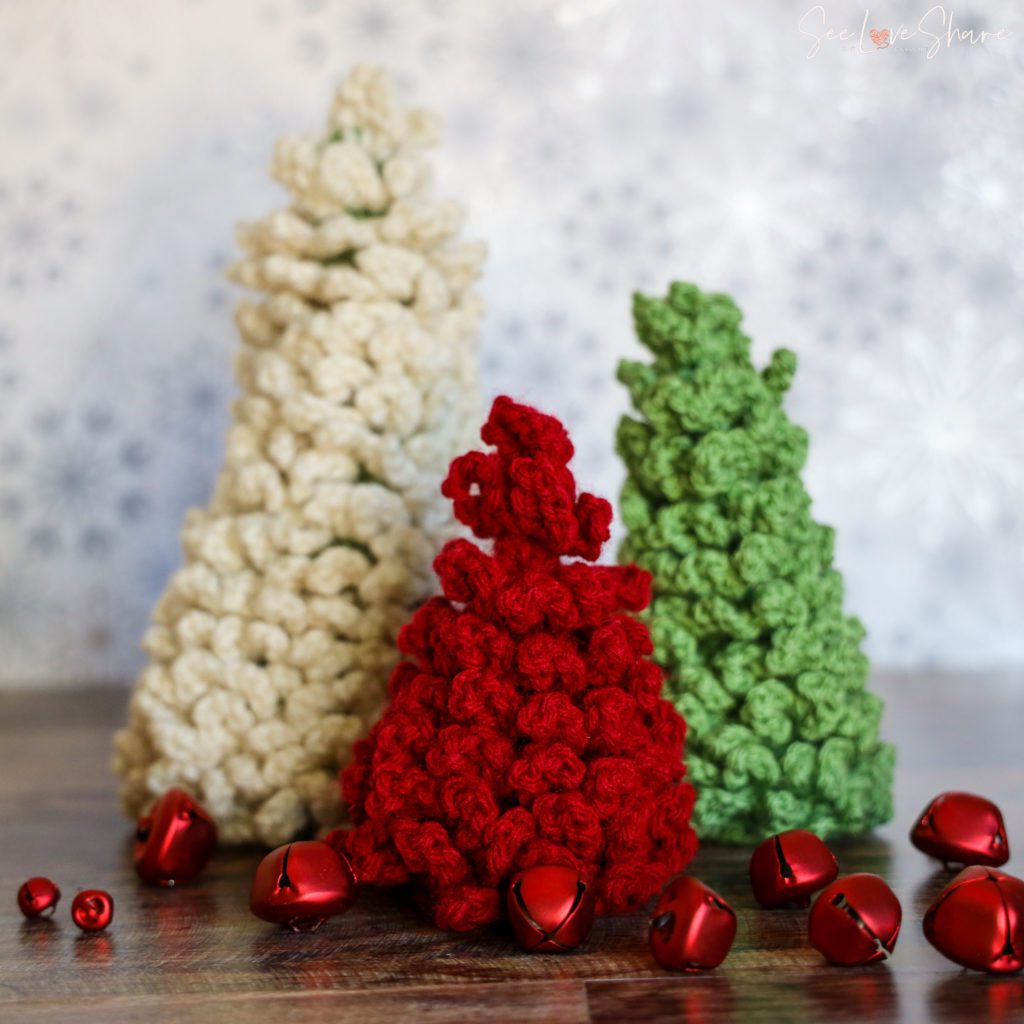
We just love to make Christmas Trees! They work up quickly and they are a perfect pop of holiday cheer and colour. They also make for great gifts for hostess gifts, teacher and neighbours. I dropped a few of these off in my neighbours mailboxes last year and they were a hit! These little guys are adjustable so you can make them to fit any size your space or project demands. Let us walk you through how to work them up!
[DISPLAY_ULTIMATE_SOCIAL_ICONS]
Pattern Notes:
This is worked in rounds and can easily be adjusted to the size of choice.
Measurements:
I will detail 3 common sizes as per below but the pattern can easily be adjusted to the exact size you’re looking for. Simply increase/decrease the rounds as detailed below.
Small: 3.5in wide x 5in tall
Medium: 4in wide x 6in tall
Large: 5in wide x 8in tall
Materials:
- Crochet Hook: 5.5mm
- Tapestry needle
- Red Heart Super Saver in Aran, Sage & Burgundy, or any other Holiday colors of choice (metallic yarn is alwaysfun here!)
- You could also use any yarn & matching hook for this pattern but work up a test swatch to make sure you’ve got the correct gauge
Gauge:
12 SC and 14 rows = 4in
Abbreviations:
SC: Single crochet
DC: Double crochet
Ch: Chain
Slst: Slip Stitch
Sts : Stitches
Rnd: Round
BLO: Back loop only
Pattern:
The rounds are worked in sets of twos – the first round increases, the second round is worked even (no increases). To adjust this pattern outside of the sizes listed below, continue to increase 2 sts in the 1st round (in similar pattern, 1st st and again halfway through) and work the 2nd round even.
Small Tree:
Work Tree Base: With colour of choice, Chain 4 and join with a slst to 1st ch to create a loop
Rnd 1: Ch1, 4 sc within loop (4 sts)
Rnd 2: Continue working in rounds in BLO, *2 sc in next sc, sc*. Repeat within ** around (6 sts)
Rnd 3: Working through both loops, sc in each st around (6 sts)
Rnd 4: Working in BLO, *2 sc in next sc, 2 sc*. Repeat within ** around (8 sts)
Rnd 5: Working through both loops, sc in each st around (8 sts)
Rnd 6: Working in BLO, *2 sc in next sc, 3 sc*. Repeat within ** around (10 sts)
Rnd 7: Working through both loops, sc in each st around (10 sts)
Rnd 8: Working in BLO, *2 sc in next sc, 4 sc*. Repeat within ** around (12 sts)
Rnd 9: Working through both loops, sc in each st around (12 sts)
Rnd 10: Working in BLO, *2 sc in next sc, 5 sc*. Repeat within ** around (14 sts)
Rnd 11: Working through both loops, sc in each st around (14 sts)
Rnd 12: Working in BLO, *2 sc in next sc, 5 sc*. Repeat within ** around (16 sts)
Rnd 13: Working through both loops, sc in each st around (16 sts)
Rnd 14: Working in BLO, *2 sc in next sc, 6 sc*. Repeat within ** around (18 sts)
Rnd 15: Working through both loops, sc in each st around (18 sts)
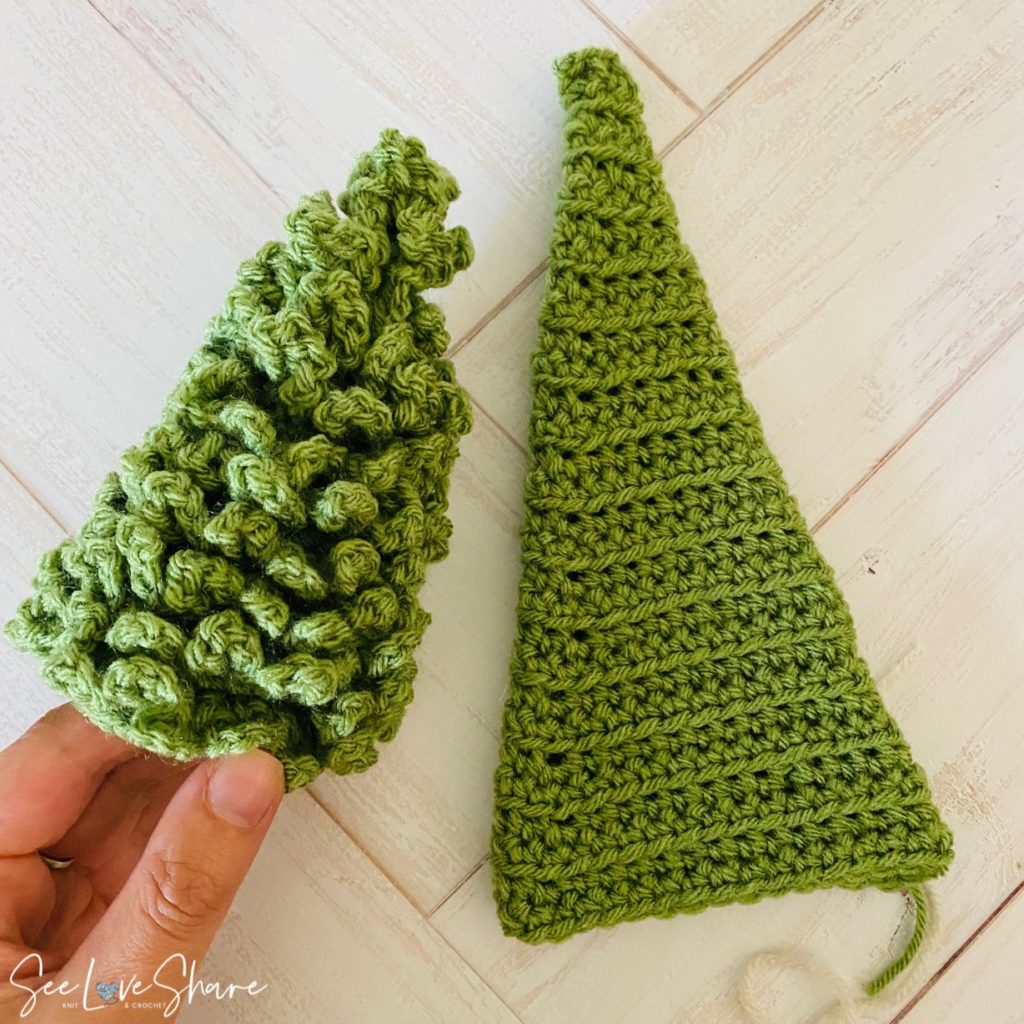
Your work should look something like this…
Begin Tree Branches: here you will begin to fill in the tree by working back up to the top where you started. At this point you can swap the tree branches to another colour from the base. In this example, I used Sage as the base and Aran as the branches to give it a subtle pop of colour. Each branch will attach to the FRONT loop of the prior BLO rnds (don’t worry, we have photos!)
Rnd 16: ch 3 and attach to rnd 14 front loop with a stst. *sc, ch6, sc* all within the front loop only. Repeat *sc, ch6, sc* in each front loop around. One you make it back to the frist branch, ch 3. This step will start to look like this…
Rnd 17 – top of tree: proceed to the row just below the branches you worked. Attach to front loop with a stst. *sc, ch6, sc* all within the front loop only. Repeat *sc, ch6, sc* in each front loop around. Repeat this round until you are back to the top of tree.
Final Rnd – *sc, ch6, sc* 4 times all over the top edge of the tree and through the center loop. Bind off and weave in ends.
Decorate as desired (buttons are particularly cute in this step!).
Medium Tree:
Work Tree Base: With colour of choice, Chain 4 and join with a slst to 1st ch to create a loop
Rnd 1: Ch1, 4 sc within loop (4 sts)
Rnd 2: Continue working in rounds in BLO, *2 sc in next sc, sc*. Repeat within ** around (6 sts)
Rnd 3: Working through both loops, sc in each st around (6 sts)
Rnd 4: Working in BLO, *2 sc in next sc, 2 sc*. Repeat within ** around (8 sts)
Rnd 5: Working through both loops, sc in each st around (8 sts)
Rnd 6: Working in BLO, *2 sc in next sc, 3 sc*. Repeat within ** around (10 sts)
Rnd 7: Working through both loops, sc in each st around (10 sts)
Rnd 8: Working in BLO, *2 sc in next sc, 4 sc*. Repeat within ** around (12 sts)
Rnd 9: Working through both loops, sc in each st around (12 sts)
Rnd 10: Working in BLO, *2 sc in next sc, 5 sc*. Repeat within ** around (14 sts)
Rnd 11: Working through both loops, sc in each st around (14 sts)
Rnd 12: Working in BLO, *2 sc in next sc, 5 sc*. Repeat within ** around (16 sts)
Rnd 13: Working through both loops, sc in each st around (16 sts)
Rnd 14: Working in BLO, *2 sc in next sc, 6 sc*. Repeat within ** around (18 sts)
Rnd 15: Working through both loops, sc in each st around (18 sts)
Rnd 16: Working in BLO, *2 sc in next sc, 6 sc*. Repeat within ** around (20 sts)
Rnd 17: Working through both loops, sc in each st around (20 sts)
Rnd 18: Working in BLO, *2 sc in next sc, 6 sc*. Repeat within ** around (22 sts)
Rnd 19: Working through both loops, sc in each st around (22 sts)
Rnd 20: Working in BLO, *2 sc in next sc, 6 sc*. Repeat within ** around (24 sts)
Rnd 21: Working through both loops, sc in each st around (24 sts)
If you’d like an Ad-Free Version or if you’d just like to support my effort – please consider purchasing a downloadable & printable version from my Etsy Shop! A little goes a long way. Thank you!
Begin Tree Branches: here you will begin to fill in the tree by working back up to the top where you started. At this point you can swap the tree branches to another colour from the base. In this example, I used Sage as the base and Aran as the branches to give it a subtle pop of colour.
Each branch will attach to the FRONT loop of the prior BLO rnds (don’t worry, we have photos!)
Rnd 22: ch 3 and attach to rnd 14 front loop with a stst. *sc, ch6, sc* all within the front loop only. Repeat *sc, ch6, sc* in each front loop around. One you make it back to the frist branch, ch 3.
Rnd 23 – top of tree: proceed to the row just below the branches you worked. Attach to front loop with a stst. *sc, ch6, sc* all within the front loop only. Repeat *sc, ch6, sc* in each front loop around. Repeat this round until you are back to the top of tree.
Final Rnd – *sc, ch6, sc* 4 times all over the top edge of the tree and through the center loop. Bind off and weave in ends.
Decorate as desired (buttons are particularly cute in this step!).
Large Tree:
Work Tree Base: With colour of choice, Chain 4 and join with a slst to 1st ch to create a loop
Rnd 1: Ch1, 4 sc within loop (4 sts)
Rnd 2: Continue working in rounds in BLO, *2 sc in next sc, sc*. Repeat within ** around (6 sts)
Rnd 3: Working through both loops, sc in each st around (6 sts)
Rnd 4: Working in BLO, *2 sc in next sc, 2 sc*. Repeat within ** around (8 sts)
Rnd 5: Working through both loops, sc in each st around (8 sts)
Rnd 6: Working in BLO, *2 sc in next sc, 3 sc*. Repeat within ** around (10 sts)
Rnd 7: Working through both loops, sc in each st around (10 sts)
Rnd 8: Working in BLO, *2 sc in next sc, 4 sc*. Repeat within ** around (12 sts)
Rnd 9: Working through both loops, sc in each st around (12 sts)
Rnd 10: Working in BLO, *2 sc in next sc, 5 sc*. Repeat within ** around (14 sts)
Rnd 11: Working through both loops, sc in each st around (14 sts)
Rnd 12: Working in BLO, *2 sc in next sc, 5 sc*. Repeat within ** around (16 sts)
Rnd 13: Working through both loops, sc in each st around (16 sts)
Rnd 14: Working in BLO, *2 sc in next sc, 6 sc*. Repeat within ** around (18 sts)
Rnd 15: Working through both loops, sc in each st around (18 sts)
Rnd 16: Working in BLO, *2 sc in next sc, 6 sc*. Repeat within ** around (20 sts)
Rnd 17: Working through both loops, sc in each st around (20 sts)
Rnd 18: Working in BLO, *2 sc in next sc, 6 sc*. Repeat within ** around (22 sts)
Rnd 19: Working through both loops, sc in each st around (22 sts)
Rnd 20: Working in BLO, *2 sc in next sc, 6 sc*. Repeat within ** around (24 sts)
Rnd 21: Working through both loops, sc in each st around (24 sts)
Rnd 22: Working in BLO, *2 sc in next sc, 6 sc*. Repeat within ** around (26 sts)
Rnd 23: Working through both loops, sc in each st around (26 sts)
Rnd 24: Working in BLO, *2 sc in next sc, 6 sc*. Repeat within ** around (28 sts)
Rnd 25: Working through both loops, sc in each st around (28 sts)
Rnd 26: Working in BLO, *2 sc in next sc, 6 sc*. Repeat within ** around (30 sts)
Rnd 27: Working through both loops, sc in each st around (30 sts)
Rnd 28: Working in BLO, *2 sc in next sc, 6 sc*. Repeat within ** around (32 sts)
Rnd 29: Working through both loops, sc in each st around (32 sts)
Rnd 30: Working in BLO, *2 sc in next sc, 6 sc*. Repeat within ** around (34 sts)
Rnd 31: Working through both loops, sc in each st around (34 sts)
Begin Tree Branches: here you will begin to fill in the tree by working back up to the top where you started. At this point you can swap the tree branches to another colour from the base. In this example, I used Sage as the base and Aran as the branches to give it a subtle pop of colour. Each branch will attach to the FRONT loop of the prior BLO rnds (don’t worry, we have photos!)
Rnd 35: ch 3 and attach to rnd 14 front loop with a stst. *sc, ch6, sc* all within the front loop only. Repeat *sc, ch6, sc* in each front loop around. One you make it back to the frist branch, ch 3.
Rnd 36 – top of tree: proceed to the row just below the branches you worked. Attach to front loop with a stst. *sc, ch6, sc* all within the front loop only. Repeat *sc, ch6, sc* in each front loop around. Repeat this round until you are back to the top of tree.
Final Rnd – *sc, ch6, sc* 4 times all over the top edge of the tree and through the center loop. Bind off and weave in ends.
Decorate as desired (buttons are particularly cute in this step!).
2 COMMENTS