All Home Decor Crochet Crochet Extras & Fun!
October 8th, 2020
Mini Crochet Pumpkin Embellishments Free Pattern
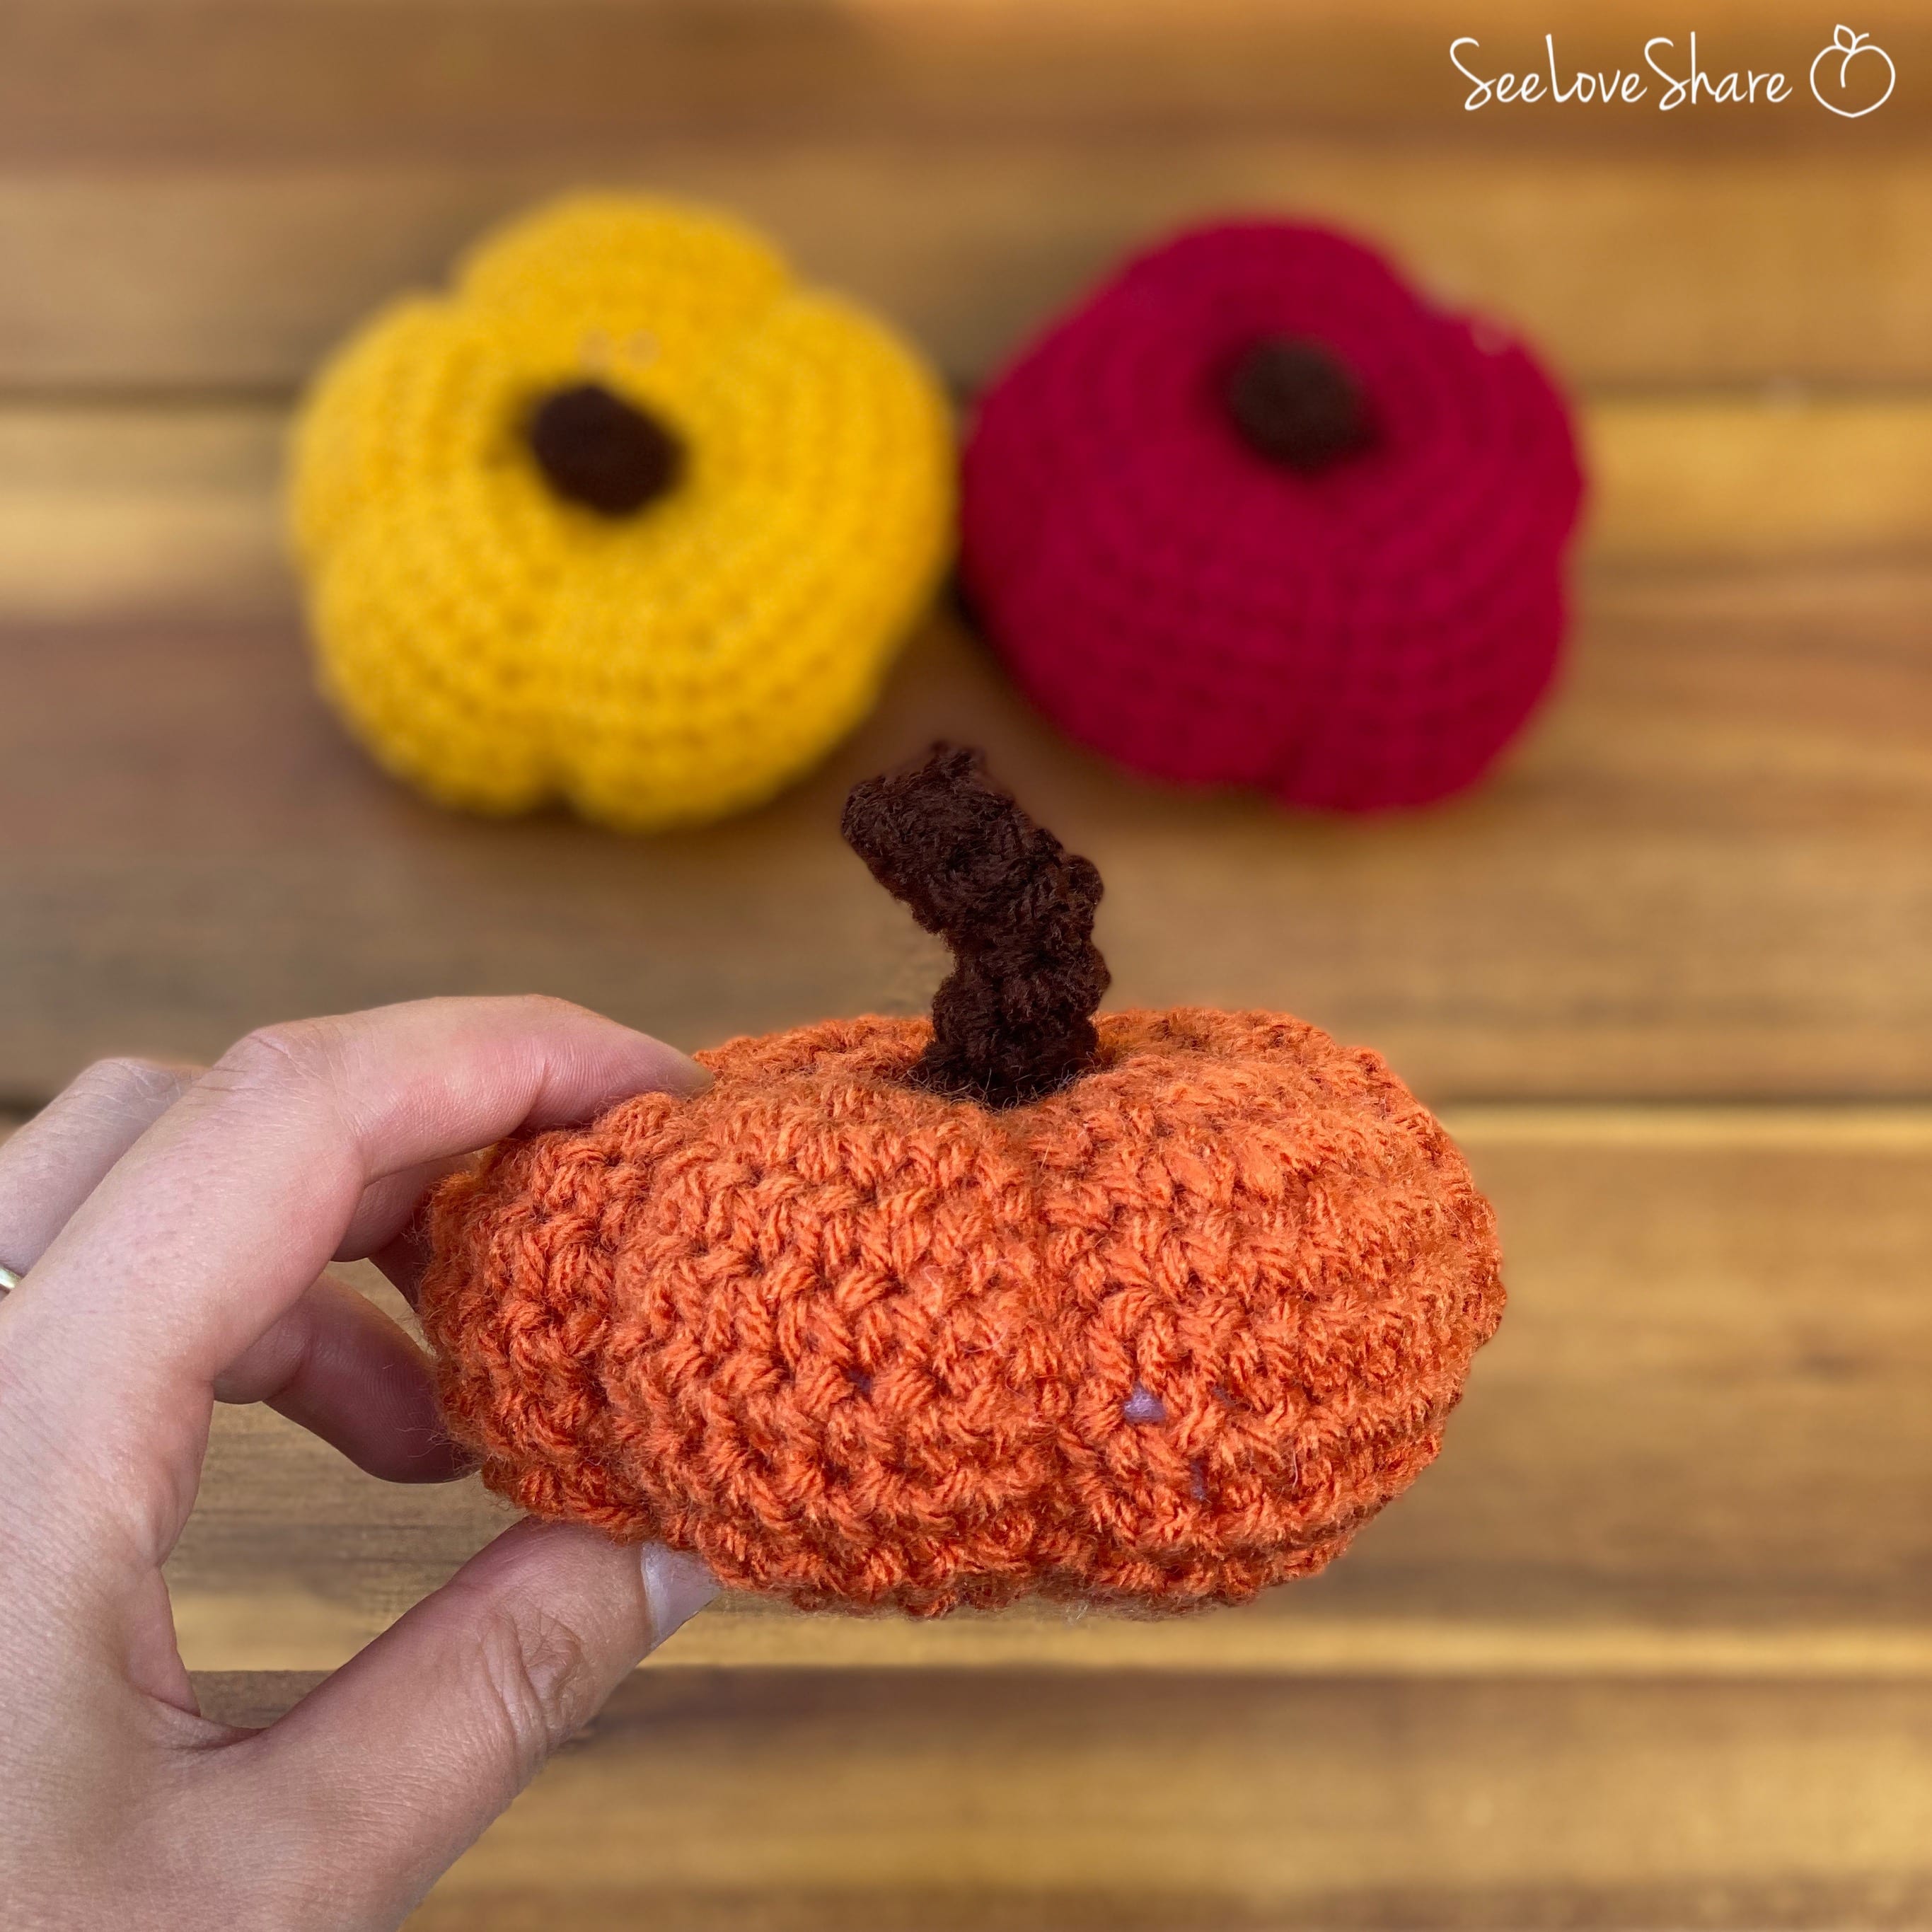
Make these quick and easy pumpkins to accessorize your fall decor! The pattern below works up 3 sizes of mini pumpkin goodies!

I made these to make this wreath for my new house!

Skill Level: Easy
Abbreviations:
CH – chain
SC – single crochet
Size:
2in (3in, 4in)
Materials:
· 1 skein for pumpkin orange (or any pumpkin color you like). I like Red Heart Super Saver Yarn for projects like these because they’re a great price, durable and come in LOADS of colors. I used color Pumpkin, Carrot and Coral Corail.
· 1 skein of light brown for the stem (I used scraps that I had left over from other projects.)
· Poly Fill to plump them up!
· Size 5.5MM crochet hook
Pattern:
You will be working in the round, starting with a magic circle in the pumpkin colour of your choice. The sizing is written from Small (Medium, Large).
Row 1: (6, 7, 7) sc in magic circle
Row 2: 2 sc in each stitch around (12, 14, 14 sts)
Row 3: *2sc in next st, sc* repeat from * around (18, 21, 21)
Row 4: *2sc in next st, sc in next 2 sts* repeat from * around (24, 28, 28)
Row 5: small size only – move on to row 7. For medium and large continue with: *2sc in next st, sc in next 3 sts* repeat from * around (35, 35)
Row 6: Medium size only – move on to row 7. For large continue with: *2sc in next st, sc in next 4 sts* repeat from * around (42)
Row 7-10: sc in each st around (24, 35, 42)
·Row 11: for Small size, move on to row 12, for Medium move on to row 12, for Large size continue with: *2sc dec in next st, sc in next 4 sts* repeat from * around (35)
Row 11: Small size, move on to row 12, for Medium and Large size continue with: *2sc dec in next st, sc in next 3 sts* repeat from * around (28, 28)
Row 12: *2sc dec in next st, sc in next 2 sts* repeat from * around (18, 21, 21)
Row 13: *2 sc dec in next st, sc in next st* repeat from * around (12, 14, 14 sts)
Row 14: 2 sc dec around (6, 7, 7)
Stuff with poly fill, bind off leaving a long tail.
Create pumpkin creases. Begin shaping pumpkin grooves by pushing the needle up through the middle and around the sides. You will do this 5 times. Pull on the yarn so that it creates a tight synch along the sides.
Stumps:
With brown, create a magic circle.
Row 1: 4 sc in magic circle
Row 2-4: sc around turning the work right side facing.
Bind off and leave a long tail to attach to the centre of the pumpkin.
Enjoy!


