
Free Tutorials Free Knit Free Patterns
February 26th, 2019
Bubble Stitch Tutorial
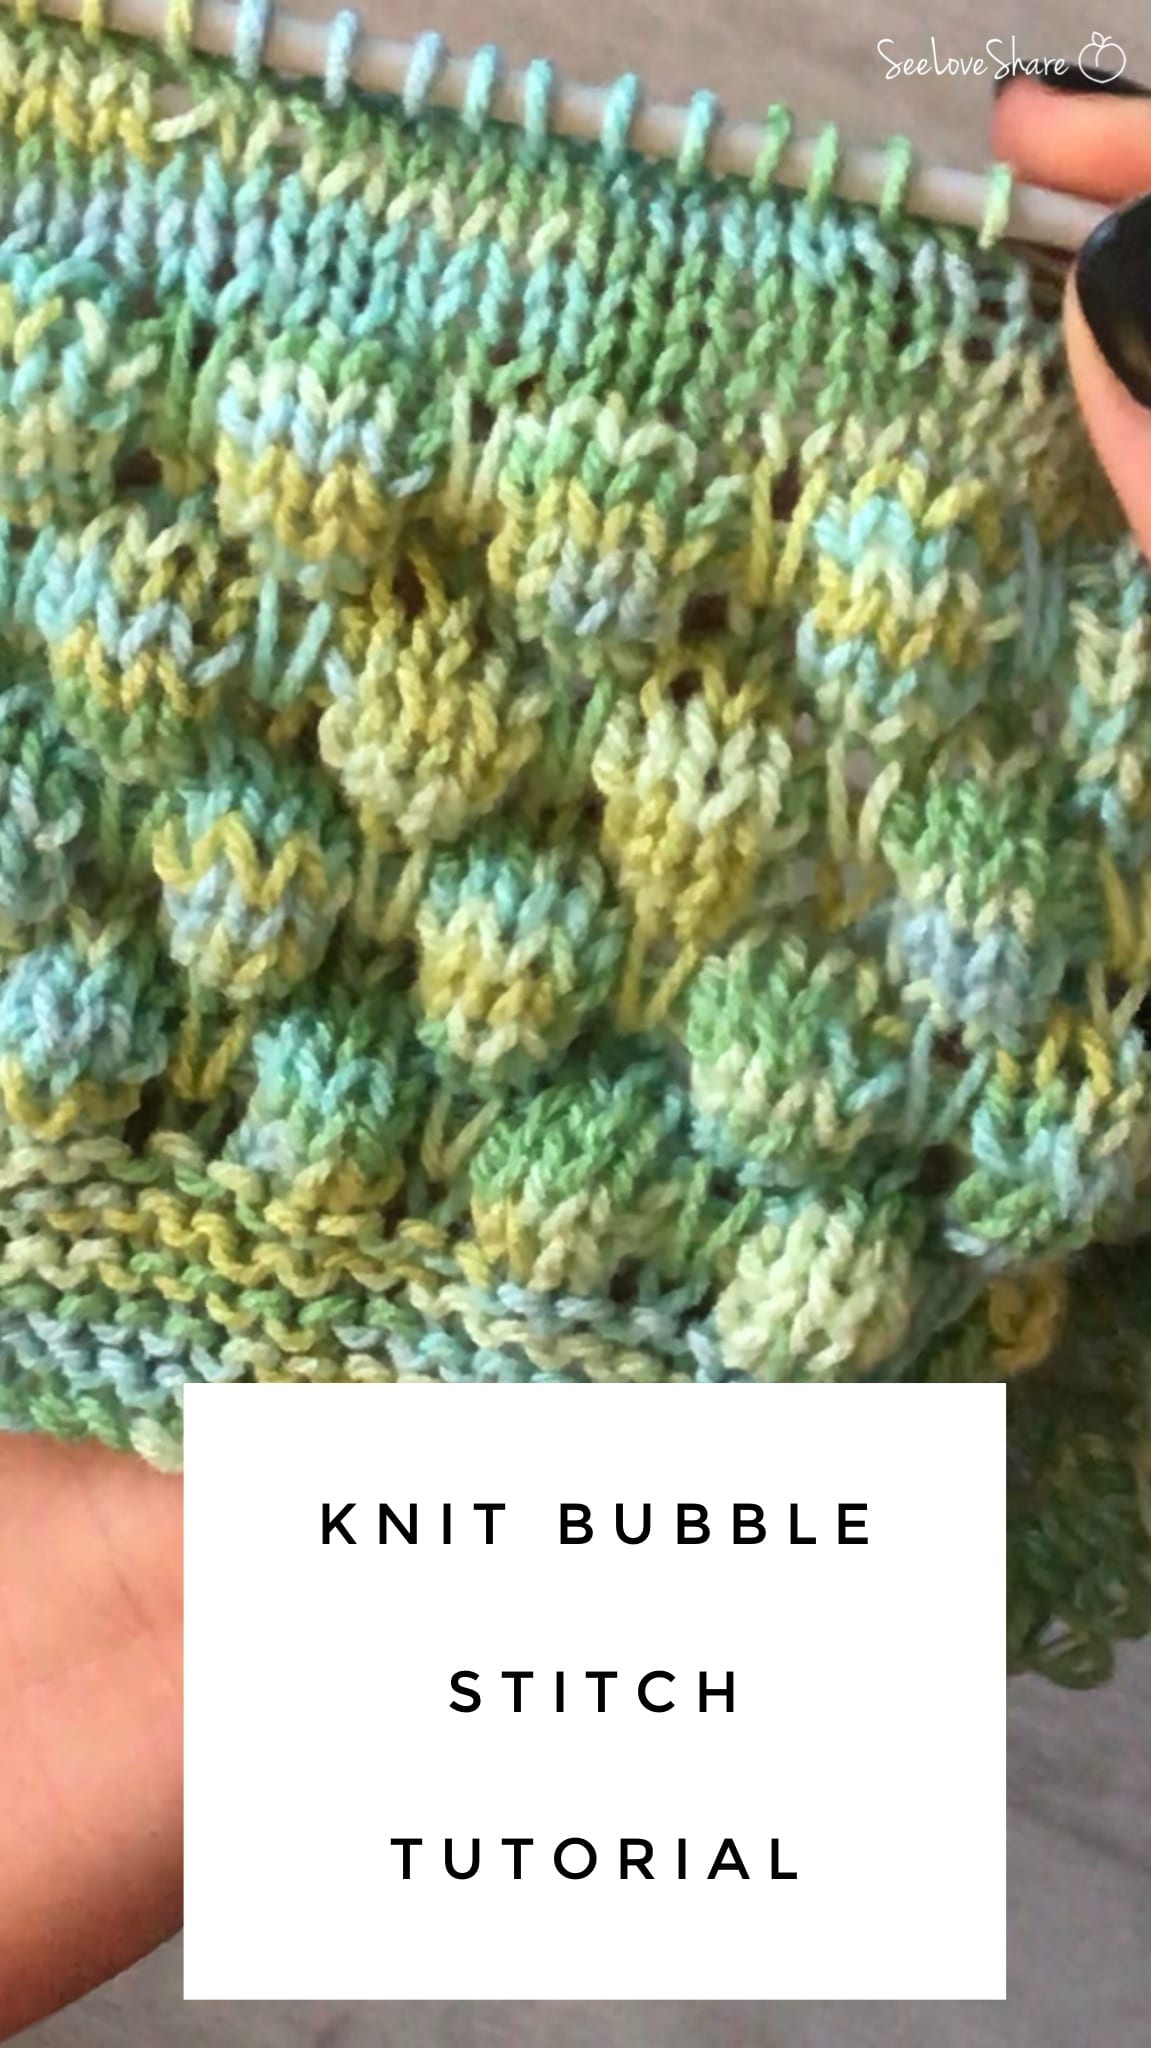
This knit bubble stitch tutorial walks you through one of my favourite knit stitches — a beautifully textured 6-row repeat that creates plump, raised “bubbles” across the surface of your fabric. My mother taught me this stitch and at first it felt so wrong… but then it came together and I haven’t stopped using it since. 💛
The bubble stitch is what gives my Bubble Stitch Knit Baby Blanket its signature plush texture — the same blanket pattern I designed for my daughter, Sophie. Once you’ve got the rhythm of this 6-row repeat down, you can use it for blankets, throws, scarves, baby gifts, and any project where you want a soft, dimensional fabric.
Watch the bubble stitch tutorial
The video below walks you through the full 6-row repeat. It’s a short tutorial, but I’d recommend watching it once all the way through before picking up your needles — there’s one moment in row 3 where the stitch feels counterintuitive (the “this can’t be right” moment), but stick with it. By row 6, you’ll see why it works.
The bubble stitch is what gives my Bubble Stitch Knit Baby Blanket its signature plush texture — the same blanket pattern I designed for my daughter, Sophie. Once you’ve got the rhythm of this 6-row repeat down, you can use it for blankets, throws, scarves, baby gifts, and any project where you want a soft, dimensional fabric.
What is the knit bubble stitch?
The knit bubble stitch is a textured stitch pattern worked over a 6-row repeat that produces small raised “bubble” shapes across an otherwise flat fabric. Unlike bobble stitch (typically a crochet technique where you build up a single bobble within one stitch), the bubble stitch in knitting is created by carrying yarn across multiple rows and then “popping” the held loops to form the dimensional surface. The result is a plush, textured fabric that’s beautiful for cozy projects.
Why you’ll love this stitch
- Beginner-friendly — if you can knit, purl, and yarn over, you can do bubble stitch
- Visually impressive — looks far more advanced than it actually is
- Dimensional and plush — creates a thick, cozy fabric that’s perfect for blankets and throws
- Forgiving — small tension variations don’t show as much as in flat stockinette
- Versatile — works in any yarn weight from DK to super bulky
Tips for working the bubble stitch
- Trust the process on row 3. This is the row where the stitch feels backwards — you’ll be working into stitches from a row below the current row. It looks wrong while you’re doing it. It comes together on row 4.
- Keep your tension consistent. The bubbles “pop” best when your fabric is worked at a relaxed (not tight) tension. If your bubbles look flat, try going up a needle size.
- Use a smooth yarn for your first attempt. Avoid super-fuzzy or boucle yarns until you’ve got the stitch down — the texture can make it harder to see what your needles are doing.
- Block your finished piece. Like most textured stitches, bubble stitch looks its best after a gentle wet block. The bubbles round out and the fabric drapes more beautifully.
Try the bubble stitch in a real pattern
Now that you’ve got the technique, put it to work! My Bubble Stitch Knit Baby Blanket is the perfect first project for this stitch — a beautifully soft baby blanket that uses the same 6-row repeat you just learned. The free pattern is available on the blog, and an ad-free printable PDF is in the SeeLoveShare Etsy shop.
More knit stitch tutorials and patterns
 Bubble Stitch Knit Baby Blanket Pattern — the free pattern that uses this exact stitch
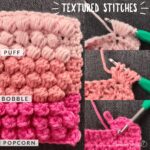
- Spotlight Stitch: Textured Stitches — explore more dimensional stitch techniques
- The Ultimate Guide to Blocking Knit and Crochet Projects — get the most beautiful finish on your bubble stitch project
- Browse all Knit Patterns on the SeeLoveShare blog
Tried the bubble stitch? I’d love to see your project! Tag me on Instagram @seeloveshare or share your makes in our free Facebook community. Happy knitting! 🧶