
Free Tutorials Free Holiday Free Knit
October 2nd, 2026
I-Cord Christmas Tree Ornament: Free Pattern with Wooden Beads (Machine, Knit or Crochet)
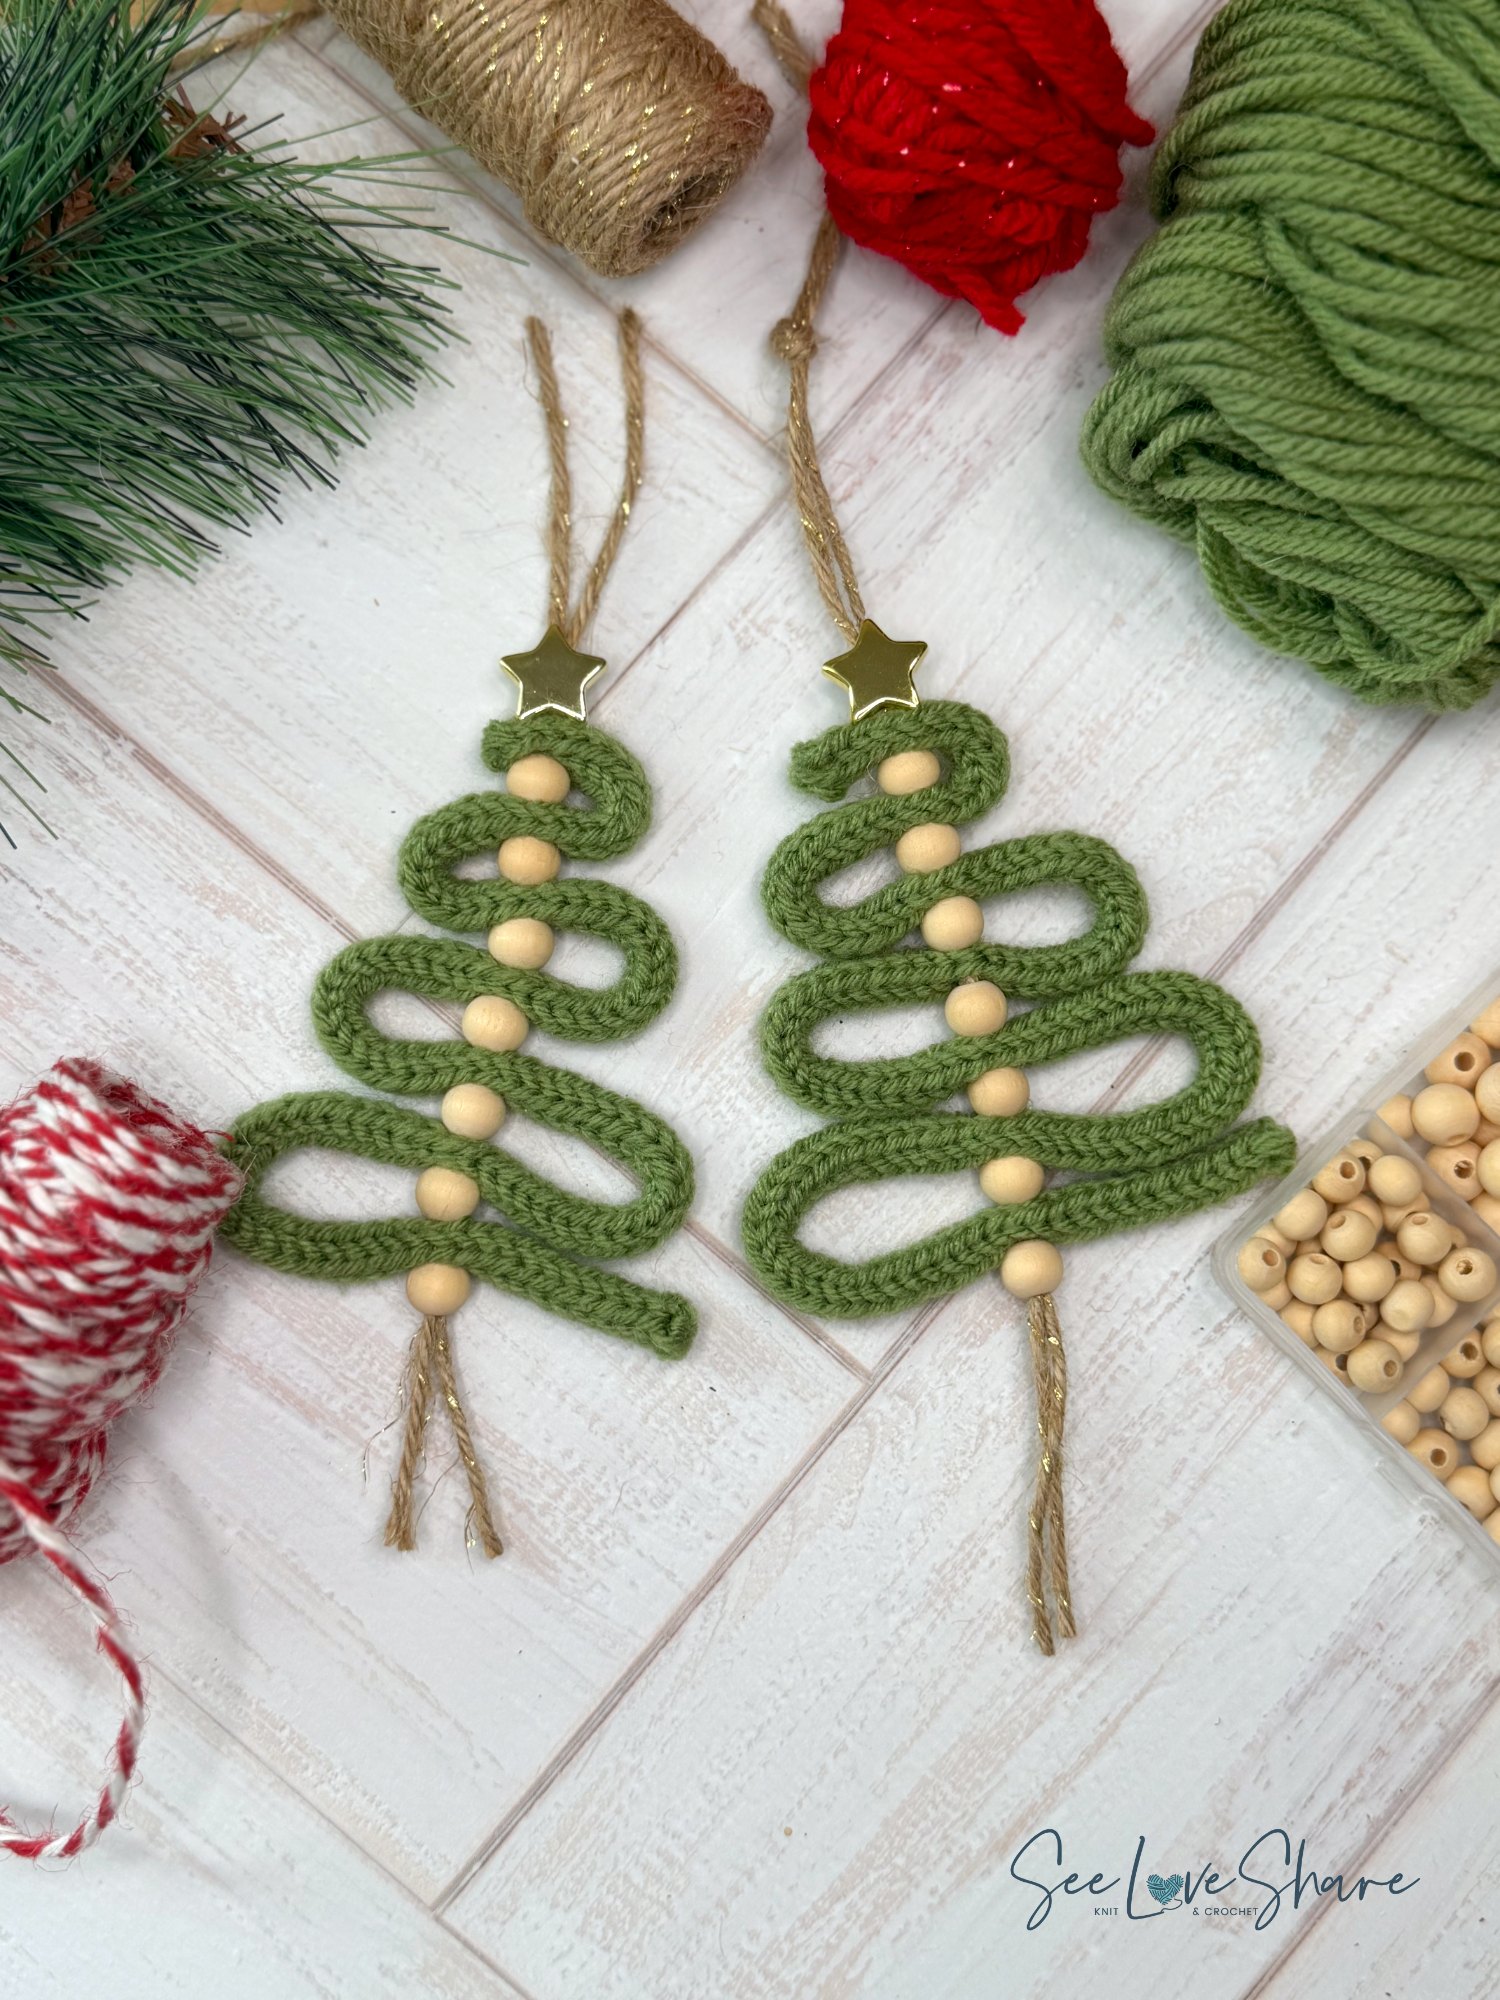
This i-cord Christmas tree ornament takes one 16″ length of i-cord, seven wooden beads and a gold star button. The cord zigzags back and forth, and a strand of twine threads straight down the middle through every tier and every bead. It holds its shape without any glue or sewing.
I made mine on my Caydo i1 Pro i-cord machine, and the cord took about 3 minutes. No machine? No problem. This free pattern also shows you how to knit the cord by hand on two needles, or crochet a band with a hook. The tree goes together the same way whichever you choose.
CayDo sent me the i1 Pro to try. I only share tools I use and like.
Why You’ll Love This I-Cord Christmas Tree Ornament
- One cord, one tree: 16″ of i-cord makes one ornament
- Quick: about 3 minutes of cranking on the machine
- No glue, no sewing: the twine holds everything in place
- A great stash buster: a few yards of worsted yarn make a whole tree
- Easy to make in a batch: make a set for your tree, gift toppers or a garland
Materials for a Wooden Bead Christmas Tree Ornament
- Yarn: Red Heart Super Saver, worsted weight (#4), in Light Sage · Red Heart Super Saver. One skein makes a whole forest of trees.
- Wooden beads: 7 natural wood beads per tree, 12 mm · Wooden beads
- Star: 1 gold star button per tree, 18 mm (about ¾”) · Gold star buttons
- Twine: about 18″ of jute twine per tree (mine has a gold thread twisted in) · Jute twine
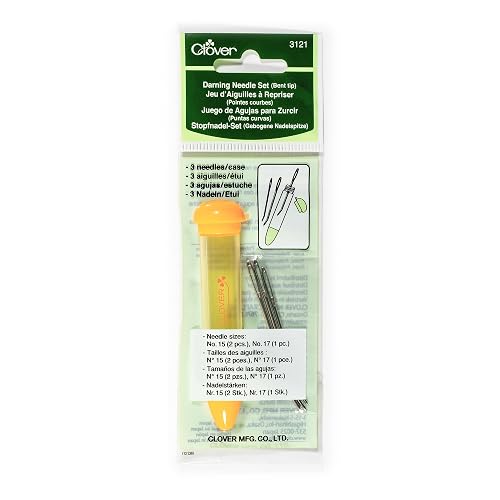
- Tapestry needle with an eye big enough for doubled twine · Tapestry needle
- Scissors
Plus one of these, to make the cord:
- Caydo i1 Pro i-cord machine — the fastest way
- OR two double-pointed needles, 4.5 mm (US 7)
- OR a 5.0 mm (H-8) crochet hook, for the crocheted band · 5.5 mm hook if you crochet loosely
Shop the materials
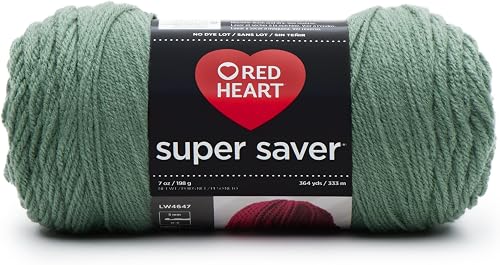
Red Heart Super Saver — Light Sage
The shade shown — one skein makes dozens of trees
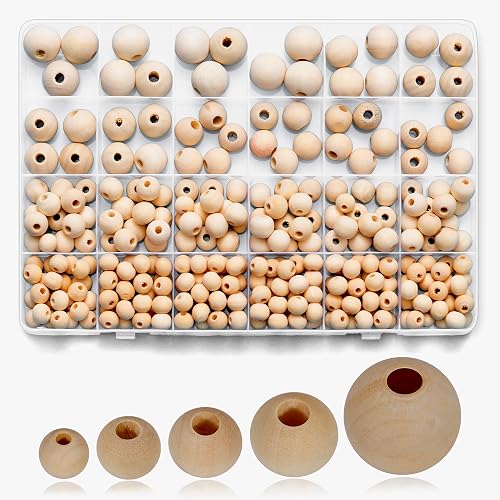

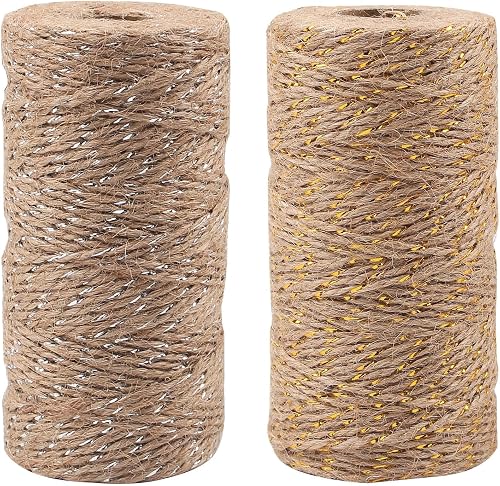

Finished size: about 3½–4″ wide × 5–6″ tall, not counting the hanging loop. The exact size depends on how wide you make your tiers.
Step 1: Make 16″ of Cord
Option A: Caydo i1 Pro i-cord machine
Set up the yarn following the instructions that come with your i1 Pro, then crank until the cord measures 16″. It took me about 3 minutes. Finish off the end the way your machine’s instructions show.
Option B: Knit an I-Cord by Hand
With two double-pointed needles, 4.5 mm:
- Cast on 4 stitches.
- Knit the 4 stitches. Don’t turn.
- Slide the stitches back to the other end of the needle, so the working yarn is now at the far end.
- Pull the yarn snug behind the stitches and knit them again.
Repeat steps 3 and 4 until the cord measures 16″. Give it a tug every few rows and it will close into a tube. Cut the yarn, thread the tail through all 4 stitches, and pull tight.
Option C: Crochet a Band (An Alternative to Try)
My trees are made with i-cord, but if you’d rather crochet, a flat band is an alternative to try. It gives a softer, ribbon-like tree.
With a 5.0 mm hook:
- Chain until the chain measures about 16½”.
- Double crochet in the 4th chain from the hook and in each chain across. The band shrinks a little as you work into it.
- Fasten off. The band should measure about 16″.
Thread the twine through the middle of the band’s width, the same way you would through the cord. New to double crochet? My beginner crochet stitch guide walks you through it.
Step 2: Assemble the Christmas Tree Ornament
You’ll work from the top down, threading the twine straight down the centre of the tree.
- Hanging loop: fold the twine in half and thread both cut ends through the tapestry needle.
- Star: thread the star button onto the doubled twine, just like a bead, and slide it down, leaving a 3″ loop above it.
- Top tier: push the needle straight through the middle of the cord, about ½” from one end. Slide the cord up under the star.
- First bead: thread on a wood bead and slide it up.
- Next tier: fold the cord back across the centre, making a tier a little wider than the one above. Push the needle through the middle of the cord at the centre, then slide it up against the bead.
- Repeat steps 4 and 5, making each tier a little wider than the last, until you have 7 tiers, with a bead under each one. The bottom tier ends up about 3½–4″ wide.
- Bottom bead: thread on the last wood bead.
- Finish: tie a tight knot under the bottom bead. Trim the twine tails to about 1½” to make a little trunk.

Shaping: before you tie the knot, slide the tiers along the twine and adjust the bends so the tree looks balanced. Let the cord ends stick out a little on the tips; they look like branch ends.
Tips
- Go through the middle of the cord. If the needle only catches the edge, that tier can twist. Aim for dead centre.
- Make the tiers wider gradually. Too big a jump and the tree looks lopsided.
- Keep the twine taut. Push everything up toward the star before you tie the bottom knot, so the beads sit snug.
- Make a forest: try different greens, a cream “snowy” tree, or a red one with gold beads.
- Not into ornaments? Skip the hanging loop and they make gift toppers, or string a few on twine for a garland.
Get the printable PDF
Crochet Christmas Pillow Patterns PDF
Four bobble stitch Christmas pillows — tree, star, snowflake and reindeer — with stitch charts and row trackers. Use code SEELOVE15 for 15% off.
Get the Printable PDF on Etsy →Join the SeeLoveShare Newsletter
More Christmas Tree Patterns to Make
Hooked on trees? Here are more ways to bring a handmade Christmas tree into your holiday decor, from tabletop trees to pillows and the tree skirt underneath.
 Toilet Paper Roll Crochet Christmas TreesStand-up tabletop trees
 Crochet Christmas Tree PillowA bobble stitch tree cushion
 Cable Knit Christmas OrnamentA classic to hang beside your trees
 Knit Tree Skirt PatternCable braid, for under the real tree
 Folded Crochet Christmas TreeFree pattern + video tutorial
 Standing Christmas TreesModern tabletop trees in 3 sizes
 Bobble Stitch Christmas Tree TrioThree textured crochet trees
 Adjustable Douglas Fir TreesBeginner-friendly, any height
 Trees & Stars GarlandGarland or ornaments
 Sugar Cookie Tree OrnamentA frosted-cookie tree to hang
 Bobble Stitch Tree SkirtThe crochet version
More Christmas Makes
 Crochet Christmas Patterns40+ handmade holiday designs
 Knit Christmas PatternsCozy handmade holiday knits
 Easy Crochet Christmas OrnamentA beginner’s guide
 Crochet Poinsettia Ornament Set3-D ornament & bauble covers
 Peppermint Candy OrnamentCrochet and knit versions
FAQ
How big is the finished ornament?
About 3½–4″ wide and 5–6″ tall, not counting the hanging loop. Make your tiers narrower for a smaller tree, or wider for a fuller one.
How much cord do I need for one tree?
16″ makes a 7-tier tree. For a smaller tree, use less cord and make fewer tiers.
How long does it take?
The cord takes about 3 minutes on an i-cord machine, and threading the tree takes a few minutes more. Knitting the cord by hand takes a bit longer.
Can I make this Christmas tree ornament without an i-cord machine?
Yes. A machine like the Caydo i1 Pro i-cord machine is the fastest, but you can knit an i-cord on two double-pointed needles, or try a crocheted band instead.
What yarn works best?
I used Red Heart Super Saver. It’s an inexpensive worsted weight (#4) acrylic that makes a firm cord and holds the zigzag well, and there are loads of greens to choose from. Any smooth worsted yarn works.
What size beads should I use?
I used 12 mm wood beads and an 18 mm star button. If you swap in other beads, make sure the hole is big enough for doubled twine.
Can I make it without twine?
Yes. Any sturdy cord works, such as cotton macramé cord, baker’s twine or a doubled strand of yarn. It just needs to fit through the bead holes twice.