
Free Crochet All Adult Patterns Free Patterns
October 15th, 2026
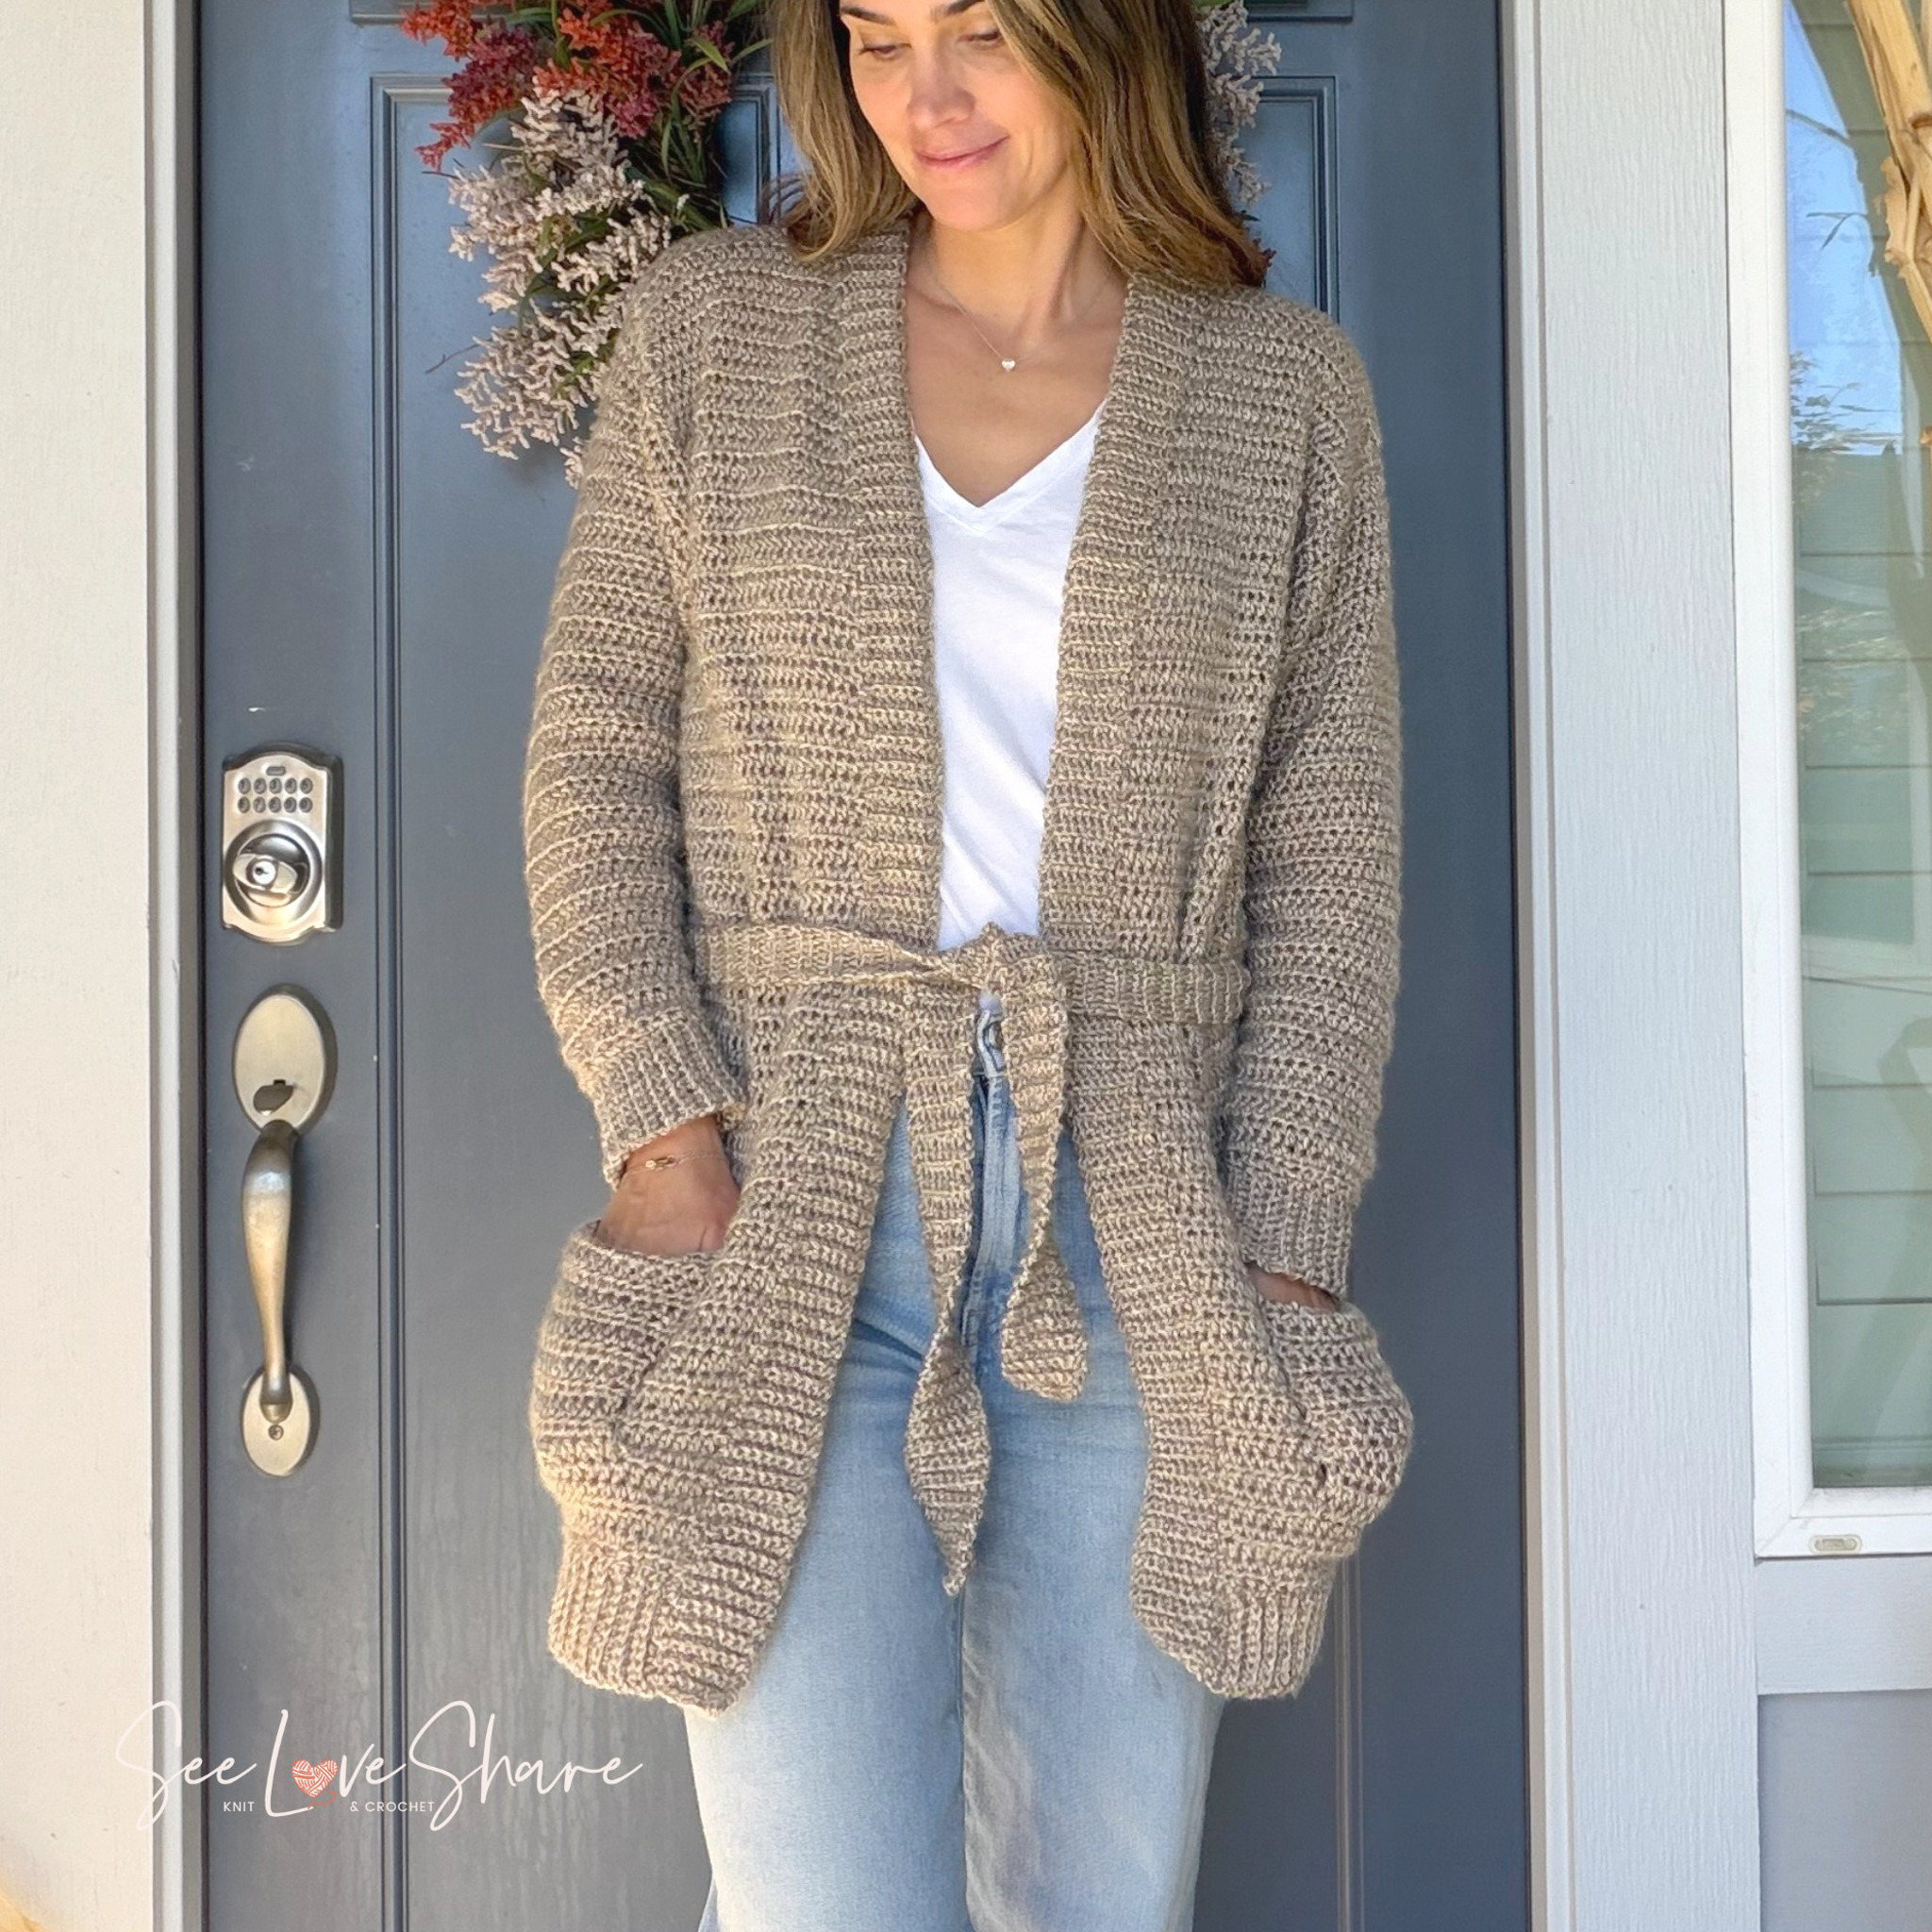
Beginner Crochet Cardigan Pattern — My First Cardi (Free, No Seams)
This is the beginner crochet cardigan pattern I wish I’d had when I made my first sweater — the one where I seamed two fronts to a back, held it up, and found one shoulder an inch higher than the other. I call it My First Cardi because it is the one I would hand to someone who has never made a garment before.
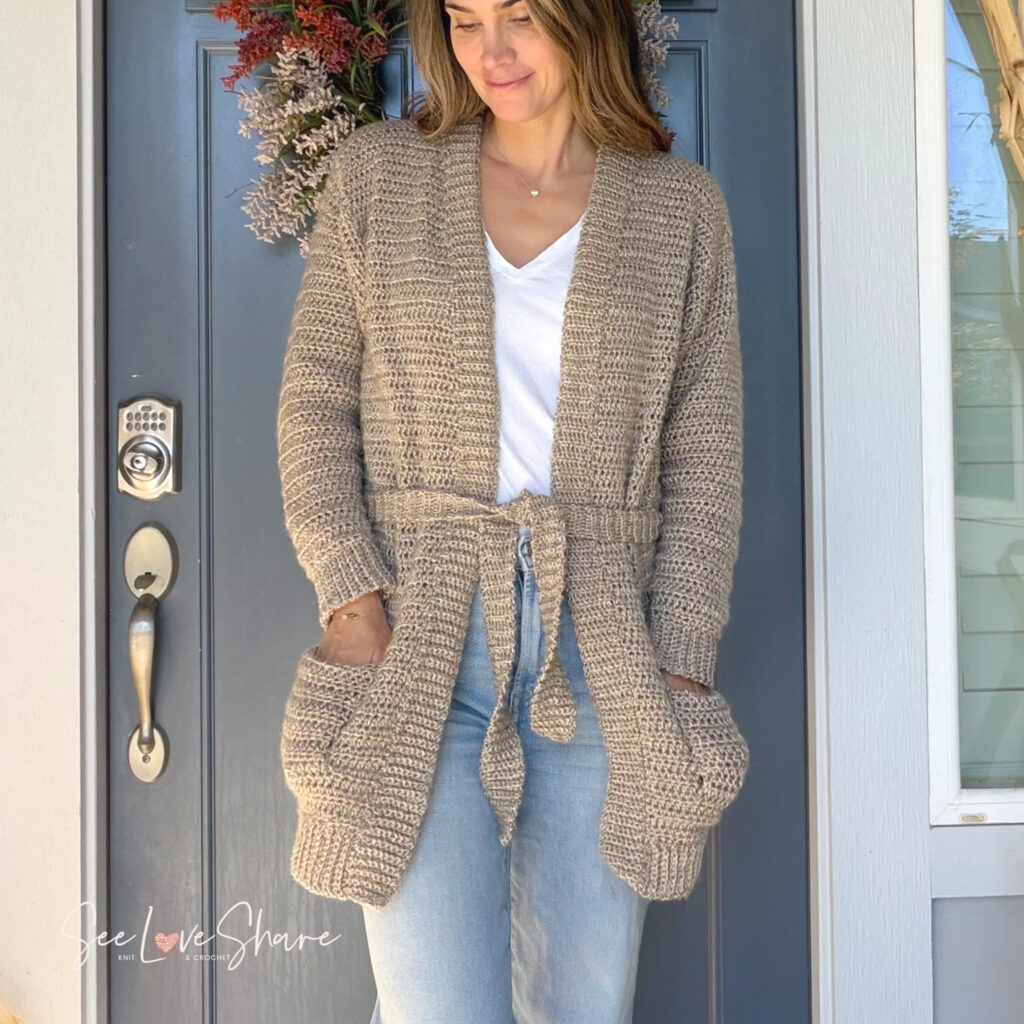
There are no seams in this one. None. You start with a single long chain at the shoulders, work the back down from the top of it and both fronts down from the underside, and the shoulders are simply made rather than sewn. The sleeves are picked up around the armholes. The hem, the cuffs and the front band are ribbing that joins itself to the garment as you go. The pockets grow out of the fronts three sides at a time. When you finish the last row, you weave in your ends and put it on — there is nothing to seam and nothing to block.
It is worked entirely in half double crochet. One stitch, start to finish.
Why You’ll Love It
- Completely seamless — not “seamless except the shoulders.” Nothing is sewn together at any point, including the pockets and the bands
- One stitch the whole way — half double crochet. If you can hdc, you can make this
- No blocking — the sample was never blocked, and the pattern is written to fit straight off the hook
- Built-in pockets — worked onto the fronts, not sewn on afterwards
- A stitch count on every single row — you always know whether you’re right
- Measurement checkpoints, not just row counts, at the places where crochet lies about its own length
- No stitch markers needed anywhere in the pattern
Prefer to print?
The ad-free printable PDF
Every size from XS to 5X, the full schematic, thirteen finished measurements, and the tie belt and belt loops — in one clean printable with no ads and no scrolling.
Get the PDF on Etsy →What’s Free Here, and What’s in the PDF
The whole beginner crochet cardigan pattern is on this page. Not a teaser, not a summary — every row, every stitch count, every checkpoint, in size S, which is the size I made and photographed. Work straight down this page and you will finish a cardigan.
The printable PDF carries the parts that only matter once you want a different size or a different version:
| Free, right here | In the printable PDF | |
|---|---|---|
| Full pattern, every row | Size S | Sizes XS, S, M, L, XL, 2X, 3X, 4X, 5X |
| Stitch counts on every row | yes | yes |
| Built-in pockets | yes | yes |
| Step-by-step progress photos | — | yes, at every tricky step |
| Tie belt and belt loops | — | yes |
| Schematic | — | yes |
| Thirteen finished measurements, every size | — | yes |
| Yarn amounts for every size | — | yes |
| Ads | yes, sorry | none |
Watch the three fiddly bits
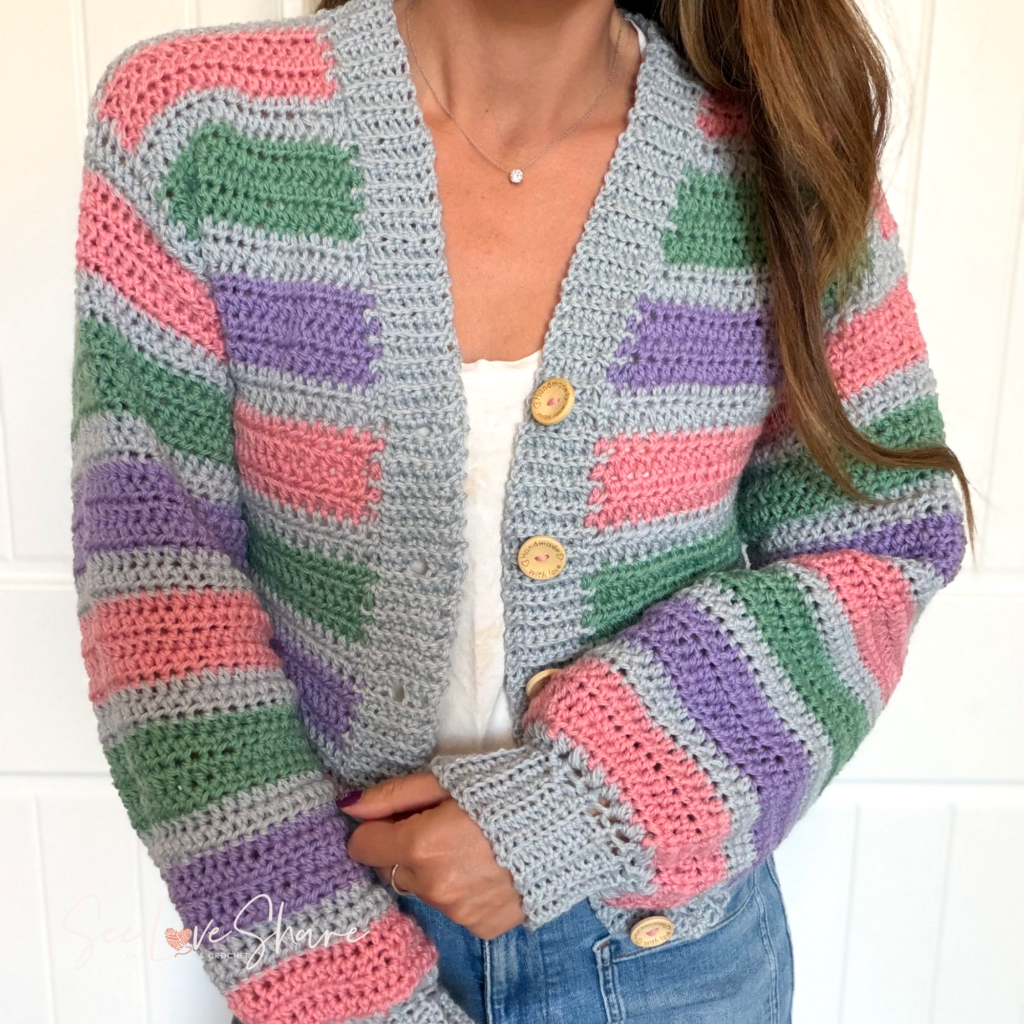
Three moments in this build are far easier to watch than to read. I filmed all three while making my Striped Crochet Cardigan — the same top-down seamless construction as this one, cropped and worked in four colours — so the hands are doing exactly what yours will do here.
- Picking up stitches for the sleeve — the four-stitches-for-every-three-row-ends ratio in Rnd 1. One per row-end pulls the armhole in; any more than that ruffles it.
- Joining a ribbed band as you go — the J and J2 rhythm that every band in this pattern runs on. Filmed on a cuff, which is the one band that gathers on purpose.
Materials
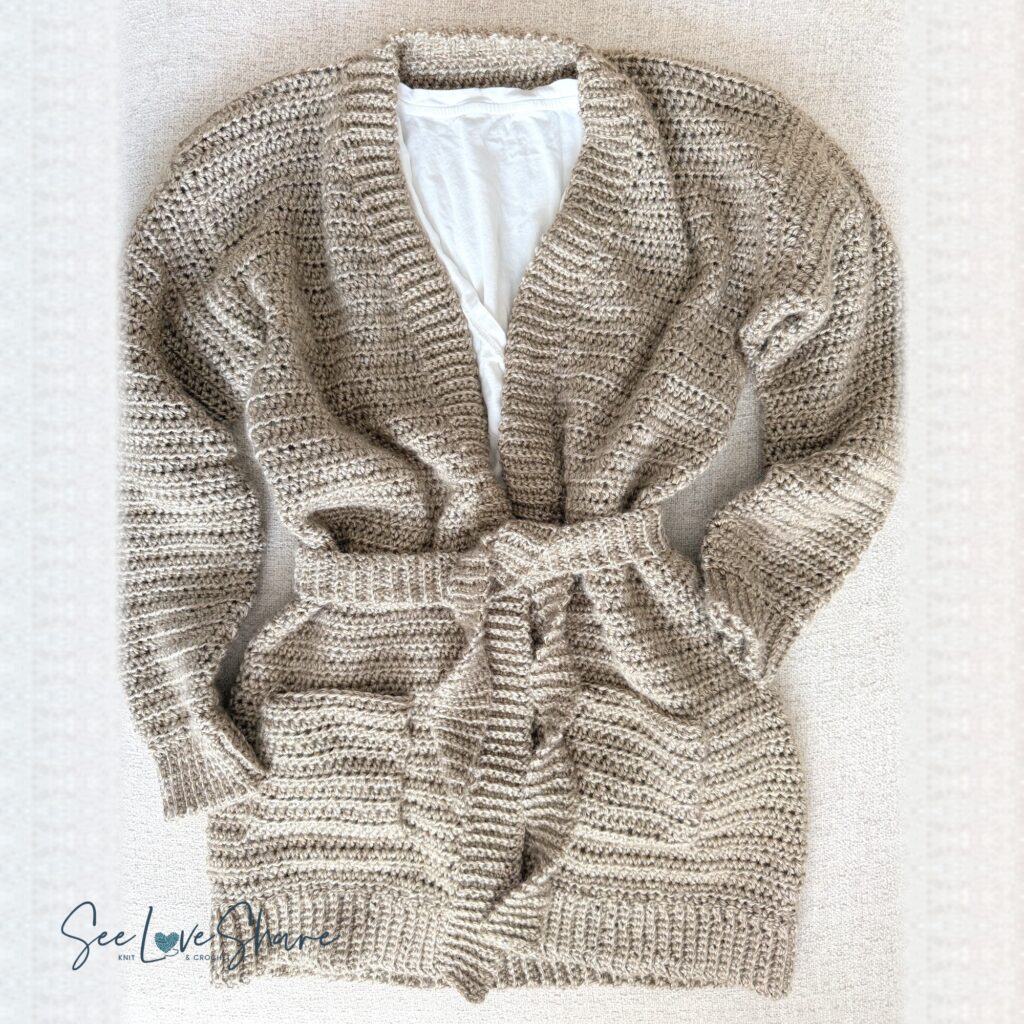
- Yarn: Lion Brand Heartland, #4 worsted, 100% acrylic, 5 oz / 142 g / 251 yds — 7 skeins for size S. Shown in Grand Canyon.
- That is about 1,486 yards, weighed off the finished cardigan.
- Buy seven, not six. Six skeins is 1,506 yards against 1,486 used — twenty yards of margin, and a tension a few percent looser runs out somewhere in the front band, in a dye lot you can no longer buy.
- Any worsted #4 that meets gauge will work. A smooth, solid or lightly heathered yarn shows the fabric best.
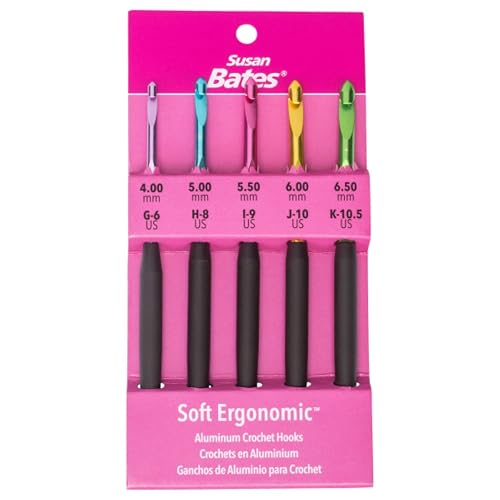
- Hooks: 5.50 mm (I-9) for the body, sleeves and pockets · 5.00 mm (H-8) for all the ribbing
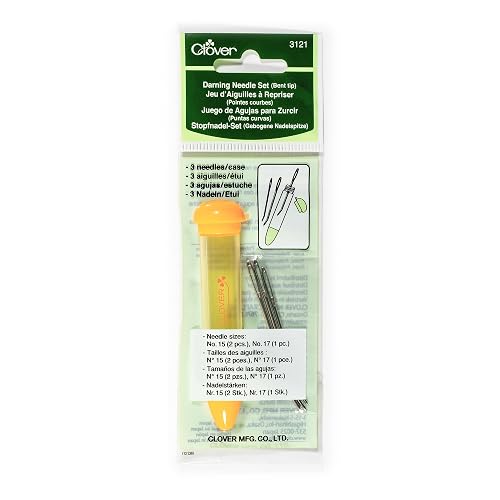
- Tapestry needle, bent tip for preference
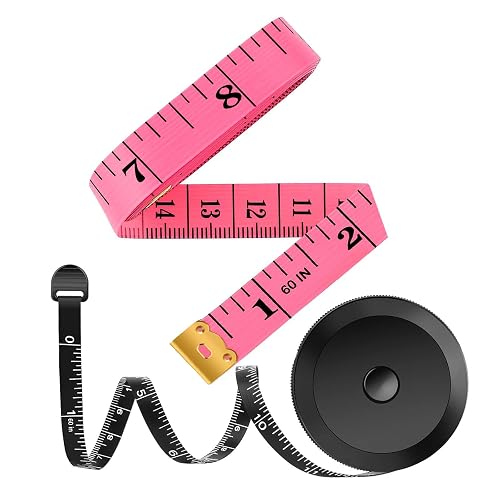
- Measuring tape
- Scrap yarn, for marking the pocket placement
No buttons and no belt in this version — it hangs open, which is how I wear it most days. The tie belt and the belt loops are in the printable.
Heartland is a soft, lightly heathered worsted acrylic named after the national parks — Lion Brand’s full colour range is here if Grand Canyon is not your shade.
Shop the materials
Pattern Details
Skill level: Advanced beginner. You need half double crochet, slip stitch, and single crochet, and that is the entire stitch list. If any of those are new, start with my beginner crochet stitch guide — it has all three with photos.
What makes it advanced beginner rather than beginner is the length of the thing, not the difficulty of any one row. It is a garment. You will be at it for a while.
Size: The free pattern is written for size S, which fits a 32–34″ bust. Every other size is in the printable PDF.
Finished measurements, size S:
| Finished bust | 38″ |
| Length, shoulder to hem | 29″ |
| Back / shoulder width | 17″ |
| Armhole depth | 7½” |
| Upper arm | 18″ |
| Sleeve, underarm to cuff edge | 19½” |
| Cuff, relaxed | 8″ |
Length includes the 2½” hem band. Ease at this size is +4″ — choose by the finished bust you want, not by the to-fit range.
Gauge:
- Body (hdc, 5.50 mm): 13.3 hdc and 9.8 rows = 4″, unblocked. Easier to count: 20 hdc = 6″ and 16 rows = 6½”.
- Ribbing (sc back loop only, 5.00 mm): 16 sc = 4″ and 16 rows = 3½”, unblocked.
Work a swatch of at least 20 hdc by 16 rows, fasten off, and let it sit for an hour before measuring. Measure across the middle, not at the edges. This pattern is written to fit straight off the hook — do not block your swatch and do not stretch it to measure. Too many stitches to 4″, go up a hook size. Too few, go down.
The ribbing gauge is not optional here. Every band is joined to the garment as you work it, and how many rows of ribbing it takes to travel an inch is what sets the join rhythm. Change yarn and that number changes with it. There is a rule below for re-deriving the rhythm from your own ribbing, and a checkpoint on every band.
Notes
How it’s built. One long chain at the shoulders. The back works down from the top of that chain; both fronts work down from the unworked loops on its underside, so the shoulders are made rather than sewn. All three pieces join onto one hook at the underarm and the body continues as one piece. Sleeves are picked up around each armhole and worked in joined, turned rounds. Hem, cuffs and front band are ribbing worked sideways and joined as you go. The pockets are built onto the fronts. Nothing is sewn together at any point.
No blocking. The sample was not blocked. If you want to know when blocking does earn its keep, I wrote about that in my guide to blocking — this cardigan is not one of those times.
Ch 1 and ch 2 at the beginning of rows and rounds are not counted as stitches, here and throughout.
Stitch counts appear at the end of each row after an em dash.
Adjusting the length — read this one. Give the body a measurement, not a row count. The row counts here are a guide. Acrylic relaxes under its own weight once there is length hanging below, and this cardigan proved it: at 70 rows the sample measured 28″ flat when the row gauge predicted 26¼”, and four rows came back off. Measure the body hanging, not laid out flat, and do it late rather than early. Adding length uses more yarn than the amount above.
Sleeve length follows your arm, not your bust. Try the first sleeve on before you make the second — it is the most personal measurement in the garment.
Begin every band with the right side facing you. A band joins on every other row, so every join lands on the same face of the work, and which face that is was decided on Row 1. Begin with the right side facing and the slip stitches tuck behind the seam and vanish. Begin with the wrong side facing and all of them sit on the right side as a chain line running the length of the band. Which end you start from does not matter. Which face does.
Check it after five rows. Look at the right side where the band meets the garment. Done correctly, the last body row reads as one unbroken line of stitch tops and the band tucks under it. Done inside out, a chain of slip stitches lies across it, chopping it into segments. Five rows is cheap to pull back. Fifty is not.
The cuffs are the exception and need no thought — they are worked in a round off the live loop, so their direction is already set.
Abbreviations
| BLO | back loop only |
| ch | chain |
| hdc | half double crochet |
| hdc2tog | half double crochet 2 together |
| J / J2 / J3 | join / double join / triple join |
| rep | repeat |
| rnd | round |
| RS / WS | right side / wrong side |
| sc | single crochet |
| sk | skip |
| sl st | slip stitch |
| st(s) | stitch(es) |
Special Stitches
hdc2tog — yarn over, insert hook in next st, yarn over and pull up a loop (3 loops on hook); yarn over, insert hook in next st, yarn over and pull up a loop (5 loops on hook); yarn over and pull through all 5 loops.
Join (J) — sl st into the next stitch or row-end of the garment edge. Double join (J2) — sl st into each of the next 2. Triple join (J3) — sl st into each of the next 3.
Setting the join rhythm
A join-as-you-go band adds two rows of ribbing for every join. The rhythm of J and J2 is what keeps the band the same length as the edge it is joined to:
joins = (edge length in inches × band rows per inch) ÷ 2
Do not treat the rhythms below as fixed. They are calculated from this yarn’s ribbing at 4.44 rows per inch — a figure taken off the finished garment, not off a swatch, because the swatch was out by three percent, and three percent across a 127-stitch hem is more than an inch of ruffle.
If you are using a different yarn, work ten joins, then lay the band against the edge underneath it. Band longer than the edge means more J2. Band shorter means more J. Every band below has a checkpoint. Use them — a drift you catch at the quarter mark costs four rows, and one you catch at the end costs the band.
One band on this cardigan gathers on purpose. The cuff. See the note there.
The Pattern
Written in US crochet terms, in size S.
The starting chain
With the 5.50 mm hook, ch 59, leaving a 6″ tail. Chain loosely — this edge becomes the shoulder line and it must not draw in.
Row 1 (RS): Hdc in 3rd ch from hook and in each ch across, turn — 57 hdc.
This row measures 17″ across. That is the shoulder line — check it before going further. Everything downstream scales off it.
The chain now has three sections along its unworked underside: 17 loops for the Right Front, 23 loops for the back neck, and 17 loops for the Left Front.
Upper Back
Row 2: Ch 2, hdc in each st across, turn — 57 hdc.
Rows 3 – 20: Rep Row 2.
Measurement check. The back should measure 17″ wide and 7½” deep. If it does not, stop and re-check your gauge.
Fasten off.
Right Front
Turn the piece so the underside of the starting chain is at the top and the beginning end — where you worked the first hdc of Row 1 — is on your right.
Row 2 (RS): Join yarn in the first unworked chain loop at the beginning end, ch 2, hdc in that same loop and in each of the next 16 loops, turn — 17 hdc. Leave the remaining loops unworked.
You have just finished at the neck edge. The armhole edge is the other one, and it stays straight the whole way down. Because you turn at the end of every row, the neck edge is now the start of the next row — which is why this front increases into its first stitch and the Left Front increases into its last.
Row 3 (inc): Ch 2, 2 hdc in first st, hdc in each st across, turn — 18 hdc.
Row 4: Ch 2, hdc in each st across, turn — 18 hdc.
Rows 5 – 20: Rep Rows 3 and 4, increasing 1 st at the neck edge on every alternate row. The last increase falls on Row 20.
You now have 27 hdc, having made 10 increases. Fasten off.
Sanity check. The increases must land on the neck edge — the centre-front edge the band goes on. If your stair-step is forming on the armhole edge, you have them on the wrong side; pull back and swap which end you increase into. The edge with the stair-step is your neck.
Left Front
Return to the unworked chain loops. Count along from the Right Front’s last loop, skip the 23 back-neck loops, then join in the next loop.
Row 2 (RS): Ch 2, hdc in that same loop and in each remaining loop across, turn — 17 hdc.
Here you began at the neck edge and finished at the armhole, the mirror of the Right Front — so the increases fall at the end of the row.
Row 3 (inc): Ch 2, hdc in each st across to the last st, 2 hdc in last st, turn — 18 hdc.
Row 4: Ch 2, hdc in each st across, turn — 18 hdc.
Continue as for the Right Front, mirrored, to the end of Row 20 — 27 hdc, 10 increases.
The Joining Row
This row brings all three pieces onto one hook.
Row 21: With the Right Front facing and working from its neck edge towards its armhole edge, ch 2, hdc in each of the 27 sts of the Right Front; ch 8 for the underarm; hdc in each of the 57 sts of the back; ch 8 for the second underarm; hdc in each of the 27 sts of the Left Front, turn — 127 sts.
The underarm chain is where the ease lives. Chain loosely — these stitches get picked up again for the sleeve.
Measurement check. 127 sts should measure 38″. Try it on: the armhole should sit about 2″ below your underarm.
Lower Body
Row 22: Ch 2, hdc in each st and in each underarm ch across, turn — 127 sts.
Rows 23 – 66: Rep the last row.
Work to the measurement, not the row count. The body should hang 26½” from the shoulder before the hem band. Hold the cardigan up by the shoulders to measure it; laid flat it reads short, and this fabric gains close to two inches once there is weight below it. The sample took 66 rows. Yours may not.
Do not fasten off. That loop starts the hem band.
Hem Band
Worked sideways in sc BLO, joined to the body as you go. Hold the work with the right side facing you and the hem toward you, and start at either bottom front corner.
This band does not gather. It matches the edge one to one.
Before you begin: measure the bottom edge — it should be 38″ — and quarter it with stitch markers. Over this many stitches a three-percent drift is more than an inch of ruffle, and there is nowhere to hide it at the end.
Switch to the 5.00 mm hook.
Row 1: Ch 11 straight from the loop on your hook. Sc in 2nd ch from hook and in each ch across, then J into the first st of the last body row, turn — 10 sc.
Row 2: Sk the sl st of the join, sc BLO in each st across, turn — 10 sc.
Row 3: Ch 1, sc BLO in each st across, join, turn — 10 sc.
Rep Rows 2 and 3 across the whole bottom edge, joining in the order:
J, J2 — repeated 42 times. Then finish with J.
85 joins, 170 rows. Fasten off after the last join.
Checkpoint at every quarter marker: measure the band against the edge it has covered. Running long, make the next join a J2. Running short, make it a J. Correct it at the marker you find it.
The band is 2½” deep. Do not join the two ends to each other — it is an open band, front edge to front edge.
Sleeves
Both sleeves are worked the same way. Do not work the second until you have tried the first one on.
The armhole is the open edge from the underarm up over the shoulder and back down: the back’s 20 row-ends plus the front’s 19 row-ends, plus the underarm chain. The back has one row-end more than the front because the fronts start at Row 2. That is 39 row-ends in all.
Rnd 1: With the 5.50 mm hook, join with a sl st at the underarm, ch 2, and pick up 60 hdc evenly around: 4 sts for every 3 row-ends — *hdc in each of next 2 row-ends, 2 hdc in next row-end, rep from * — for 52 sts, plus 1 hdc in each of the 8 underarm chain stitches. Sl st to the first hdc to join, turn.
The 4-to-3 ratio is what lies flat, because hdc rows are taller than the stitches are wide. And the underarm count is this armhole’s chains only — not both. Doubling it makes a sleeve three inches too big that reads baggy at the upper arm.
The pick-up measures 18″, which is just over the armhole. That is correct — a sleeve sits just over its armhole.
Rnd 2: Ch 2, hdc in each st around, sl st to first hdc to join, turn — 60 hdc.
Decrease round: Ch 2, hdc2tog, hdc in each st around to the last 2 sts, hdc2tog, sl st to join, turn — 2 sts fewer. Both decreases stack at the underarm, where the seam would have been if there were one.
Work a decrease round every 3rd round, 14 times in all, then work even in hdc until the sleeve measures 17″ from the pick-up — 32 sts.
Try it on now, before the cuff and before the second sleeve. Lay the sleeve down your arm from the garment’s underarm and pinch where you want the cuff to end. With the 2½” cuff this finishes around 19½”. If that is not your arm, add or remove rounds — each one is about ⅖”. Any round you add is a plain round; the taper is finished.
Do not calculate this from an underarm-to-wrist measurement. This is a drop shoulder with a deep armhole, and the excess at the top drapes and bunches, so a 14½” tube does not deliver 14½” of reach down your arm. The construction swallows an inch and a half of it. Measure the gap on the arm.
Do not fasten off. That loop starts the cuff.
Cuffs
Switch to the 5.00 mm hook.
This is the one band that gathers, and it does it on purpose. A band can never finish smaller than the edge it is joined to, so a one-to-one band here would give you a cuff as wide as the sleeve — a tube, not a cuff. This band is deliberately worked shorter than the edge, about an eighteen percent gather.
Expect it to look short while you work it. That is the gather doing its job.
Row 1: Ch 11 straight from the loop on your hook. Sc in 2nd ch from hook and in each ch across, then join, turn — 10 sc.
Row 2: Sk the sl sts of the join, sc BLO in each st across, turn — 10 sc.
Row 3: Ch 1, sc BLO in each st across, join, turn — 10 sc.
Rep Rows 2 and 3 around the sleeve, joining in the order:
J2, J2, J2, J — repeated 4 times. Then 2 more J2.
18 joins, 36 rows, 32 sleeve stitches.
Checkpoint at the halfway join: the band should measure about 82% of the sleeve edge it has covered. It is supposed to be short. If it is keeping pace with the edge you have lost the gather; swap a J for a J2 in what remains.
Close the ring: sl st the final row to the foundation edge through the back loops, so it reads as one more ridge. Fasten off.
Cuff is 2½” deep and 8″ around, relaxed.
Pockets
Two. Built onto the fronts on three sides as you go — bottom first, then both sides climb with it. Only the top stays open. Nothing is sewn.
Placement. Put the cardigan on in front of a mirror with the bands finished. Let your hands hang and see where your fingers land. Mark the top edge of each pocket there. On the sample the top sits about 10″ above the bottom edge. Take it off and check the two marks are level, left to right.
Working a pocket. With the 5.50 mm hook. Each pocket is 16 sts wide and 13 rows tall.
From your mark, count down 13 rows. That row is the pocket’s bottom. Mark 16 stitches along it, starting 6 stitches in from the front band.
Foundation: Join yarn at the right-hand end of those marked stitches. Hdc across them, working into the front loops of the body stitches — this anchors the bottom. Sl st into the body at the end of the row.
Every row: Ch 2, turn. Hdc in each st across. Sl st into the body at the end of the row, working one body row higher than the last join.
One pocket row per body row-end, always one to one — same yarn, same hook, same stitch. There is nothing to count.
On the last row: do not join the end down. Sc evenly across the top edge of the pocket and fasten off. That firms the opening so it does not stretch out.
Make one, put your hand in it, then make the second.
Front and Neck Band
One continuous piece: up the Right Front, across the back neck, down the Left Front, capping the hem band’s ends at both bottom corners so the front edge finishes as one clean vertical line. Begin at a bottom front corner with the right side facing you.
There are no buttonholes on this cardigan, so the band is symmetrical and it does not matter which front you start from.
8 sc deep — narrower than the hem and cuffs, on purpose. A front band hangs on an unsupported edge for the whole length of the cardigan; 2½” of ribbing there rolls and flops, and 2″ lies flat. The hem and cuffs also only read as a deliberate frame because this band is narrower.
Switch to the 5.00 mm hook.
Row 1: Ch 9. Sc in 2nd ch from hook and in each ch across, then join into the end of the hem band, turn — 8 sc.
Row 2: Sk the sl sts of the join, sc BLO in each st across, turn — 8 sc.
Row 3: Ch 1, sc BLO in each st across, join, turn — 8 sc.
Rep Rows 2 and 3 the whole way round, changing the rhythm with the edge underneath you. You only have to remember three things:
| Where | Repeat | Say it as |
|---|---|---|
| Across each hem band end | J2 × 5 | “five doubles” |
| Up and down each front edge | J · J · J · J · J · J2 | “five and a two” |
| Across the back neck | J2 · J | “double, single” |
In order, bottom to bottom:
- Five doubles up the hem band end — 5 joins
- Five and a two up the first front edge, 9 times, then J · J · J — 57 joins
- Double, single across the back neck, 7 times, then J2 — 15 joins
- Five and a two down the second front edge, mirrored — 57 joins
- Five doubles down the second hem band end — 5 joins
139 joins, 278 rows. Fasten off.
You cannot really lose your place. On the fronts, every sixth join eats two row-ends. On the neck, every other join does. Put it down, pick it up, and read the fabric.
Checkpoint at the top of the first front edge and again at the end of the back neck — measure the band against the edge it has covered.
The two back-neck corners. The band turns there and its outer edge has further to travel than its inner edge. If a corner cups or pulls, work one extra join into that same corner stitch — two more rows, no stitches advanced. If it flares instead, you have one too many.
Finishing
- Weave in the ends. They all sit at the armhole edges, the centre fronts or the sleeve underarms, where the sleeves and bands hide them.
- Optional: a light steam on the bands helps them settle. It is not needed for fit.
There is nothing to seam and nothing to block. You are done.
Get the printable beginner crochet cardigan pattern
Reading a garment pattern on a phone while your hands are full of yarn is nobody’s idea of a good time. Two ways to get it on paper:
Free download
The ad-free printable, size S
Everything you just read, laid out to print and keep beside you — no ads, no scrolling, plus the stitch-count card. Pop your email in and it comes straight to your inbox.
[ KIT FORM — My First Cardi printable ]Want your size, or the belt?
My First Cardi — the full printable PDF
All nine sizes XS to 5X, the schematic, thirteen finished measurements, yarn amounts for every size, and the tie belt with its belt loops. Instant download, no signup.
Get it on Etsy → Or on Ravelry →Tips
- Measure hanging, not flat. This is the single thing most likely to give you a cardigan that is the wrong length. Hold it up by the shoulders.
- Try it on at the joining row. That is the moment the garment first exists. The armhole should sit about 2″ below your underarm.
- Check your band after five rows, not fifty. See the note in Notes about which face you start on.
- Chain the shoulder line loosely. Everything downstream is measured from it, and a tight foundation chain will not let the shoulders sit.
- Make one pocket, use it, then make the other. Hand placement is personal and you only find out by putting your hand in.
- Running out of yarn? Finish the body a row or two short rather than skimping on a band. The bands are what make it look finished.
More Patterns You’ll Love
 Striped Crochet Cardigan — the same seamless top-down construction, cropped, in stripes
 Granny Square Cardigan — a free crochet cardigan with a completely different look
- Diamond Stitch Crochet Top — a short-sleeve raglan, free plus PDF
- Free Crochet Cable Beanie — braided cables and a fold-up cuff, to go with it
- Crochet Tricks Crocheters Wish They’d Known Sooner
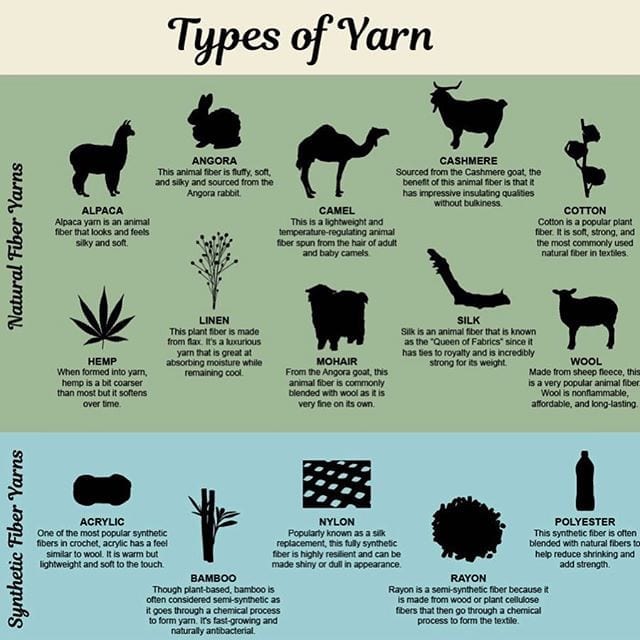
- Types of Yarn — Complete Yarn Weights Guide — if you are substituting the yarn
Beginner crochet cardigan pattern FAQ
Is this really a beginner crochet cardigan pattern?
It is written for an advanced beginner, which here means you need exactly three stitches — half double crochet, single crochet and slip stitch — and the patience for a full garment. There is no shaping you have to think about, no seaming, no blocking, and a stitch count on every row. What it asks of you is time, not technique.
How much yarn do I need?
About 1,486 yards for size S, which is 7 skeins of Lion Brand Heartland. Buy seven rather than six — six is only twenty yards more than the sample used, and that is not enough margin.
Can I use a different yarn?
Yes, any worsted weight #4 that meets both gauges. Check the ribbing gauge as well as the body gauge, because the band join rhythms are calculated from it — there is a formula in Special Stitches for re-deriving them from your own ribbing.
Do I need to block it?
No. The sample was never blocked and the pattern is written to fit straight off the hook. That is also why you should not block your swatch.
How do I make it longer or shorter?
Work the body to the measurement rather than the row count, and measure it hanging. Each extra row is about ⅖” and uses more yarn than the amount listed.
My sleeves are coming out too long — what do I do?
Try the first sleeve on before you start the second, and add or remove plain rounds after the taper is finished. Do not work it out from an underarm-to-wrist measurement; a drop shoulder swallows about an inch and a half of reach.
How long does this cardigan take to make?
Two to three weeks of evenings for most people. It is a long pattern rather than a hard one — roughly 70 body rows, two sleeves, three bands and two pockets, all in the same stitch.
Can I add the belt?
The tie belt and the belt loops are in the printable PDF, along with all nine sizes and the schematic.
Is there a bigger size?
The pattern is graded XS through 5X — finished bust 34″ to 68″ — in the printable PDF. Only size S is free here.
Can I sell what I make from this pattern?
Yes. Sell the finished cardigans you make, as many as you like. Please do not copy, share or resell the pattern text itself, and a link back to this page is always appreciated.