
Free Crochet Free Patterns Crochet
October 4th, 2025
Folded Crochet Christmas Tree — Free Pattern + Video Tutorial
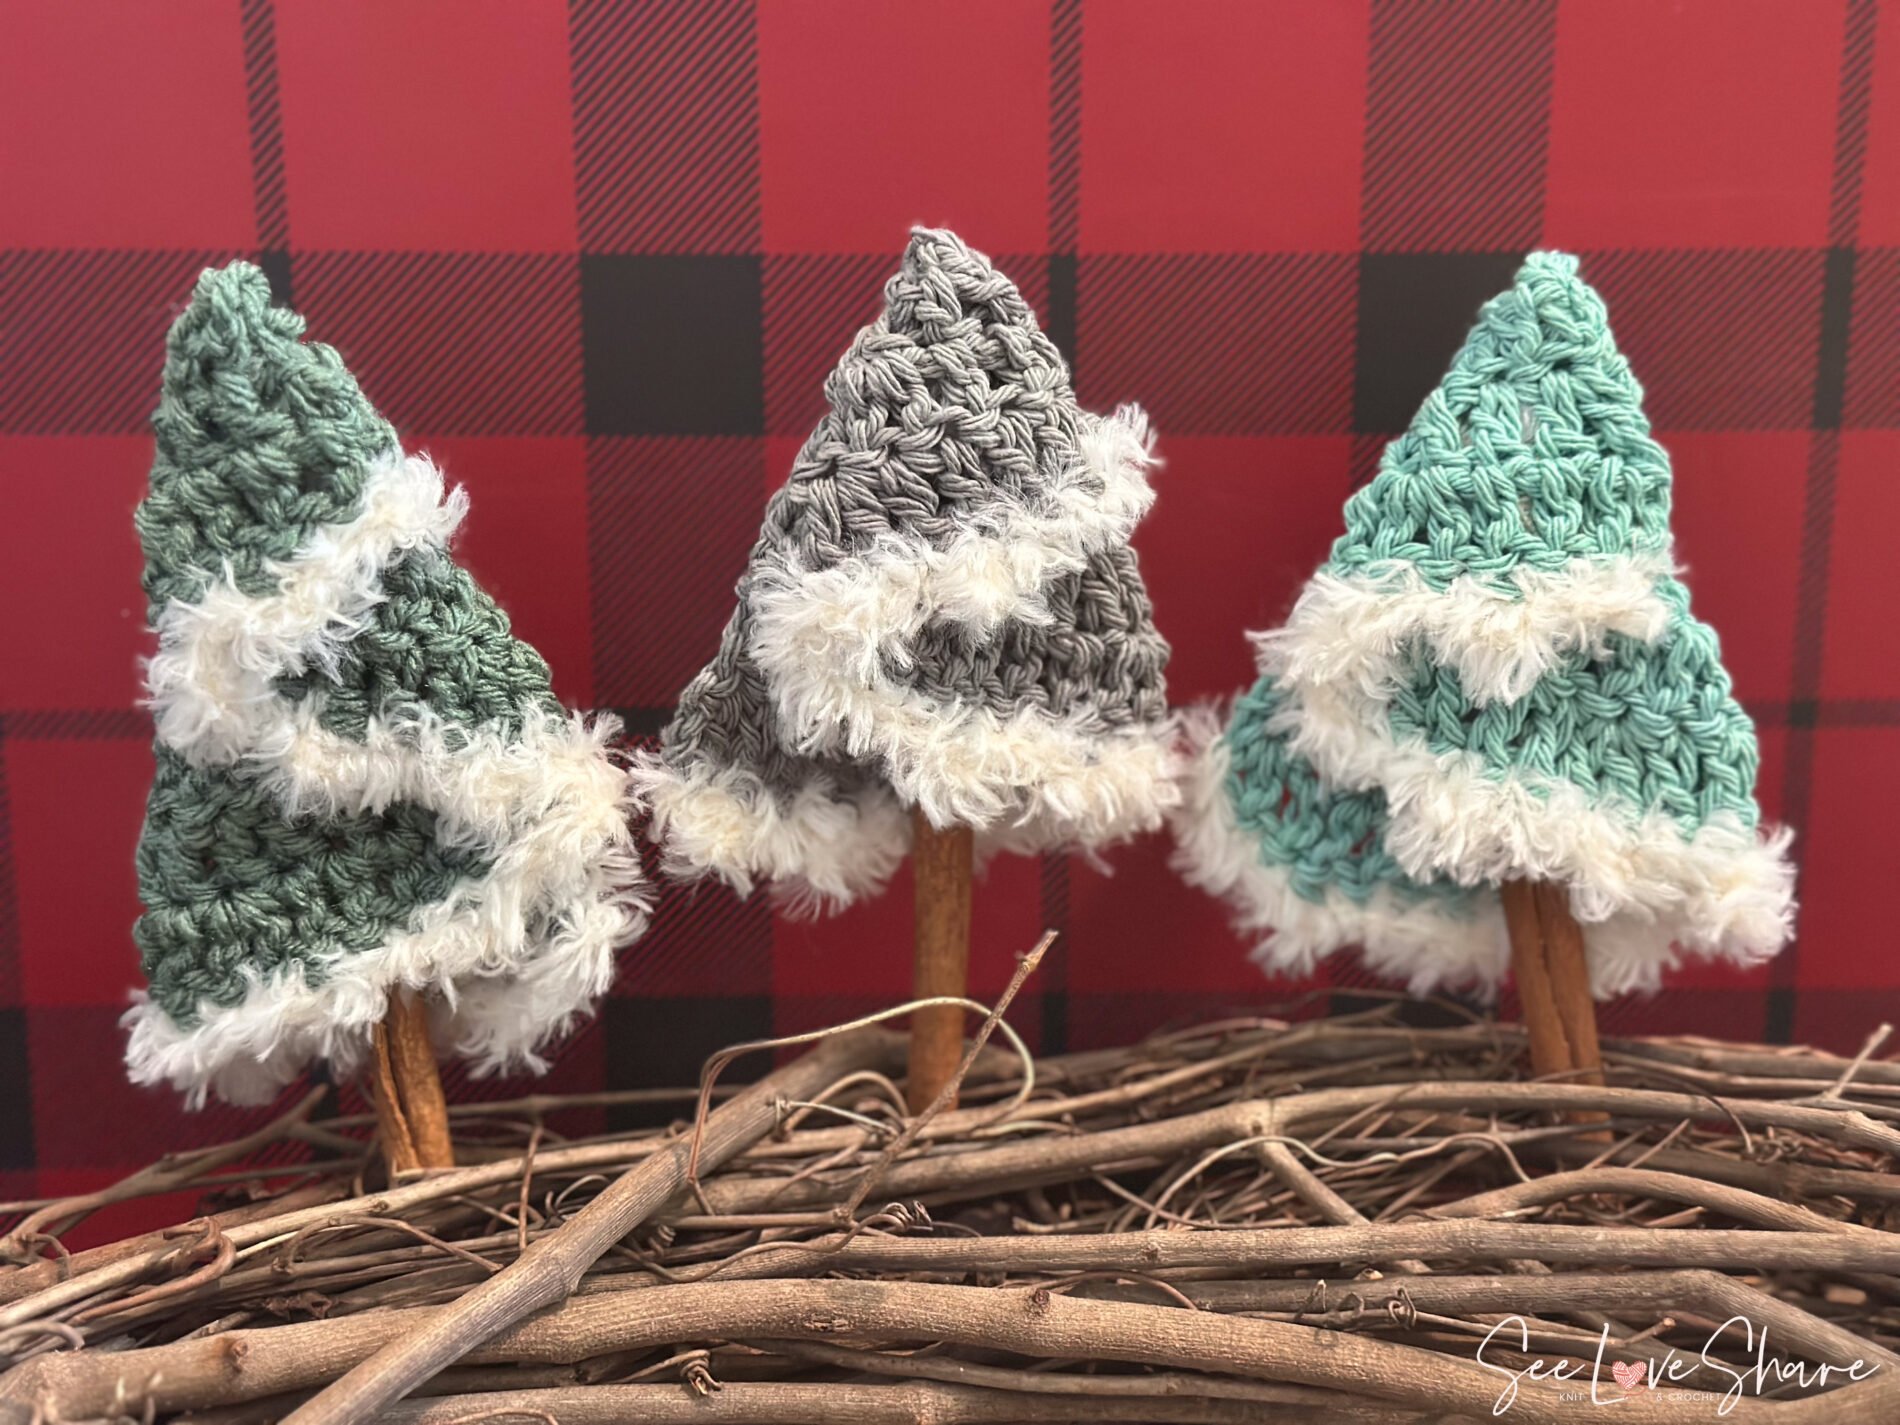
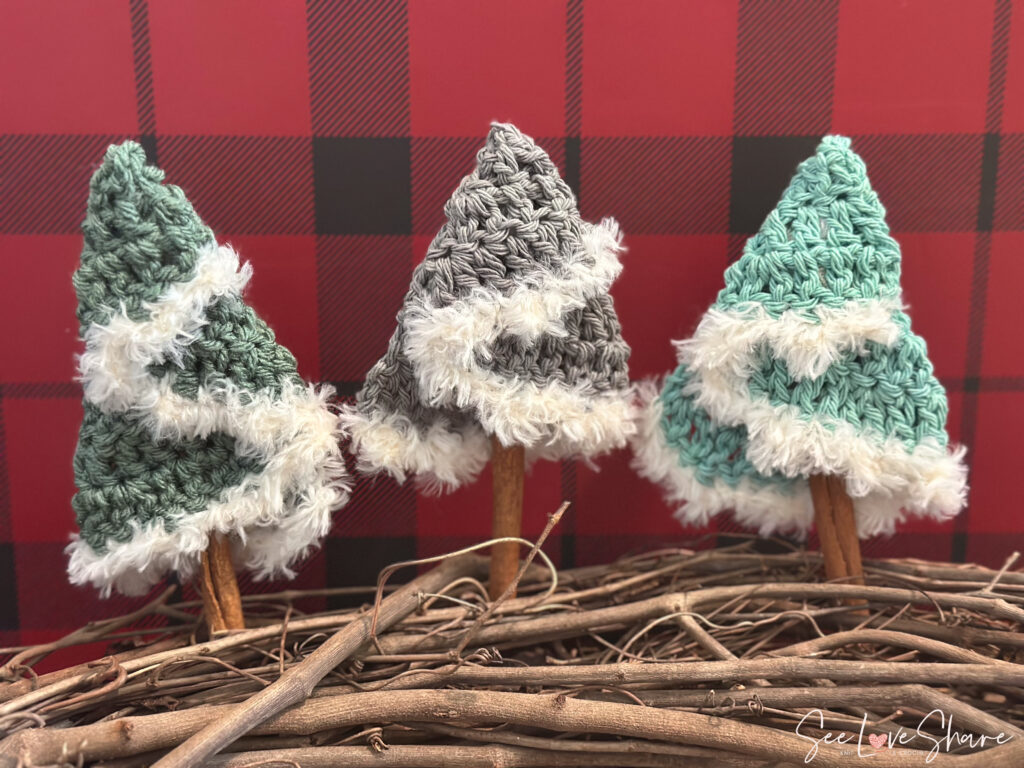
Looking for a quick, festive, and beginner-friendly project? This folded crochet Christmas tree is just the thing! 🎄 Made from a simple half-circle and transformed into a charming 3D tree with a few folds, this pattern is fun, fast, and totally customizable. Whether you’re decorating your home, preparing for a craft fair, or adding a handmade touch to your holiday gifts, the folded crochet Christmas tree is a must-make this season.
This is a hybrid pattern — the full step-by-step video tutorial is free right here on the blog (and on YouTube), and the printable PDF written pattern is available on Etsy for makers who prefer working from a written guide.
🎄 Part of the Crochet Christmas Patterns collection
This folded crochet Christmas tree is one of many designs in our master Crochet Christmas Patterns hub — see all 40+ Christmas patterns including trees, stockings, ornaments, pillows, and more.
🧶 The full written pattern is free, right here on this page.
Row-by-row instructions, stitch counts, folding steps and finishing tips — no email required, nothing to buy. Keep scrolling — it is just below the materials list.
Why you’ll love this folded crochet Christmas tree
- Works up in under an hour — perfect afternoon make
- Beginner-friendly and relaxing — simple stitches throughout
- Great stash-buster — uses small amounts of medium-weight yarn
- Perfect for gifts or holiday markets — quick to batch-make
- Free video tutorial — three-part series walks you through every step
- Optional printable PDF — written pattern available on Etsy for visual learners who also want a written reference
- Endlessly customizable — try different yarns, colors, and embellishments
Step-by-step video tutorial
Follow along with the full three-part video series — completely free on TikTok and YouTube. Each step walks you through exactly how to crochet and assemble your folded crochet Christmas tree.
🧶 Step 1 — Building the body
Start your folded crochet Christmas tree by creating the half-circle base. Beginner-friendly throughout — no complicated stitches.
❄️ Step 2 — Frosting the tree with snow
Add the snowy details that make your folded crochet Christmas tree look wintery and magical.
🌲 Step 3 — Folding & sewing the tree together
The final step — see your folded crochet Christmas tree come together! You’ll fold and sew the half-circle into shape for that cozy, sculpted finish.
Or watch the full series on YouTube @SeeLoveShare — and don’t forget to subscribe for more free tutorials!
Prefer it ad-free?
Get the printable pattern PDF
The full written pattern, photos and notes — clean, ad-free, and yours to keep and print. Use code SEELOVE15 for 15% off.
Get the printable PDF on Etsy → Get it on Ravelry →Materials you’ll need
- Yarn: Medium-weight yarn (#4 worsted) — I used Bernat Maker Yarn in Cream
- Hook: 5.5mm crochet hook — find here
- Tapestry needle for sewing the folds
- Scissors
- Optional: Wooden star topper, glitter thread, or mini ornaments for decoration
Shop the materials


Free written pattern: folded crochet Christmas tree
Here it is — the complete pattern, free, nothing held back. If you learn better by watching, the three video tutorials further up this page walk through exactly the same steps. Work whichever way suits you, or keep both open side by side.
At a glance
Skill level: Beginner — basic stitches with simple increases
Finished size: About 5 inches tall, excluding the trunk
Hook: 5.5 mm (US I/9)
Yarn: #4 medium weight for the tree, sparkle or fur yarn for the snow
Gauge: 12 sc and 15 rows = 4″ x 4″ (10 cm x 10 cm)
Terms: US crochet terms
Before you start: pattern notes
- This pattern uses US crochet terms.
- The ch 2 at the beginning of each row does not count as a stitch — don’t work into it when you come back across.
- Every row increases evenly, and that’s what turns a flat piece into a half-circle. Keep the increases spread out and the piece will lie flat.
- The snow edging is optional — but it’s what gives the folded tree its tiered, frosted look, so I’d try it at least once.
Abbreviations
| Abbreviation | Meaning |
|---|---|
| ch | chain |
| dc | double crochet |
| sc | single crochet |
| slst | slip stitch |
| st(s) | stitch(es) |
| * * | repeat the instructions between the asterisks |
Step 1: Crochet the tree body (green yarn)
You are making a half-circle. Each row adds six stitches, spaced a little further apart than the row before, so the piece fans out as you go.
Tree body
Foundation: Ch 3. Place 6 dc in the 2nd chain from hook, ch 2, turn. (6 sts)
Row 2: 2 dc in each st across, ch 2, turn. (12 sts)
Row 3: *1 dc in next st, 2 dc in next st; repeat from * to end, ch 2, turn. (18 sts)
Row 4: *1 dc in each of next 2 sts, 2 dc in next st; repeat from * to end, ch 2, turn. (24 sts)
Row 5: *1 dc in each of next 3 sts, 2 dc in next st; repeat from * to end. Fasten off. (30 sts)
Lay the piece flat before you move on. It should sit like a neat half-circle, with a straight edge along the bottom and a curved edge along the top. If it is cupping or ruffling, have a look at the troubleshooting section below before you carry on.
Step 2: Add the snow edging (white yarn)
The snow is worked along the curved edge only — the long, fanned-out side, not the straight bottom. Sparkle or fur yarn gives the best frosted effect, but any white yarn will do the job.
Snow edging
Join the white yarn at either end of the curved edge.
Edging row: Sc in first 3 sts, *picot (ch 3, slst in 2nd ch from hook), sc in next 3 sts; repeat from * to the end of the curved edge. Fasten off and weave in your ends.
Step 3: Fold the half-circle into a tree
This is the part that feels like magic. No shaping, no sewing a cone — just three folds.
- Lay the half-circle flat, with the straight edge at the bottom.
- Fold the right third of the curved edge inward, toward the center.
- Fold the left third over the top of the right fold, forming a triangle.
- Adjust the folds until you have three tiered layers, with the snow edging showing at each tier.
- Secure the folds with sewing thread, matching yarn, or a dab of hot glue.
Spend a minute on step 4 before you secure anything. Nudging the folds a few millimeters either way changes how much snow shows on each tier, and that is the whole character of the tree.
Step 4: Trunk and finishing touches (optional)
- Push a cinnamon stick, twig, or wooden dowel into the back or the bottom of the tree for a trunk. A cinnamon stick makes the whole room smell like Christmas.
- Mount the tree on a wood slice, cork, or wreath base so it stands on its own.
- Add a star, button, or tiny pom-pom at the very top.
A single folded tree is sweet; three in graduated sizes on a mantel is a display. If you are building a coordinated handmade Christmas this year, these pair beautifully with the Bobble Stitch Christmas Tree Trio for texture contrast, the toilet paper roll crochet Christmas trees for height, and a cable-braid knit tree skirt under the real thing. There is a vintage-style crochet angel ornament too, if you still need something for the top.
Customization ideas
- Classic cream — Bernat Maker in Cream (as photographed) for a snowy, neutral look
- Forest green — traditional Christmas tree color for a more classic vibe
- Sage or eucalyptus — modern muted greens for a Scandinavian feel
- Sparkle yarn — work with a metallic thread held alongside the main yarn for shimmer
- Mini forest — make 5–7 trees in different colors and sizes for a coordinated mantel display
- Tiny ornaments — add seed beads or mini pom-poms as decorative touches
🎄 Prefer an ad-free printable?
The complete written pattern is free on this page — every row, every stitch count, nothing held back. If you’d rather not work from a screen, the printable PDF on Etsy puts the whole thing on a few tidy, ad-free pages you can take to your chair, your craft group, or your craft fair table. Same pattern, just easier to hold.
Get the PDF Pattern on Etsy → Get it on RavelryUse code SEELOVE15 for 15% off your order
Want a taller tree? Just keep increasing
The pattern above stops at Row 5 for a 5-inch tree, but the rule never changes: each row adds 6 stitches, and each row spaces its increases one stitch further apart than the row before. Carry that on for as many rows as you like and you can make a whole forest in graduated sizes — which is exactly what looks so good grouped in threes on a mantel.
| Row | Work this repeat to the end | Stitch count |
|---|---|---|
| Row 5 (as written) | 1 dc in each of next 3 sts, 2 dc in next st | 30 sts |
| Row 6 | 1 dc in each of next 4 sts, 2 dc in next st | 36 sts |
| Row 7 | 1 dc in each of next 5 sts, 2 dc in next st | 42 sts |
| Row 8 | 1 dc in each of next 6 sts, 2 dc in next st | 48 sts |
Work the snow edging along the curved edge exactly as written, however many rows you have done, and fold the same way. It works in the other direction too — stop at Row 4 for a mini tree that is perfect as an ornament.
Troubleshooting: 5 things that go wrong, and the fix
My half-circle is cupping up like a bowl
There is not enough room in the increases. Either a stitch got missed somewhere, or your tension is tight. Recount at the end of each row against the numbers in brackets — 6, 12, 18, 24, 30. If a count comes up short, the cause is almost always a missed 2-dc increase in the row below.
The curved edge is ruffling and will not lie flat
The opposite problem — too many stitches. Usually an extra increase has crept in, or the ch 2 at the start of a row has been worked into as though it were a stitch. It should not be. A little wave is fine, though: once the piece is folded into a tree, mild ruffling actually reads as branches.
I am not sure whether to work into the ch 2
You do not. The ch 2 at the start of each row is only there to bring your yarn up to double-crochet height — it never counts as a stitch. Your first dc goes into the first real stitch of the row.
The picots are pulling the curved edge tight
Work the ch 3 of each picot a little loosely, and do not pull the slip stitch down hard when you close it. The snow edging should sit along the curve, not gather it in. Fur yarn is more forgiving here than sparkle yarn if you are finding it fiddly.
My tree will not hold its folds
Secure it in more than one place. A single stitch at the center lets the tiers drift; a few small stitches down the back, plus one near the base of each fold, locks the shape properly. If you are using hot glue, a thin line beats a blob — and any stitches you can see will disappear behind the fur yarn anyway.
Folded crochet Christmas tree FAQs
How much yarn does one tree use?
Very little. The whole tree is five rows of double crochet, so one tree is genuinely a scrap-buster — this is a lovely pattern for using up the ends of skeins left over from bigger winter projects.
Can I use a different yarn or hook size?
Absolutely, and it is the easiest way to change the look. A #4 medium yarn with a 5.5 mm hook gives the 5-inch tree in the photos. Go heavier for a chunky mantel tree, or lighter with a smaller hook for delicate ornament-sized ones. The pattern itself does not change — only the finished size does. Cotton like Sugar’n Cream gives crisper, more defined stitches; acrylic gives a softer, fuller tree.
Do I have to add the snow edging?
No — the tree folds and stands perfectly well without it. But the picot edging is what catches the light at each tier and makes the folds read as branches, so a plain tree looks noticeably flatter. If you do skip it, consider working the curve in a contrasting color instead.
How do I turn it into an ornament?
Skip the trunk, and stitch a small loop of yarn or ribbon through the very top point before you secure the folds. Stopping at Row 4 instead of Row 5 gives a smaller, lighter tree that hangs better on a branch.
Can I sell what I make from this pattern?
Yes — finished trees are yours to sell, at craft fairs, in your shop, or anywhere else. What you cannot do is copy, share, or redistribute the pattern itself, in whole or in part. A link back to this page is always welcome if you would like to point people to it.
Is this really beginner friendly?
It is. If you can chain, double crochet, single crochet and slip stitch, you have everything you need. There is no shaping, no seaming and no counting rounds — and because it is only five rows, an early mistake costs you about ten minutes to redo rather than a whole evening.
Tips for a beautifully finished tree
- Keep your tension consistent — even tension throughout the half-circle gives you a clean, even fold
- Block the half-circle first — light blocking before folding helps the tree hold its shape better
- Use a yarn needle for the folds — sharp needles can split your stitches; a blunt tapestry needle keeps everything smooth
- Stuff lightly if needed — a small amount of polyfil at the base helps your tree stand firmly
- Add a topper last — wait until the tree is fully assembled to attach decorations or a star
 Another folded tree · free patternI-Cord Christmas Tree OrnamentOne cord, folded and threaded with wooden beads — machine, hand-knit or crochet
More free Christmas crochet patterns
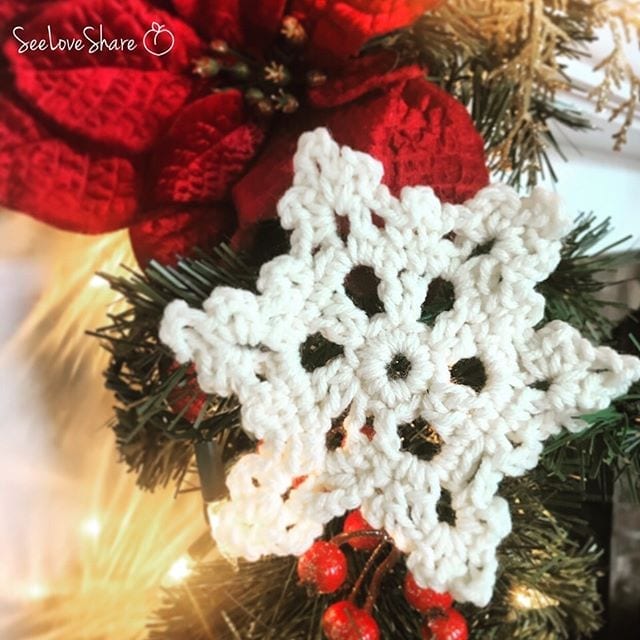
 The Easiest Crochet Snowflake — quick beginner snowflake to scatter under your tree
- Winter Snowflake Sugar Cookie Ornament — sugar-cookie-style snowflake for the tree
- Christmas Tree Sugar Cookie Ornament — companion mini tree ornament
 Set of 3 Crochet Snowflake Patterns — three free snowflake designs
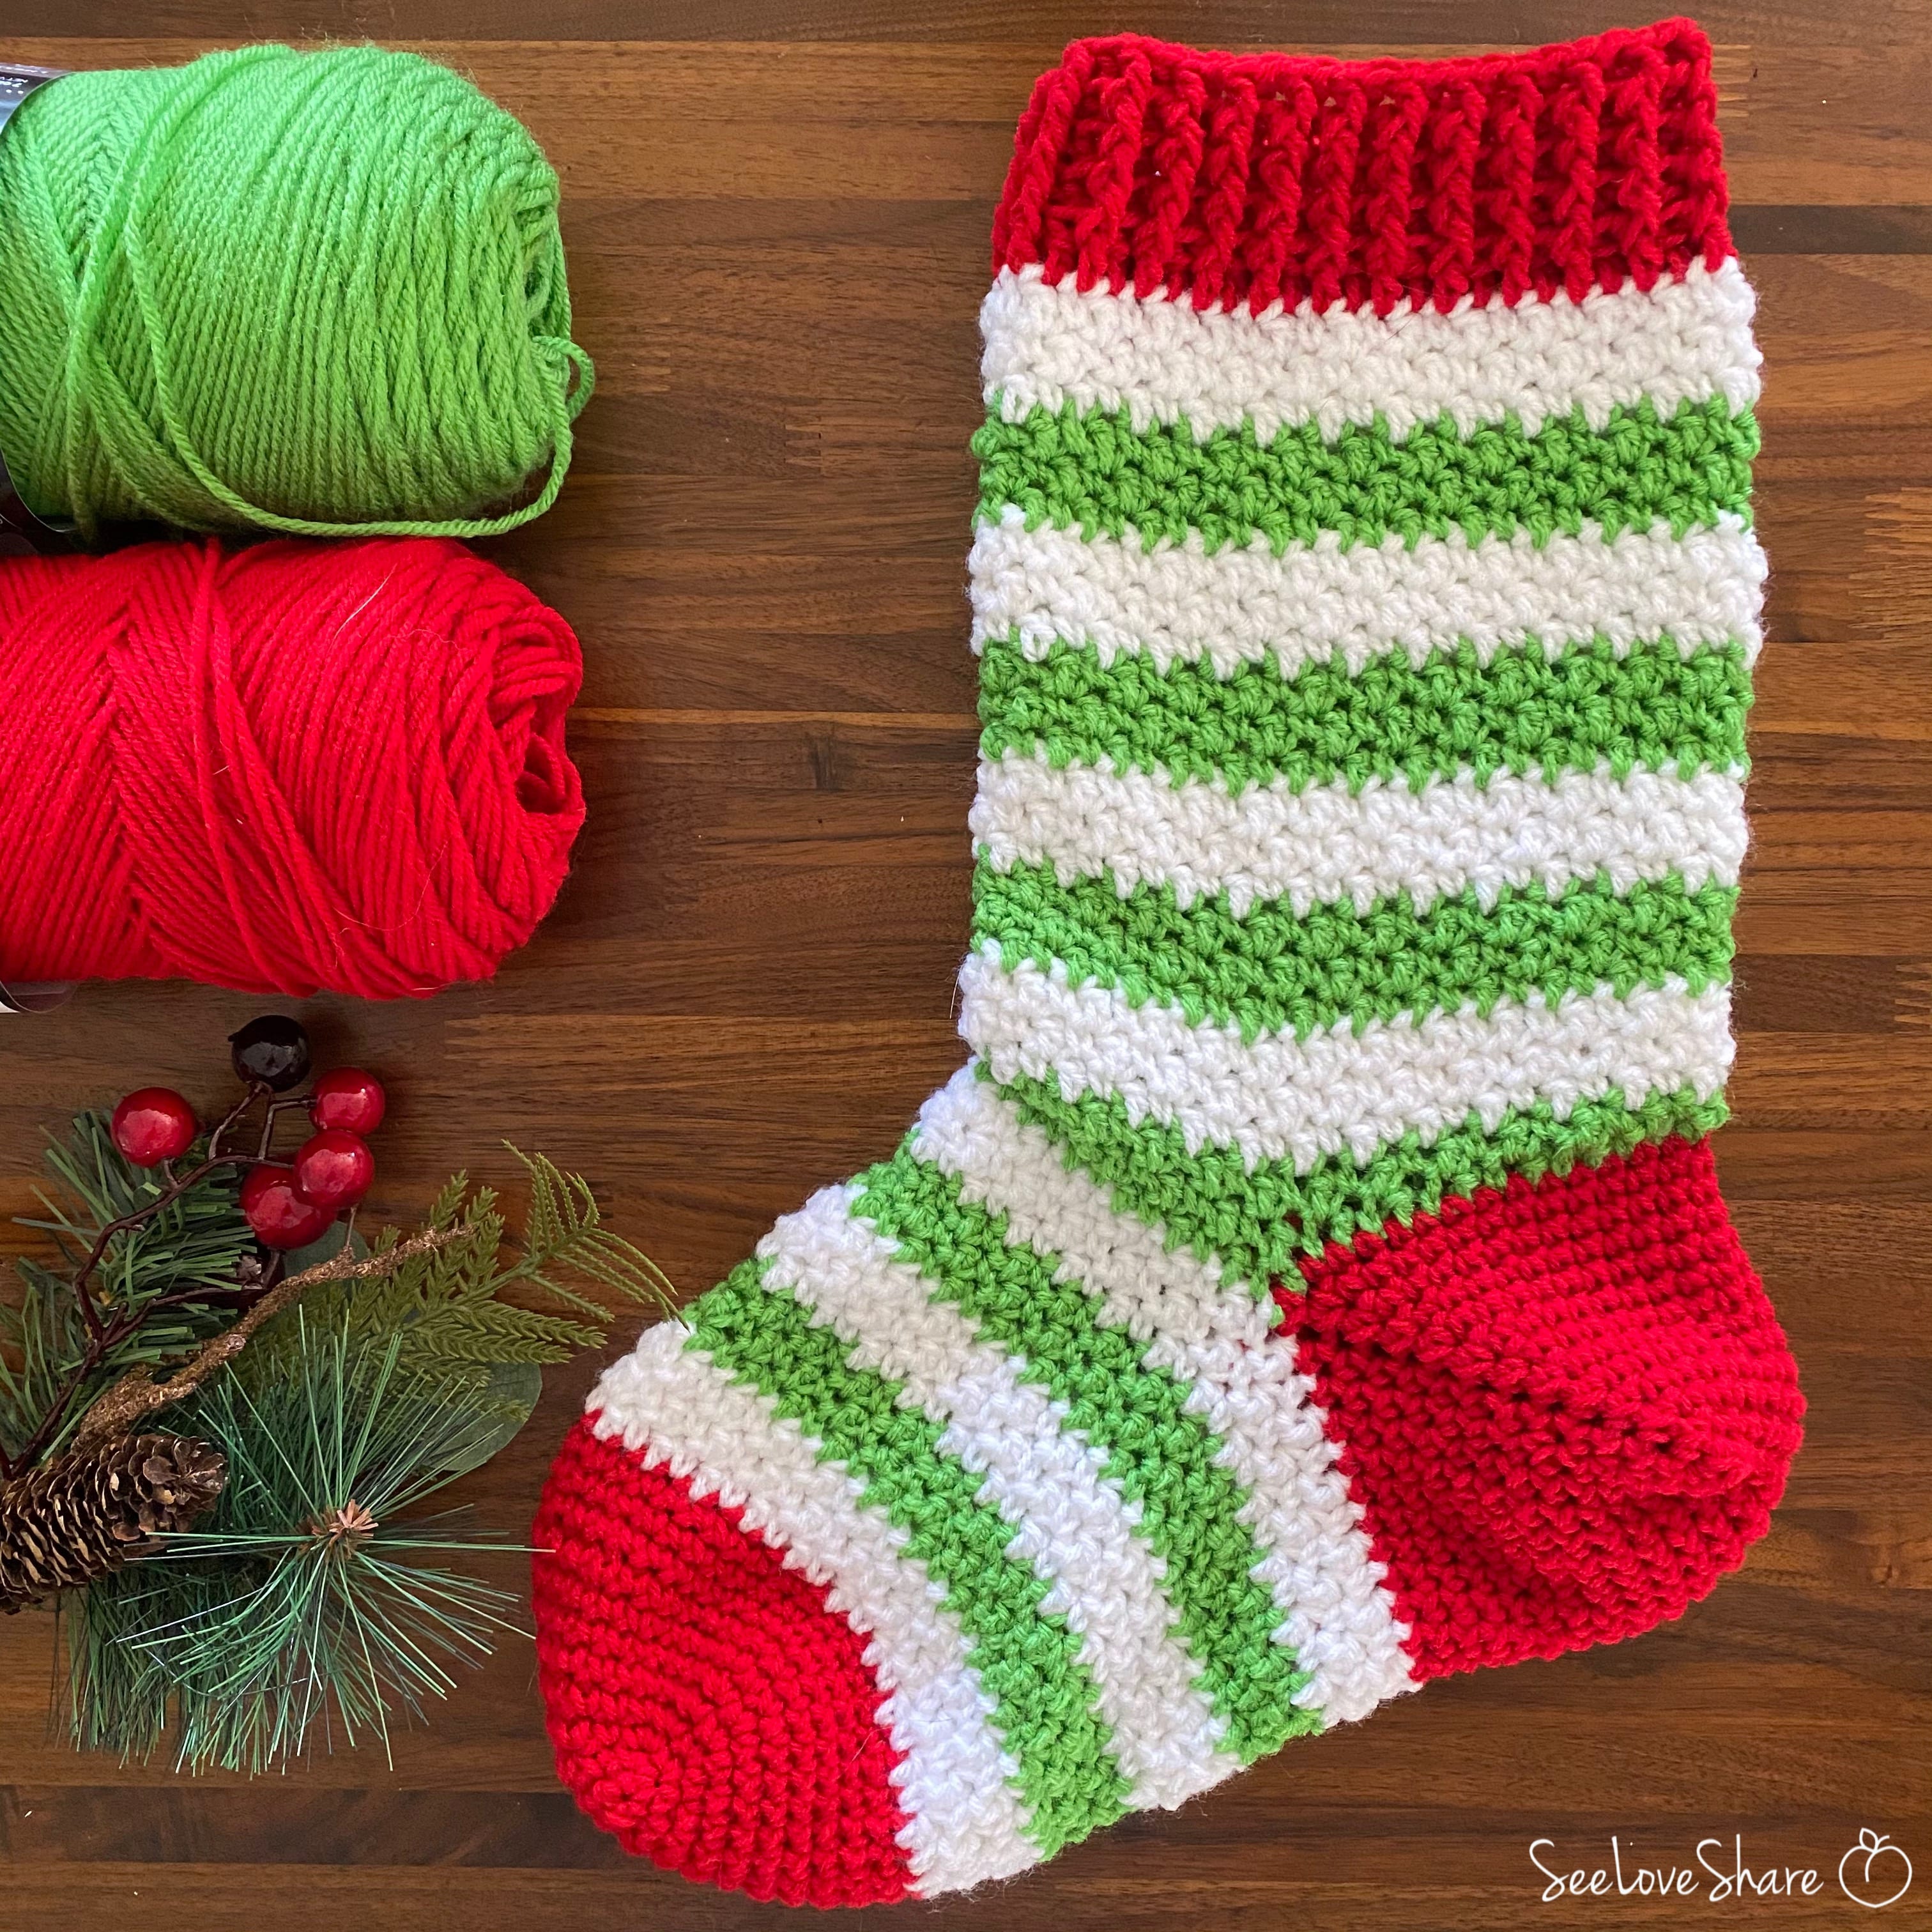
 Elf-ie Christmas Stocking — beginner-friendly Christmas stocking
- Crochet Sugar Cookie Ornaments — Full Collection — 10 ornament patterns to fill your tree
- Browse all Crochet Christmas Patterns




Made a folded crochet Christmas tree? I’d love to see your handmade tree! Tag your makes on Instagram @seeloveshare or share in our free Facebook community. Subscribe on YouTube @SeeLoveShare for more free crochet tutorials. Happy stitching! 🎄✨