Knit Free Knit Free Baby & Kids
May 21st, 2018
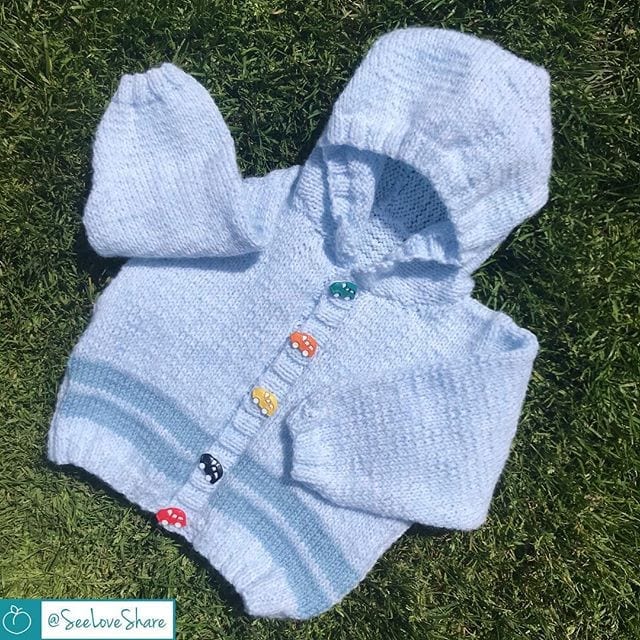
Knit Baby Cardigan Pattern – Free Striped Summer Hoodie
This knit baby cardigan pattern is a lightweight summer hoodie worked in soft baby weight yarn with simple double-stripe color details on the front panels. It comes in four sizes — 6 months through 24 months — and uses only knit, purl, and basic shaping you’d find in any beginner garment. Five buttons and a back-seamed hood finish the piece beautifully, making it a thoughtful, fully-handmade baby shower gift. The full free pattern is below.
It’s part of my growing collection of knit baby garments — quick, satisfying projects that make wonderful handmade gifts and grow with baby through their first two years. Let’s get into what makes this knit baby cardigan special and exactly what you’ll need to make it.
Why You’ll Love This Knit Baby Cardigan Pattern
- Four sizes included — 6, 12, 18, and 24 months, so this pattern grows with baby
- Lightweight summer-weight knit — soft baby DK keeps it cool and breathable for warmer months
- Double-stripe front detail — the simple two-stripe accent on the front panels adds visual interest without needing colorwork techniques
- Hood and buttons included — a proper finished garment, not just a sweater
- Beginner-friendly garment construction — basic shaping with picked-up button bands, perfect for your first knit cardigan
- A thoughtful baby shower gift — handmade clothing means more than handmade accessories
Materials for the Knit Baby Cardigan
- Yarn: Bernat Softee Baby yarn (#3 light / DK) — 1–2 balls in your main color (MC) and 1 ball in your contrast color (CC) for the stripes
- Needles: 3.75 mm (US 5) knitting needles AND 4 mm (US 6) knitting needles (or whatever sizes get you gauge)
- 5 buttons — small playful buttons in any style you love
- Tapestry needle for seaming and weaving in ends
- Scissors
Shop the materials


Bernat Softee Baby is a soft, machine-washable DK weight yarn — perfect for baby garments that will be worn and washed often. Any #3 light or DK weight yarn will work. If you’d like to understand yarn weights so you can substitute confidently, the Craft Yarn Council yarn weight system is a helpful reference.
Pattern Details
- Skill level: Beginner / Intermediate — knit and purl with basic garment shaping
- Sizes: 6 mos, 12 mos, 18 mos, 24 mos
- Finished chest measurements: 17″, 19″, 21″, 21½”
- Gauge: 22 sts and 30 rows = 4″ (10 cm) in stockinette with larger needles
- Stitches used: Knit, purl, k2/p2 rib, simple increases and decreases
Pattern Notes
- Instructions are written for the smallest size, with changes for larger sizes shown in parentheses: 6 mos (12 mos – 18 mos – 24 mos).
- The cardigan is worked flat in five pieces: back, left front, right front, two sleeves, and a hood, then seamed together.
- Stripes appear only on the left and right front panels — the back and sleeves stay in MC for a clean silhouette.
Abbreviations
- K — Knit
- P — Purl
- K2tog — Knit two together
- Yfwd — Yarn forward (yarn over)
- Inc — Increase
- Dec — Decrease
- Rep — Repeat
- Rib — Rib stitch (k2, p2)
- RS / WS — Right side / Wrong side
- MC / CC — Main color / Contrast color
Free Knit Baby Cardigan Pattern
Back
With smaller needles and MC, cast on 52 (58 – 64 – 70) sts.
Work 5 rows of k2, p2 rib, noting that the first row is the WS. Increase 5 sts evenly across the last row. 57 (63 – 69 – 75) sts.
Change to larger needles. Proceed in stockinette stitch until work measures 6½ (7 – 7¾ – 8½) inches from the beginning, ending with RS facing for the next row.
Shape armholes: Cast off 5 (7 – 8 – 10) sts at the beginning of the next 2 rows. 47 (49 – 53 – 55) sts.
Continue even until armhole measures 4½ (5 – 5¼ – 5½) inches, ending with RS facing. Cast off.
Left Front
With smaller needles and MC, cast on 26 (28 – 32 – 34) sts. Work 5 rows of k2, p2 rib (first row WS). Increase 2 sts evenly across the last row. 28 (30 – 33 – 36) sts.
Change to larger needles and work the stripe pattern:
- Work 4 rows of stockinette in MC
- Change to CC, work 6 rows
- Change to MC, work 2 rows
- Change to CC, work 6 rows
- Change back to MC
Continue in stockinette in MC until work measures 6½ (7 – 7¾ – 8½) inches from the beginning, ending with RS facing.
Shape armhole: Next row, cast off 5 (7 – 8 – 10) sts. Knit to end of row. 22 (23 – 25 – 26) sts.
Continue even until armhole measures 2½ (3 – 3¼ – 3½) inches, ending with WS facing.
Neck shaping: Cast off 6 (6 – 7 – 7) sts. Purl to end. 16 (17 – 18 – 19) sts. Decrease 1 st at the neck edge on the next 3 rows, then every following alternate row, until you have 11 (12 – 12 – 13) sts.
Continue even until work measures the same length as the Back to the shoulders, ending with RS facing. Cast off.
Right Front
Worked the same as the Left Front, but with shaping reversed.
With smaller needles and MC, cast on 26 (28 – 32 – 34) sts. Work 5 rows of k2, p2 rib (first row WS). Increase 2 sts evenly across the last row. 28 (30 – 33 – 36) sts.
Change to larger needles and work the same stripe pattern as the Left Front.
Continue in stockinette in MC until work measures 6½ (7 – 7¾ – 8½) inches from the beginning, ending with WS facing.
Shape armhole: Next row, cast off 5 (7 – 8 – 10) sts. Purl to end of row. 22 (23 – 25 – 26) sts.
Continue even until armhole measures 2½ (3 – 3¼ – 3½) inches, ending with RS facing.
Neck shaping: Cast off 6 (6 – 7 – 7) sts. Knit to end. 16 (17 – 18 – 19) sts. Decrease 1 st at the neck edge on the next 3 rows, then every following alternate row, until you have 11 (12 – 12 – 13) sts.
Continue even until work measures the same length as the Back to the shoulders, ending with WS facing. Cast off.
Sleeves (Make 2)
With smaller needles and MC, cast on 36 sts. Work 5 rows of k2, p2 rib (first row WS). Increase 4 sts evenly across the last row. 39 sts.
Change to larger needles and proceed in stockinette stitch, increasing 1 st at each end of needle on the 5th and every following 4th row until you have 51 (55 – 59 – 61) sts.
Continue even until work measures 6 (7½ – 8 – 9) inches from the beginning, ending with RS facing. Place a marker at each end of the last row. Work a further 6 (8 – 10 – 12) rows even. Cast off.
Hood
With smaller needles and MC, cast on 94 (94 – 98 – 98) sts. Work 5 rows of k2, p2 rib (first row WS). Increase 6 sts evenly across the last row. 99 (99 – 105 – 105) sts.
Change to larger needles and proceed in stockinette stitch, decreasing 1 st at each end of needle on the 3rd and every following alternate row, until you have 75 (75 – 81 – 81) sts.
Continue even until work measures 7 (7¼ – 7½ – 8) inches from the beginning, ending with RS facing.
Shape back seam: Cast off 7 sts at the beginning of the next 8 rows. Cast off the remaining 19 (19 – 25 – 25) sts.
Finishing
Buttonhole Band: With RS of Right Front facing, smaller needles, and MC, pick up and knit 50 (58 – 62 – 66) sts evenly between the neck edge and lower edge. Work 3 rows of k2, p2 rib.
Buttonhole row (RS, row 4): P2. *K2tog, yfwd, rib 9 (11 – 12 – 13). Repeat from * 3 times more. K2tog, yfwd, rib to end of row.
Rib 2 more rows. Cast off in rib (WS).
Button Band: Work the same as the Buttonhole Band, omitting all references to buttonholes.
Assembly: Sew shoulder seams. Fold the hood in half at the back and sew the back seam. Pin and sew the shaped edge of the hood to the neck opening, beginning at the center of the button or buttonhole bands and matching the back seam of the hood to the center back neck edge.
Sew in the sleeves, placing the rows above your markers along the armhole edges of the fronts and back to form square armholes. Sew side and sleeve seams.
Sew buttons to correspond with buttonholes. Weave in all ends.
Tips for Your First Knit Baby Cardigan
- Knit a gauge swatch. Garments don’t fit if gauge is off. Knit a small swatch in stockinette with your larger needles before casting on, and adjust needle size up or down if needed.
- Read ahead. Before you cast on each piece, read through the full instructions for that piece. The shaping rhythm becomes clearer when you’ve previewed where you’re heading.
- Use stitch markers at increase and decrease points to keep your shaping consistent and visible.
- Block before seaming. Gently blocking each piece flat before seaming makes the finished cardigan look polished and the seams sit cleanly.
Love free patterns?
Get New Patterns Delivered to Your Inbox
Can I make this cardigan without the stripes?
Absolutely. Skip the color changes on the front panels and work them entirely in MC. The cardigan will be a clean, solid-color baby hoodie — equally lovely.
What’s the difference between a baby cardigan and a baby hoodie?
This pattern is both, really — a cardigan with a hood added on. It opens down the front like a cardigan and buttons up, but has the hood detail of a hoodie. Best of both.
Can I use a different yarn?
Any soft DK or #3 light weight yarn will work — Bernat Softee Baby is shown here for its softness and washability, but choose any baby-friendly yarn you love. Check your gauge against the pattern and adjust needle size if needed.
 Stripes for the grown-upsStriped Crochet CardiganTop down and seamless — sizes XS to 5X
More Baby Knit Patterns You’ll Love
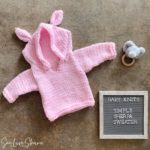
 Simple Sherpa Sweater — a hooded knit baby sweater with bear ears
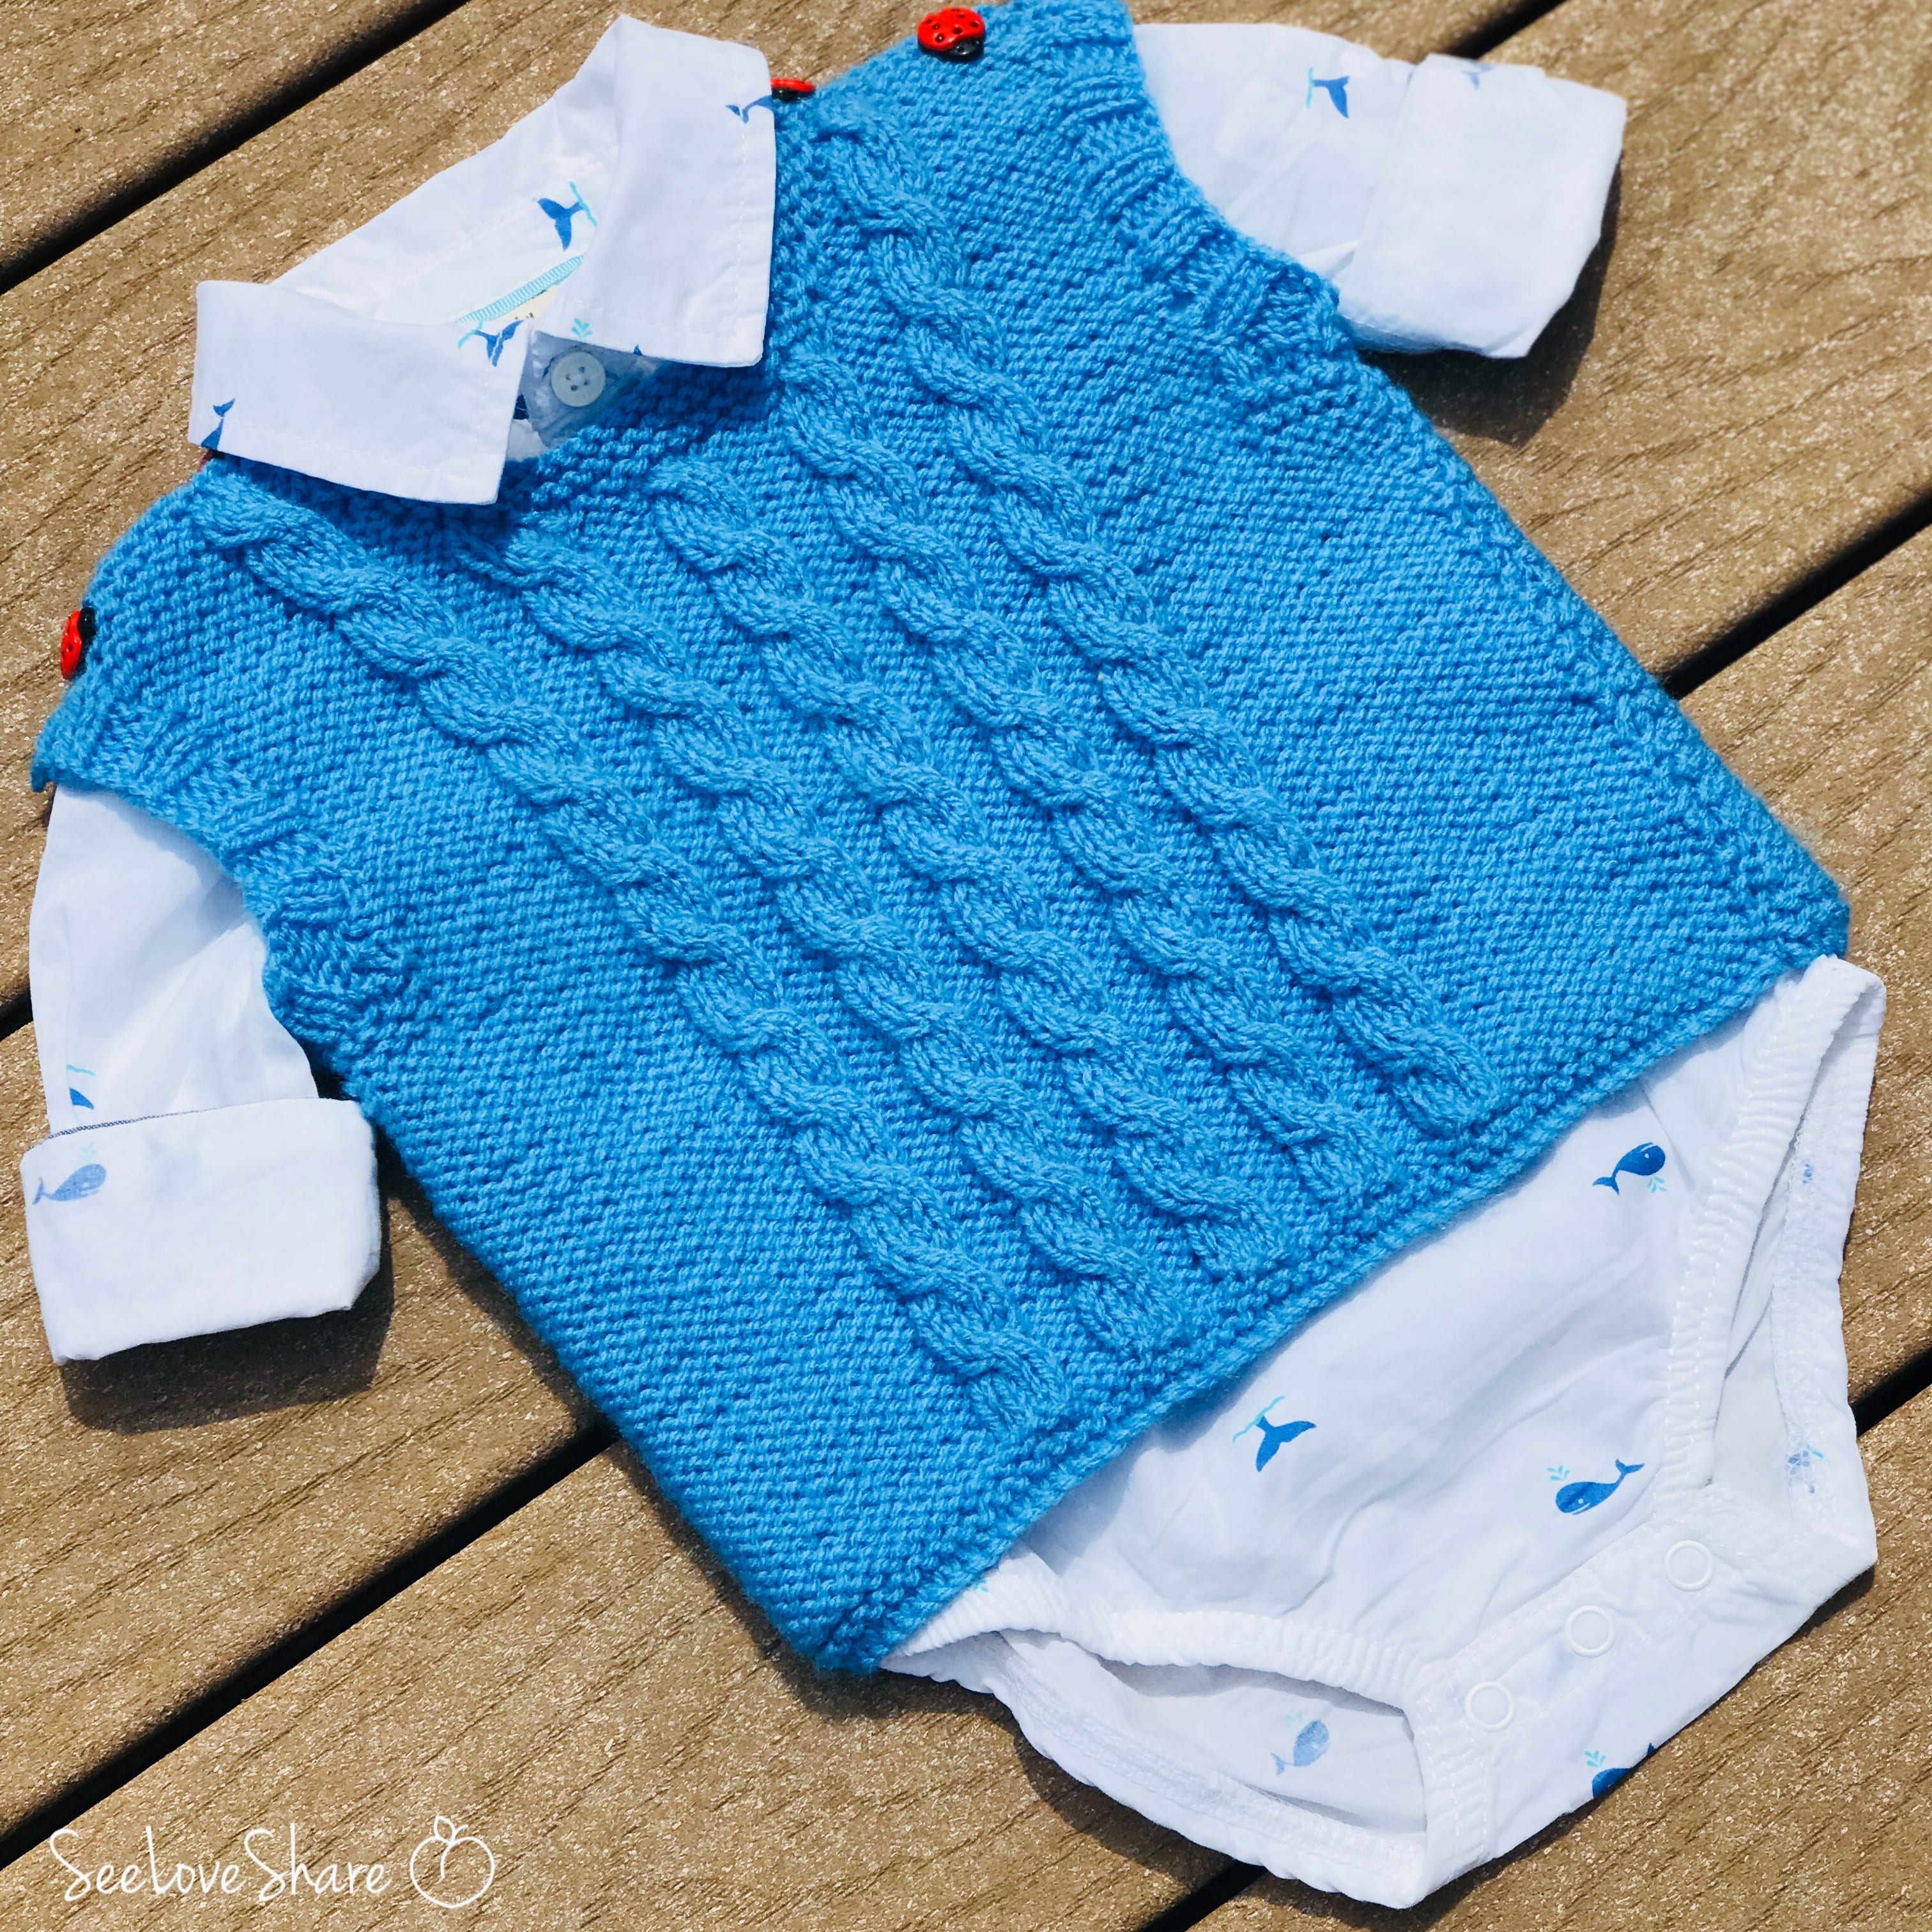
 Knit Cable Sweater Vest — a cabled baby vest with button shoulders
- Bubble Stitch Knit Baby Blanket — a plush textured blanket to match
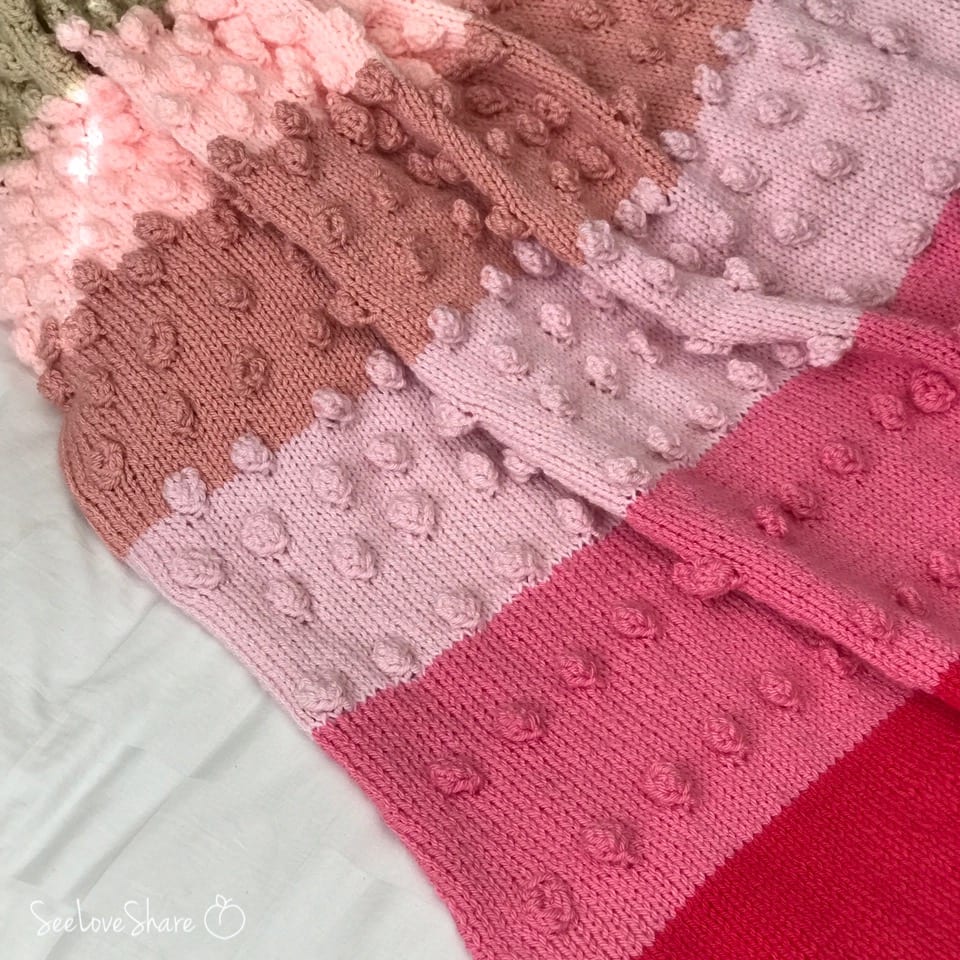
 All the Bobbles Knit Baby Blanket — bobble texture for a coordinating gift set