
All Home Decor Crochet Crochet Home Decor
October 10th, 2017
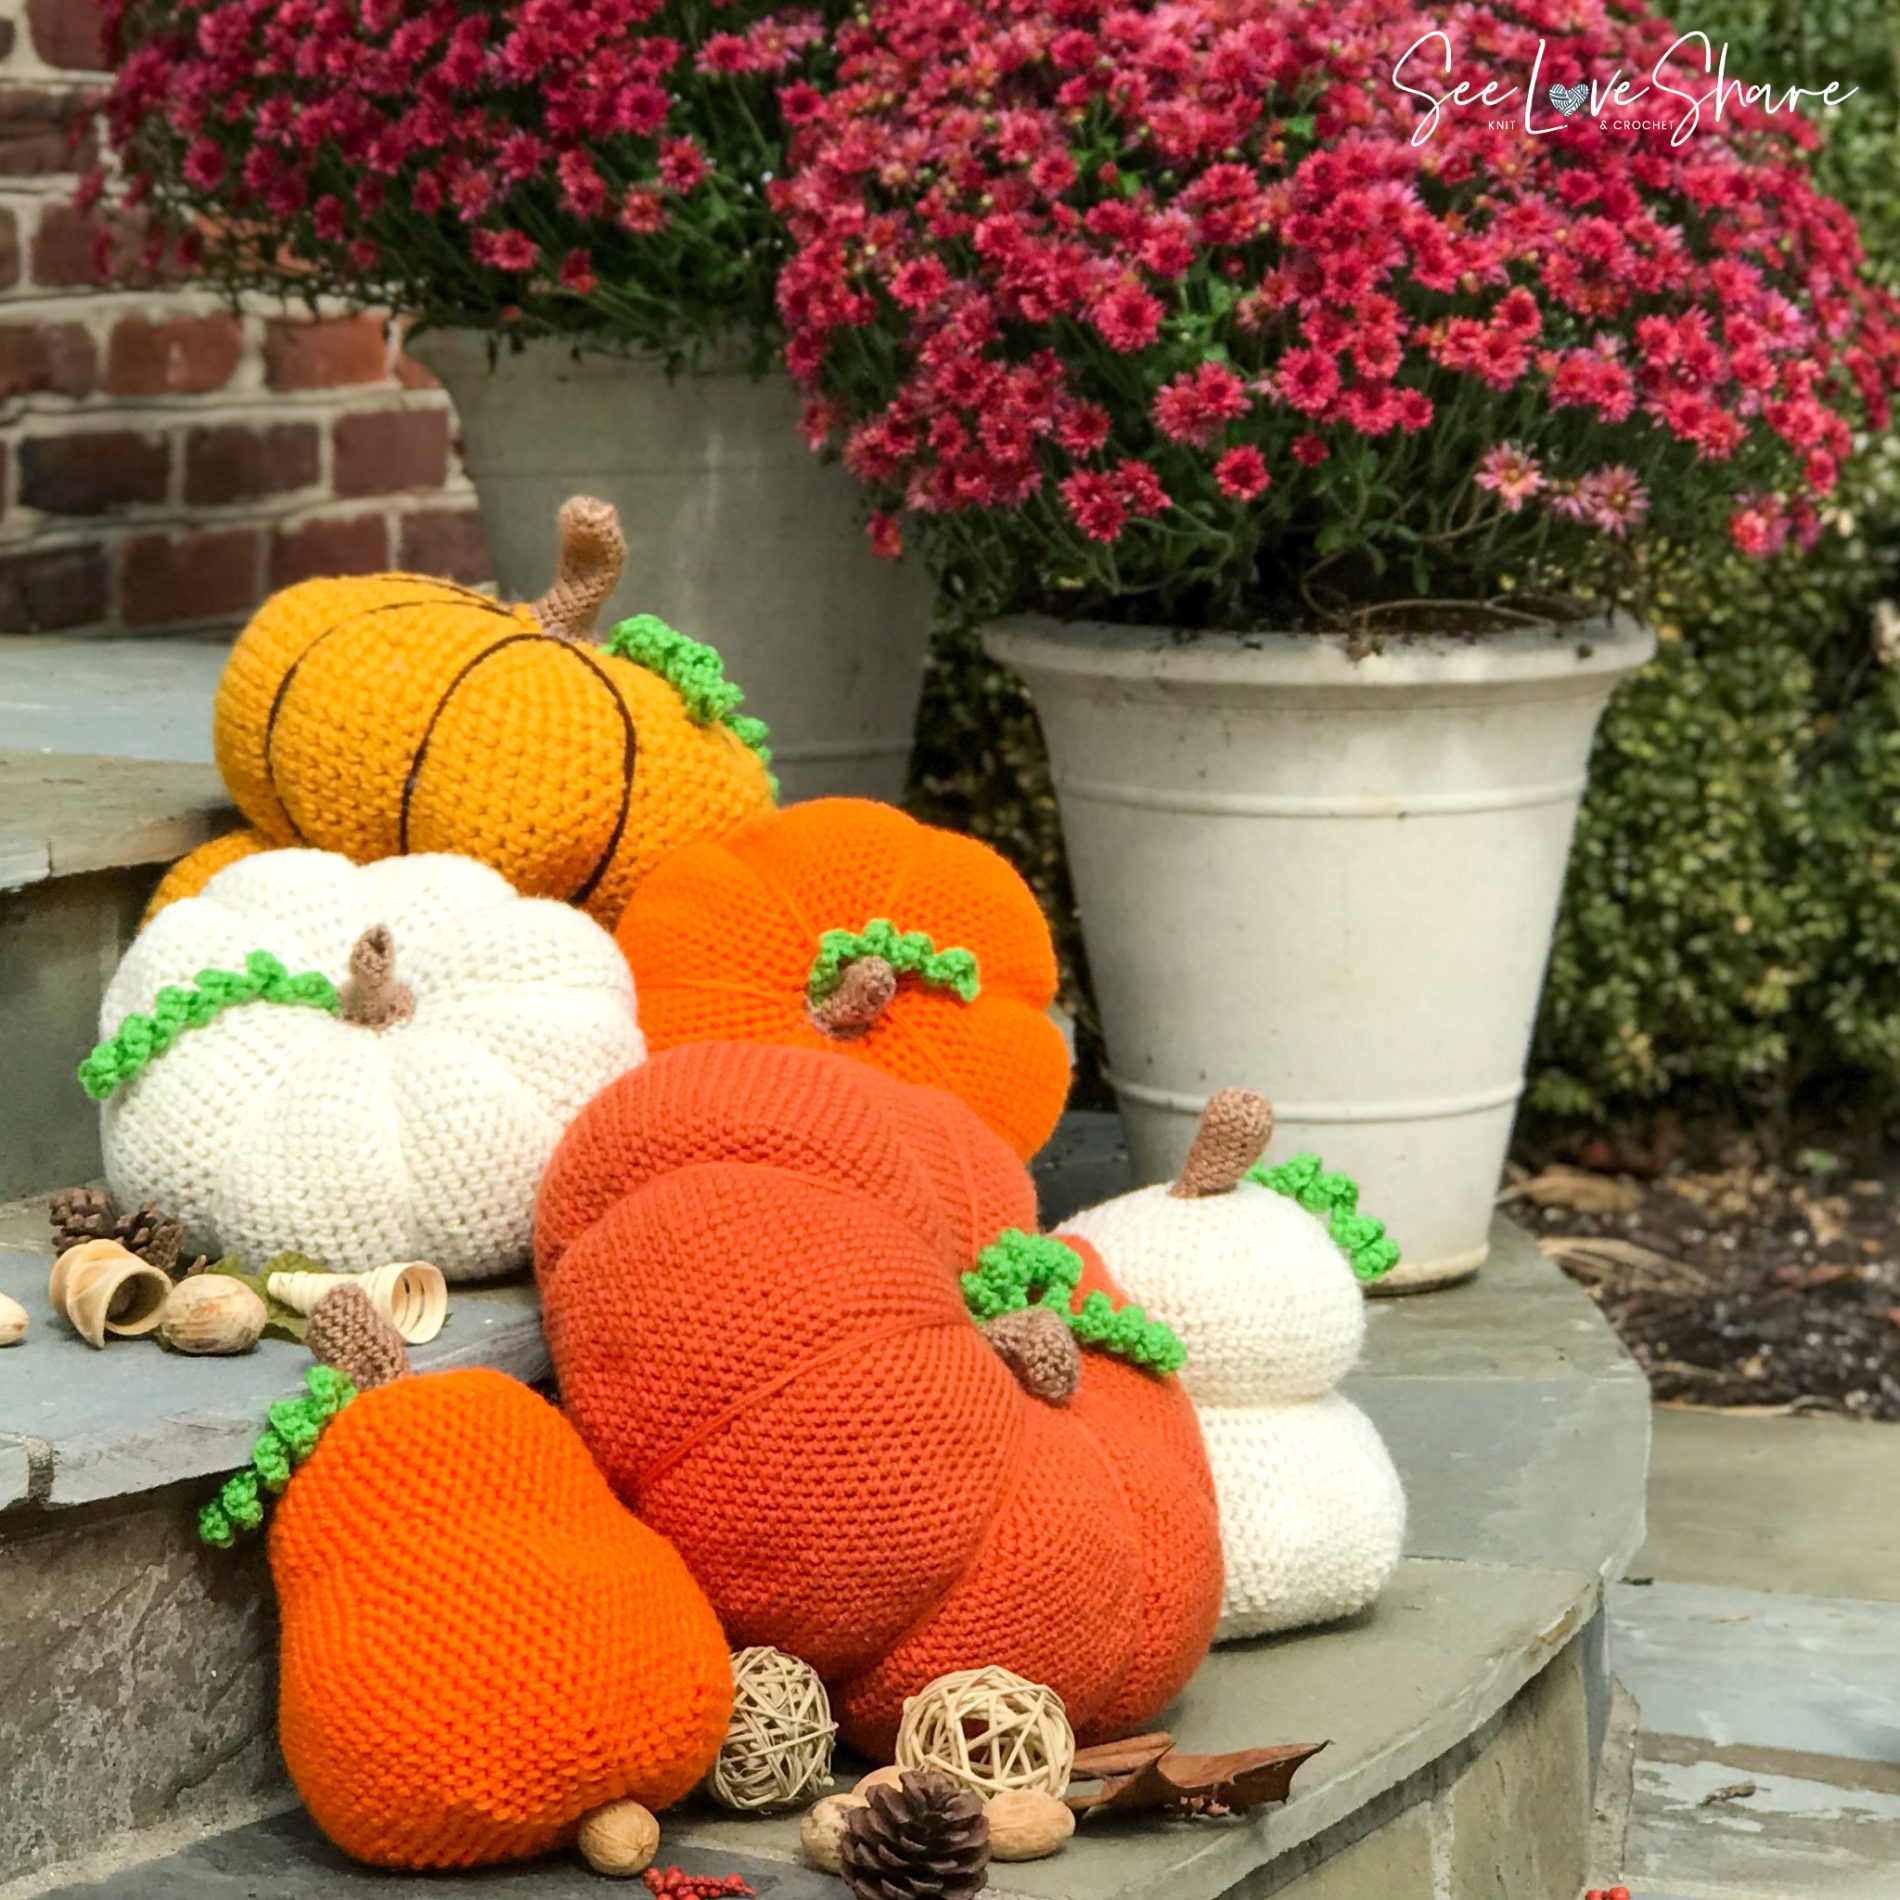
Assorted Crochet Pumpkins with Curly Vines – Free Crochet Pattern
I’ll admit, I totally got into this project. I made the first one and #giggled to myself because it was so #cute! I ended up sending a few pics to my friends and they fell in love. So, then I thought… what if I made it taller, fatter, different colors… fast forward a couple days, now I have an entire pumpkin family and a dozen other ideas on how to change them up! This pattern is so versatile (and forgiving) so you can start with the base and modify to suit your pumpkin needs (yes, that’s a thing I just discovered I had). By simply increasing the amount of stitches or start to decrease sooner, you’ll end up with totally unique pumpkins that will certainly be a crowd pleaser! The best part – each one cost about $4 in materials and take about 3 hrs to complete! Just think…. they’ll make for very original hostess gifts ;).
I would love to see what you guys come up with. Please #share your #pictures with me – tag @seeloveshare and make my day!

Skill Level:
Easy
Abbreviations:
CH – chain
SC – single crochet
Size:
Totally up to you
Materials:
· 1 skein for pumpkin orange (or any pumpkin color you like). I like Red Heart Super Saver Yarn for projects like these because they’re a great price, durable and come in LOADS of colors.
I used color Pumpkin, Carrot and Coral Coral.
· 1 skein of light brown for the stem (I used scraps that I had left over from other projects.
· 1 skein of green for the vine (I used Red Heart Super Saver in Spring Green)
· Poly Fill to plump them up!
· Size J/10-6.00MM (for stem and vine)
· L/11-8.00MM (for pumpkin)
Pattern:
You will be working in the round, starting with brown yarn
Row 1: 6 sc in magic circle
Row 2-6: sc in each stitch around (6 sc)
Stump check point – if you want a longer stump (possibly to be able to fold over) keep going in rounds until you achieve the length you want.
Row 7: sc in first stitch, 2 sc in next, repeat around (9 sc) switch to pumpkin yarn
Row 8: 2 sc in each stitch (18 sc)
·Row 9: 1 sc in first stitch, 2 sc in next, repeat around (27 sc)
Row 10: 1 sc in first 2 stitches, 2 sc in next, repeat around (36 sc)
Row 11: 1 sc in first 3 stitches, 2 sc in next, repeat around (45 sc)
Row 12: 1 sc in first 4 stitches, 2 sc in next, repeat around (54 sc)
Row 13: 1 sc in first 5 stitches, 2 sc in next, repeat around (63 sc)
Width check point – You can stop increasing here for a medium sized pumpkin. Otherwise keep increasing in multiples of 9. As you crochet, your pattern will start to curl up on you, this is totally normal since we need to shape it into a pumpkin anyway.

Row 14-29: sc in each stitch around (63 sc)
Height check point – Hold up the pumpkin from the stem and get a sense of how tall your pumpkin will be. You’re looking at the top and body of the pumpkin before it starts to taper down. If you want a taller pumpkin, keep going in even rounds until you like what you see. Alternatively, if you want a short, stubby pumpkin, feel free to cut this part down.
Row 30: sc in first 5 stitches, sc dec, repeat around (54 sc)
Row 31: sc in first 4 stitches, sc dec, repeat around (45 sc)
Row 32: sc in first 3 stitches, sc dec, repeat around (36 sc)
Row 33: sc in first 2 stitches, sc dec, repeat around (27 sc)
Begin to stuff with poly fill as you go
Row 34: sc in first stitch, sc dec, repeat around (18 sc)
·Row 35: sc dec around (9 sc)
Finishing:
If you want a simple, flat finish, tie off and enjoy.
If you want a ridged pumpkin, cut yarn long enough to thread onto yarn needle tie off and to pull the needle through the bottom up to the top of your pumpkin near the stem (this may be difficult to do with a really tall pumpkin). From the top, pull the yarn down the side and tie off at the bottom center. To plump up the pumpkin, squeeze the pumpkin down a little as you add the ridges down the side. Repeat that as many times as you want around the pumpkin. Doesn’t matter how many times you do this but I suggest 5-7 depending on how big the pumpkin is but honestly, who has really seen a symmetrical pumpkin!?
The Vine: With green yarn ch 18-25 (depending on how long you want it), turn, 2 sc in each ch.
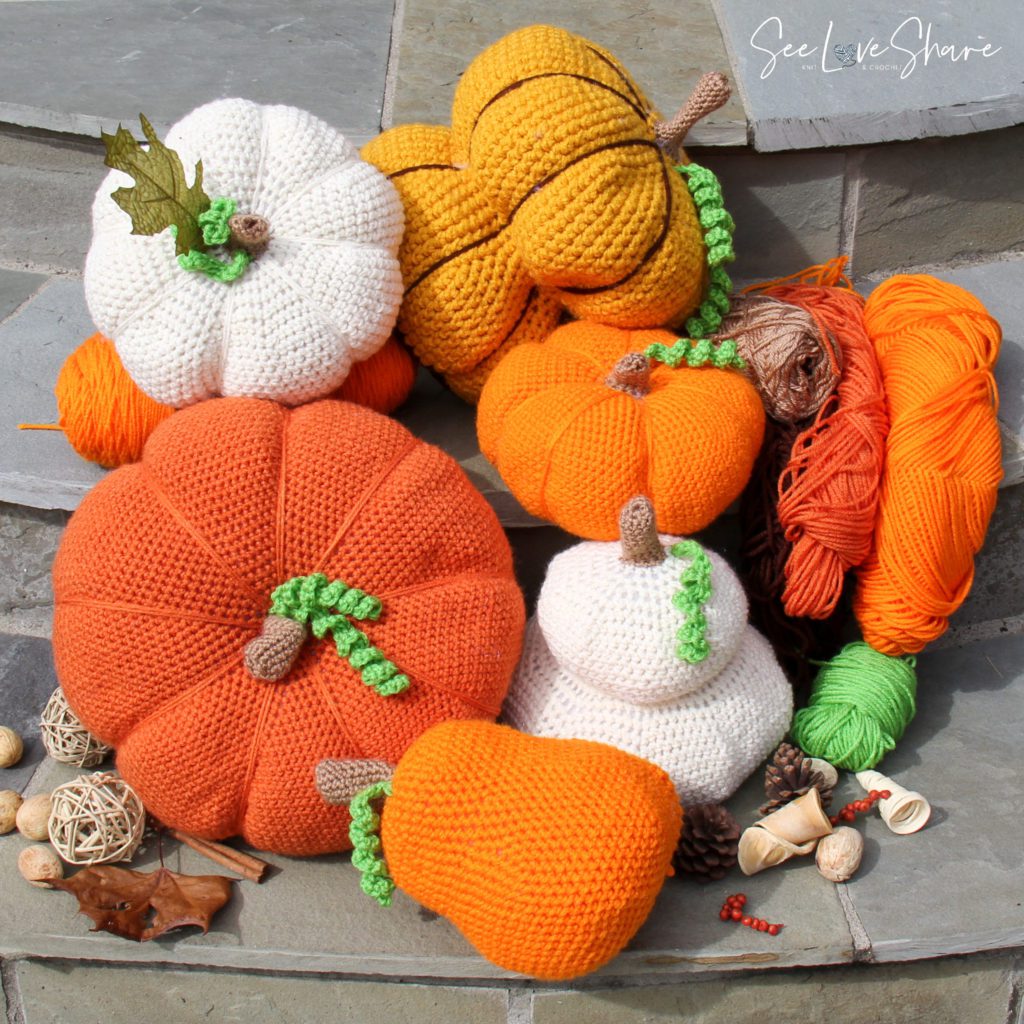
The Pumpkin Family –


Pear-Shaped Pumpkin:
Modification: Less increases, flat rows, increase again, flat rows, decrease. No ridges.

Small White Pumpkin

Large, Flat Pimpkin:
Modification: additional Increases, less flat rows, decrease.

Double Pumpkin:
Modification: Instead of decreasing all the way, stop halfway, flat rows, Increase to same size as top, flat rows similar to top half, decrease.

Sinched Pear-Shaped Pumpkin:
Modification: make similar to pear shape above. Tie off mid section and sinch as tight as you’d like.

Small Pumpkin:

Looking for more Fall Decor Ideas? Check these out:
One Response to Assorted Crochet Pumpkins with Curly Vines – Free Crochet Pattern