

All Home Decor Crochet Crochet Home Decor
September 16th, 2022
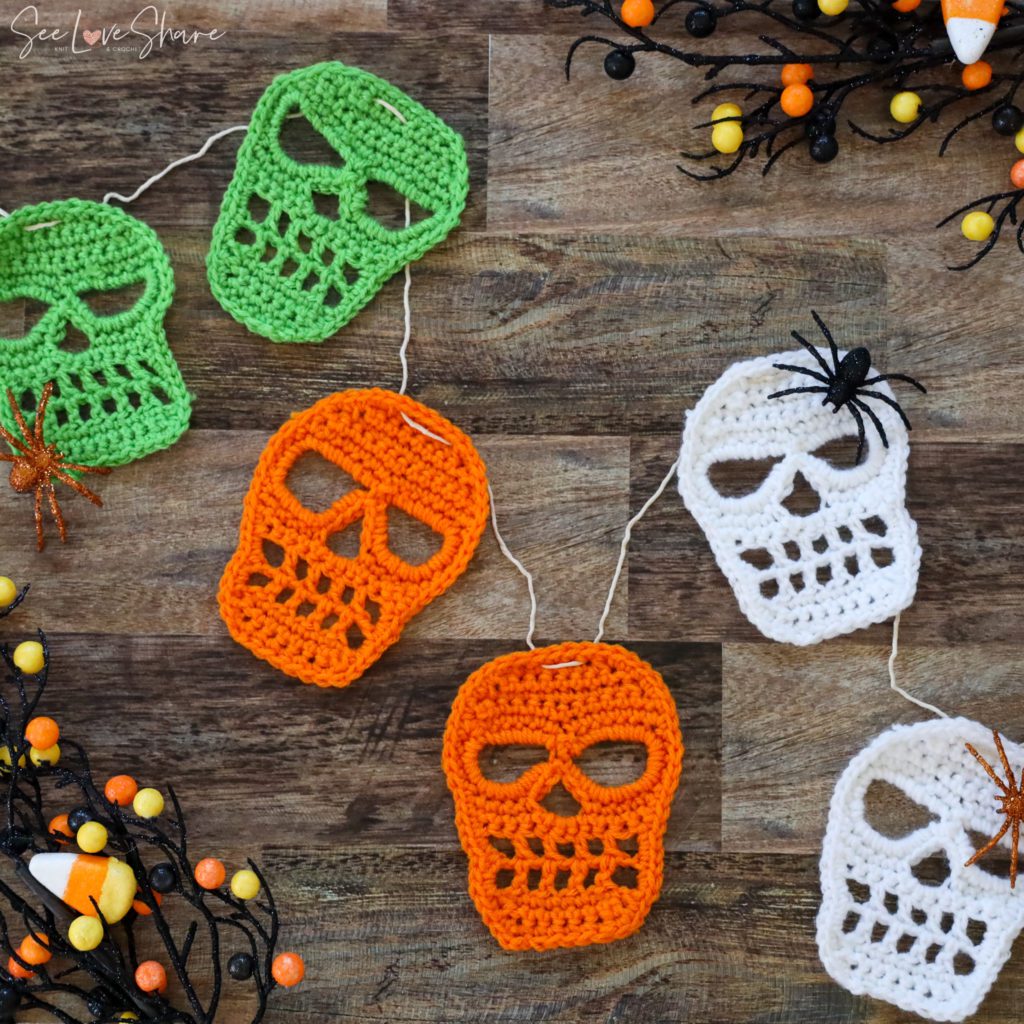
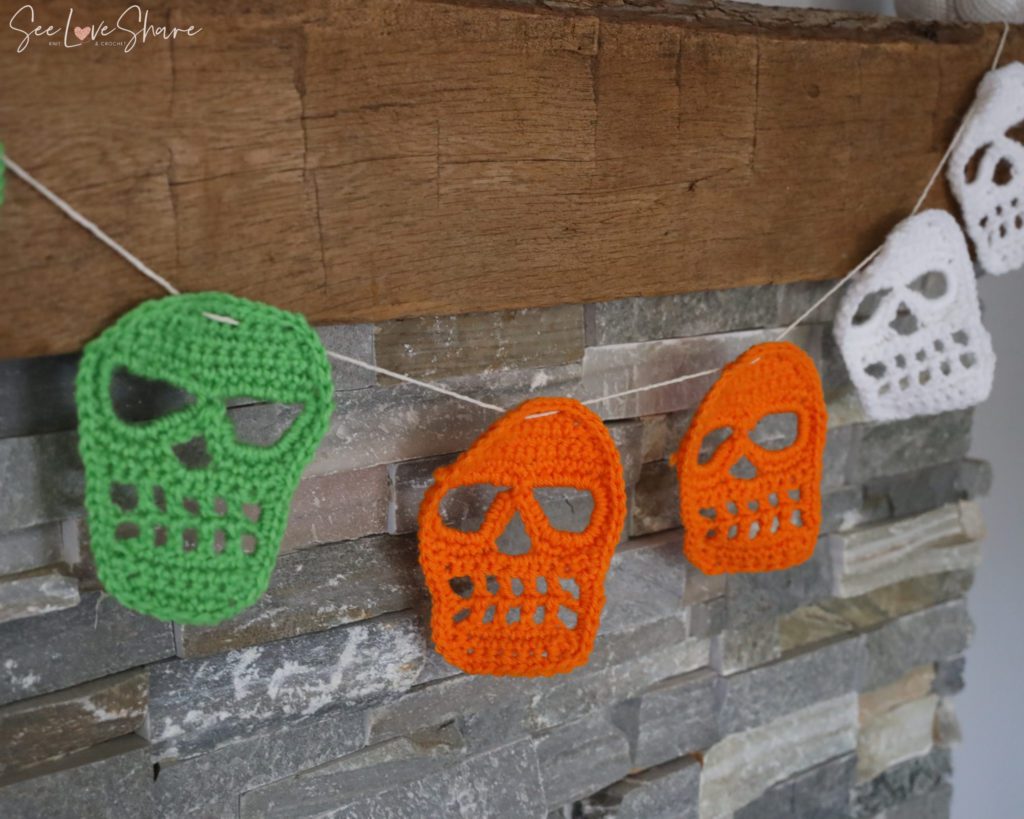
Halloween Skull Garland – Pattern & Beginner Guide
Here is a fun one to work up. If you’re a speedy crocheter, each skull will take you about 15 mins to work up and if you’re a beginner, we will walk you through the pattern step-by-step, so you’ll get them done in no time!
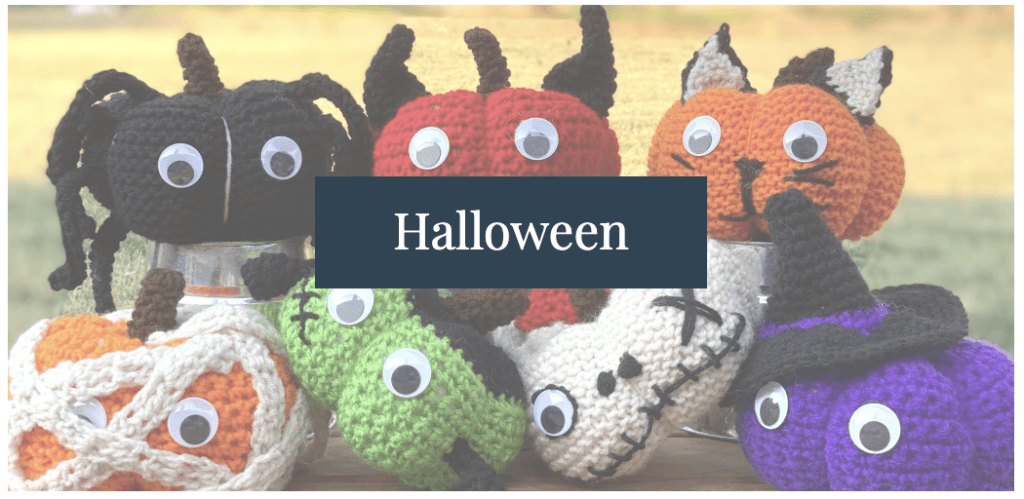
These lil cuties SCARIES have so many different applications. The pictures below are creating a Halloween Garland, but single skulls can be used in a variety of ways! Think Halloween Wreath, Gifts, or embellishments to “spook” up any pattern you’re working on!
Enjoy & happy making!
UPDATE January 2025:
I hope that you’re enjoying your current knitting projects. It has been such a pleasure sharing my patterns with you and seeing your creativity bring them to life.
After much thought, I have made the difficult decision to no longer offer my patterns for free. This was not an easy choice—designing and sharing these patterns has always been a passion of mine and a way to connect with this amazing community.
However, the time, effort, and resources required to create, test, and perfect each pattern are significant. To continue bringing you high-quality, unique designs and to support the sustainability of my work, I will now be offering my patterns for purchase on Etsy.
I am incredibly grateful for your support over the years. Your kind words, encouragement, and enthusiasm mean so much to me. I hope you’ll continue to enjoy my patterns and support this new chapter.
Please visit my Etsy shop HERE to view and purchase my collection.
Thank you for your understanding and for being an integral part of this journey.
If you’d like this pattern, please consider purchasing a downloadable & printable version from my Etsy Shop. A little goes a long way.
Thank you,
Ashleigh
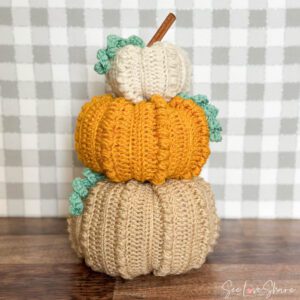
NEW Pattern Alert! Check out Stackable Pumpkins!
Pattern Notes:
This pattern starts with the eyes and works up/down from there. You can easily tuck in loose ends as you work it up and that will save you a bunch of time at the end!
Measurements:
Each skull is approx. 4in wide, 6in tall.
Materials:
- Crochet Hook: 5.5mm
- Tapestry needle
- RedHeart Super Saver (or any level 4 yarn) in various Halloween colours: I used Carrot, Spring Green & White
- Twine (if making garland)
Gauge:
12 SC and 14 rows = 4in
Abbreviations:
SC: Single crochet
DC: Double crochet
Ch: Chain
Sts: Stitches
Slst: Slip Stitch
Sk: Skip
Sc2tog: Single crochet two stitches together
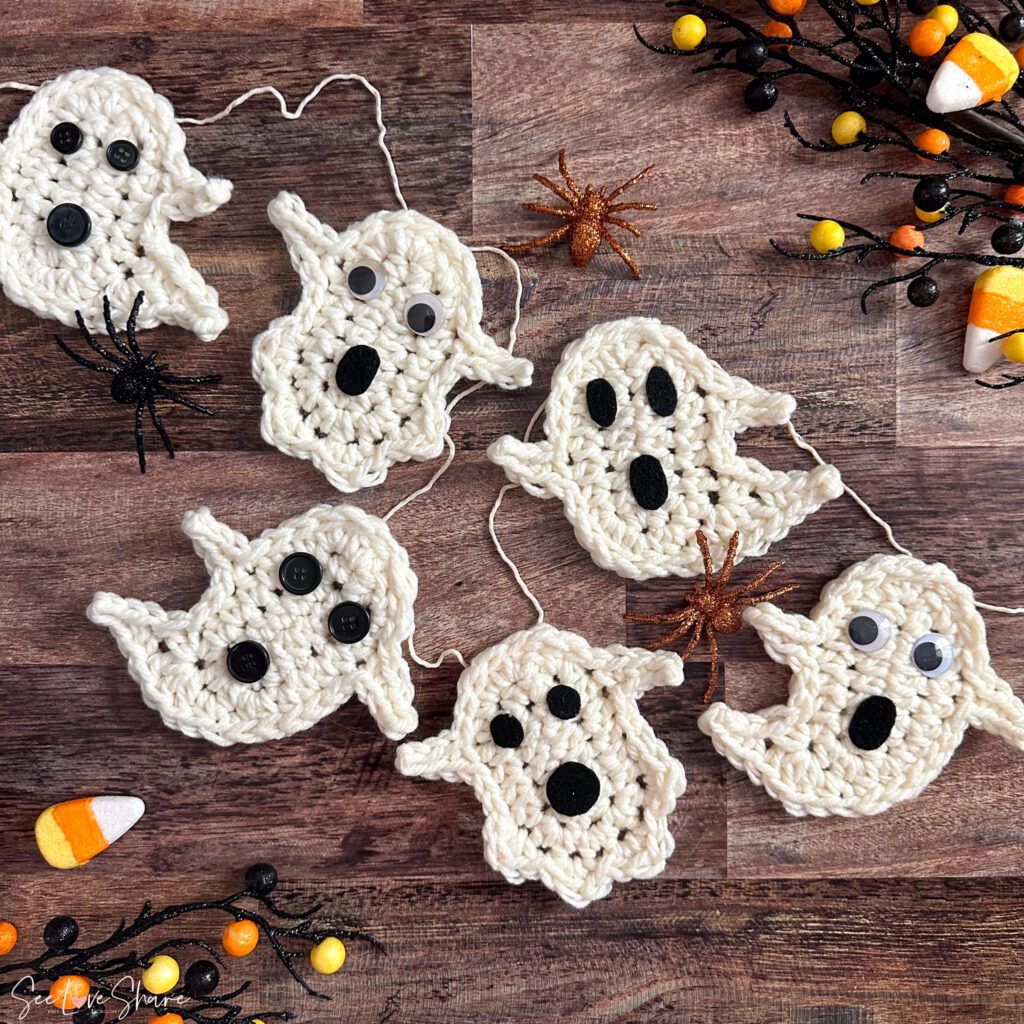
Looking for more Halloween Inspiration? Right this way…

5 COMMENTS