

Free Crochet All Adult Patterns Free Patterns
September 21st, 2026
Free Crochet Cable Beanie Pattern (Braided Cables, Fold-Up Cuff)
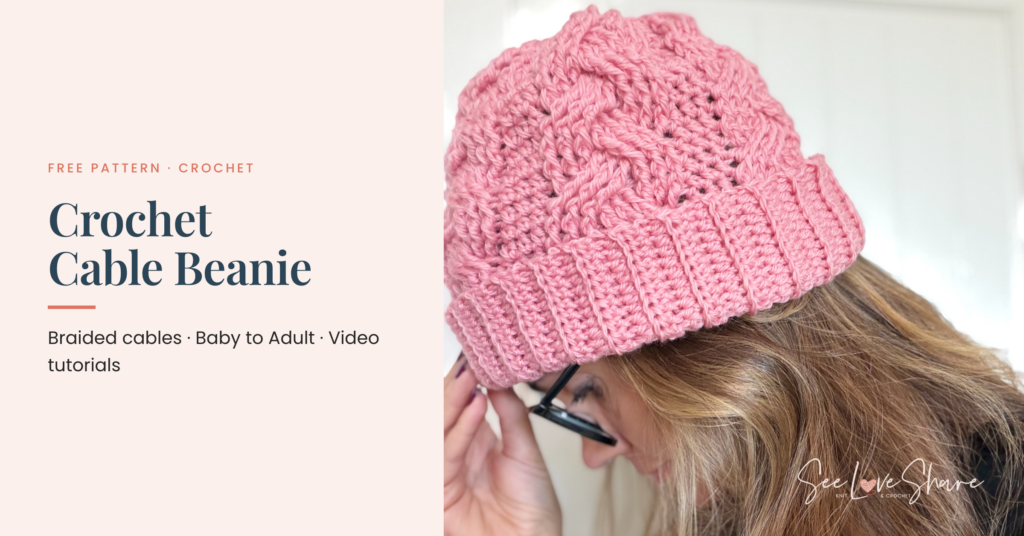
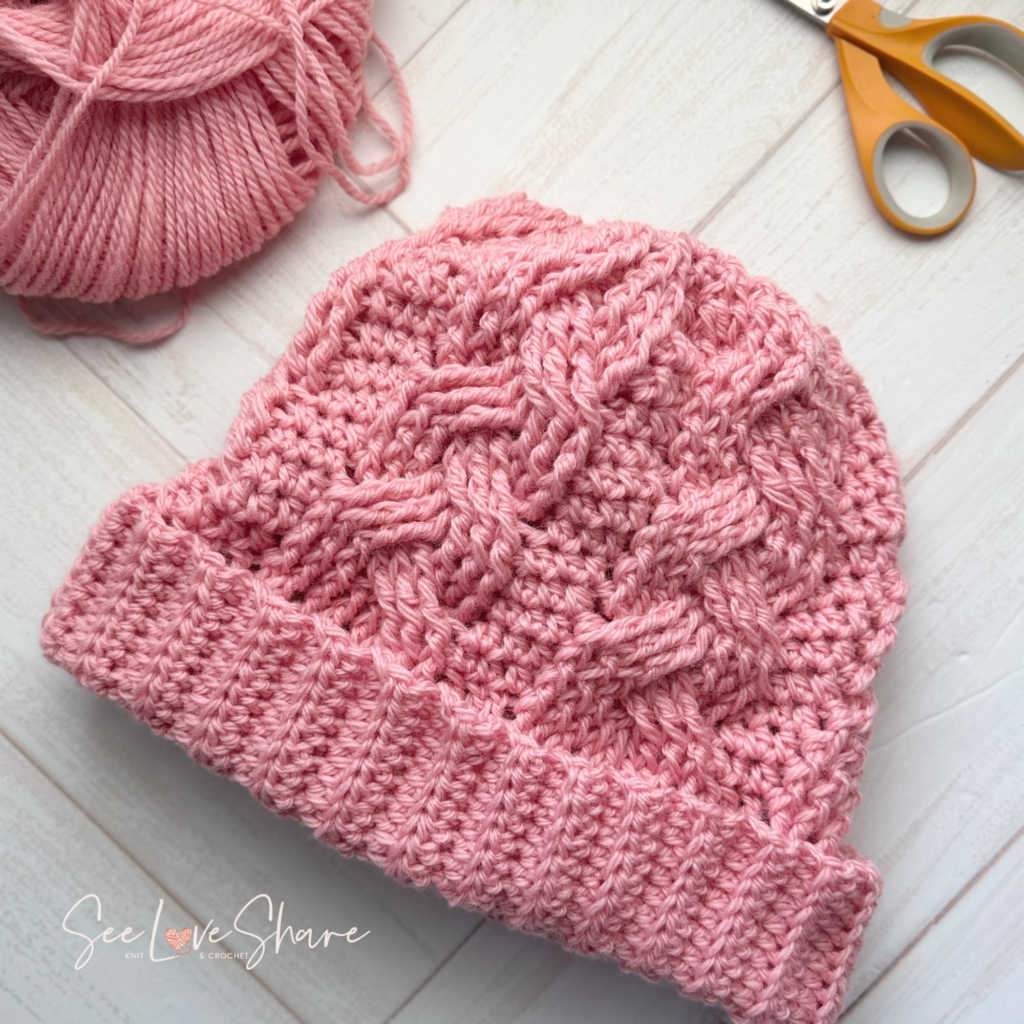
My Chunky Cable Knit Beanie has been one of the most-loved patterns in the shop, and the question I get most is: is there a crochet version? There is now — and it’s free right here on the blog.
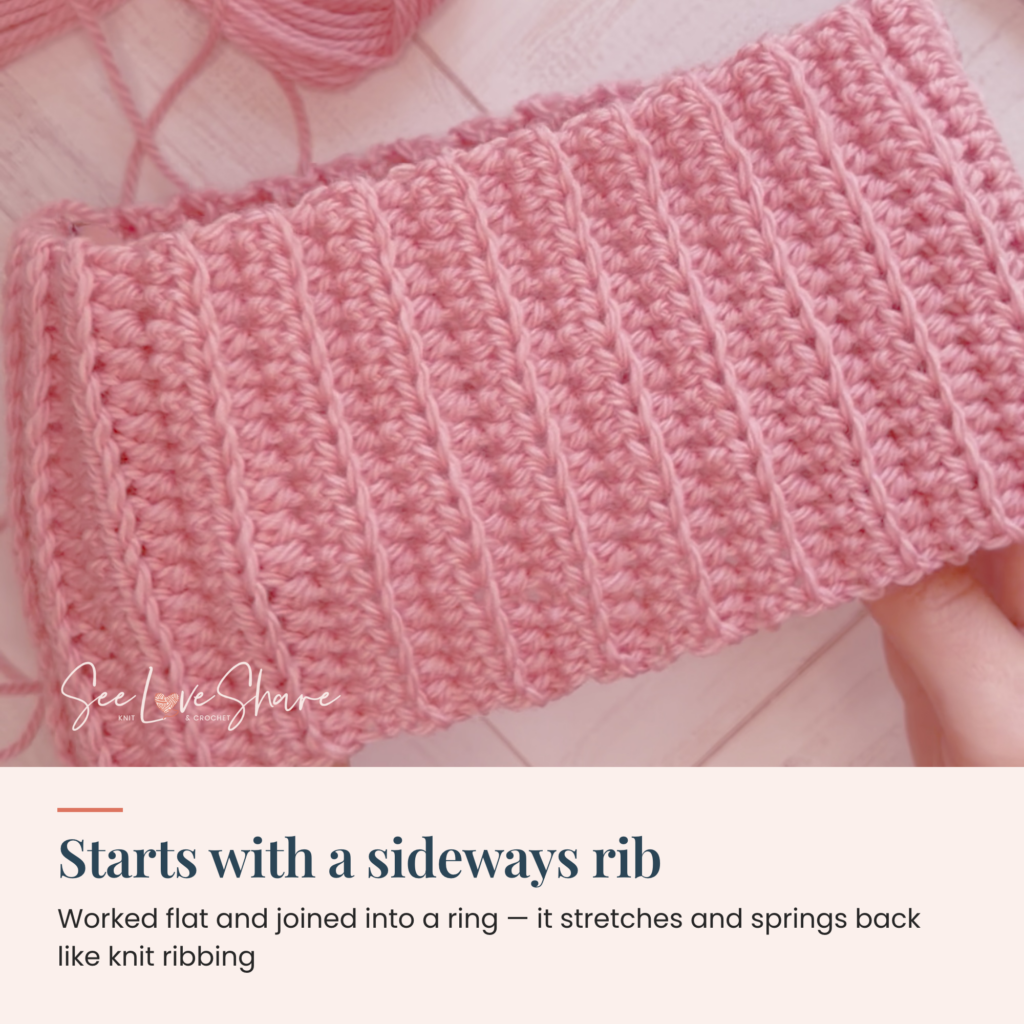
This crochet cable beanie uses the same braided cable as the knit version: three strands crossing over each other, six braids around the hat, with a simple half double crochet valley between each one. The ribbed brim is worked sideways so it looks and stretches like knit ribbing, and it’s left as a single layer, so you can turn the cuff up as deep or shallow as you like. This free version is written for adult size L; the printable PDF on Etsy and Ravelry has all six sizes, from Baby to Adult XL. I’ve filmed both cable crosses so you can see exactly where the hook goes.
Making this later? Join the list so you don’t lose it
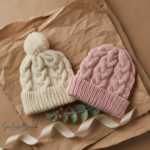
Prefer needles?
This hat started life as my Chunky Cable Knit Beanie — the same braided cables and folded brim, knit in chunky yarn.
Why You’ll Love It
- Real braided cables in crochet — front post trebles that cross in front and behind, just like a knit plait
- Six sizes in the PDF — the free pattern is adult L; the printable PDF adds Baby, Child and adult S, M and XL
- A cuff you can adjust — the brim isn’t sewn down, so the hat can be slouchy or snug
- No stitch markers needed — every round starts in a valley, so the seam hides and the cables tell you where you are
- Two video tutorials for the cable crosses
- 100% wool for crisp, defined cables that hold their shape
Prefer a printable?
Get the ad-free PDF on Etsy or Ravelry
All six sizes, Baby to Adult XL (the free version is size L only), plus the stitch guide and both video links in one clean printable.
Get it on Etsy → Get it on Ravelry →Materials
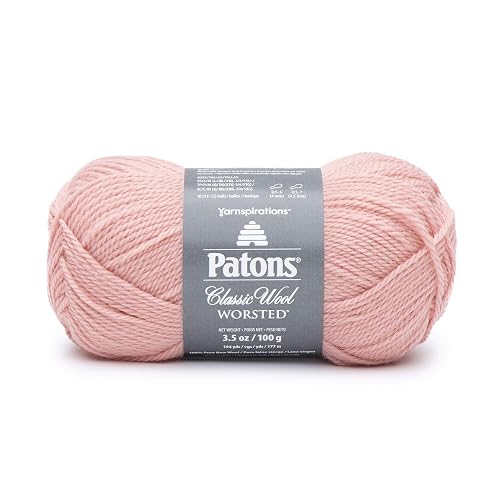
- Yarn: Patons Classic Wool Worsted, #4 medium, 100% wool, 3.5 oz / 100 g / 194 yds — 2 balls in one solid color, about 215 yds. Shown in Pink Quartz. Add about 30 yds for a yarn pom-pom. Pale to mid solids show the braid best; heathers and marls will soften it.
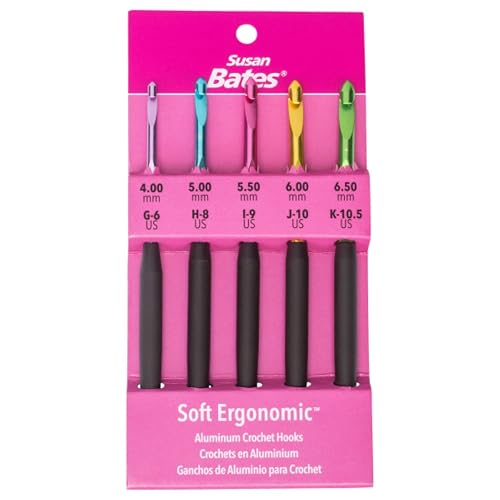
- Hooks: 5.00 mm (H-8) for the brim and 5.50 mm (I-9) for the body — both are in the Susan Bates Silvalume hook set
- Tapestry needle
- Tape measure
- Pom-pom maker (optional)
- Hair elastic (optional) — a soft, seamless elastic with no metal crimp, about 2″ across, for the ponytail or messy bun version below
Shop the materials
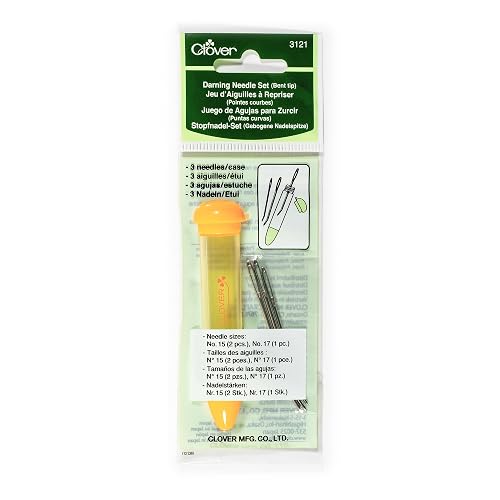
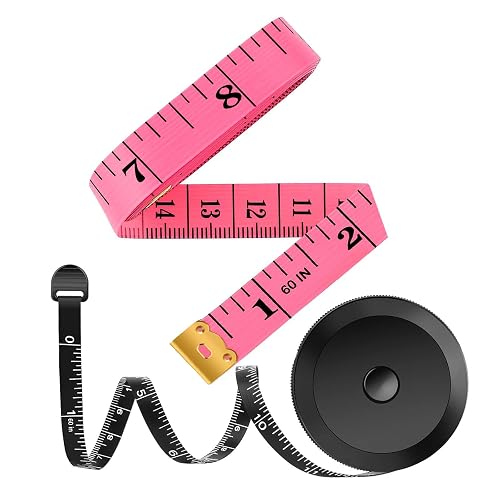
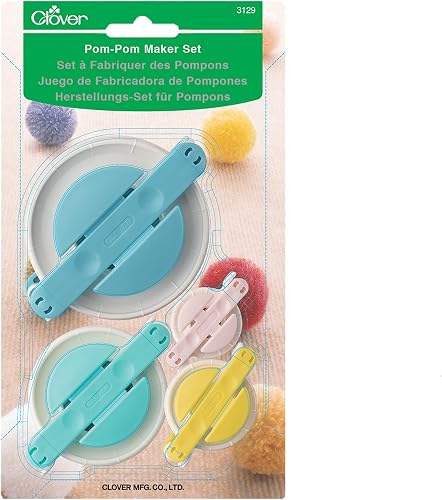
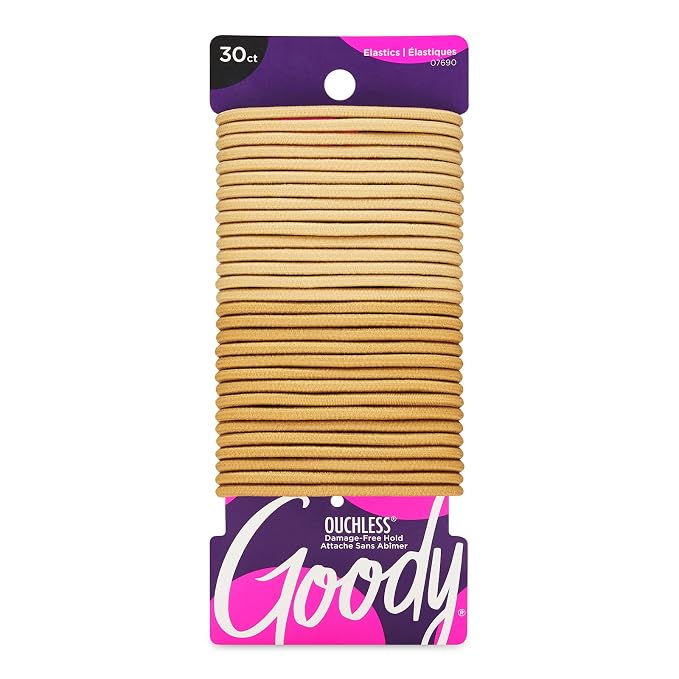
Pattern Details
Skill level: Intermediate — you’ll want to be comfortable with double crochet and front post stitches. If post stitches are new to you, start with How to Crochet Cables, Episode 1: FPdc & BPdc, or brush up on the basics in my beginner crochet stitch guide.
Size: This free version is written for adult L, to fit a 21½–23″ head (shown on a 22″ head). For Baby, Child or adult S, M or XL, get the printable PDF on Etsy or Ravelry. Every size is written out in full. Not sure what size you need? Check my standard hat sizing chart.
| Adult L | |
|---|---|
| Fits head | 21½–23″ |
| Finished circumference | 20¾” |
| Height with 2½” cuff | 9½” |
| Stitches around | 72 |
Gauge: Brim (hdc BLO, 5.00 mm): 16 hdc = 5″ wide and 3 rows = 1″. Body (cable pattern, 5.50 mm): about 2¼ rounds = 1″ tall, and 72 sts = 20¾” around.
Gauge matters most around the head. Measure your hat after Round 2 — if it’s more than ½” off the 20¾” finished circumference, change hook size before you get into the cables.
Notes
- Written in US crochet terms.
- The brim is worked flat, sideways, then joined into a ring. The body is worked up from one edge of it in joined rounds.
- Don’t turn at the end of body rounds — the right side always faces you.
- Rounds start with ch 1, which does not count as a stitch, except the base round and the last crown round, which start with ch 2 (also not counted). Work the first stitch into the same stitch as the join, and join each round with a sl st to the top of the first stitch.
- Every round starts in a valley, so the join disappears between two braids.
- The brim is a single layer and isn’t attached when folded — turn it up to whatever depth you like. The heights above assume a 2½” cuff.
- This free version is written for adult size L only. All six sizes, Baby to Adult XL, are in the printable PDF.
Abbreviations
- ch chain · sl st slip stitch · st(s) stitch(es) · rep repeat
- hdc half double crochet · dc double crochet · BLO back loop only
- FPdc front post double crochet · FPtr front post treble crochet
- FPdc2tog front post double crochet 2 together · hdc2tog / hdc3tog half double crochet 2 / 3 together · dc2tog double crochet 2 together
Special Stitches
Front post double crochet (FPdc): yarn over, insert your hook from front to back to front around the post of the stitch below, and finish as a regular double crochet. You never work into the top of that stitch.
Front post treble (FPtr): the same, but yarn over twice and finish as a treble. The extra height is what lets the strands cross.
First time crossing a crochet cable? How to Crochet a Cable Twist (Episode 2) walks through the basic cross before you braid three strands.
Each cable is 9 front post stitches — three strands of 3 — braided with two crosses:
Cross A (worked in front): skip the next 3 stitches, FPtr around each of the next 3, then reach in front of the stitches you just made and FPtr around each of the 3 you skipped.
Cross B (worked behind): skip the next 3 stitches, FPtr around each of the next 3, then reach behind the stitches you just made and FPtr around each of the 3 you skipped.
Cross A always sits right against a valley; Cross B always ends against the next one. They alternate — if your last cross was on the first six stitches of a cable, the next one is on the last six.
The Pattern
Brim
With the 5.00 mm hook:
Ch 18.
Row 1: hdc in 3rd ch from hook and in each ch across. (16 hdc — the skipped chains don’t count)
Row 2: ch 1 (doesn’t count), turn, hdc BLO in each st across. (16 hdc)
Repeat Row 2 until you have 60 rows and the band measures about 20″ long, laid flat and relaxed.
Check the fit: the band should stretch around your head without a fight and spring back when you let go. Add or remove a couple of rows if needed — just keep an even number.
Join: hold the foundation chain against the last row and sl st through both across to form a ring. Fasten off.
Body
Switch to the 5.50 mm hook. You’ll work into the row ends of one long edge of the band — the other edge stays free and becomes your cuff.
Round 1: join yarn at the seam. Ch 2 (doesn’t count). Working one stitch into each row end, *dc in next 4 row ends, 2 dc in next row end* 12 times.
Join with a sl st to the first dc. (72 dc)
If your row count is different, you need 12 increases spread evenly around to reach 72 stitches.
Round 2 (set-up): ch 1 (doesn’t count), hdc in the same st as the join and in the next 2 sts. *FPdc around the next 9 sts, hdc in the next 3 sts*, rep from * around, ending with FPdc around the last 9 sts. Join. (6 cables of 9 FPdc, with 3 hdc between each)
Measure now — see the gauge note above.
Round 3 (Cross A): ch 1, *hdc in next 3 sts, Cross A over the next 6 sts, FPdc around the next 3 sts*, rep from * around. Join.
Round 4: ch 1, *hdc in next 3 sts, FPdc around the next 9 sts*, rep from * around. Join.
Round 5 (Cross B): ch 1, *hdc in next 3 sts, FPdc around the next 3 sts, Cross B over the next 6 sts*, rep from * around. Join.
Round 6: repeat Round 4.
Repeat Rounds 3–6 until the body measures about 5½” above the top edge of the brim, measured up a cable (not in a valley). End after any round.
Crown
Decrease Round 1: ch 1, *hdc3tog, then [FPdc around next st, FPdc2tog] 3 times*, rep from * around. Join. (42 sts)
Decrease Round 2: ch 1, *hdc in next st, then FPdc2tog 3 times*, rep from * around. Join. (24 sts)
Decrease Round 3: ch 2 (doesn’t count), dc2tog around. Join. (12 sts)
Cut the yarn, leaving a 12″ tail. Thread it through the tops of the last 12 stitches, pull tight to close, and secure on the inside.
Finishing
Weave in your ends. Add a pom-pom if you like. Turn the cuff up to your favorite depth — about 2½” is shown.
Care: hand wash cold and lay flat to dry. This is 100% wool, so skip the washing machine.
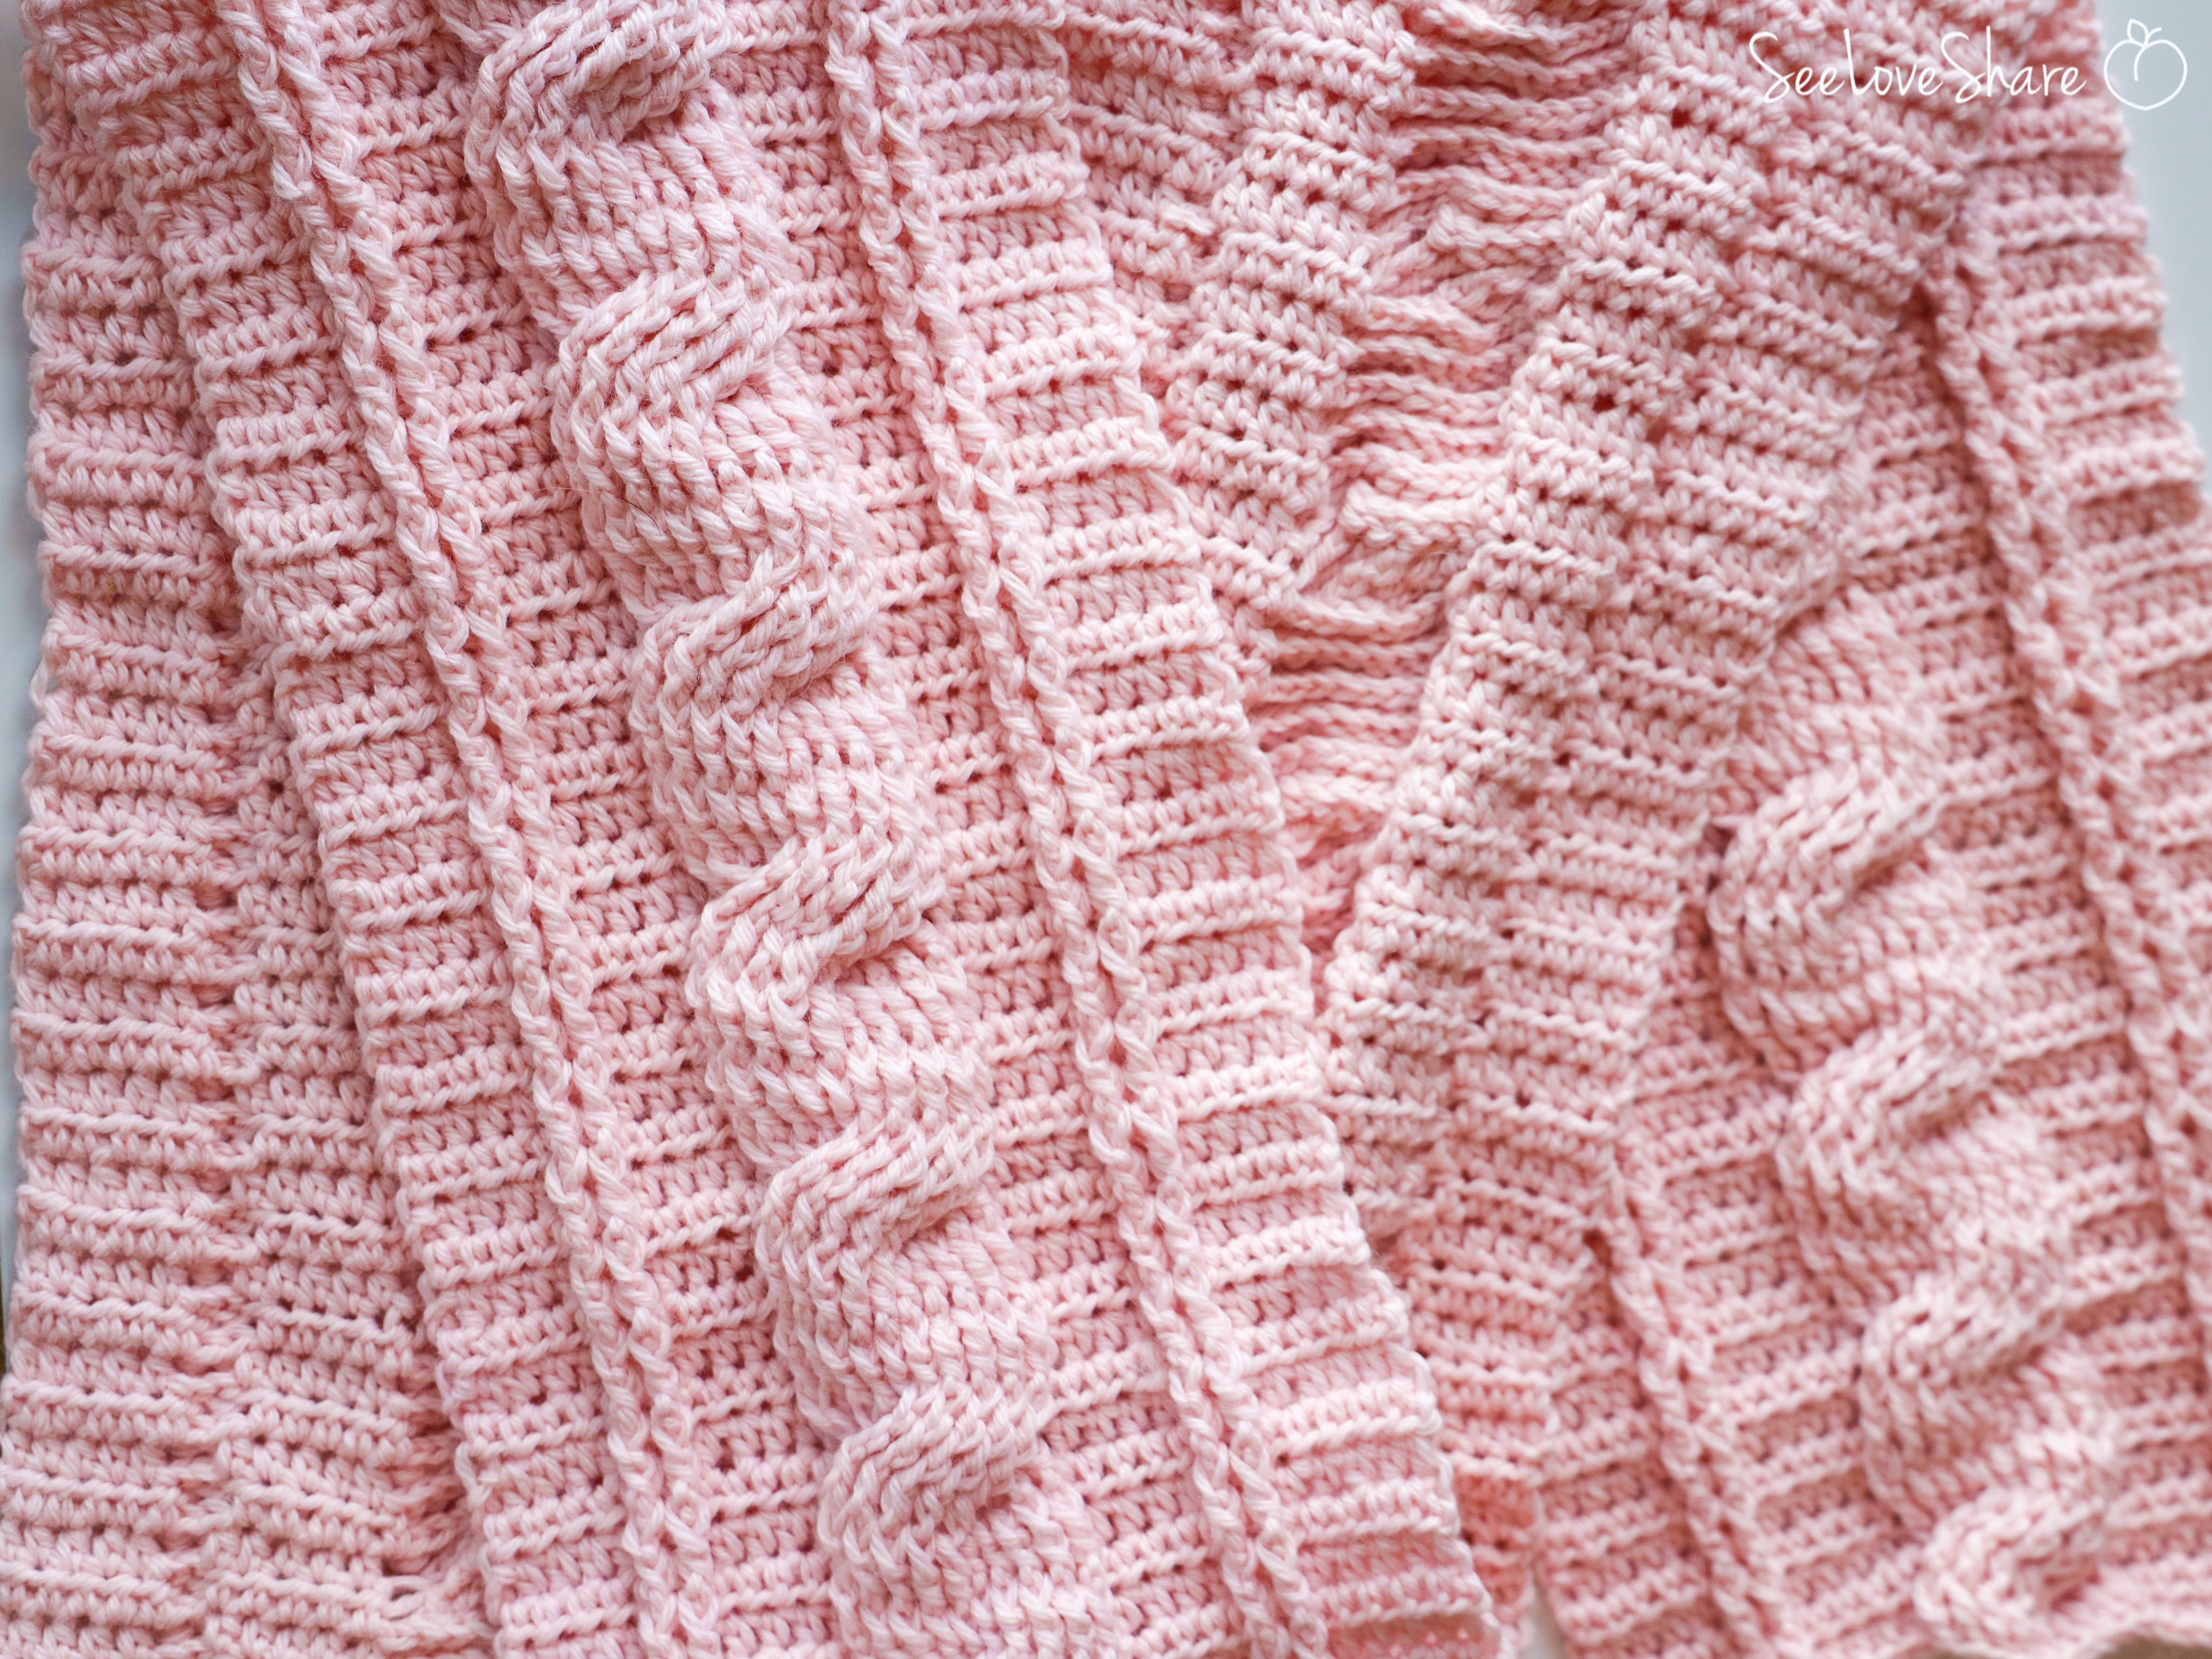 Make it a setRustic Crochet Cable ScarfFree pattern — cables to match your new beanie
Make It a Ponytail or Messy Bun Hat
Want to pull a ponytail or a messy bun through the top? Instead of closing the crown, you leave it open and crochet a hair elastic into the last round, so the opening gathers itself. No drawstring, and nothing to sew afterward. It takes the same three rounds a closed crown does, so the hat finishes at the same height — and the trick works on any beanie you’ve already made, not just this one.
- Work the body to full height, right up to where the crown decreases would start.
- Work Decrease Round 1 only — the one above, down to 42 sts. That’s what tips the braids in so the top still tapers. Your opening should measure about 12″ around.
- One collar round: ch 1, *hdc in the next 3 sts, FPdc around each of the next 6 sts; rep from * around — 42 sts. Keep the post stitches going here. A plain round worked across the top of post stitches leaves a gap behind them.
- Crochet in the elastic: hold a hair elastic against the inside of the top edge, ch 1, then sc in each st around, catching the elastic inside every stitch — hook under the elastic and into the stitch, yarn over, pull the loop up over the elastic, then finish the single crochet as usual. Work it loosely, join and fasten off.
Use a soft, fabric-covered, seamless elastic, about a third of your opening when it’s relaxed. For a messy bun instead of a ponytail, work Decrease Round 2 as well before the collar round, for a smaller opening.
The counts above are for size L. The printable PDF has the ponytail and messy bun crown written out for all six sizes, Baby to Adult XL.
Tips
- Try it on as you go. Because the cuff folds, you can check the fit after Round 2 and again before the crown.
- Count in threes. Each strand is 3 posts. If a cross looks lopsided, count the posts on either side of the valley.
- Keep the crosses loose. Trebles that reach around three posts can pull tight. Give the loops a little extra slack.
- Mind the valleys. The half double crochet columns are shorter than the cables, which makes the braids pop. It’s supposed to look that way.
- Want it slouchier? Add another Round 3–6 repeat before the crown, and turn the cuff up less.
Making these as gifts?
The PDF has every size, Baby to Adult XL
Make matching hats for the whole family this winter. All six sizes written out in full, both video tutorials linked, and no ads — ready to print or keep on your tablet.
Get it on Etsy → Get it on Ravelry →Join the SeeLoveShare Newsletter
 Pair your beanie with a cardiganStriped Crochet CardiganTop down and seamless — sizes XS to 5X
More Patterns You’ll Love
 Hudson’s First Baby Beanie — a quick free crochet beanie for the little ones
- Baby Molly’s OGO Cable Stitch Blanket — more cable texture
- Knit Cable Stitch Pumpkin — a beginner-friendly knit cable
- Crochet Tricks Crocheters Wish They’d Known Sooner
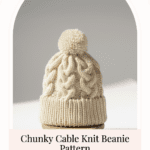
- Prefer knitting? The Chunky Cable Knit Beanie — the knit version of this hat
 Rustic Crochet Cable Scarf — a cabled scarf to pair with your beanie
- Crochet Cable Pumpkin — a small, beginner-friendly first cable project
 Two Toned Beanie — a quick unisex crochet hat


FAQ
Is this crochet cable beanie beginner friendly?
It’s best for an adventurous beginner or intermediate crocheter. If you’re comfortable with double crochet and have tried front post stitches, the two video tutorials will walk you through the crosses.
Can I use a different yarn?
Yes — any worsted weight (#4) yarn that meets gauge will work. Wool and wool blends give the crispest cables. Acrylic works too, but the ribbed brim won’t spring back as much.
How much yarn do I need?
About 215 yards for size L, plus about 30 yards if you add a yarn pom-pom: 2 balls of Patons Classic Wool Worsted. Yardage for every other size is in the printable PDF.
How do I make the hat bigger or smaller?
The free version is size L. The printable PDF on Etsy or Ravelry has five more sizes, from Baby to Adult XL, each written out in full. For small adjustments to size L, change hook size: up a size for slightly bigger, down a size for slightly smaller.
Is there a kids size?
Yes. The printable PDF on Etsy or Ravelry adds a Baby size (to fit 15½–17″ heads, about 6–18 months) and a Child size (17–18½” heads, about 2–6 years), alongside adult S, M, L and XL. The kids sizes have five braids instead of six, so the little hats look just like the big ones.
Can I make this a messy bun or ponytail hat?
Yes. Work one decrease round instead of three, add a collar round, then crochet a hair elastic into the last round so the opening gathers itself. There’s a step-by-step video and the full instructions in the section above, and the same trick works on any beanie you’ve already made.
Why is the brim not sewn down?
So you can choose the cuff depth. Fold it up 2½” for the classic look, less for a slouchy beanie, or leave it down for extra length.
Why do my cables look puffy?
That’s the design — the valleys between the braids are half double crochet, which is shorter than the cable stitches, so the braids stand out. If they’re pulling so much the hat won’t lie flat, try going up a hook size.