
September 16th, 2026
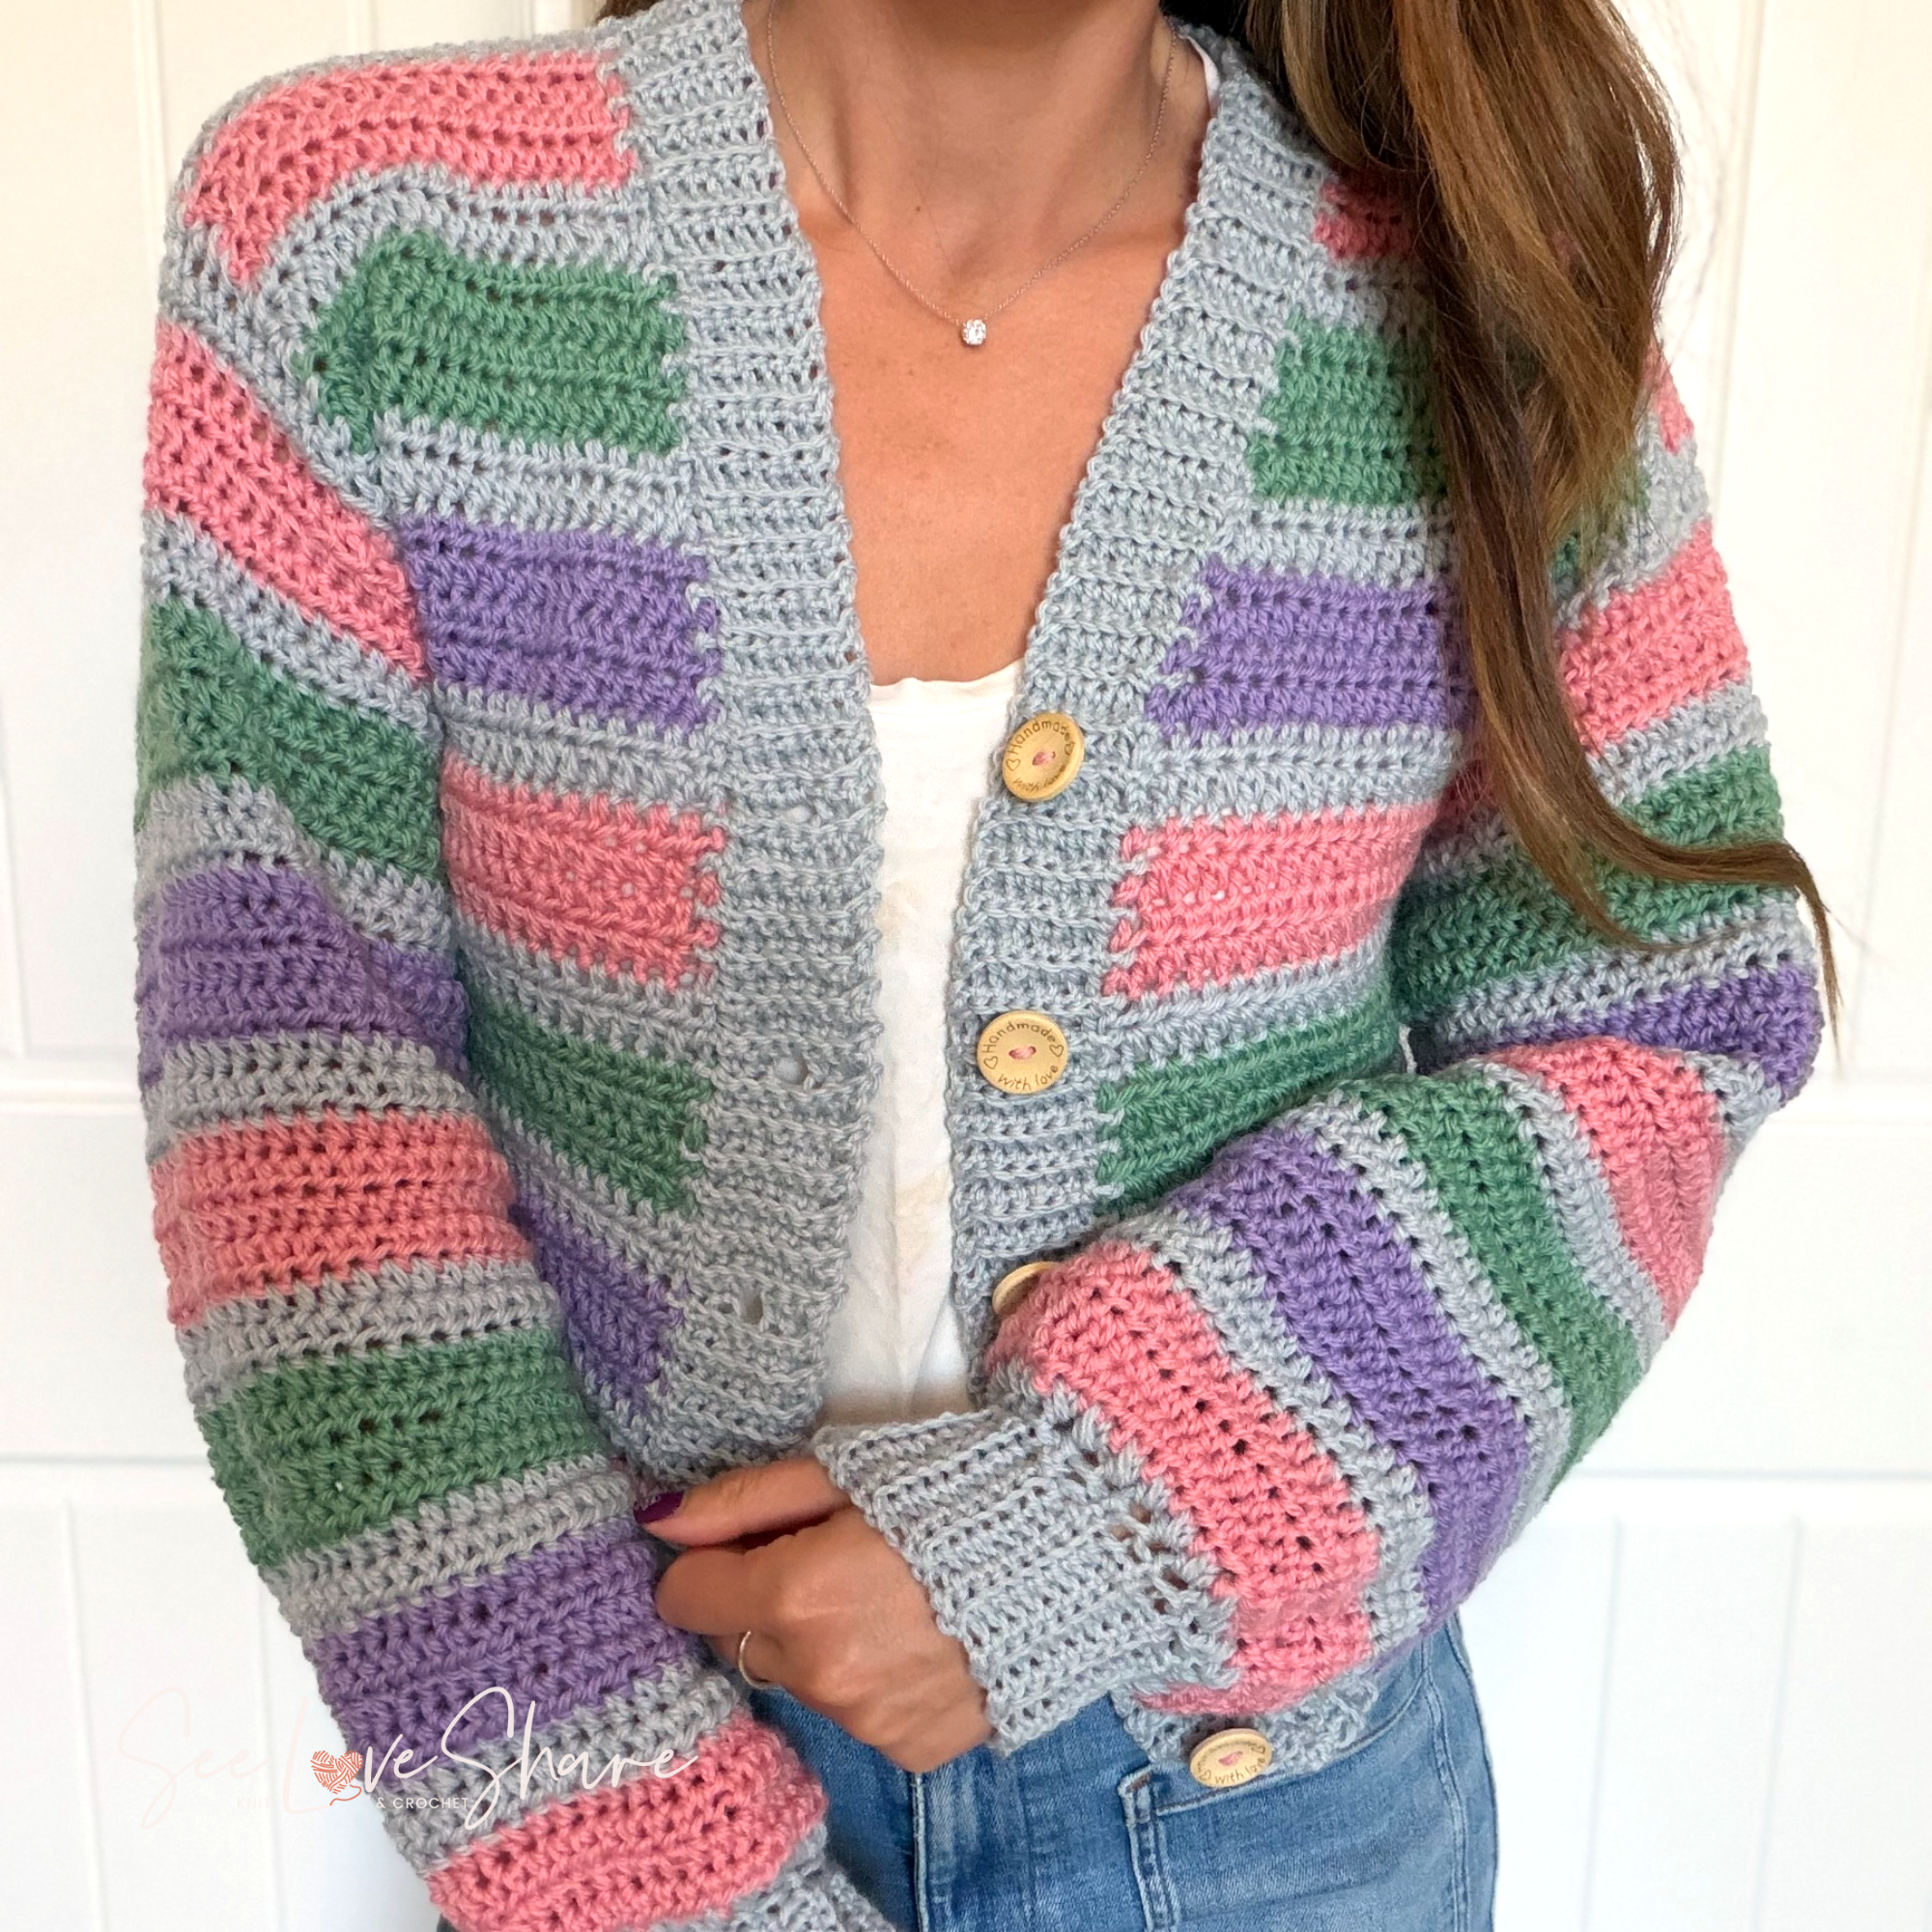
Striped Crochet Cardigan Pattern — Top Down, Seamless, Sizes XS to 5X
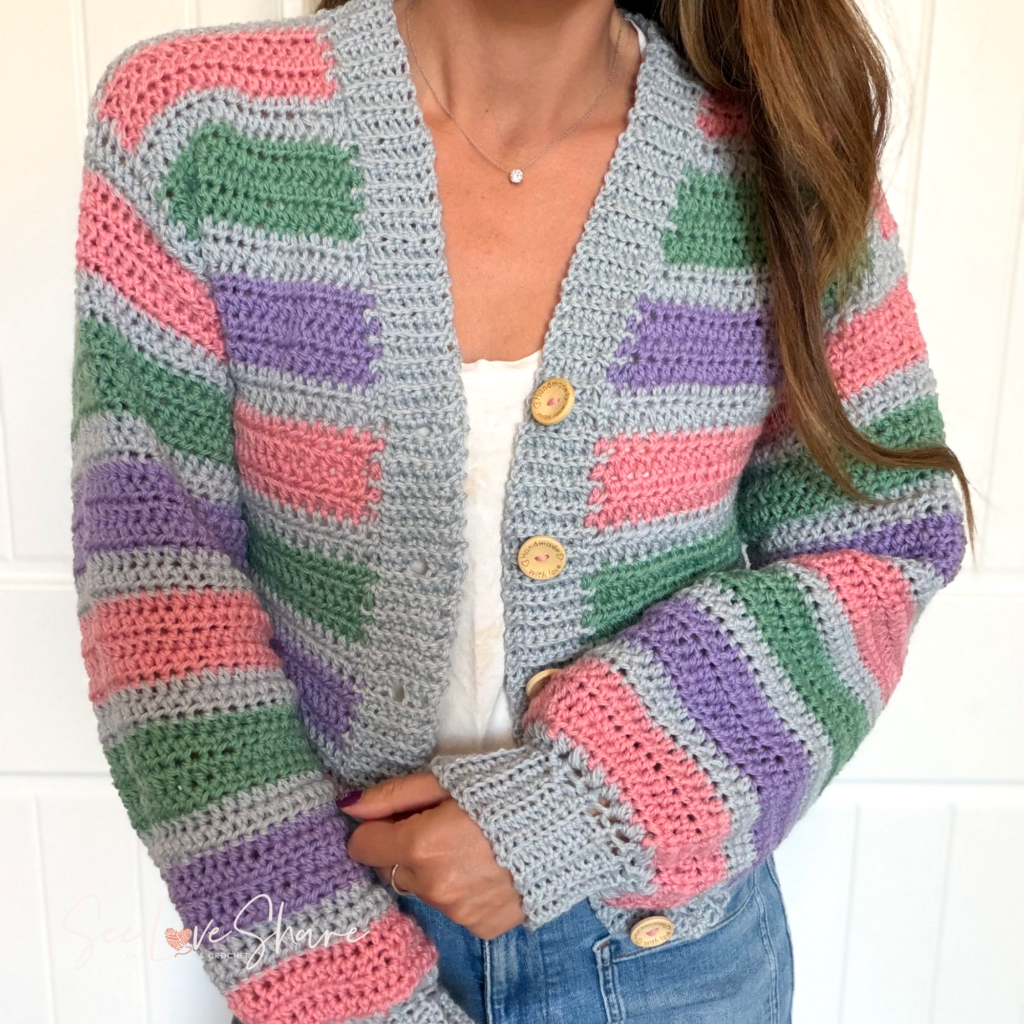
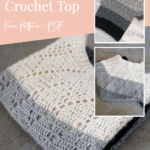
This striped crochet cardigan pattern is worked from the shoulders down in one continuous piece, with no seams anywhere and no blocking at the end. Each pastel stripe is outlined in soft gray, so the colours read as blocks of stained glass rather than plain bands — and because it is top-down, you can slip it on at any point and set the crop exactly where you want it before you commit. Nine sizes, XS through 5X. 🧶
Why you will love this striped crochet cardigan pattern
Almost every striped crochet cardigan you will find is made as five flat pieces — a back, two fronts and two sleeves — which you then sew together. That is where the fit goes wrong, and it is where most people quit. Sleeve caps do not match armholes, one shoulder ends up longer than the other, and by the time you know, the crocheting is already done.
This one never becomes separate pieces. You start with a single chain at the shoulders, the back grows down from the top of that chain, both fronts grow down from its underside, and the shoulders are made rather than sewn. The sleeves are picked up around the armholes and worked in the round. The hem, cuffs and front band are ribbing, joined on as you go. When you fasten off the last stitch, the cardigan is finished. There is nothing to seam, nothing to set in, and nothing to pin out.
- Completely seamless — no shoulder seams, no side seams, no sleeves to set in
- No blocking. The cardigan in these photos was never blocked, not once
- Top-down, so you try it on as you go and choose your own crop length
- Only two stitches the whole way through — half double crochet and single crochet
- Nine sizes, XS to 5X, every one written out in full with its own stitch counts
- Every stripe outlined in gray, so the colours read as blocks instead of bands
How the top-down cardigan is built
It is worth understanding the shape of it before you start, because the first few rows do not look like a cardigan at all.
You chain once, loosely, and that chain is the line across the top of both shoulders. Work half double crochet along it and you have the top of the back. Then you turn the work over and crochet into the unused loops on the underside of that same chain — one group of stitches for each front, with the back neck left untouched in the middle. Now three pieces are hanging from one chain, and there is not a single seam holding them together, because they were never apart.
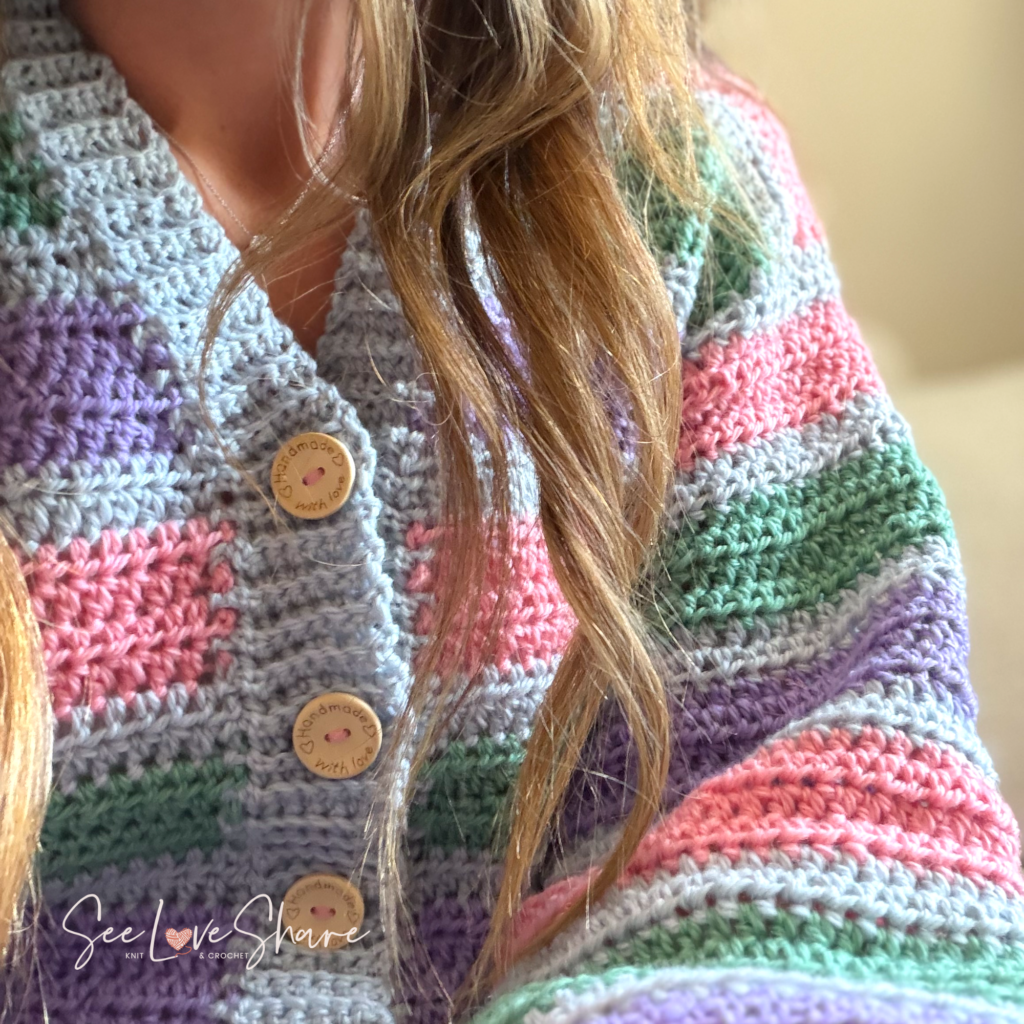
The fronts grow downward with an increase at each neck edge on alternate rows, which is what opens the V. The back just grows straight down. When the armhole is deep enough, you work the last two rows on all three pieces separately — that deepens the armhole without widening the body — and then one long row brings everything back onto a single hook: across the right front, a chain under the arm, across the back, a second chain under the arm, and across the left front. From there the body is one piece to the hem.
That underarm chain is doing something clever in the larger sizes. Shoulders do not get wider at the same rate a bust does, so the back only grows about an inch and a quarter per size and everything else gets added low, under the arm, where the extra width actually belongs. It is why the 5X hangs like a 5X rather than like a scaled-up small.
Watch the three fiddly bits
Three steps in this cardigan are much easier to watch than to read, so they are filmed and linked from inside the PDF. Each one is under a minute. Watch the one you need, when you need it, instead of scrubbing through a two-hour tutorial.
- Picking up stitches for the sleeve — the ratio that actually lies flat is four stitches for every three row-ends. One per row-end pulls the armhole in; any more than that ruffles it.
- Joining the back to the fronts — the row where three pieces become one. You work across the right front, chain the underarm, work across the back, chain the second underarm, and finish across the left front, all in a single row.
- Joining the ribbed cuff as you go — so there is nothing to sew at the end, and the cuff comes out snugger than the sleeve edge, which is what makes a cuff hug instead of flare.
What you will need
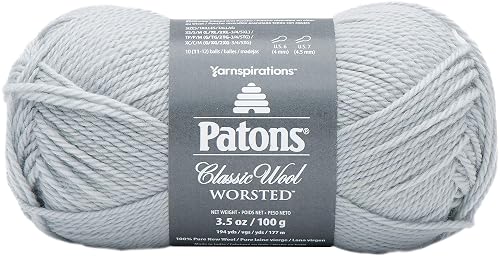
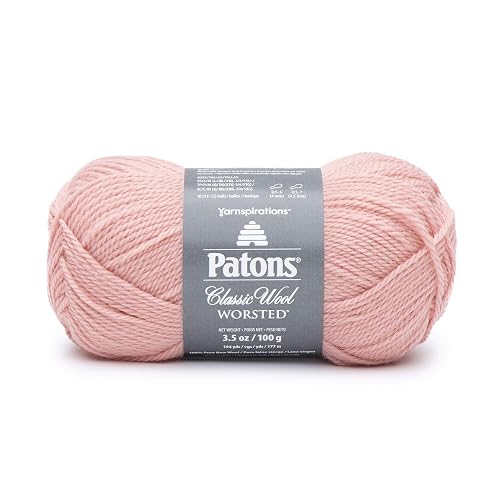
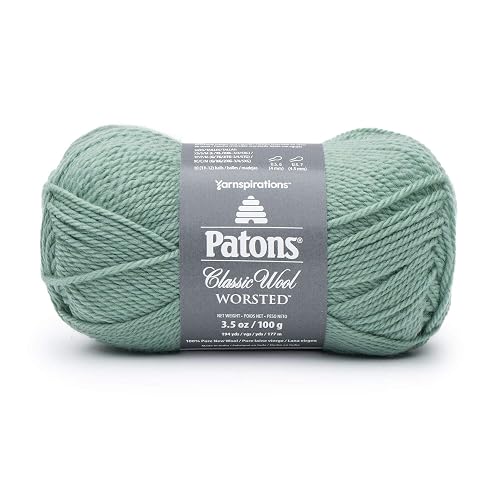
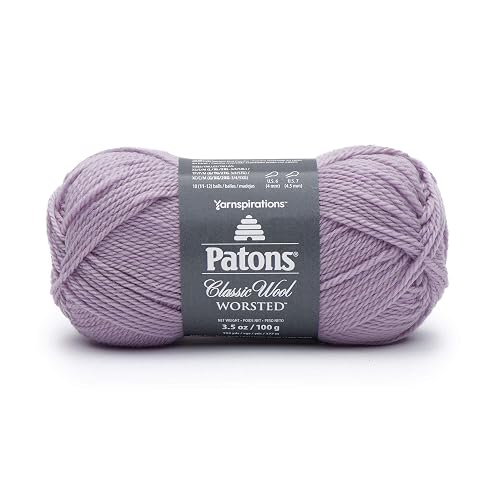
- Yarn: worsted weight #4 in four colours. The sample is Patons Classic Wool Worsted in Cool Gray, Pink Quartz, Basil and Soft Orchid — about 1,075 yds for size S, and 830 to 2,530 yds across the full range. The pattern breaks the yardage down per colour, per size.
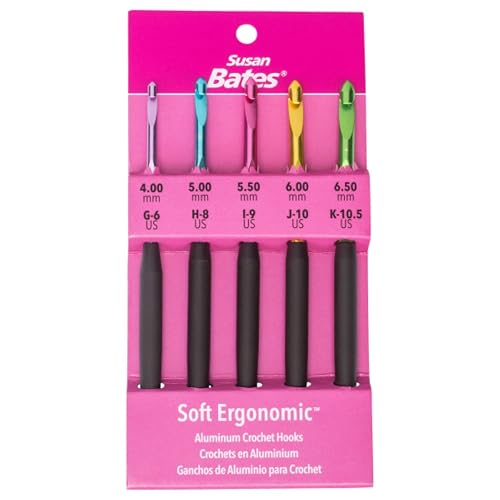
- Hooks: 6.0mm (US J/10) for the body and sleeves, 5.0mm (US H/8) for the ribbing
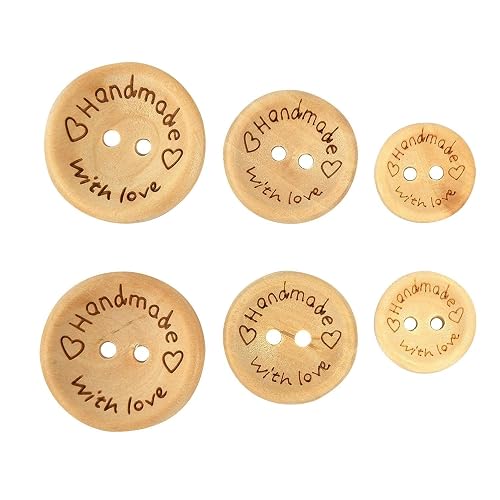
- Buttons: five 1″ (25mm) flat buttons, two or four holes, no shanks
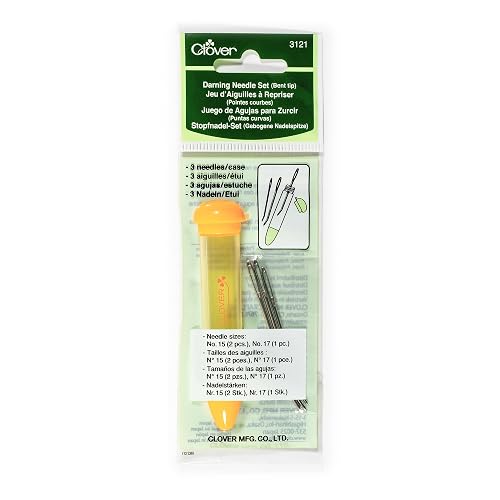
- Also: a tapestry needle. No stitch markers needed.
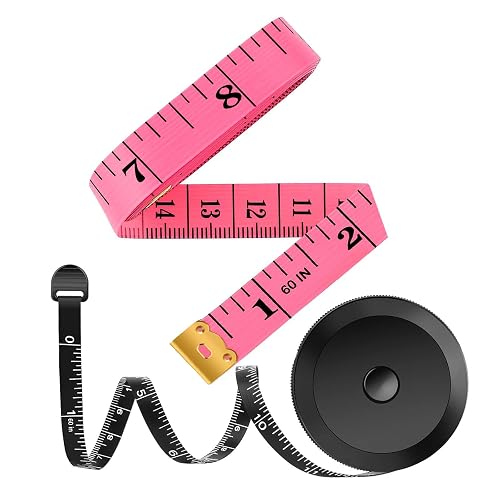
Shop the materials
New to crocheting a garment from the top down?
If every sweater you have made so far started at the bottom and got sewn together at the end, top-down will feel strange for about twenty minutes and then feel obviously better.
The reason is simple: you can put it on. At any point from about row ten onward you can slip the whole thing over your shoulders and look in a mirror. Is the V deep enough? Are the shoulders sitting where you want them? Is this long enough to be a crop, or has it gone past the waistband? Every one of those questions gets answered while there is still time to do something about it. Bottom-up construction saves all of those questions until the very end, and answers them all at once, usually badly.
The pattern has fit checkpoints written into it — specific rows where it tells you to stop, try it on, and check a measurement against the schematic before carrying on.
The join-as-you-go rhythm nobody explains
Here is the thing that took the longest to work out, and the reason the bands on this cardigan sit flat instead of rippling. It applies to any sideways ribbed band you attach as you go, not just this one, so it is worth knowing.
A join-as-you-go band adds two rows of band for every join, because you join at the end of every other row. So the rhythm of your joins decides the length of the band, and it has to match what you are joining to — which is not the same on every edge.
- Along an edge made of stitches — the top of a gathered sleeve, the back neck — join into two stitches every single time. The band then comes out slightly snugger than the edge, which is exactly what makes a cuff hug rather than flare.
- Along an edge made of row-ends — the two front edges — join one, one, then two. A half double crochet row is about one and a half times as tall as a stitch is wide, so joining one-to-one down a row-end edge produces a ruffle.
- Around the shoulder corners, where the front edge turns onto the back neck, the neckline is concave — the band’s free edge is on the inside of the turn and has less distance to cover. Five joins of three, centred on each corner, take up the slack.
There is one more rule in the pattern that is easy to miss and impossible to fix afterwards: which corner you start the band at changes how the join looks. Because the joins land on every other row, they all end up on the same face of the work. Start at one end and the slip stitches tuck neatly under the last row of the body; start at the other and a chain of slip stitches in the band colour lies across that row and chops it into segments. The pattern tells you which corner, and gives you a five-row check so you find out immediately rather than at the end of a three-hour band.
Size, gauge and skill level
Skill level: advanced beginner. If you can work half double crochet in rows and keep a stitch count, you can make this. There are only two stitches in the whole cardigan.
Gauge: 12 hdc and 10 rows = 4 inches in half double crochet on the 6.0mm hook, unblocked. That word matters. Every measurement in this pattern was taken from the finished garment in the photographs, not from a swatch and not from a calculation, and that garment was never blocked. Match the gauge and it will measure correctly straight off the hook.
Sizes: nine, XS through 5X, each written out in full rather than graded with brackets you have to decode. Finished bust measures 30, 34, 38, 43, 47, 51, 56, 60 and 64 inches, with 0–2″ of ease in the smaller sizes rising to 2–4″ in the largest — the convention larger-size buyers expect. Finished length runs from 17″ to 24½” including the ribbed hem band. A full schematic with thirteen measurements for every size is in the PDF. The cardigan photographed throughout is a size S.
Choosing your own four colours
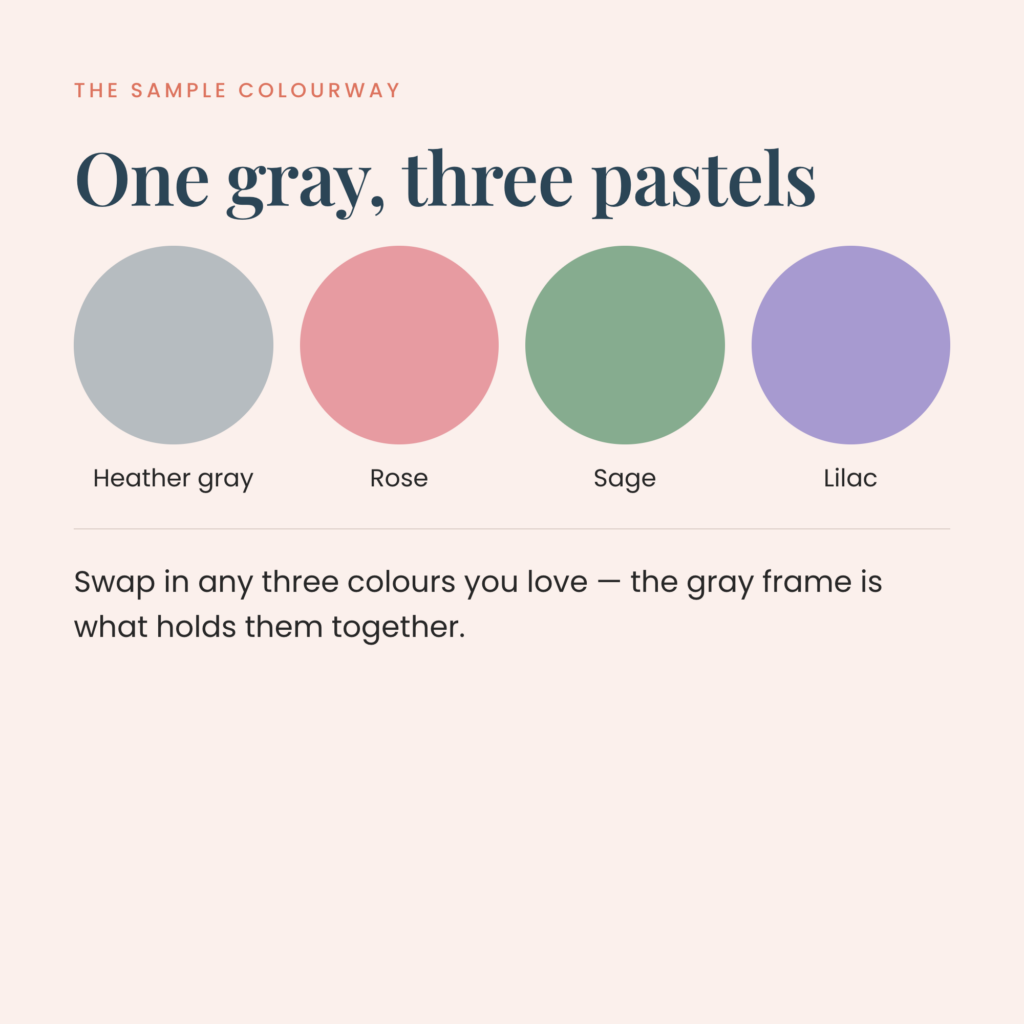
The stripe sequence repeats every eighteen rows: two rows of gray, four of an accent, two of gray, four of the next accent, two of gray, four of the third. The gray is carried the whole way; the accents are joined and cut as they come round, and every tail ends up hidden under a sleeve or a band.
The part that makes it work is the gray. Two rows of a neutral between every pastel is what turns a set of stripes into a set of blocks — each colour gets its own outline, like leading in stained glass, and colours that would fight if they touched sit happily side by side. So when you swap the palette, keep one calm neutral as the outline colour and choose three accents you like together. Any four colours will work. Three pastels and a charcoal reads modern; three jewel tones and a cream reads vintage.
Striped crochet cardigan pattern FAQ
Is this pattern beginner friendly?
It is written for an advanced beginner. There are only two stitches in it — half double crochet and single crochet — and no colourwork, no shaping beyond simple increases, and no seaming. If you have made a scarf or a blanket and can keep a stitch count, this is a reasonable first garment. Every row ends with its own stitch count so you always know where you are.
How long does the cardigan take to make?
The size S sample took about a week of evenings. A larger size or a slower pace will take longer, but there is no finishing stage to add on at the end — no seaming, no blocking, no sewing in sleeves — so the last stitch really is the last stitch.
Do I really not have to block it?
No. The gauge in the pattern is an unblocked gauge taken from the finished garment, so if your swatch matches it unblocked, your cardigan will measure correctly unblocked. The sample was never blocked and the hem, bands and cuffs all lie flat. If you enjoy blocking, block it — it just is not doing any structural work here. If you are curious about when blocking does matter, I have a full guide.
Can I make it longer than cropped?
Yes, and that is one of the advantages of working top-down. The body is worked in complete eighteen-row stripe repeats, so add rows in blocks of six and no stripe is left half-finished. Try it on as you go and stop where you like. The pattern says exactly where to add or remove length, and the same applies to the sleeves.
Can I sell what I make from this pattern?
Yes. You are welcome to sell finished items made from the pattern — please credit SeeLoveShare as the designer. The pattern file itself is for personal use and cannot be shared or resold.
Get the striped crochet cardigan pattern
The full pattern comes as an instant download PDF: written row by row with a stitch count at the end of every row, all nine sizes in full, a stripe map for the body and both sleeves, a schematic with thirteen measurements per size, yarn amounts worked out per colour and per size, fit checkpoints as you go, and links to the three technique videos.
Save This Pattern for Later
Pin this post to your favorite crochet or handmade wardrobe board so you can come back to it when you are ready to cast on. 📌
More Crochet Garment Patterns
 Granny Square Cardigan — a free crochet cardigan, if you want to try one before you buy one
- Simple Comfy Blanket Sweater — knit and crochet versions of the same easy layer
- Diamond Stitch Crochet Top — a short-sleeve raglan, free plus PDF
- The Ultimate Guide to Blocking — for the projects that do need it


Stay in the Loop
If you make one, I would love to see it — tag your finished cardigan with #SeeLoveShare so I can come and admire it. 🤍
And if you loved this striped crochet cardigan pattern and want to support my small business, the biggest thing you can do is leave a review on the Etsy listing. It genuinely means the world and helps other makers find these patterns too. Thank you!
Happy crocheting,
Ashleigh