
August 28th, 2022
Crochet Cable Pumpkin Pattern — Free Beginner Cable Tutorial
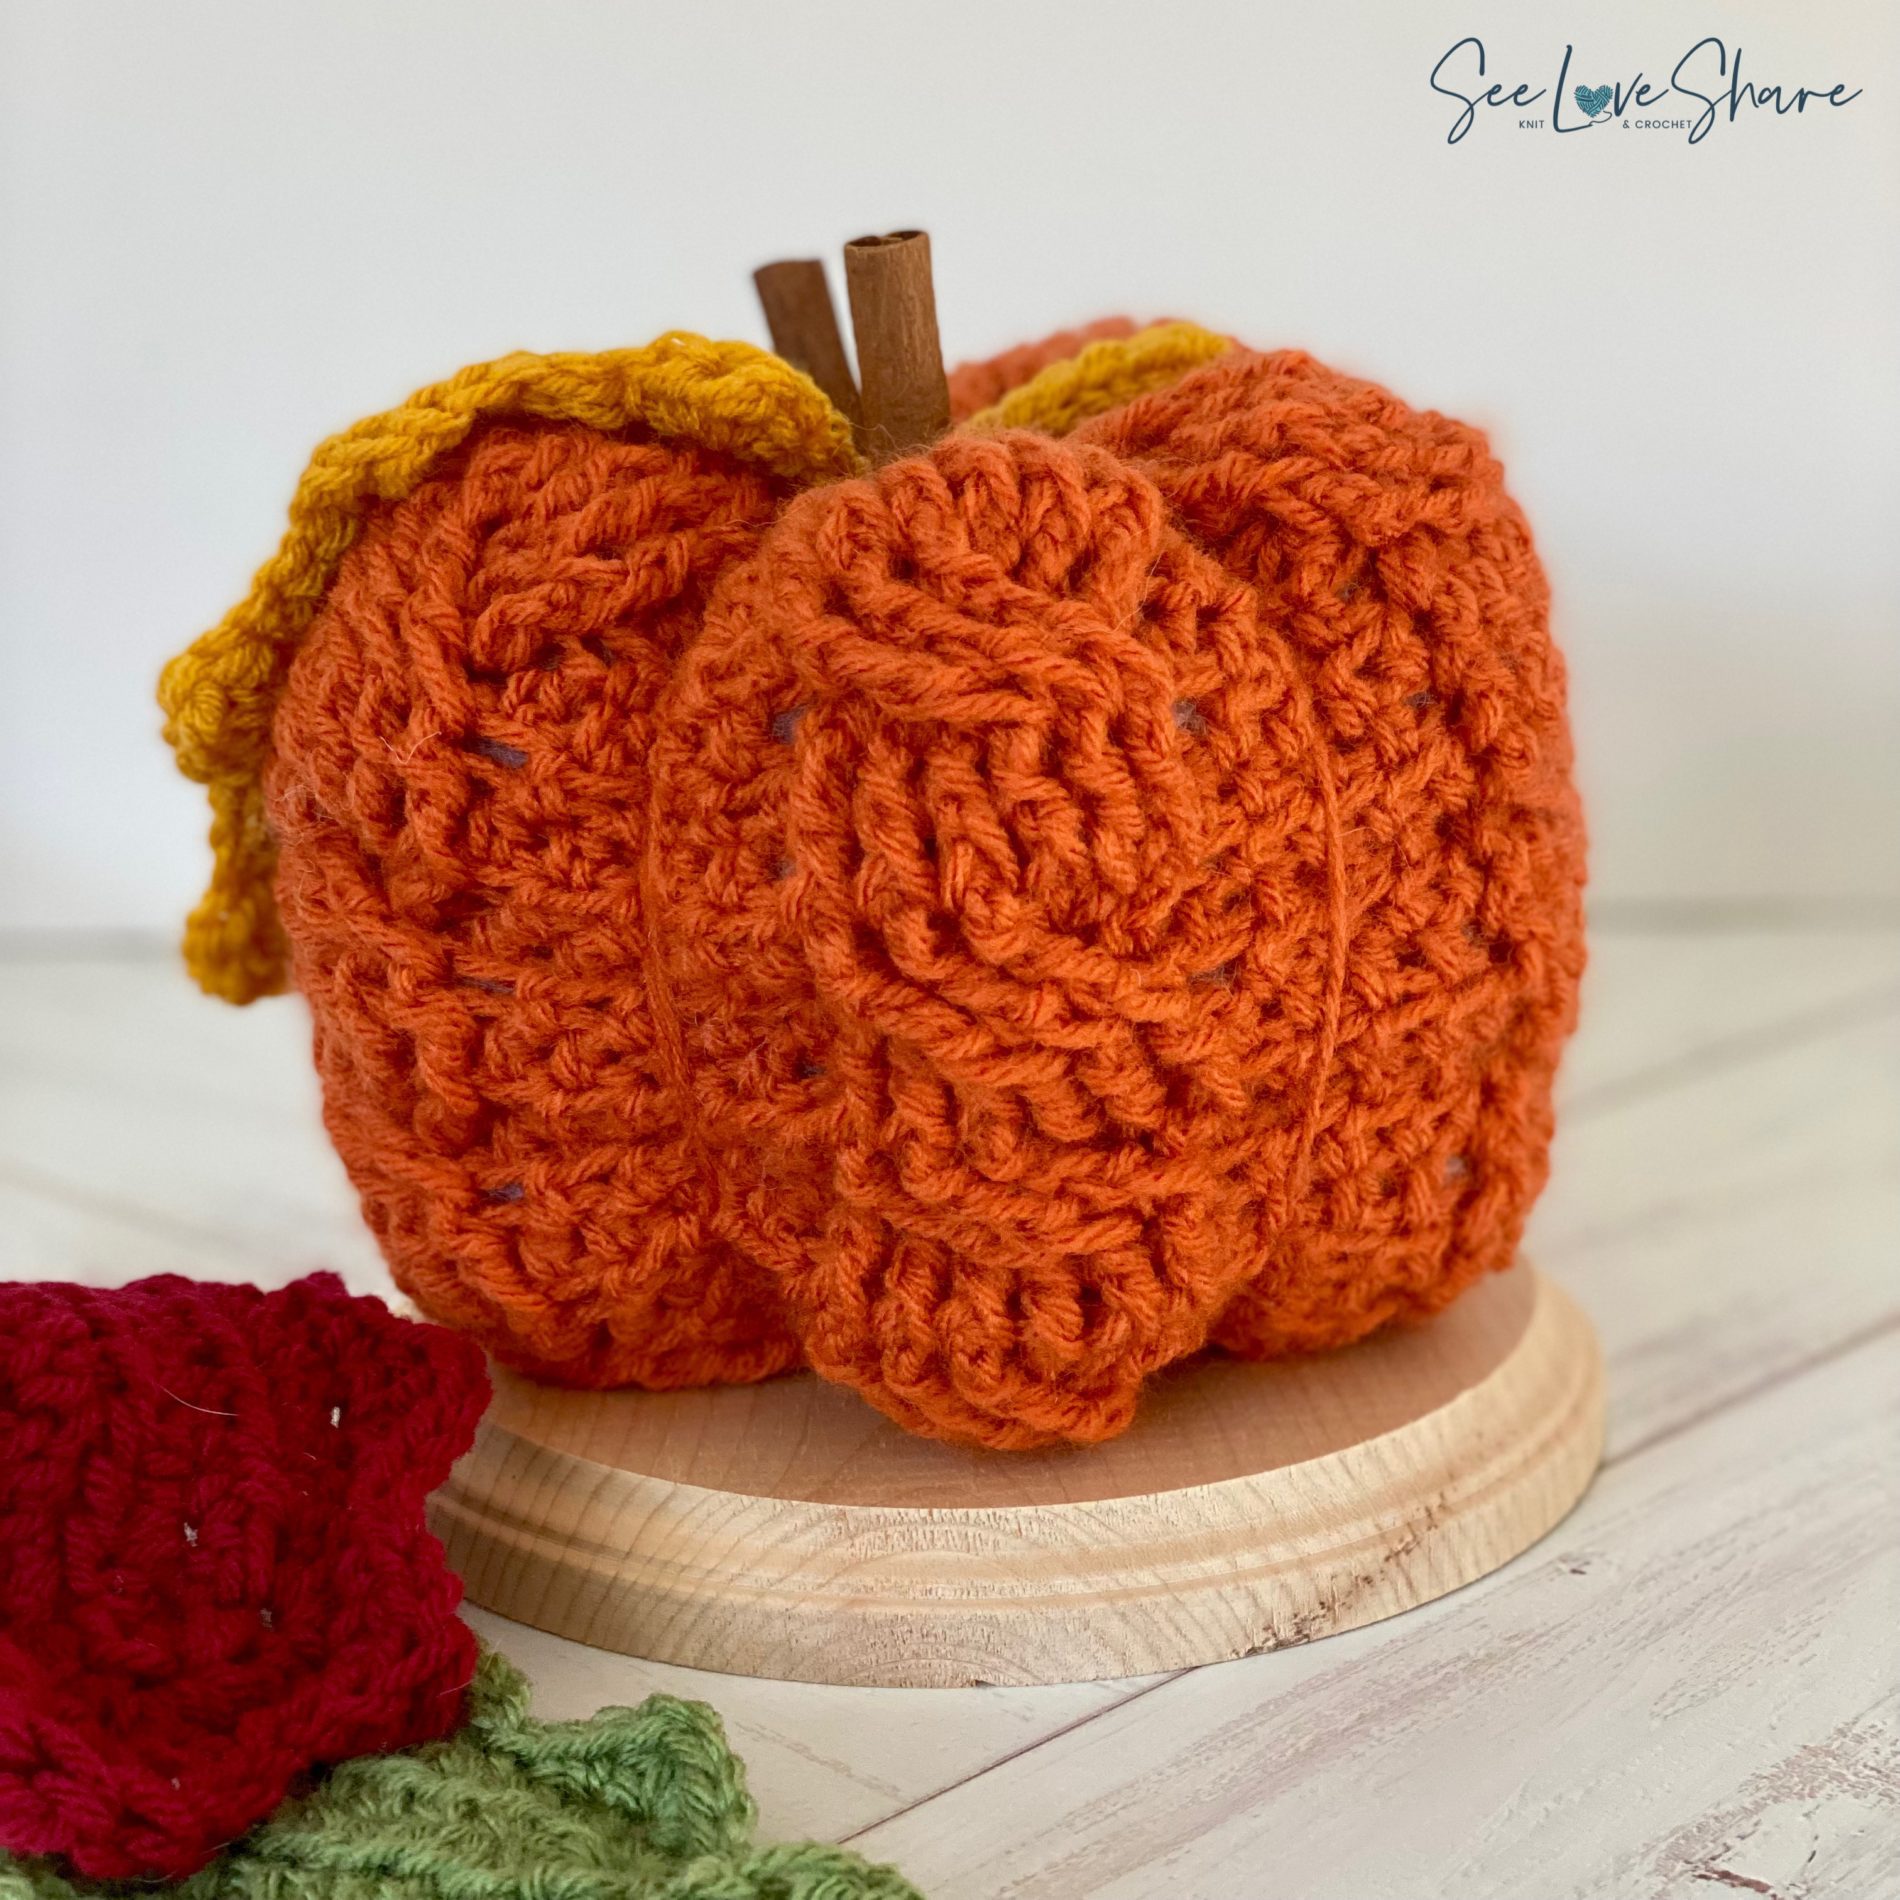
This crochet cable pumpkin is the cosy, twisted-cable fall decor piece that comes together faster than you’d think — and looks impressively textured when it’s done. Worked as a flat rectangle with front-post and back-post cables, then seamed up and cinched into shape, the crochet cable pumpkin is a beautiful introduction to cable crochet without committing to a whole sweater. 🎃
If you’ve never worked cables before, don’t let the technique scare you off. This pattern uses just FPDC and BPDC (front-post and back-post double crochet) plus a single front-post treble for the twist. By the end you’ll have a stunning textured pumpkin AND a new stitch technique under your belt. Everything you need is in the printable PDF.

Get the Printable PDF
Crochet Cable Pumpkin Pattern PDF
Skip the scrolling and get the ad-free, printable pattern on Etsy. Use code SEELOVE15 for 15% off your order.
Why You’ll Love This Crochet Cable Pumpkin
There’s something so satisfying about a fall project that’s quick, beginner-friendly, and visually impressive. This crochet cable pumpkin is all three. The cables give it that high-end farmhouse look without the multi-day commitment of a cabled sweater or blanket — and the pattern walks you through every front-post and back-post stitch step by step.
- ✅ Beginner-friendly intro to cable crochet — just FPDC, BPDC, and one FPTR
- ✅ Worked flat as a rectangle, then seamed — manageable in short sessions
- ✅ Approx. 8″ wide × 6″ tall — perfect mantle or coffee table size
- ✅ Step-by-step assembly photos in the PDF for every stage
- ✅ Endlessly customizable — change yarn weight, colour, or add fall leaves
- ✅ Works as a standalone piece or grouped with other crochet pumpkins for a vignette
Crochet Cable Pumpkin Pattern Details
| Skill Level | Beginner-Intermediate |
| Finished Size | Approx. 8in wide, 6in tall |
| Yarn Weight | Level 4 worsted weight |
| Hook Size | 5.5mm |
| Gauge | 12 SC and 14 rows = 4in |
| Format | PDF instant download |
Yarn weight basics matter for getting the right look — if you’re new to weights, the Craft Yarn Council’s standard yarn weight system is a great quick reference.
Materials Needed
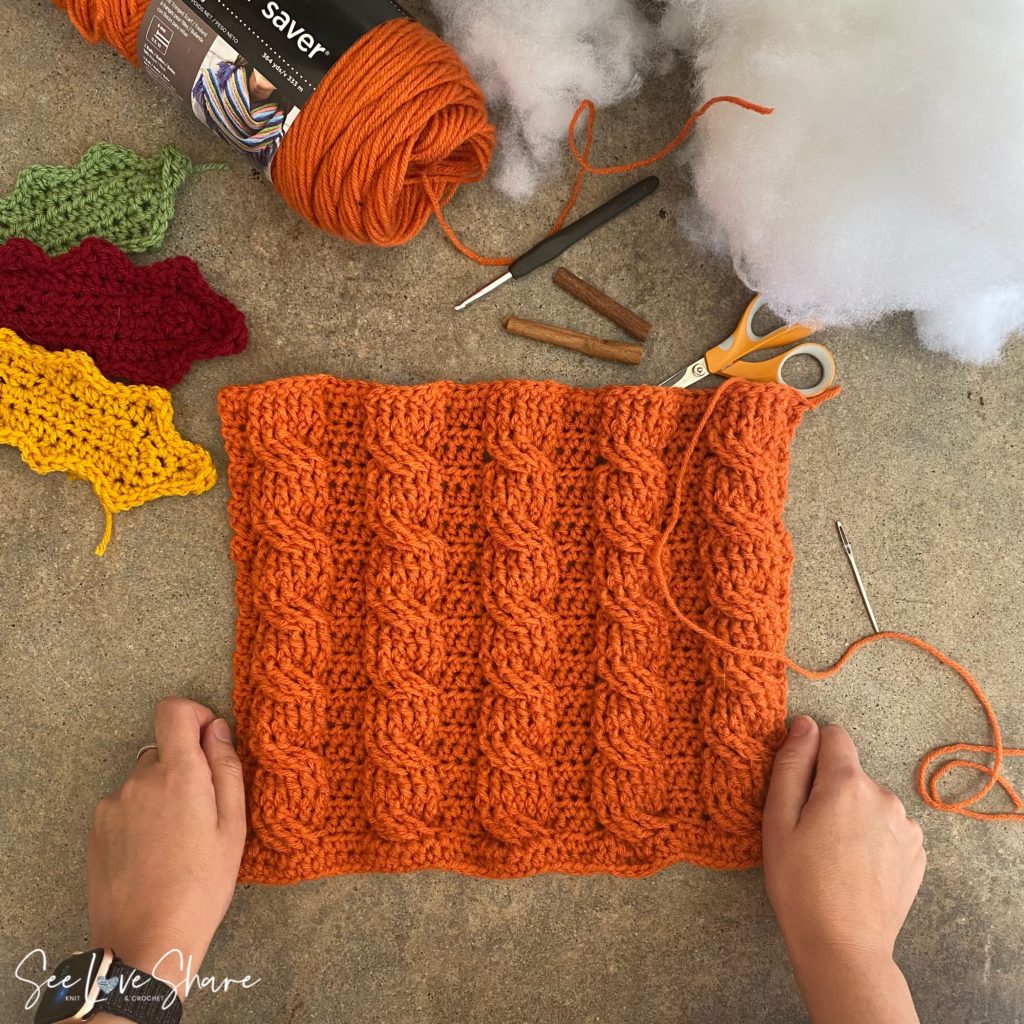
- 🧶 Worsted weight yarn (level 4) in pumpkin colour — I used Red Heart Super Saver in Pumpkin
- 🪝 5.5mm crochet hook — this crochet hook set covers every size you’ll need
- 🧵 Yarn needle for seaming and shaping
- ✂️ Sharp scissors
- 🧸 Polyfil stuffing
- 🌿 Cinnamon sticks for the stem (optional but highly recommended)
- 🍂 Optional: assorted yarn scraps for fall leaf embellishments
Shop the materials


Red Heart Super Saver is a budget-friendly option that holds shape well, perfect for decor that gets pulled out year after year. Yarnspirations stocks the full Red Heart colour range if you want to see options in person.
Abbreviations
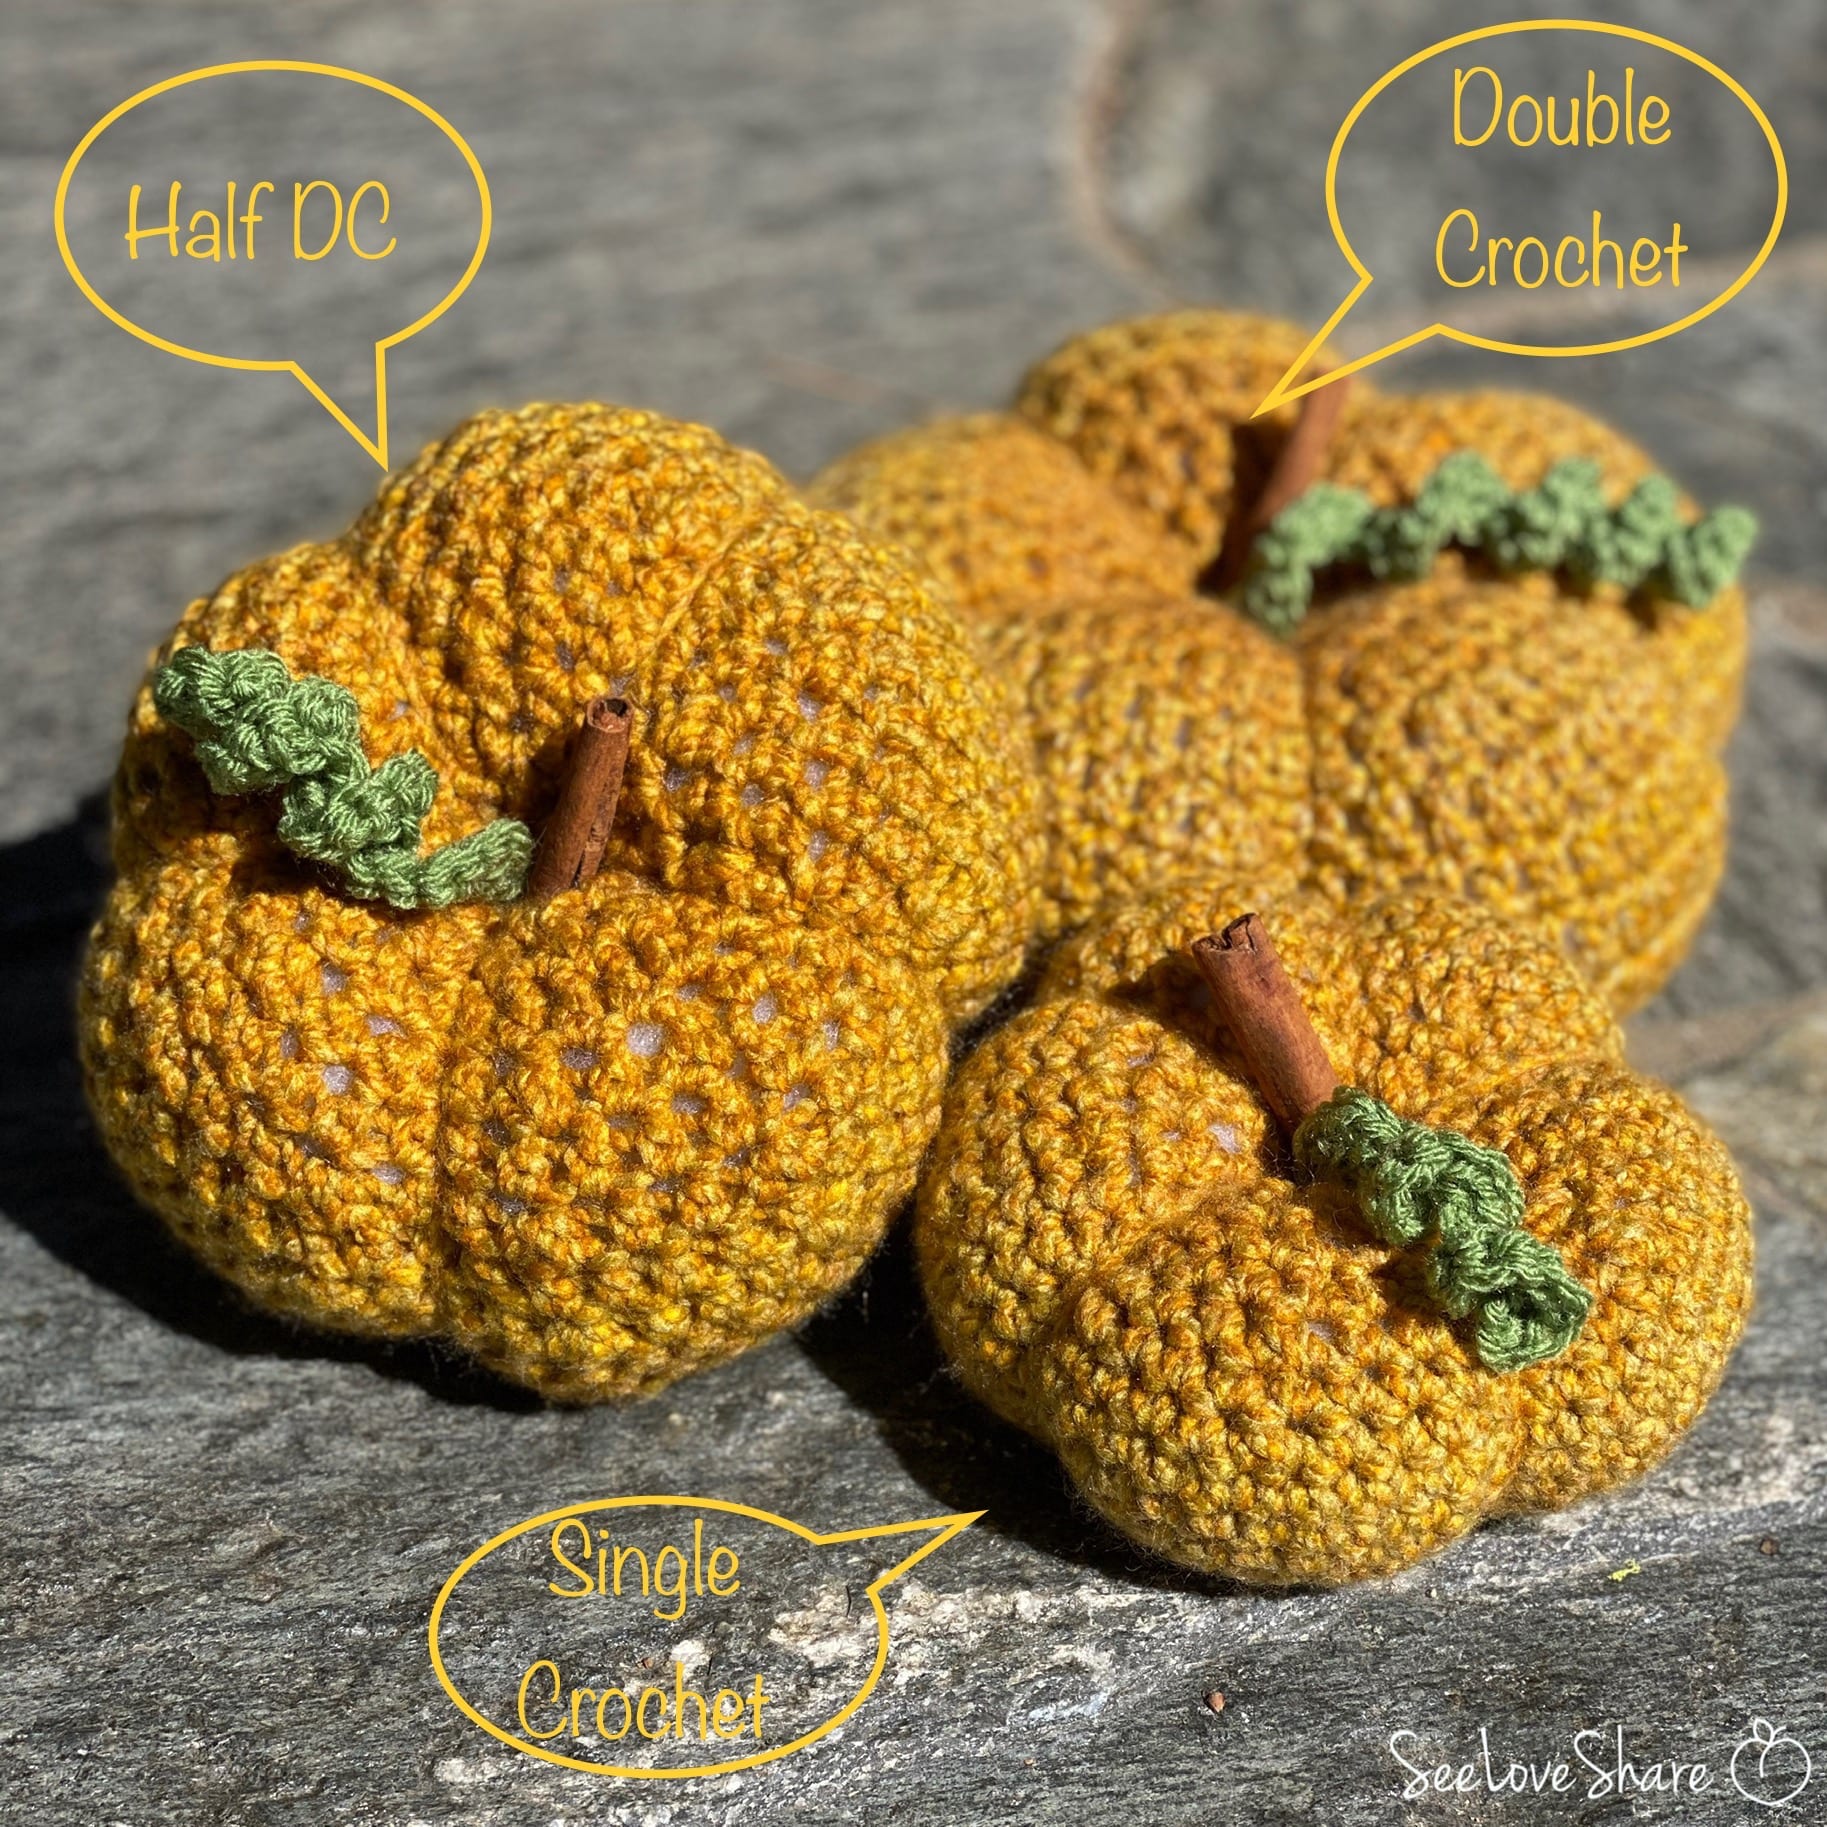
- SC — Single crochet
- DC — Double crochet
- HDC — Half double crochet
- Ch — Chain
- Sts — Stitches
- Yoh — Yarn over hook
- FPDC — Front Post Double Crochet: Yoh and draw up a loop around the post of the next stitch at the front of the work, inserting hook from right to left. (Yoh and draw through 2 loops on hook) twice.
- BPDC — Back Post Double Crochet: Yoh and draw up a loop around the post of the next stitch at the back of the work, inserting hook from right to left. (Yoh and draw through 2 loops on hook) twice.
- FPTR — Front Post Treble Crochet: (Yoh) 2 times and draw up a loop around the post of the indicated stitch at the front of the work, inserting hook from right to left. (Yoh and draw through 2 loops on hook) 3 times.
The Crochet Cable Pumpkin Pattern
The full step-by-step pattern with stitch counts, cable chart, and assembly photos for every stage is in the printable PDF — keep it on your phone, tablet, or print it for your project bag. It includes the rectangle pattern, cable placement guide, seaming instructions, and tips for sizing variations.
If you’d like a refresher on front-post and back-post stitches before you start, check out the FPDC/BPDC tutorial and the cable twist video tutorial — they walk you through every step with photos and video.
Get the Printable PDF
Cable Pumpkin Pattern PDF
Ad-free, print-friendly, and ready to take to your project bag. Use code SEELOVE15 for 15% off.
Assembly Walkthrough
Once your rectangle is complete, the assembly is the magical part where it transforms into a pumpkin. Here’s the high-level walkthrough — full photos and detail are in the PDF.
Step 1: Start with your completed rectangle
Step 2: Sew the sides together
Fold the rectangle so the short edges meet, right sides facing in. Whip-stitch up the seam with a length of matching yarn and your tapestry needle.
Step 3: Cinch the bottom closed
Turn the work right-side out. Weave a long yarn tail along the bottom edge and pull tight to cinch closed, then bind off securely.
Step 4: Stuff with polyfil
Stuff firmly enough to hold shape, but not so tight that the cable texture distorts. The pumpkin should feel plump but soft.
Step 5: Sew the top closed
Repeat the cinch from step 3 along the top edge. Don’t bind off yet — leave a long tail for shaping.
Step 6: Shape the pumpkin segments
With a long yarn tail and the tapestry needle, pull the yarn through the centre of the pumpkin, wrap it around the outside, and pull taut to create a pumpkin segment. Repeat 4-5 more times around to create the classic pumpkin shape with deep creases.
Step 7: Add the stem and accessories
Tuck a cinnamon stick into the centre opening for a rustic stem. Optional: add crochet maple or oak leaves at the base for extra fall styling.
Tips for the Perfect Crochet Cable Pumpkin
- Practice the FPDC/BPDC first. Work a small swatch before starting the pumpkin so the front-post stitches feel natural.
- Count stitches at the end of every row. Cable patterns can mask missed stitches — counting prevents headaches later.
- Stuff in stages. Add stuffing gradually so you don’t overstuff and stretch the cable texture flat.
- Use the cinnamon stick stem. The cinnamon scent makes this decor next-level cosy — and the stick looks more authentic than yarn.
- Group with other pumpkins. A cable pumpkin paired with a gingham plaid pumpkin and a farmhouse stackable trio creates a stunning vignette.
- Size up easily. Add more chain stitches to the foundation row to make a larger pumpkin. The cable repeat is built into the pattern so you can extend it cleanly.
Crochet Cable Pumpkin FAQ
How long does the crochet cable pumpkin take to make?
About 3-5 hours from start to finish, depending on your cable comfort level. The rectangle itself works up in 2-3 hours, assembly takes another hour, and shaping/styling is the last 30 minutes.
Can I make it in different sizes?
Yes — chunkier yarn and a larger hook make a bigger pumpkin, lighter yarn and a smaller hook makes a mini. The pattern includes notes on adjusting the foundation chain to extend the cable repeat cleanly.
What if I’ve never done cables before?
This pattern is a great first cable project. Watch the FPDC/BPDC tutorial and cable twist video tutorial first, then work a small swatch. By row 3 the technique clicks.
What yarn colours work best?
Classic pumpkin orange is gorgeous, but cream and rust shades give a more elevated farmhouse look. Sage green, dusty blue, and burgundy are also stunning for non-traditional fall palettes.
Can I sell finished pumpkins I make?
Yes — small-batch sales of finished items are permitted with this crochet cable pumpkin pattern. Please credit SeeLoveShare as the designer and don’t redistribute or resell the pattern itself.
More Crochet Pumpkin Patterns You’ll Love
Pair this pattern with these other pumpkin makes to build a full fall mantle display:
 Gingham Plaid Crochet Pumpkin — cottagecore textured pumpkin
- Farmhouse Chic Stackable Pumpkins — neutral pumpkin trio
- Mini Pumpkins with Curly Vines — 6 size variations
 Single-Ball Pumpkin Trio — three sizes from one skein
- Lil Monsters Pumpkin Patch — 8 costumed Halloween pumpkins
- 3-Stack Jack-O-Lantern Topiary — Halloween statement centrepiece


Save This Crochet Cable Pumpkin Pattern for Later
Not ready to start today? Pin this post to your favourite fall crochet board on Pinterest so you can come back when pumpkin season hits.
This crochet cable pumpkin pattern, photos, and PDF are © SeeLoveShare LLC. For personal use only — please do not redistribute, copy, or sell the pattern. Small-batch sales of finished items are welcome with credit. Thank you for supporting an independent designer! 🎃