
August 1st, 2023
How to Add Fringe to a Blanket — A Simple DIY Guide
Learning how to add fringe to a blanket is one of those finishing touches that completely transforms a handmade project. I added fringe to one of my chunky knit throws a few years ago on a whim, and honestly it made such a difference — the blanket went from lovely to boutique-quality. Since then I’ve been adding fringe to everything, and I’ve had so many of you ask how to do it that I finally wrote it all down. The good news? Knowing how to add fringe to a blanket is so much easier than it looks. 🧶
You don’t need any special tools, and the whole process takes less than an hour even on a large blanket. This step-by-step tutorial walks you through exactly how to add fringe to a blanket with no special equipment — just yarn, scissors, a crochet hook, and an optional book for uniform cutting. Once you know how to add fringe, you’ll find yourself adding it to throws, scarves, table runners, and more. Here’s exactly how to do it.
Why You’ll Love Learning How to Add Fringe to a Blanket
✔ Instantly elevates any handmade blanket from “lovely” to “boutique”
✔ Takes under an hour even on large throws
✔ Knowing how to add fringe means no special tools required
✔ Beginner-friendly — anyone can do it
✔ Use matching yarn for cohesive look or contrast for statement effect
✔ Works on knit, crochet, and even fabric blankets
✔ Adds beautiful movement and texture to finished pieces
✔ Easy to remove or replace if you change your mind
What You’ll Need
- 🧶 Yarn — match the weight and fiber of your blanket for a cohesive look, or choose a contrast color for a statement effect
- ✂️ Sharp scissors — essential for clean, even cuts
- 🪝 Crochet hook — any size works, used to pull the fringe through the edge stitches
- 📚 A book or piece of cardboard — optional but great for cutting uniform fringe lengths
- 🧵 Tapestry needle — for weaving in any loose ends
Shop the materials


For the best results when learning how to add fringe to a blanket, match the yarn weight and fiber type to your original project. Yarnspirations and Lion Brand stock most popular yarn brands. The Craft Yarn Council has a great chart on matching yarn weights.
How to Add Fringe to a Blanket — Step by Step

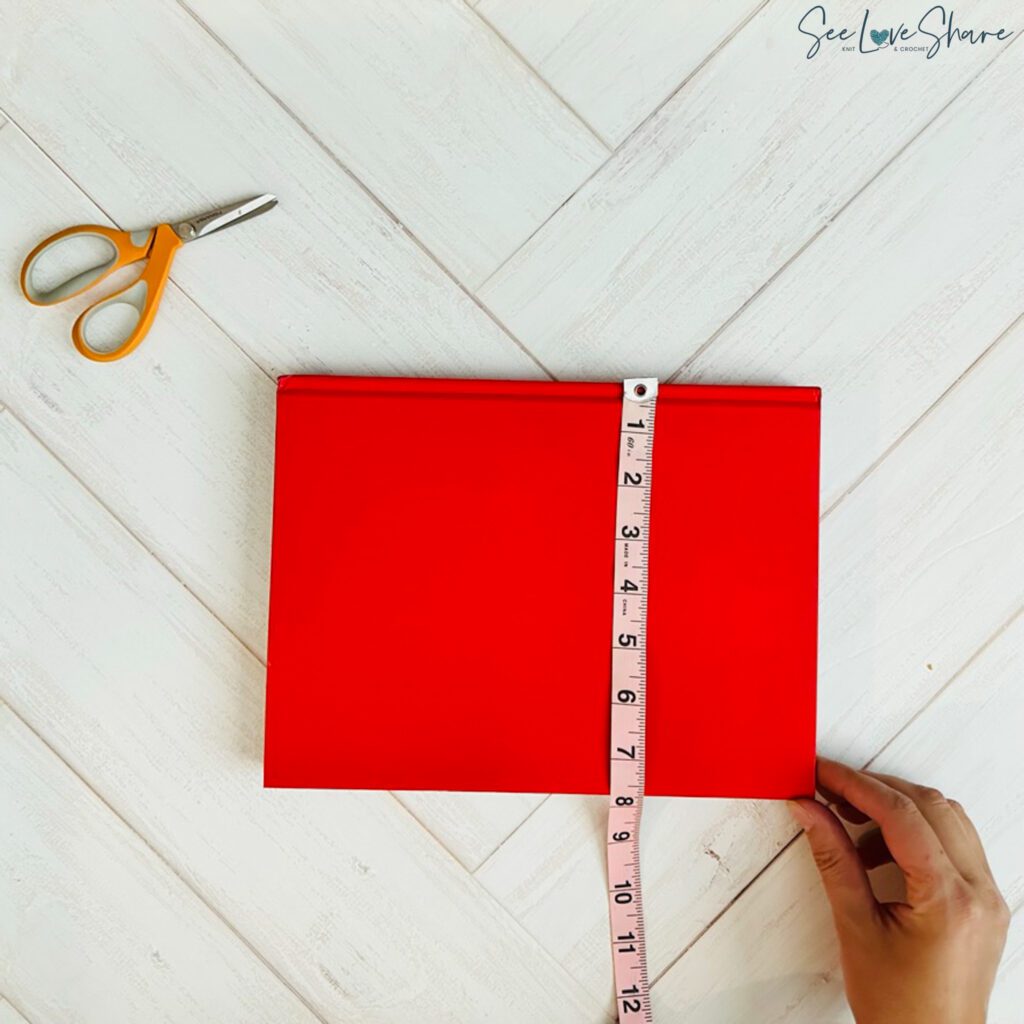
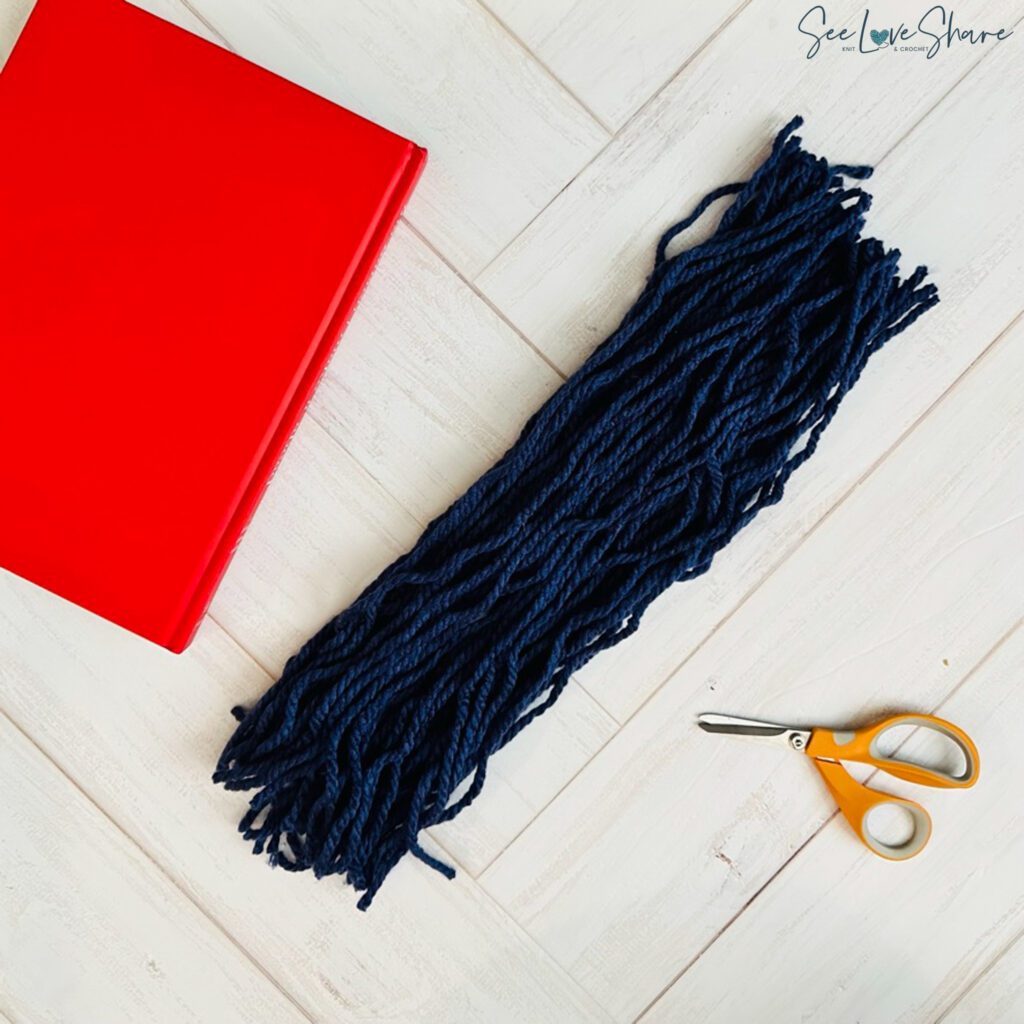
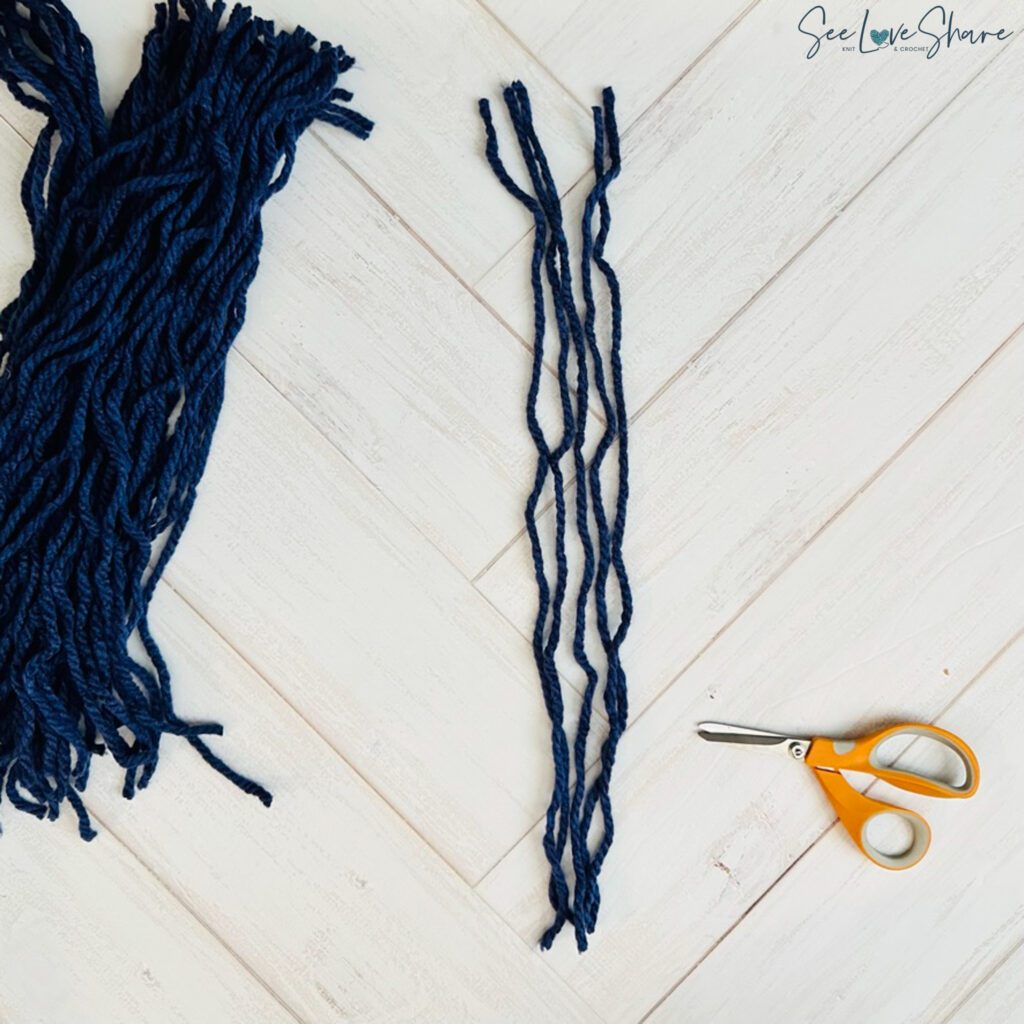
Step 1: Measure and Cut Yarn Strands
Decide on the desired length of your fringe. A typical length is around 6 to 8 inches when learning how to add fringe to a blanket, but you can adjust to your preference. Add a few extra inches to account for variations in yarn thickness and to give yourself trimming room.
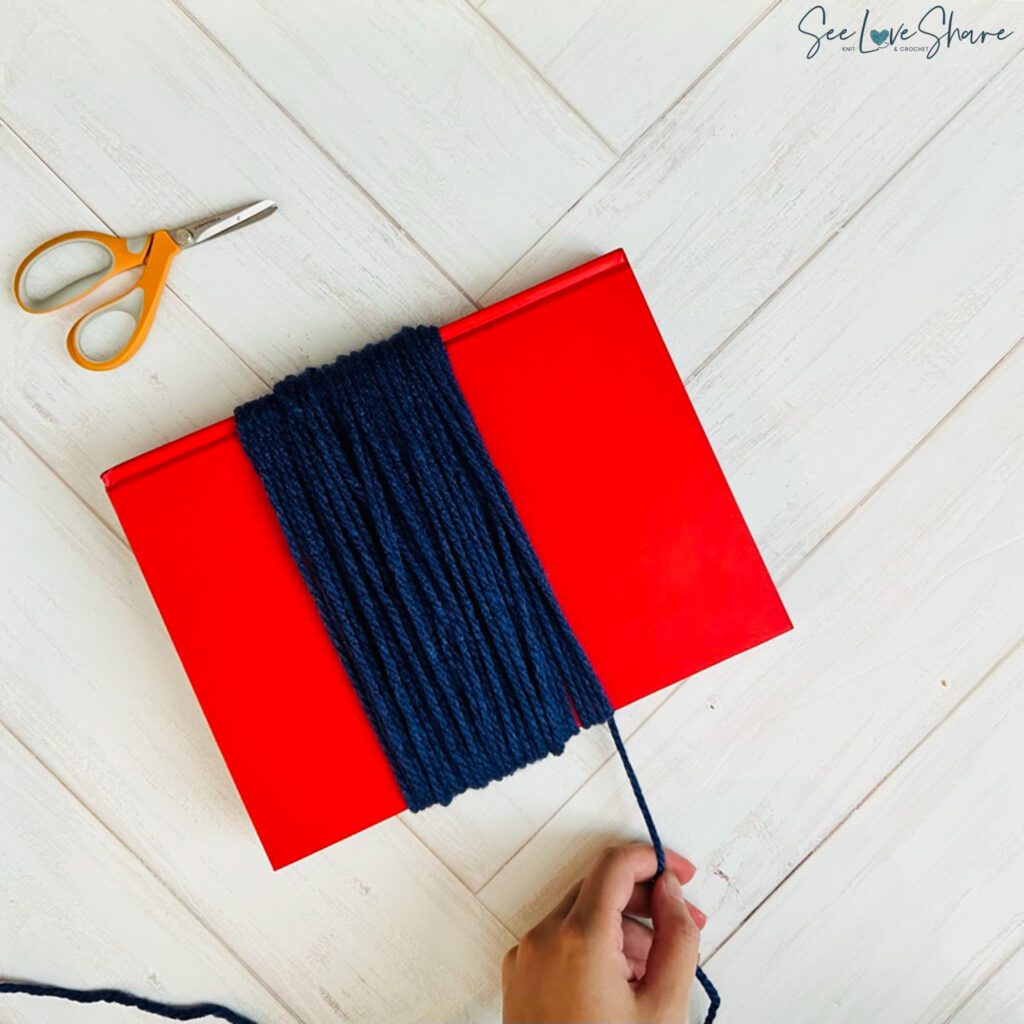
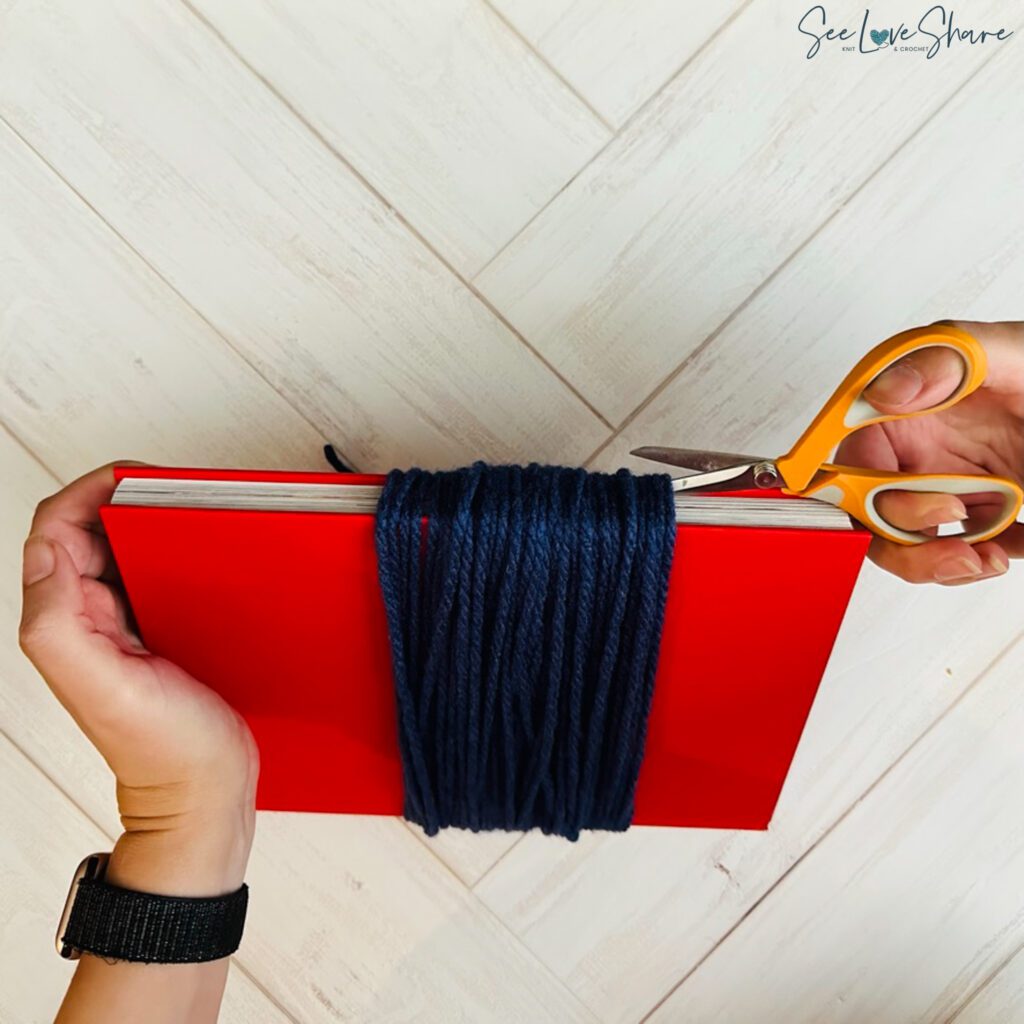
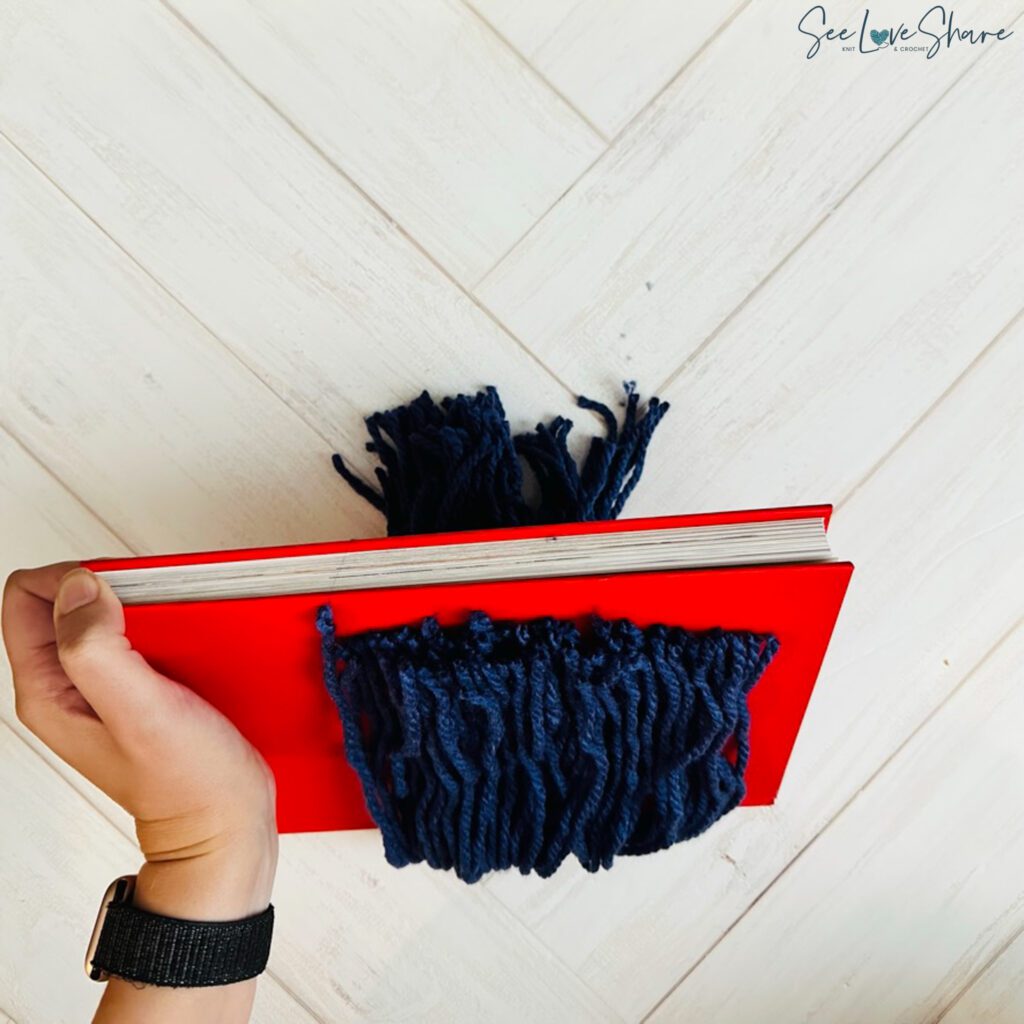
If you want to ensure consistent fringe lengths, grab a book with the desired width. Wind the yarn around the book multiple times and cut along one edge to get uniform strands.
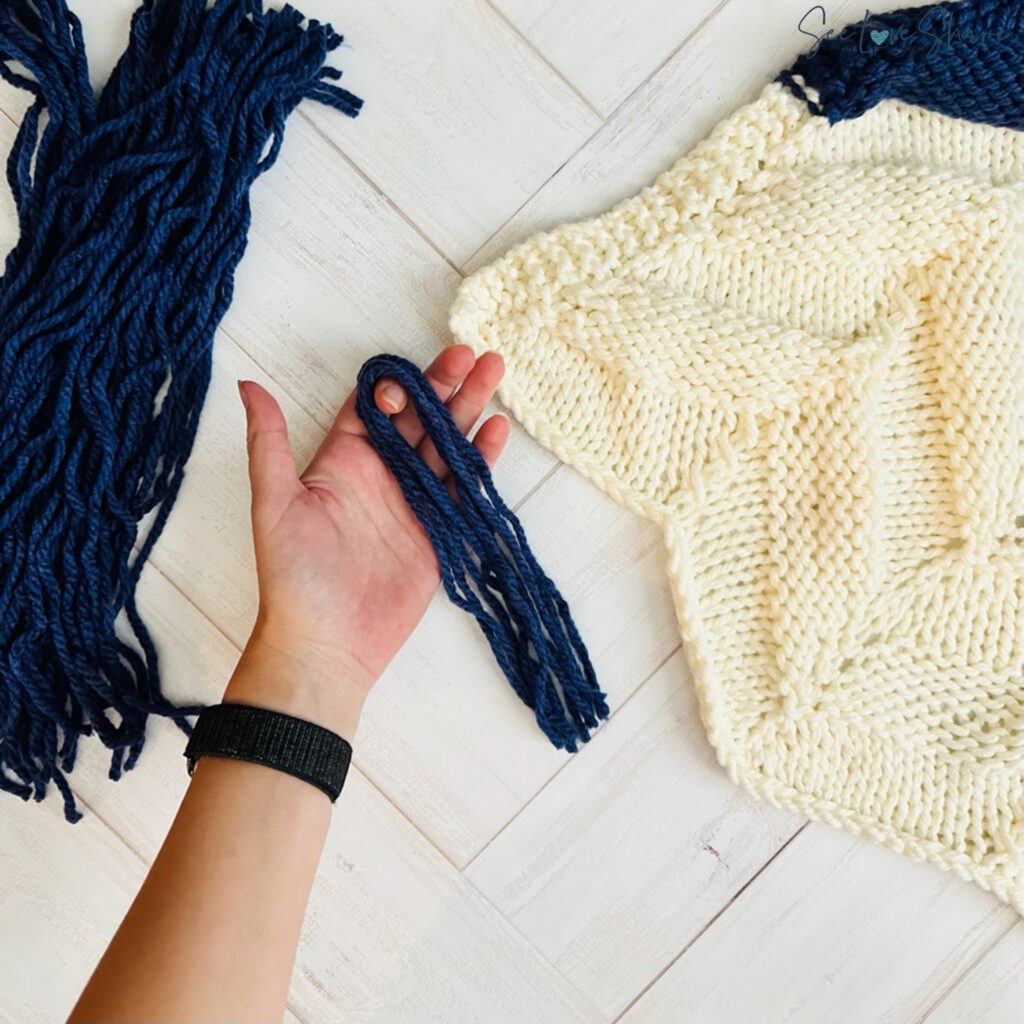
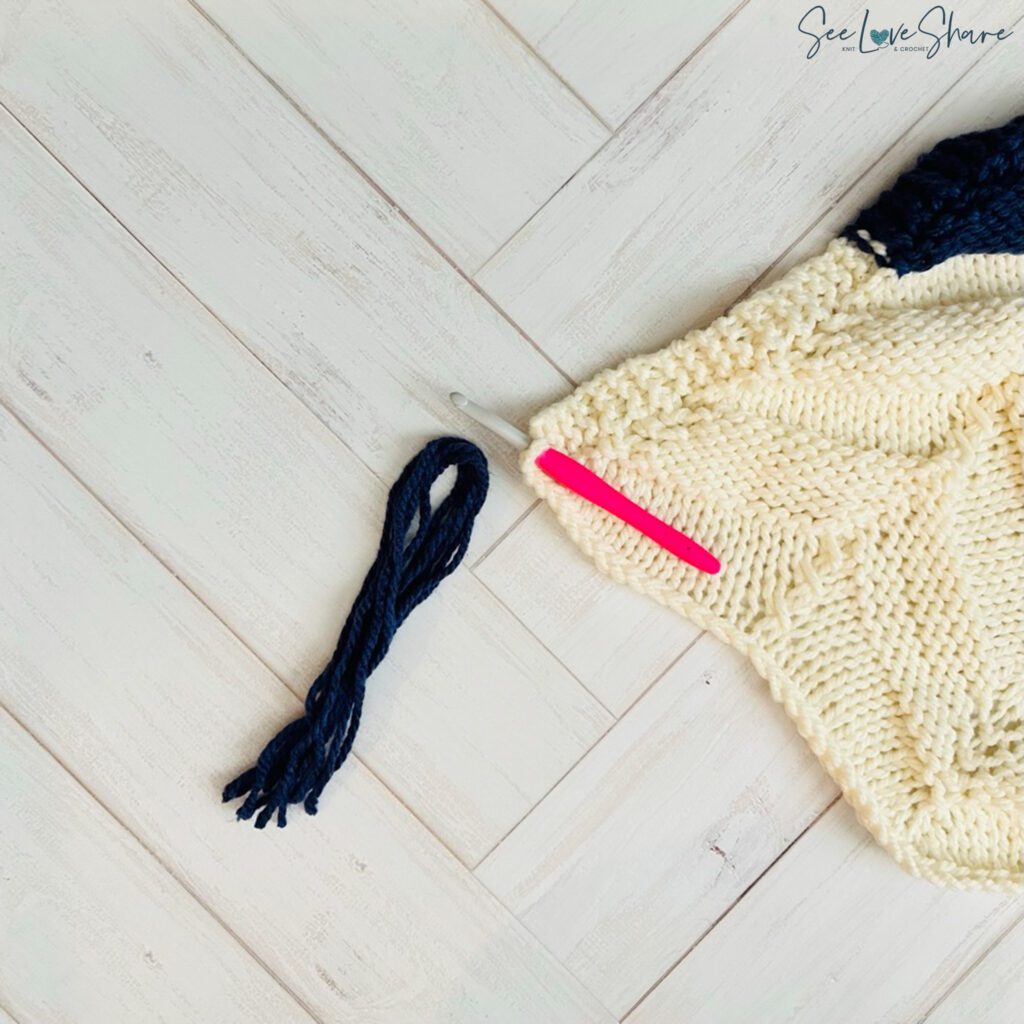
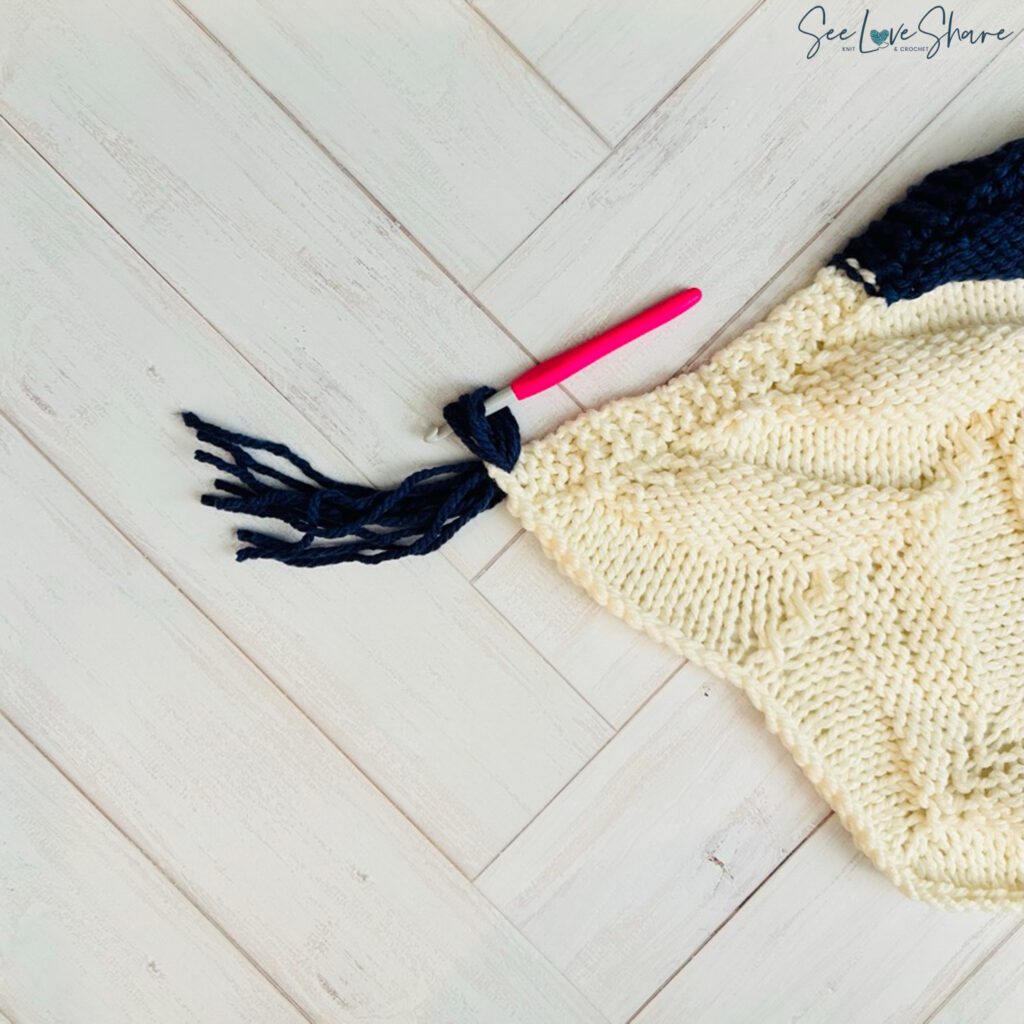
Step 2: Group Yarn Strands
Take three or more yarn strands (depending on your preference — more strands = thicker fringe tassels) and fold them in half to create a loop at one end. Now, insert the crochet hook from the back of the blanket through a stitch on the edge, hook the folded loop, and pull it through to the front.
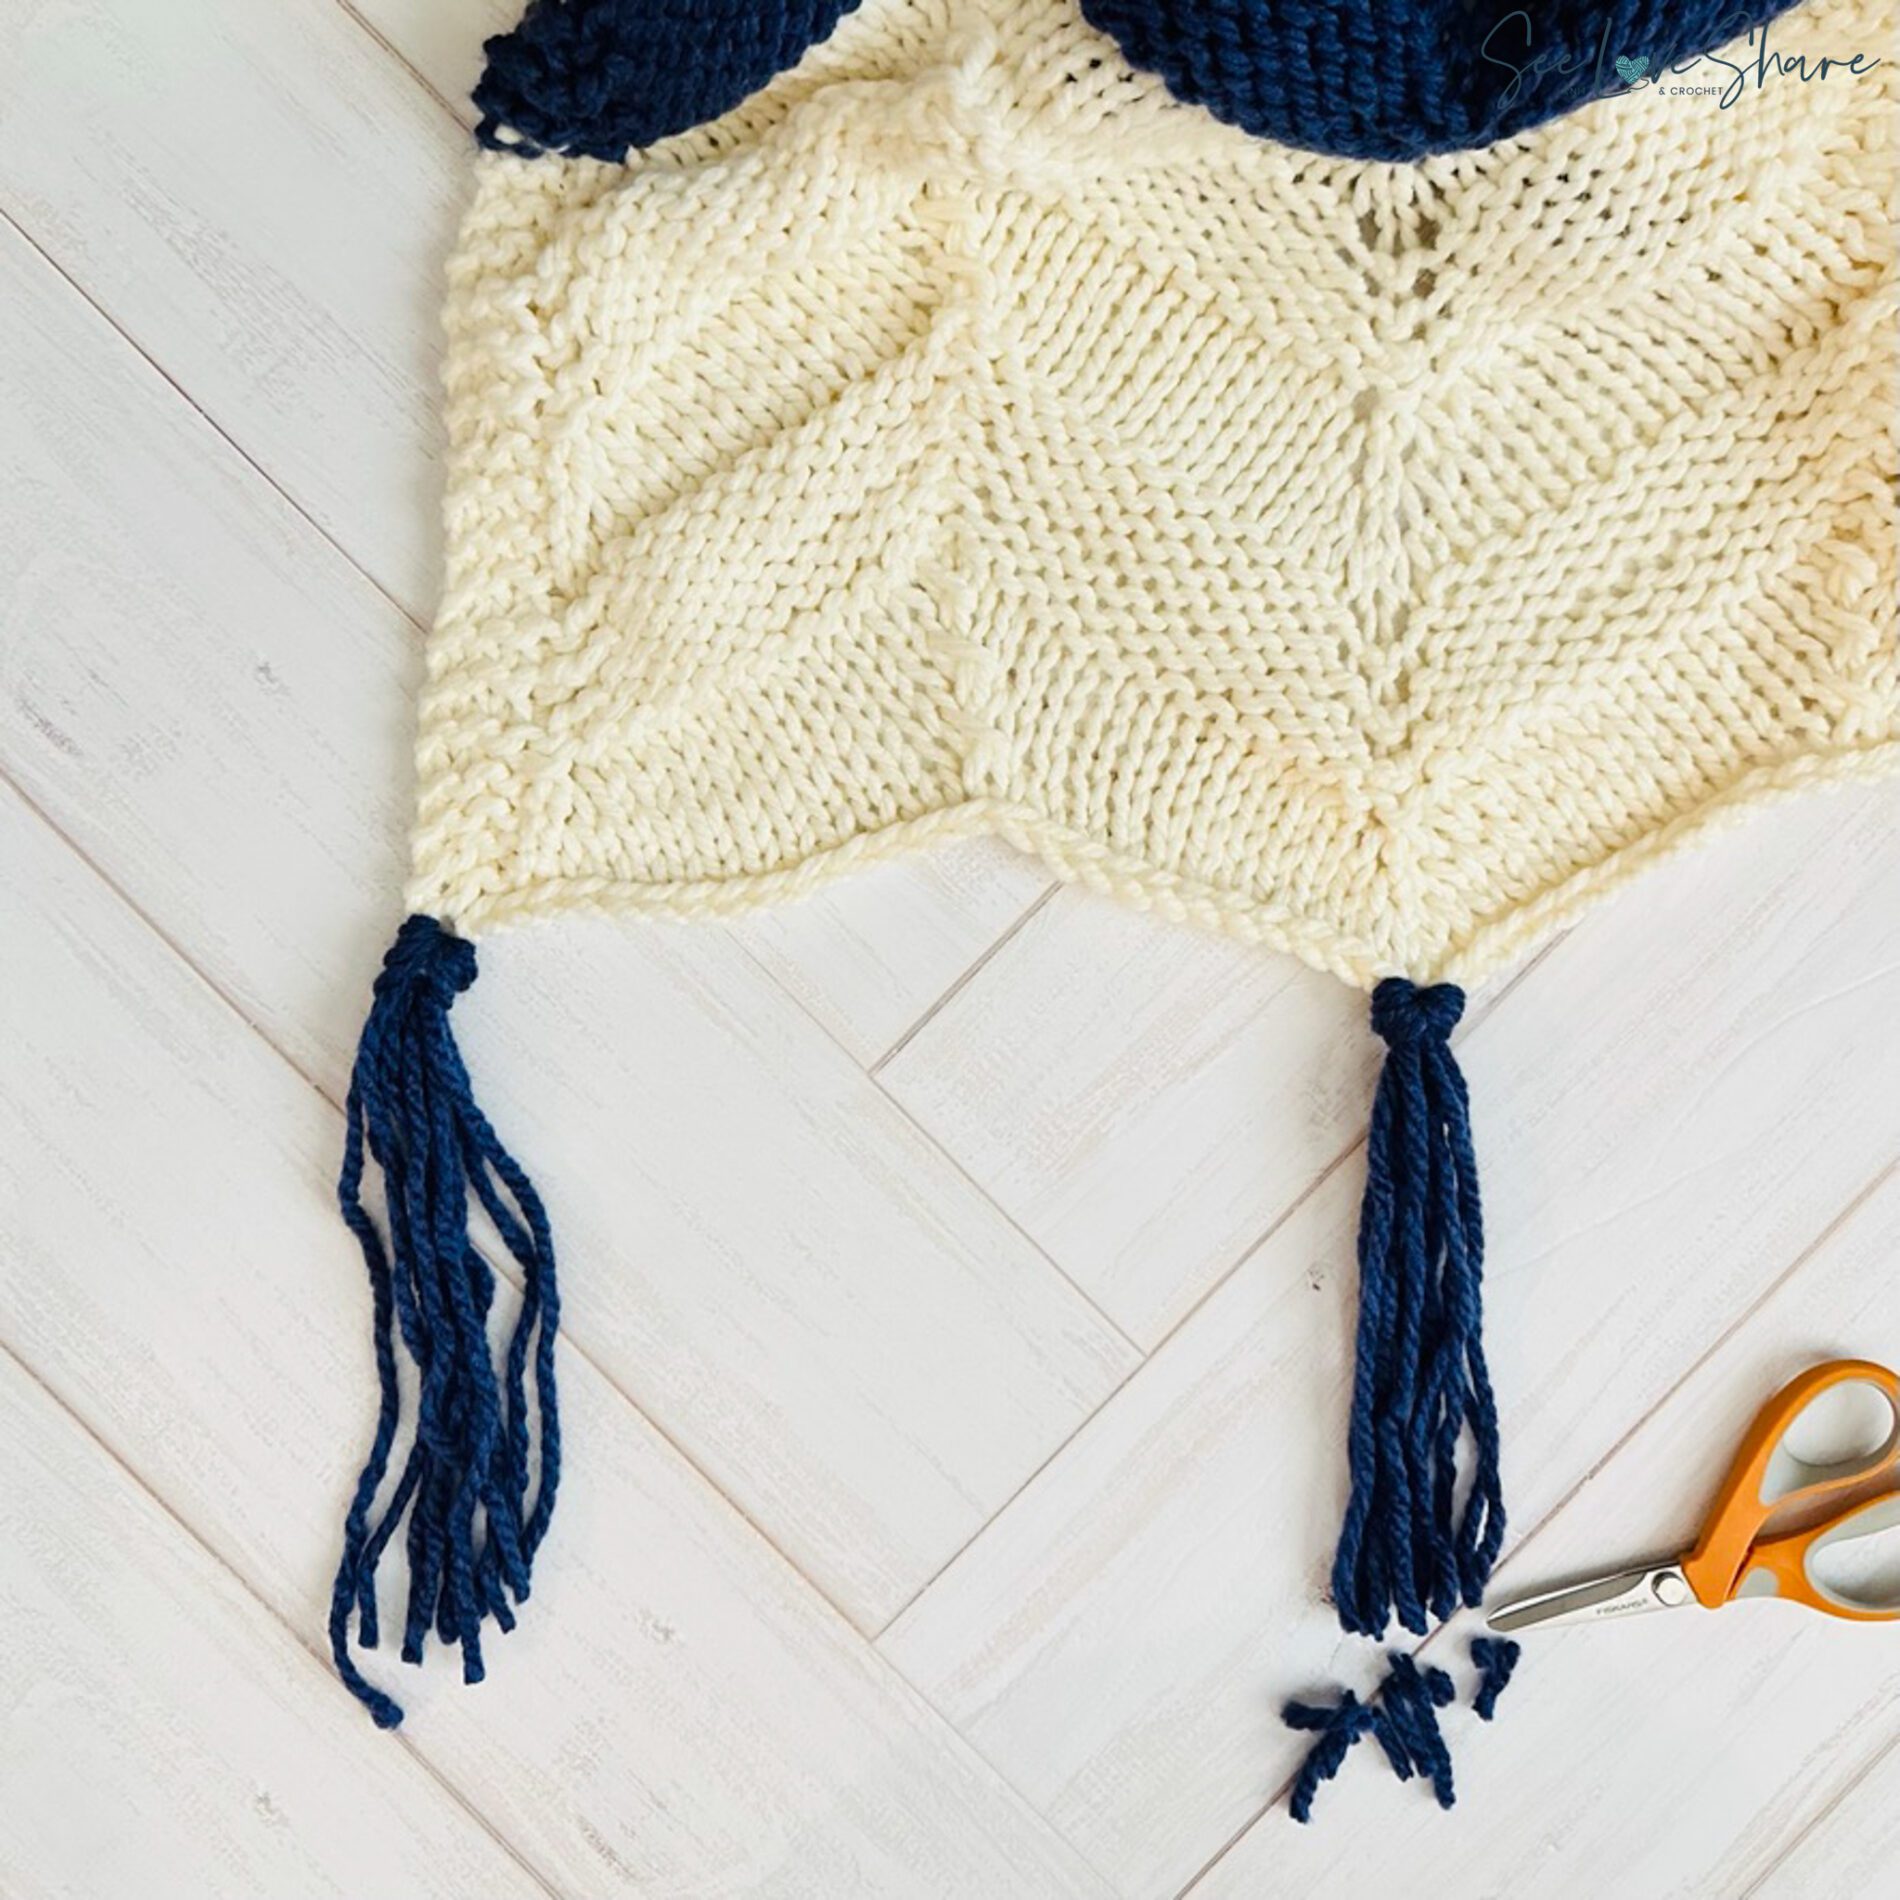
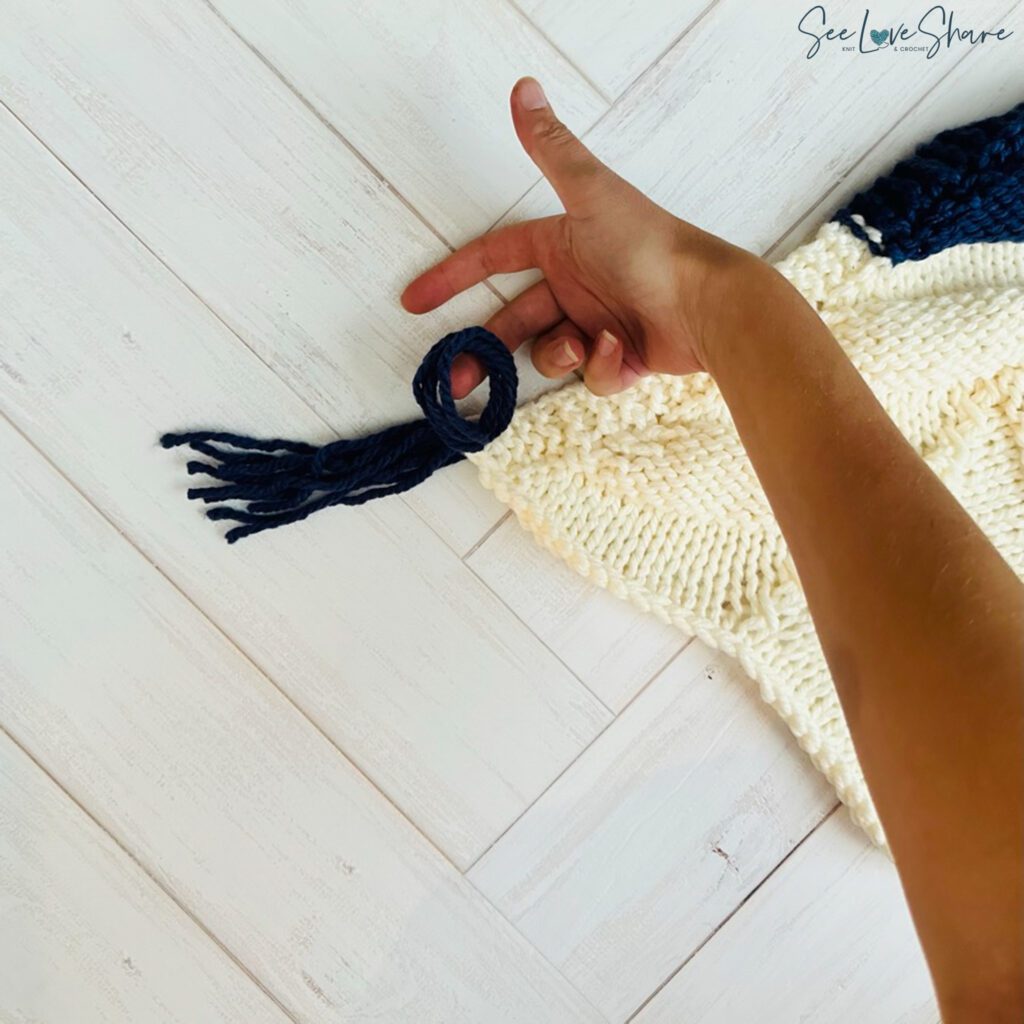
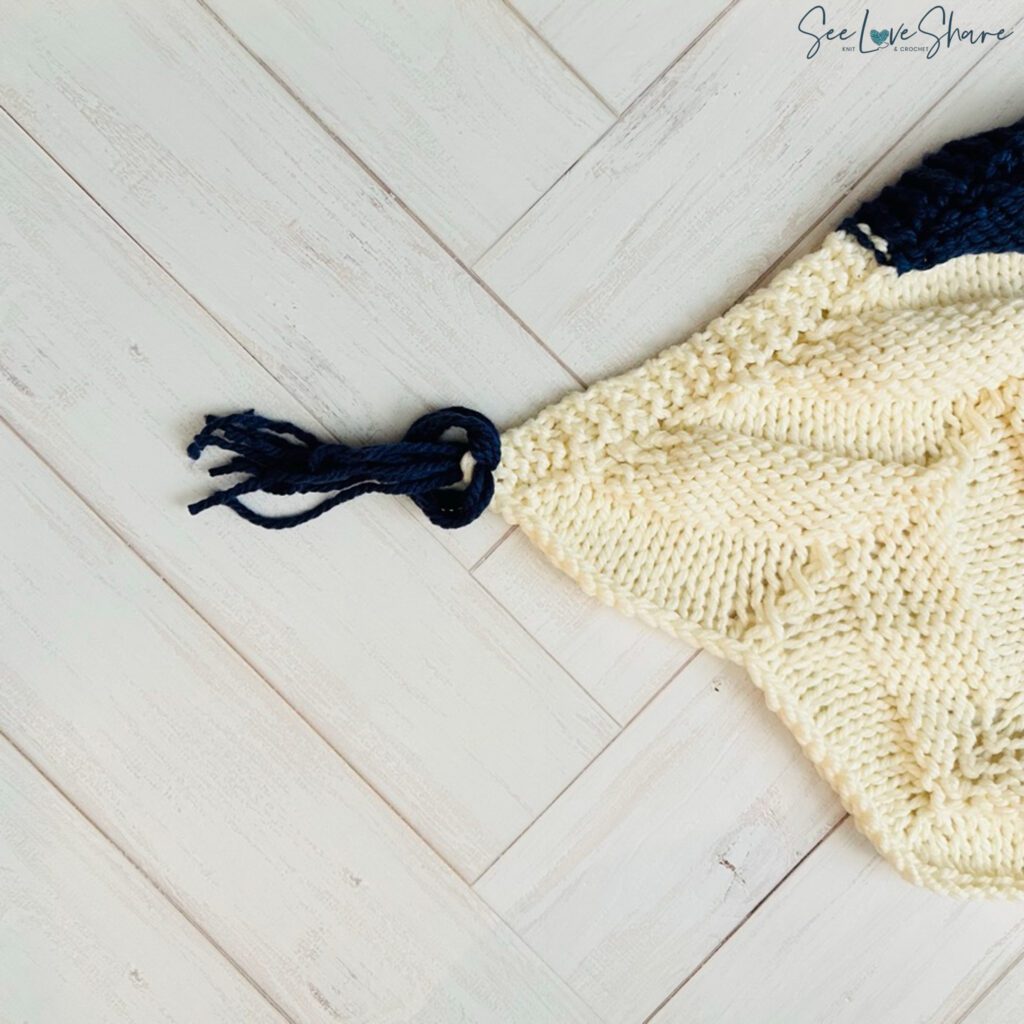
Step 3: Secure the Fringe
Pull the loose ends of the yarn through the loop and gently tighten to secure the fringe to the blanket. When learning how to add fringe to a blanket, make sure the attachment is firm but not too tight — you don’t want to distort the edge of the blanket.
Step 4: Repeat Along the Edge
Continue working your way along the blanket edge, spacing fringe tassels evenly. For a fuller fringe, place tassels in every stitch; for a more spaced look, skip every other stitch. Once you’ve completed the full edge, give the fringe a gentle trim to even out any stragglers, and you’re done!
Tips for the Perfect Blanket Fringe
- Space evenly: when learning how to add fringe to a blanket, mark every 5th stitch or so with a stitch marker for even spacing.
- Use 3+ strands per tassel: single-strand fringe looks sparse. Use 3-5 strands per fringe tassel for the best look.
- Pull firmly but gently: firm enough that the fringe doesn’t slip out, gentle enough that the blanket edge doesn’t pucker.
- Trim at the end: after adding all fringe, lay the blanket flat and trim the ends evenly for a polished, professional look.
- Try contrast yarn: for a bold statement when adding fringe, use a contrast color — black fringe on white, gold on grey, etc.
- Add fringe to both ends: for the most balanced look, fringe both short ends of a rectangular throw.
- Works on store-bought blankets too: knowing how to add fringe isn’t just for handmade items — you can fringe up plain store-bought blankets for a custom touch.
Frequently Asked Questions
How long does it take to add fringe to a blanket? Less than an hour even on a large throw once you know how to add fringe efficiently.
What yarn should I use for the fringe? Match the yarn weight and fiber to your blanket. Mismatching weights creates a lopsided look — bulky fringe on lace blankets, or thin fringe on chunky throws.
How many strands per fringe tassel? 3-5 strands creates a full, plush fringe. Single strands look sparse; 6+ strands can look too chunky.
How do I keep the fringe from tangling? Comb the fringe gently with your fingers after adding each section, and trim any rogue strands. Tangle-free fringe stays looking polished.
Can I add fringe to a finished store-bought blanket? Absolutely! Just pull the fringe through the woven edge or use a sewing needle to attach if there’s no obvious loops to hook into.
What if my fringe falls out? Double-knot the base of each fringe tassel before pulling tight. The “lark’s head” knot creates a self-locking attachment that won’t slip.
More Tutorials & Patterns You’ll Love
- How to Make a Pom Pom Tutorial
- How to Use a Yarn Swift Tutorial
- Standard Blanket Sizes Guide
- Browse All Tips & Tutorials
- Honeycomb Knit Throw — Chunky Cable
Save This How to Add Fringe Tutorial
Want to come back to this how to add fringe to a blanket tutorial later? Save it to Pinterest so you can reference it for every blanket project — and share it with your knitting and crochet friends!