January 20th, 2021
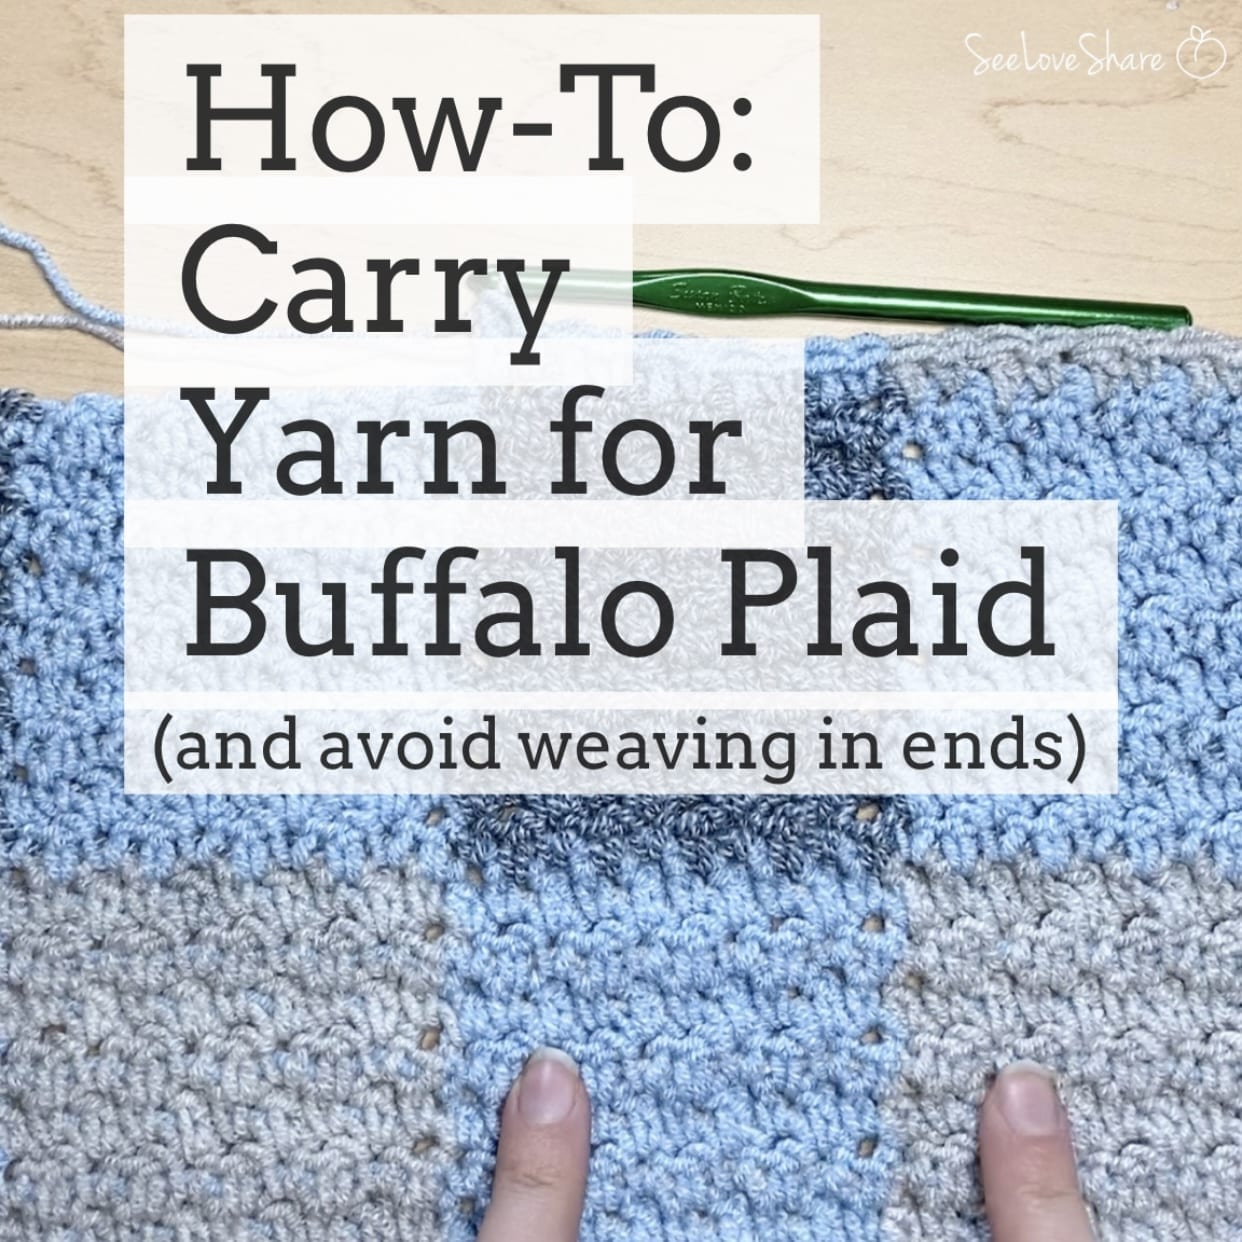
How-To: Carry Yarn for Buffalo Plaid / Gingham Patterns
How to carry yarn! If you’ve ever started a buffalo plaid crochet pattern or any colorwork project and found yourself drowning in ends to weave in, this tutorial is going to change your life. Carrying yarn through colorwork is the secret to a clean, professional finish — and once you learn the technique, you’ll wonder how you ever avoided plaid patterns to begin with.
This how-to carry yarn for buffalo plaid tutorial shows you the exact method I use to keep the back of my work tidy, the color transitions invisible, and the finished blanket smooth and uniform. Watch the video below, study the photos, and you’ll be carrying yarn like a pro in your next colorwork project.
Why Carry Yarn in Buffalo Plaid & Gingham Patterns
Buffalo plaid and gingham patterns shift colors frequently — sometimes every few stitches. If you cut and rejoin yarn at every color change, you’ll end up with hundreds of ends to weave in. Carrying the yarn means:
- Far fewer ends to weave in — usually just the start and end of each row instead of every color change
- A cleaner finished fabric — no bulky knots or thick seams hiding inside the project
- Faster work — no stopping to cut and rejoin every few stitches
- A sturdier finish — woven-in ends tend to come loose over time; carried yarn is anchored throughout
If you’re new to colorwork in general, the Craft Yarn Council’s yarn weight standards are a helpful reference for matching yarn weights when working in multiple colors — using yarns of equal weight is one of the most important steps when you carry yarn through a project.
Watch the Video Tutorial: How to Carry Yarn Step-by-Step
The video walks through the whole technique start to finish — about 2 minutes. Watch it once to get the rhythm, then refer back to the photos below as you practice.
The Technique in 3 Steps
Step 1: How to Carry Yarn Along the Top of Your Stitches
When you finish working with Color A and switch to Color B, don’t cut Color A. Instead, lay it gently along the top of the row you’re about to work into — right where your next stitches will go. The carried yarn sits between the front loop and back loop of each stitch.
Step 2: Crochet Over the Carried Yarn
Work your stitches in Color B normally, encasing the carried Color A inside each stitch. This is the magic of how to carry yarn — the carried strand becomes invisible, hidden inside the body of each stitch as you work.
Step 3: Pick Up Your Carried Yarn When You Need It Again
When the pattern calls for Color A again, simply pick it up where you left off. It’s already in position — no need to cut, rejoin, or weave in a new strand. Continue the pattern, now carrying Color B along under your stitches the same way.
Avoid This — Messy Color Changes
This is what your work looks like when you cut and rejoin yarn at every color change. Notice all the loose ends, the visible joins, and the bulk where each new strand starts. Multiply this across an entire buffalo plaid blanket and you’ll have hours of weaving ahead of you.

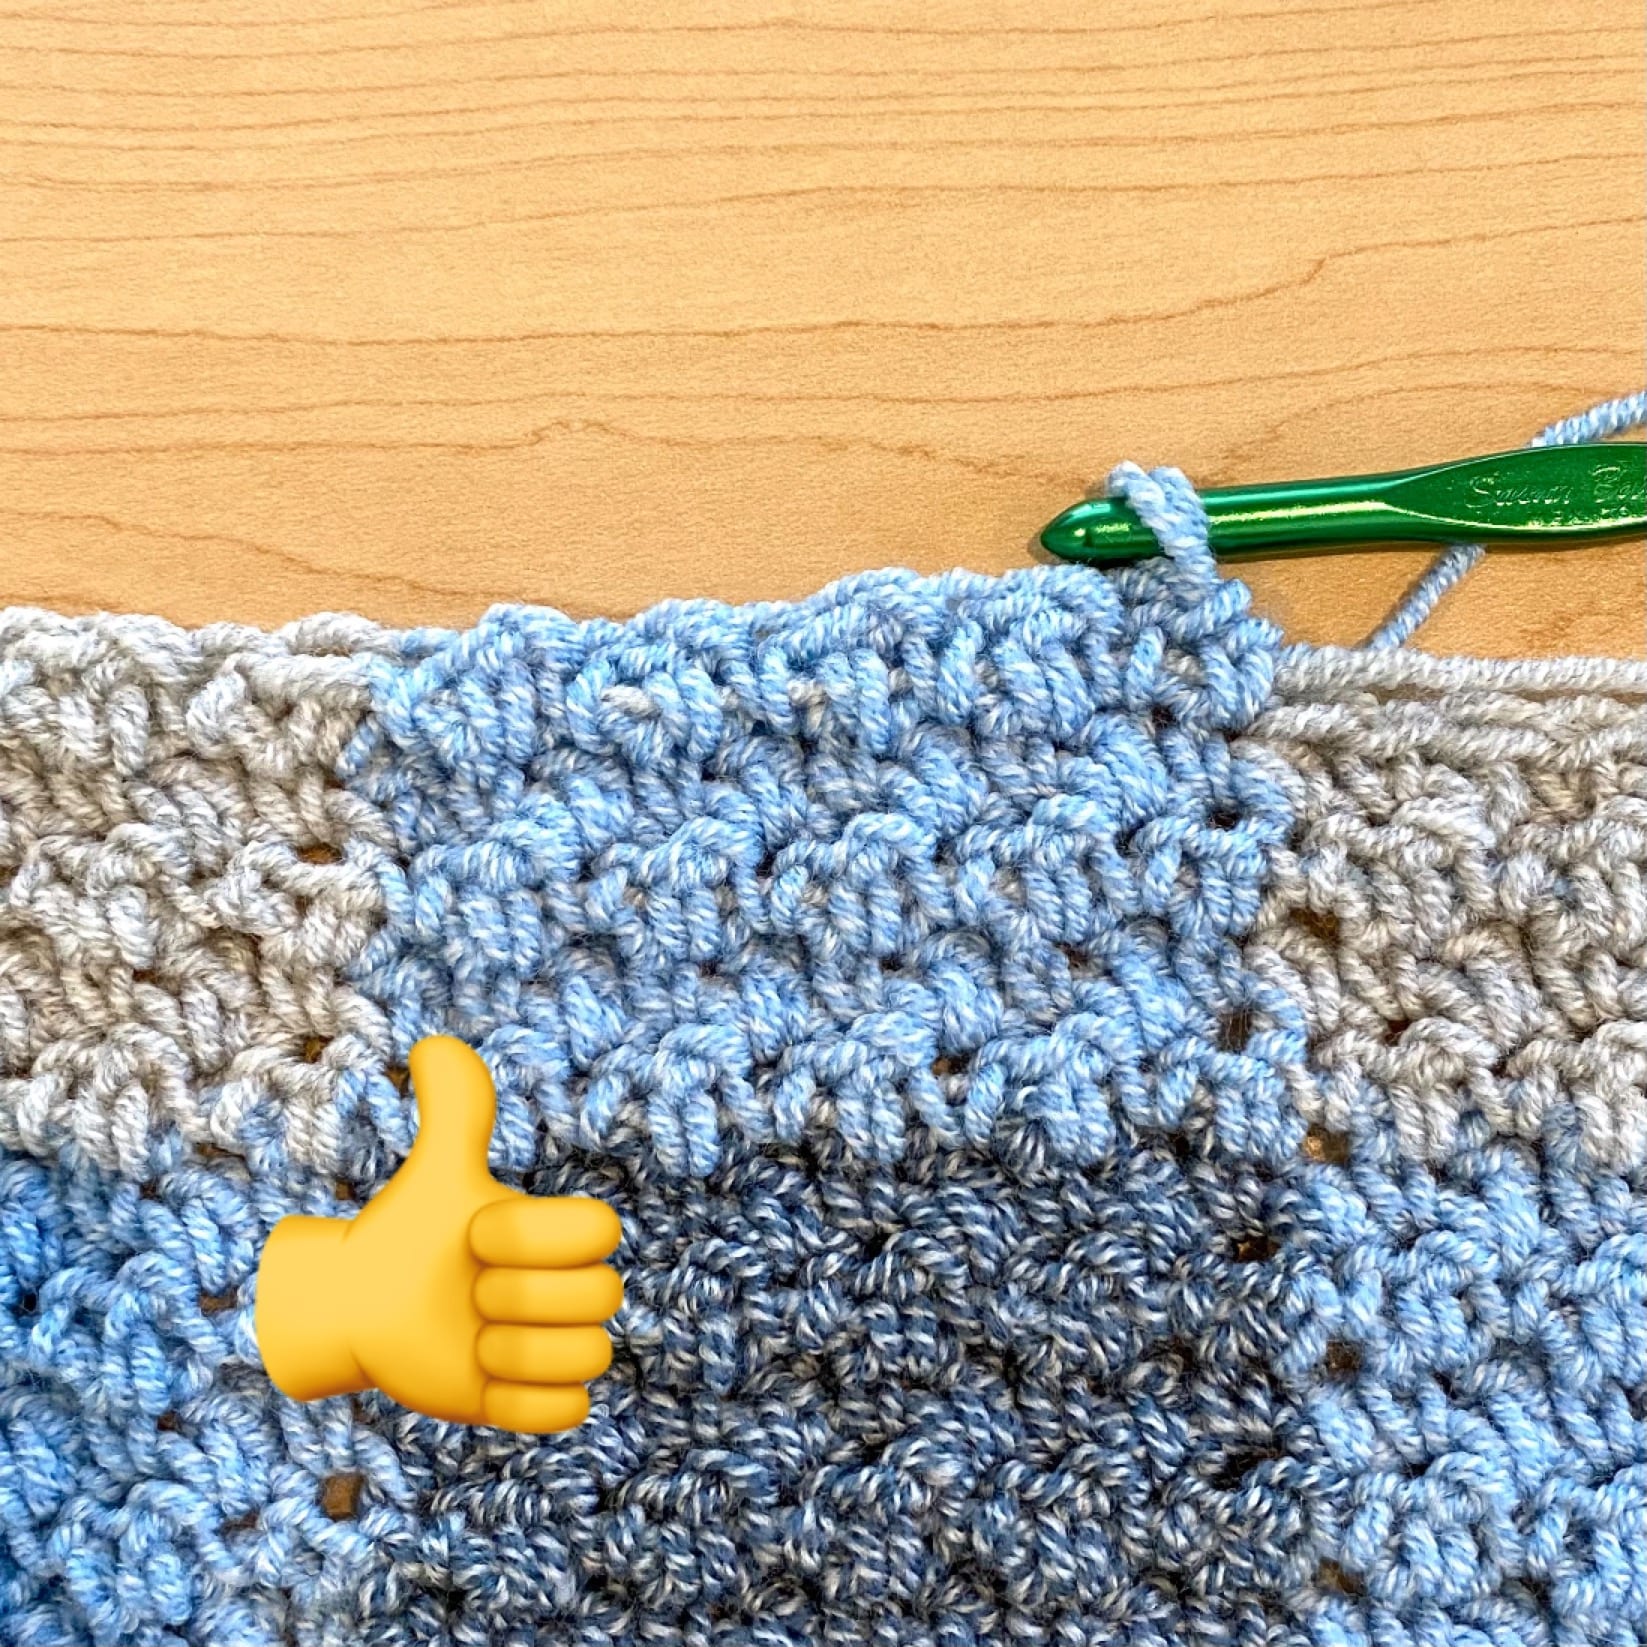
Aim For This — Clean Carried Yarn
This is what your work looks like when you carry yarn properly. The contrasting color is encased inside the stitches, the back of the work is nearly as clean as the front, and there are barely any ends to weave at the end of the project.
Tips for Mastering How to Carry Yarn in Colorwork
- Keep the carried yarn relaxed — too tight and your fabric will pucker; too loose and the carried strand will show through
- Match yarn weights — both colors should be the same weight and fiber, or the bulkier one will show through the other
- Practice on a swatch first — try 10–15 stitches of each color before tackling a full project
- For long color sections (more than 6-8 stitches), consider catching the carried yarn into a stitch every few stitches to prevent long floats
- Use this technique for any colorwork — it’s not just for buffalo plaid; works for stripes, gingham, fair isle, and tapestry crochet too
Use This Technique in These Patterns
Ready to put your new skill to work? These patterns are perfect for practicing the carry-yarn technique:
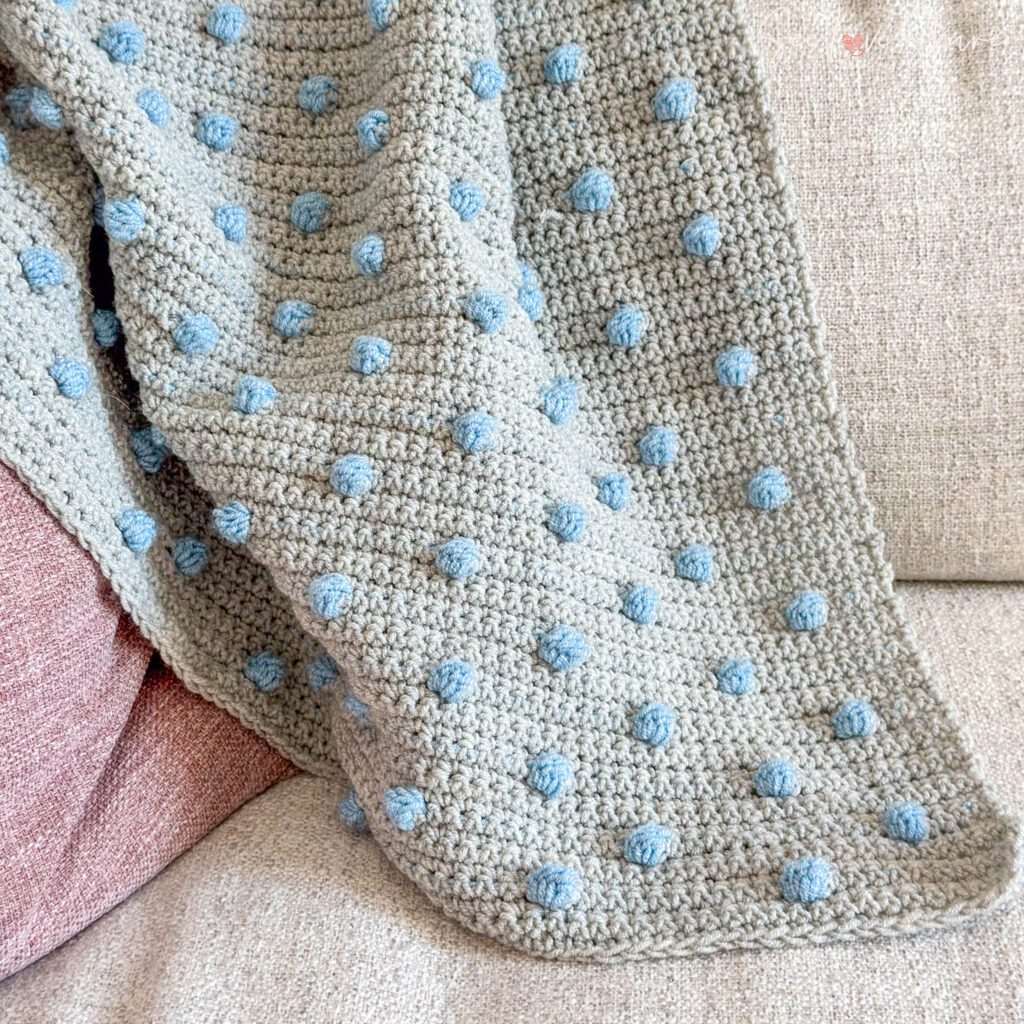
- Kaia’s Simple Bobble Stitch Baby Blanket — uses the carry technique for the bobble color changes
- Patriotic Star Coasters — a smaller, faster project for practicing colorwork
Frequently Asked Questions
Will the carried yarn show through to the front of my work?
If you do it correctly, no — the carried yarn is fully encased inside the stitches and invisible from the front. The exception is if you carry a much darker yarn under a much lighter one (like black under white), in which case you might see a faint shadow. To minimize this, choose yarns of similar value or carry only over short sections.
How far can I carry yarn without it showing?
Generally, 6-8 stitches is safe. For longer carries, you can catch the carried yarn into a stitch every few stitches — this prevents long floats from snagging and keeps the back tidy.
Does this technique work for knitting too?
The knit equivalent is called “stranded knitting” or “fair isle technique,” and the principle is similar but the mechanics are different. This tutorial is specifically for crochet. If you’re knitting buffalo plaid, look up stranded knitting tutorials for the right approach.
Can I use more than 2 colors with this technique?
Yes — you can carry multiple colors at once. With 3+ colors, the back of your work will get a bit thicker, so reserve this approach for projects that don’t need a “reversible” finish. Blankets and pillows where only one side shows are perfect candidates.
More Tutorials & Colorwork Patterns You’ll Love
 Buffalo Plaid Gingham Blankie — put this carry-yarn technique straight to work
- Gingham Plaid Crochet Pumpkin — a small-scale gingham project to practice on
- Crochet Knit Stitch Tutorial — Waistcoat Stitch — another technique worth adding to your toolkit
- The Ultimate Guide to Blocking — finish your colorwork projects beautifully