August 28th, 2022
Crochet Cable Pumpkin – Beginner’s Guide Crochet Pattern
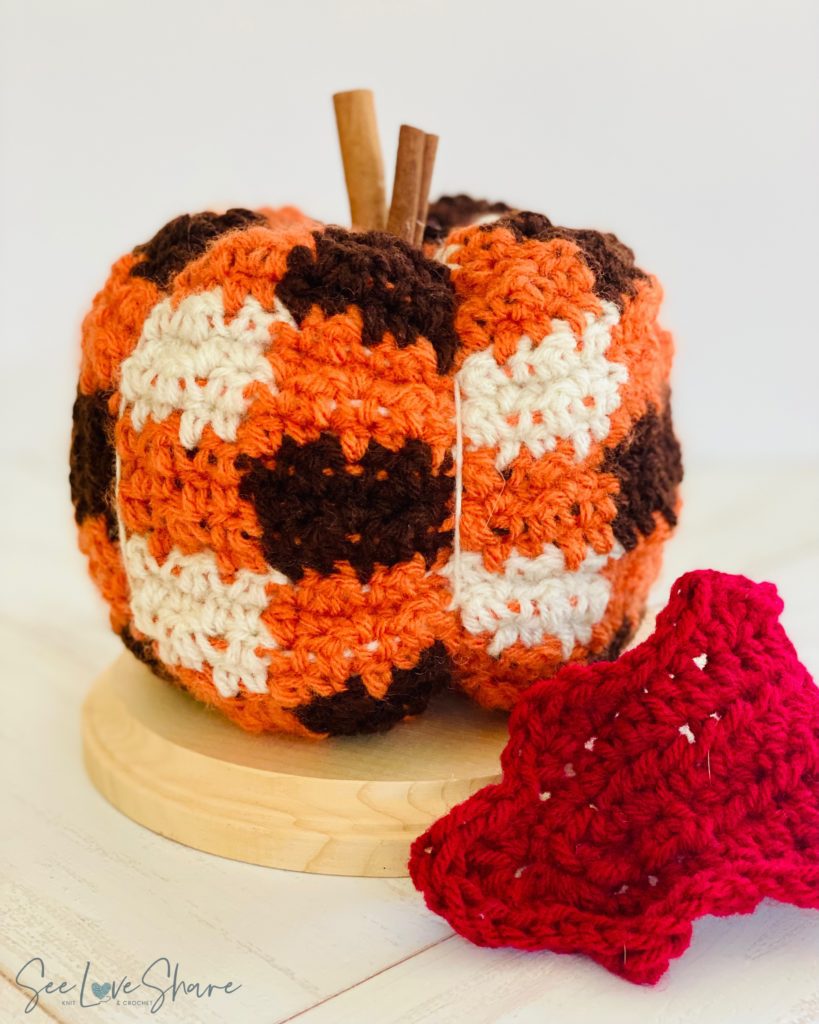
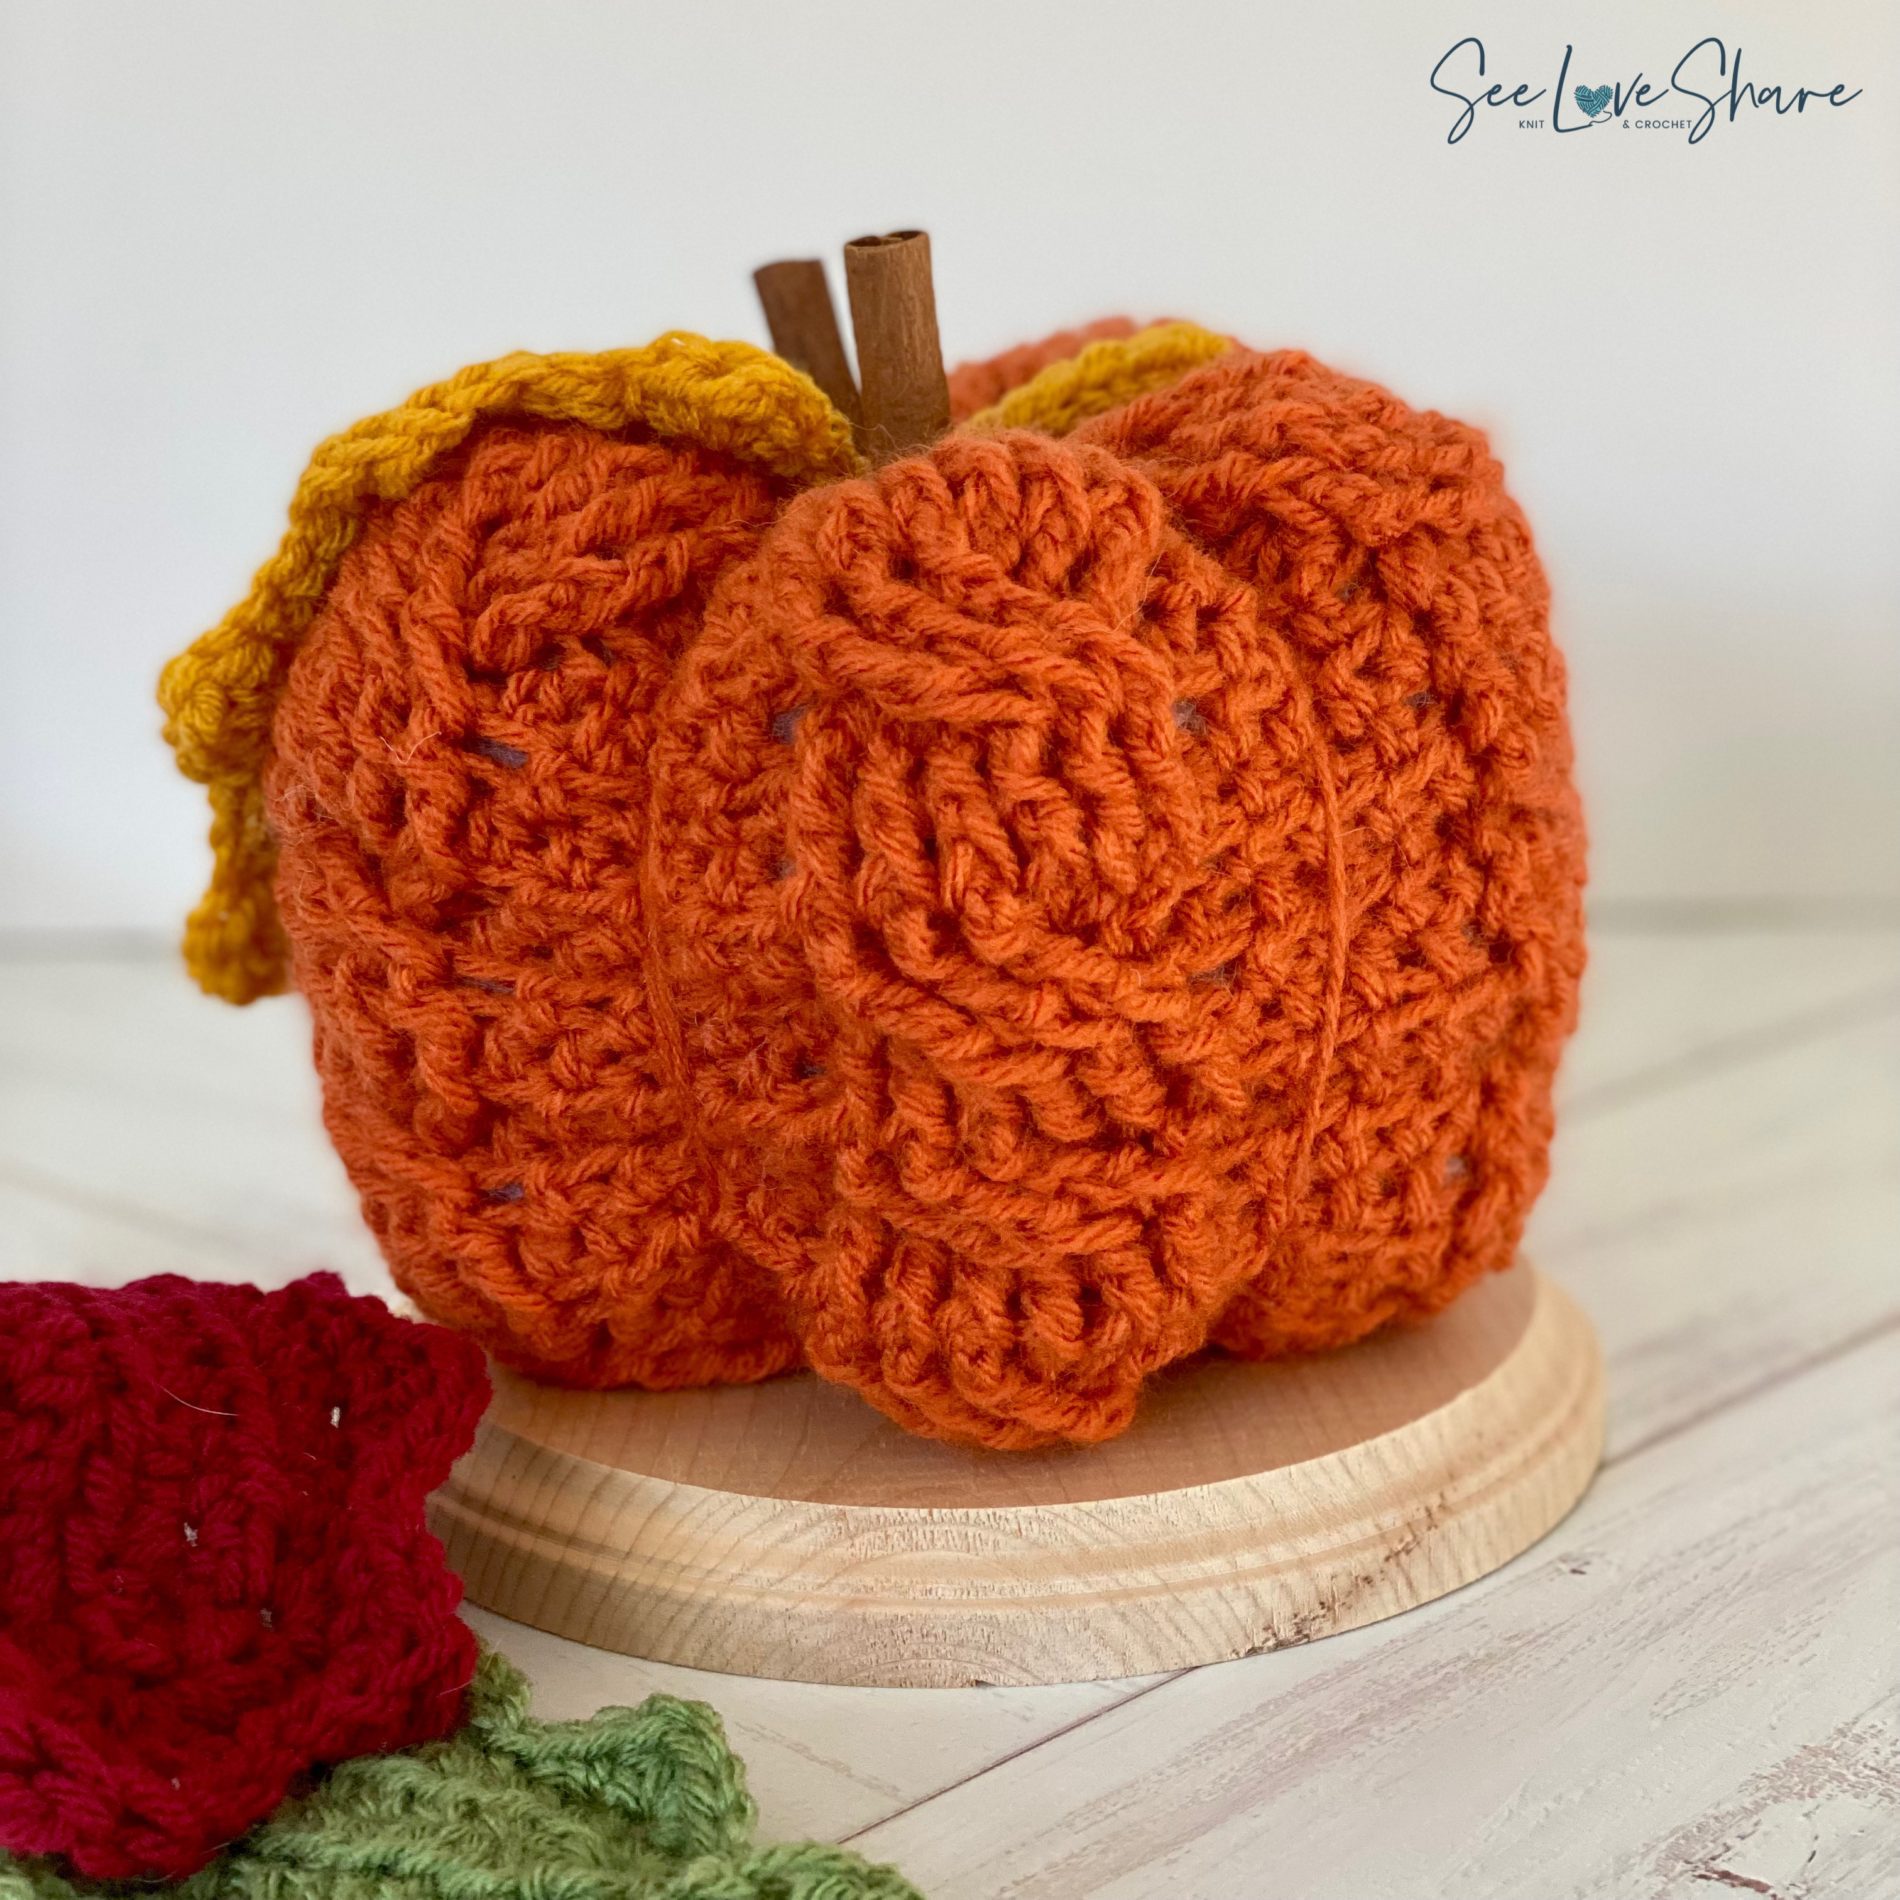
Crochet Pumpkins are just about the most fun item to make – especially as summer begins to wind down and cooler evenings start to creep in. There are a million pumpkin patterns out there and they’re all going to get you to lively fall decor. This one just adds cables to it. There is nothing complicated about it and we’re going to walk you through everything you need to know to work it up on your own. From a step-by-step stitch guide to an assembly walkthrough. You’ve got this! Check it out and send me pictures as yours comes together!

UPDATE November 2024:
I hope that you’re enjoying your current knitting projects. It has been such a pleasure sharing my patterns with you and seeing your creativity bring them to life.
After much thought, I have made the difficult decision to no longer offer my patterns for free. This was not an easy choice—designing and sharing these patterns has always been a passion of mine and a way to connect with this amazing community.
However, the time, effort, and resources required to create, test, and perfect each pattern are significant. To continue bringing you high-quality, unique designs and to support the sustainability of my work, I will now be offering my patterns for purchase on Etsy.
I am incredibly grateful for your support over the years. Your kind words, encouragement, and enthusiasm mean so much to me. I hope you’ll continue to enjoy my patterns and support this new chapter.
Thank you for your understanding and for being an integral part of this journey.
Use coupon code SLSFRIEND10 for 10% off the downloadable & printable version.
Materials:
- Crochet Hook: 5.5mm
- Tapestry needle
- Polyfill stuffing
- Cinnamon sticks (as stump… optional but not reallllllly)
- RedHeart Super Saver in Pumpkin + various others for Fall Leaves (pattern optional and will below below)
Gauge:
12SC and 14 rows = 4in
Abbreviations:
SC: Single crochet
DC: Double crochet
HDC: Half Double Crochet
Ch: Chain
Sts : Stitches
Yoh = Yarn over hook
FPDC: Front Post Double Crochet: Yoh and draw up a loop around post of next stitch at front of work, inserting hook from right to left. (Yoh and draw through 2 loops on hook) twice.
BPDC: Back Post Double Crochet: Yoh and draw up a loop around post of next stitch at back of work, inserting hook from right to left. (Yoh and draw through 2 loops on hook) twice.
FPTR: Front Post Treble Crochet: (Yoh) 2 times and draw up a loop around post of indicated stitch at front of work, inserting hook from right to left. (Yoh and draw through 2 loops on hook) 3 times.
Size:
Approx. 8in wide, 6in tall
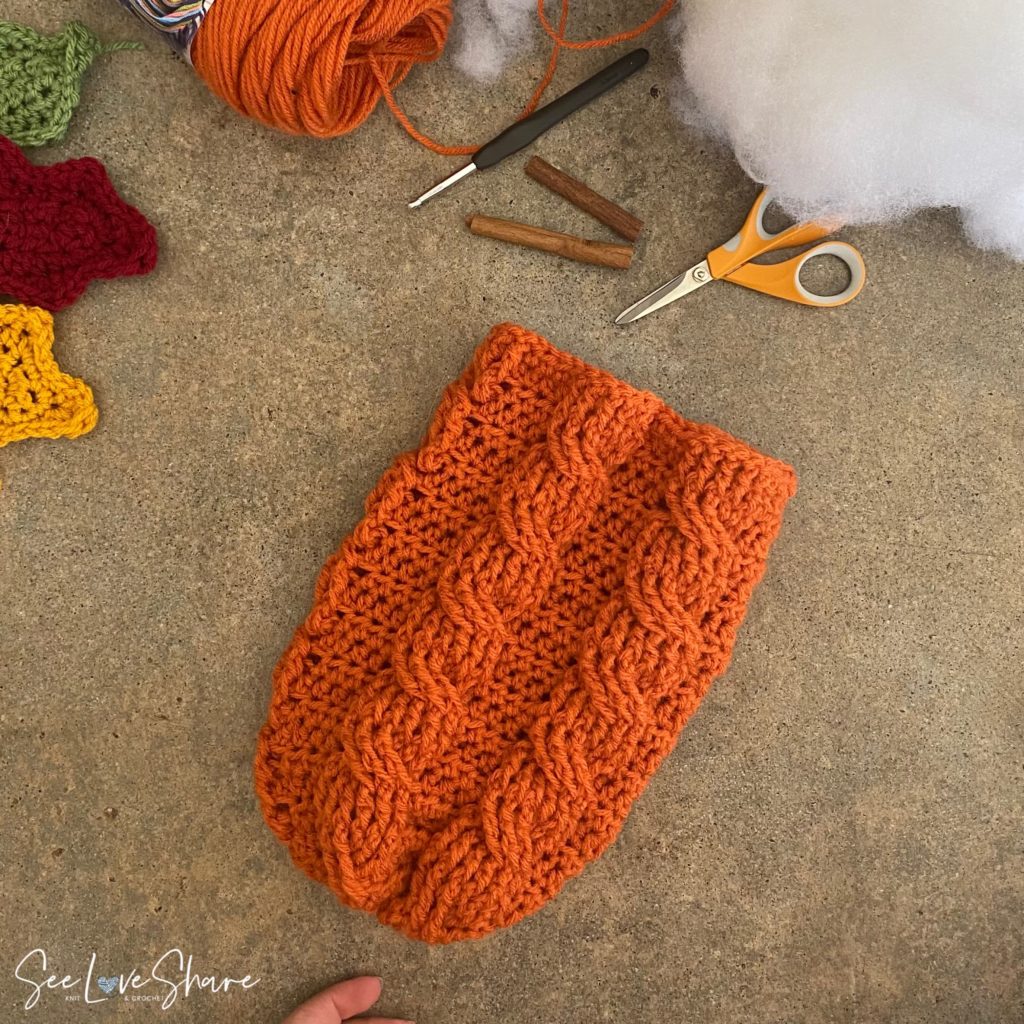
Assembly:
Step 1: begin with your completed rectangle
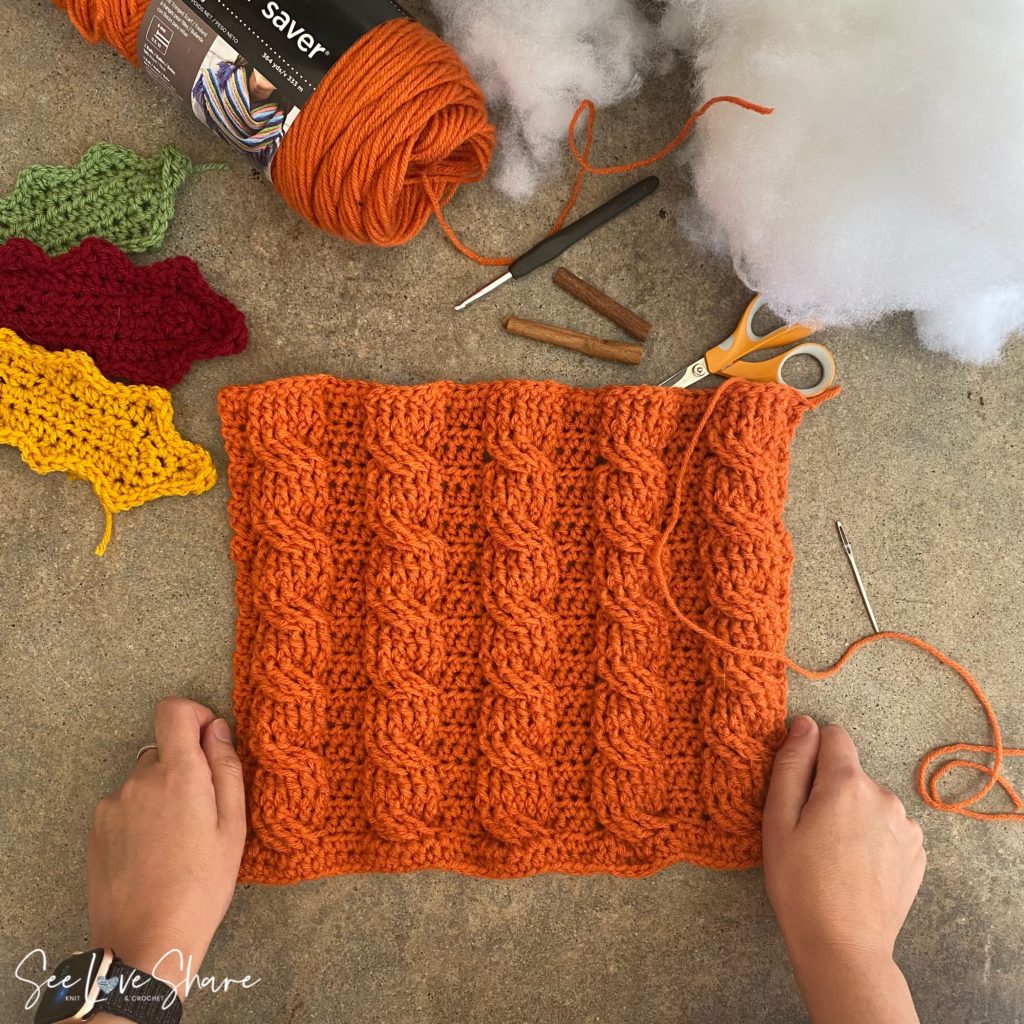
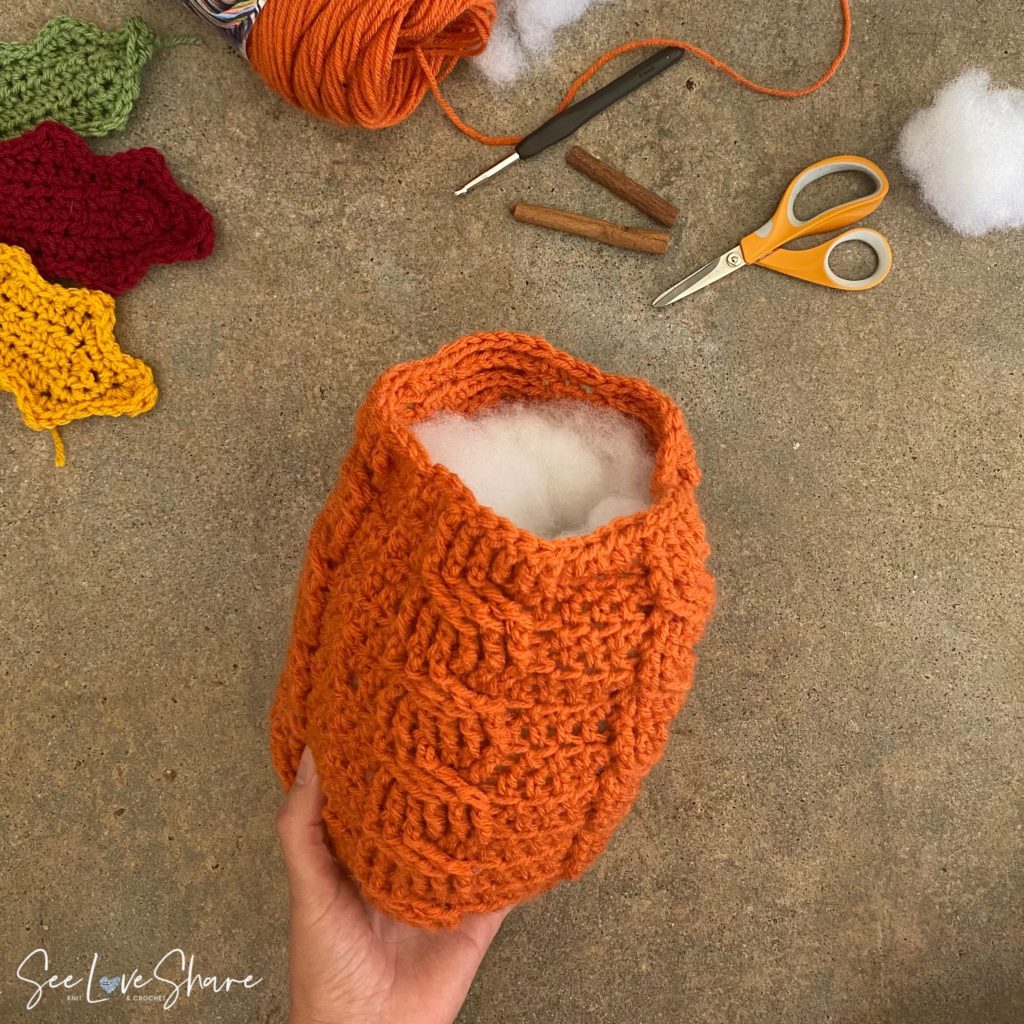
Step 2: Sew sides together
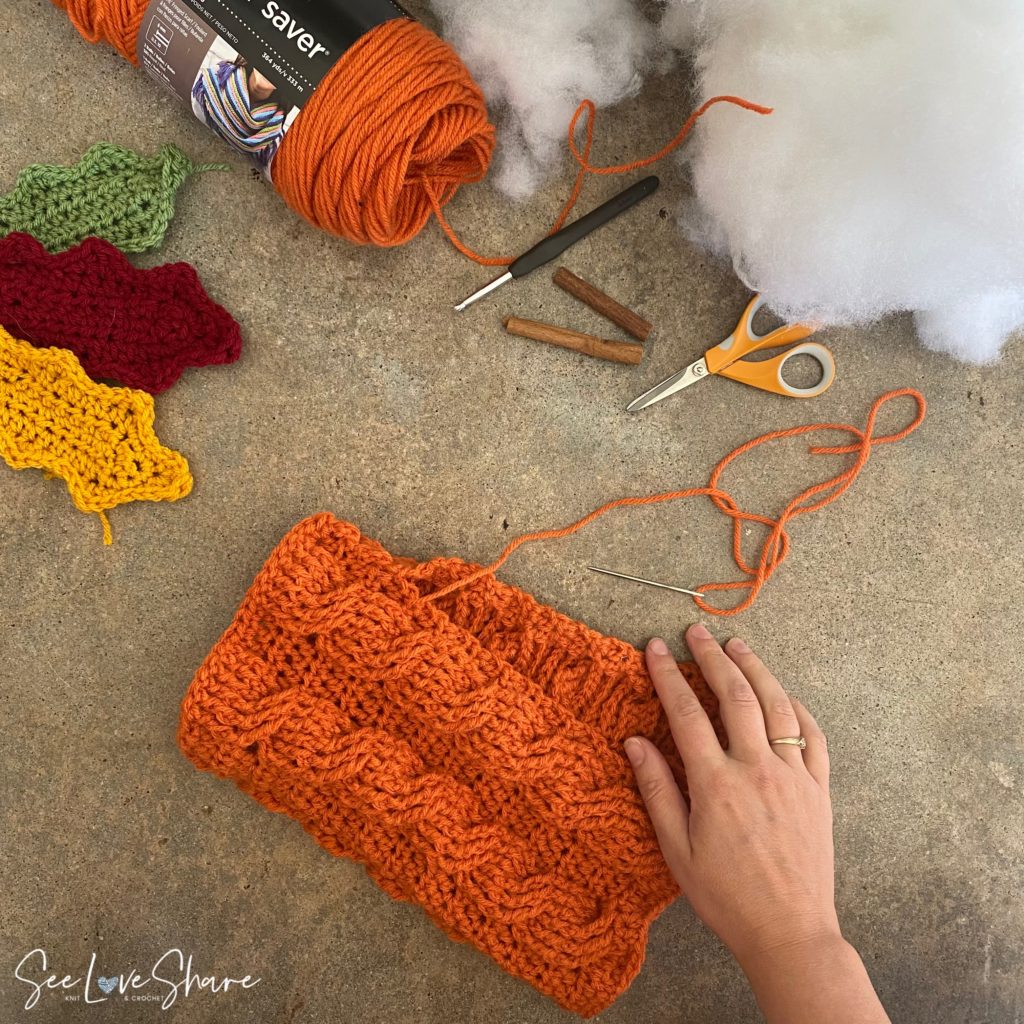
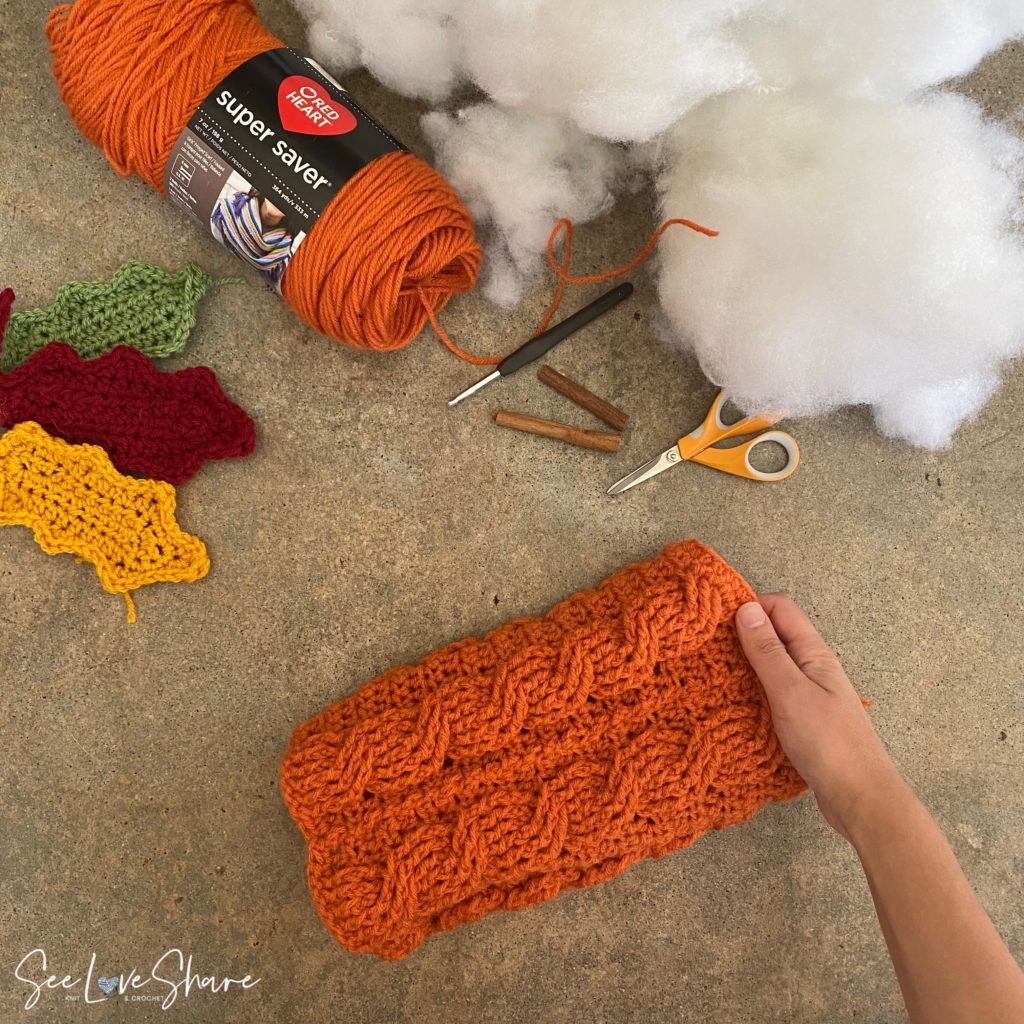
Step 3: Weave along bottom edge and synch closed. Bind off tightly.
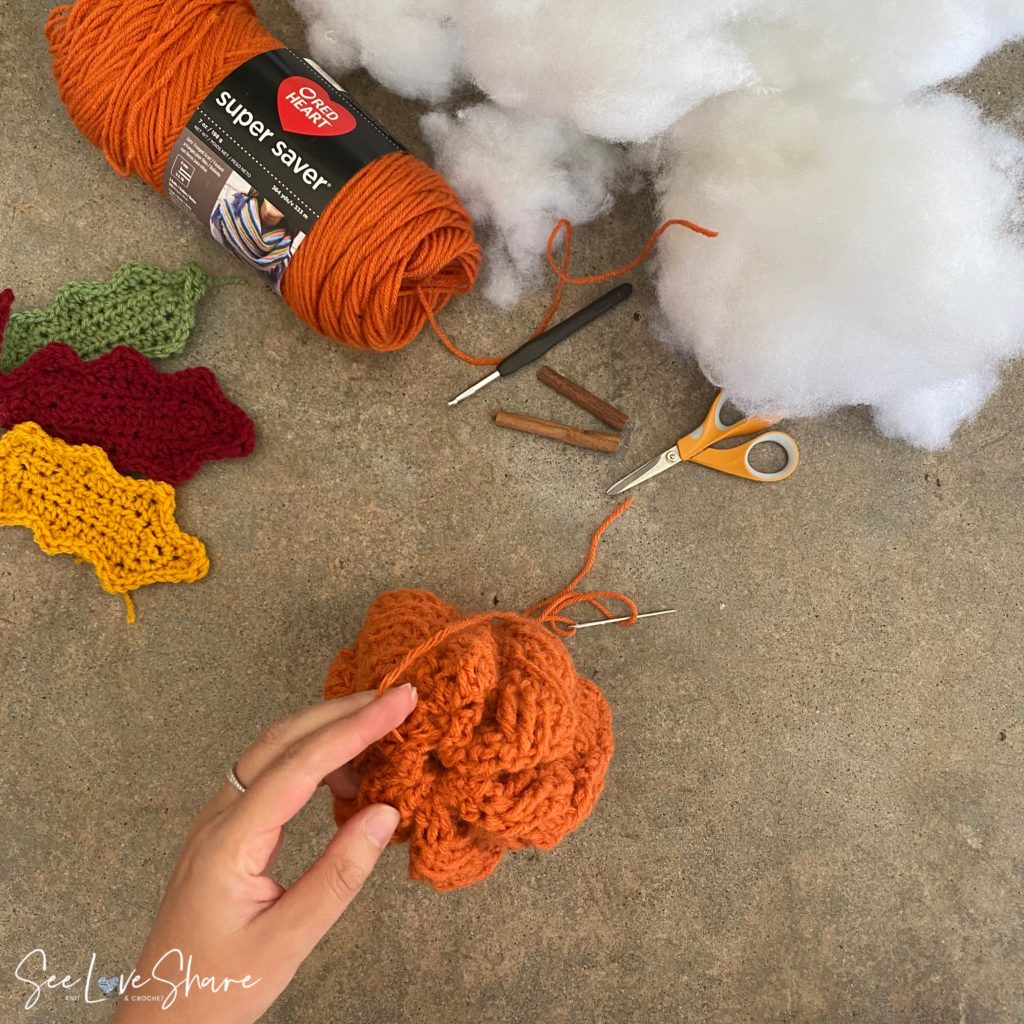
Step 4: Stuff with Polyfil
Step 5: Sew closed
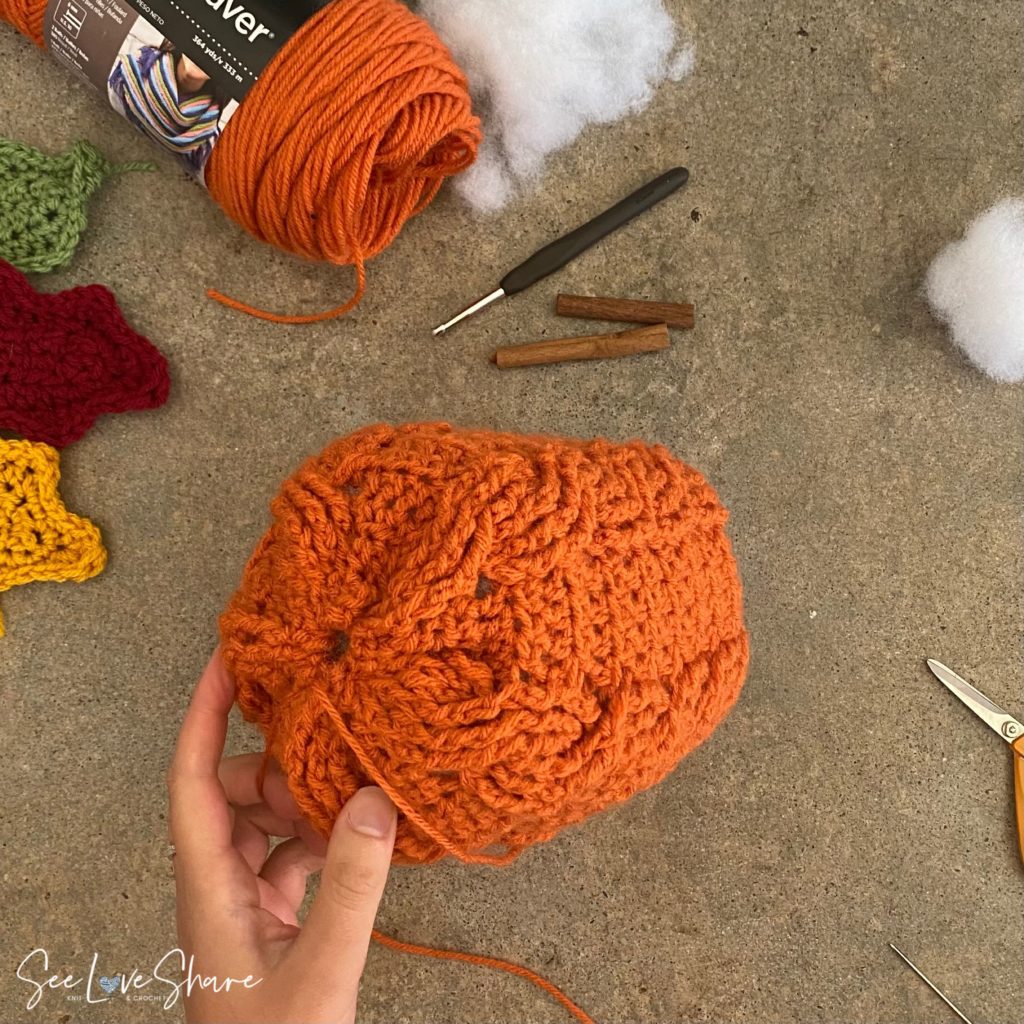
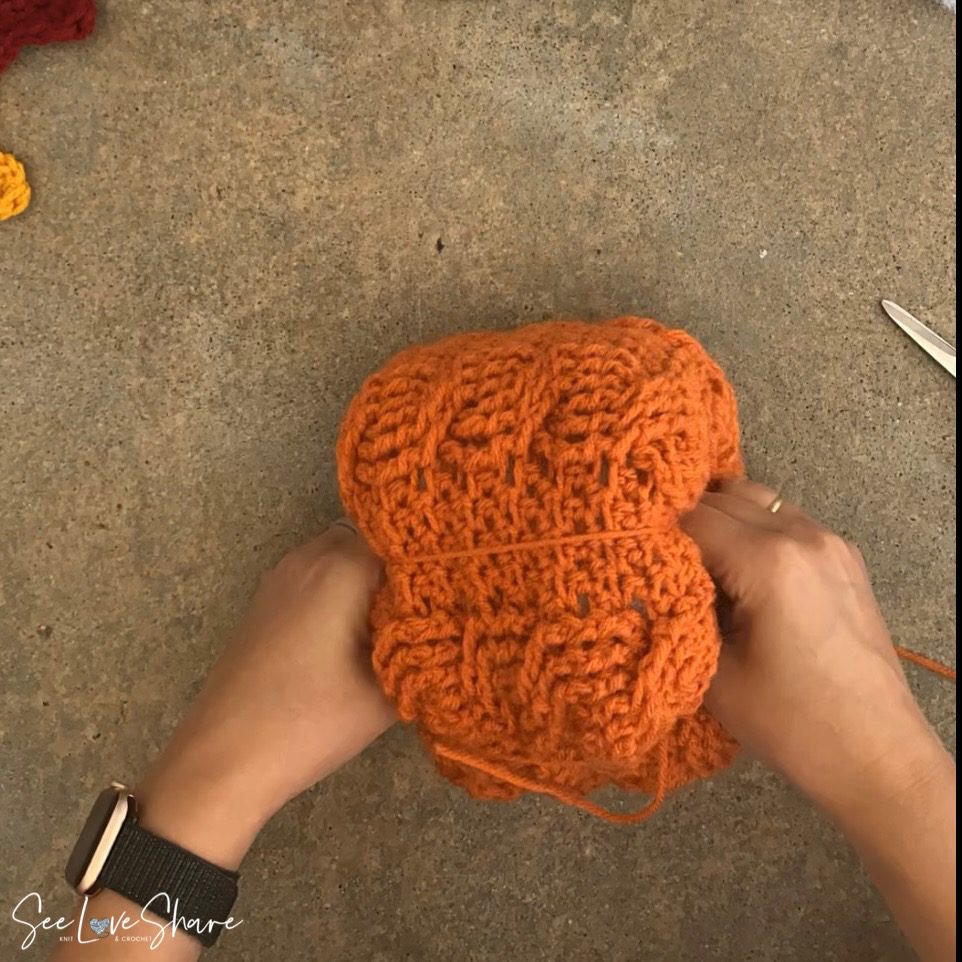
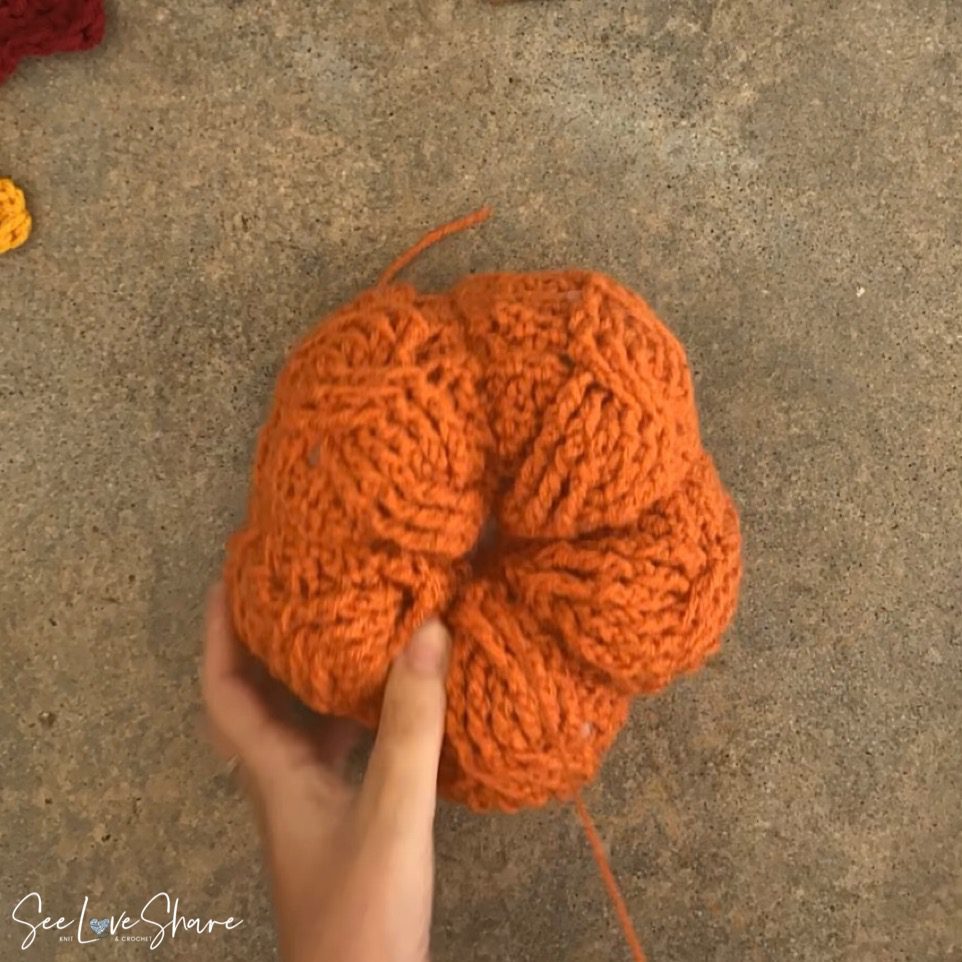
Step 6: Shape the pumpkin! With a long piece of yarn, attach to tapestry needle and pull through the center of the pumpkin, wrap around the side of the pumpkin and add tension to create a pucker/crease in the pumpkin. Repeat 4 more times.
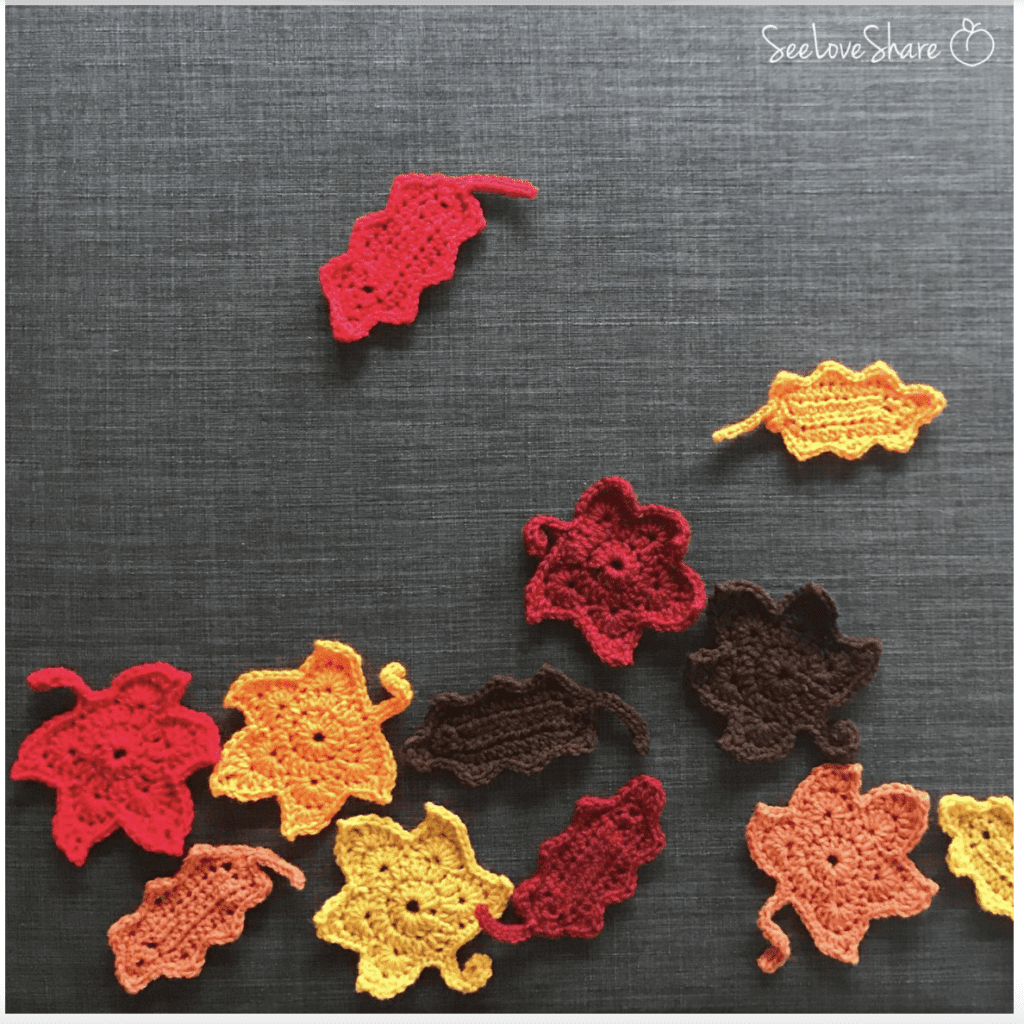
Step 7: Add accessories! I added some Fall Leaves to mine. It think it spruces it up a bit… if you’re interested, here they are!
Need help with some of the FPDC/BPDC? We have you covered there also…
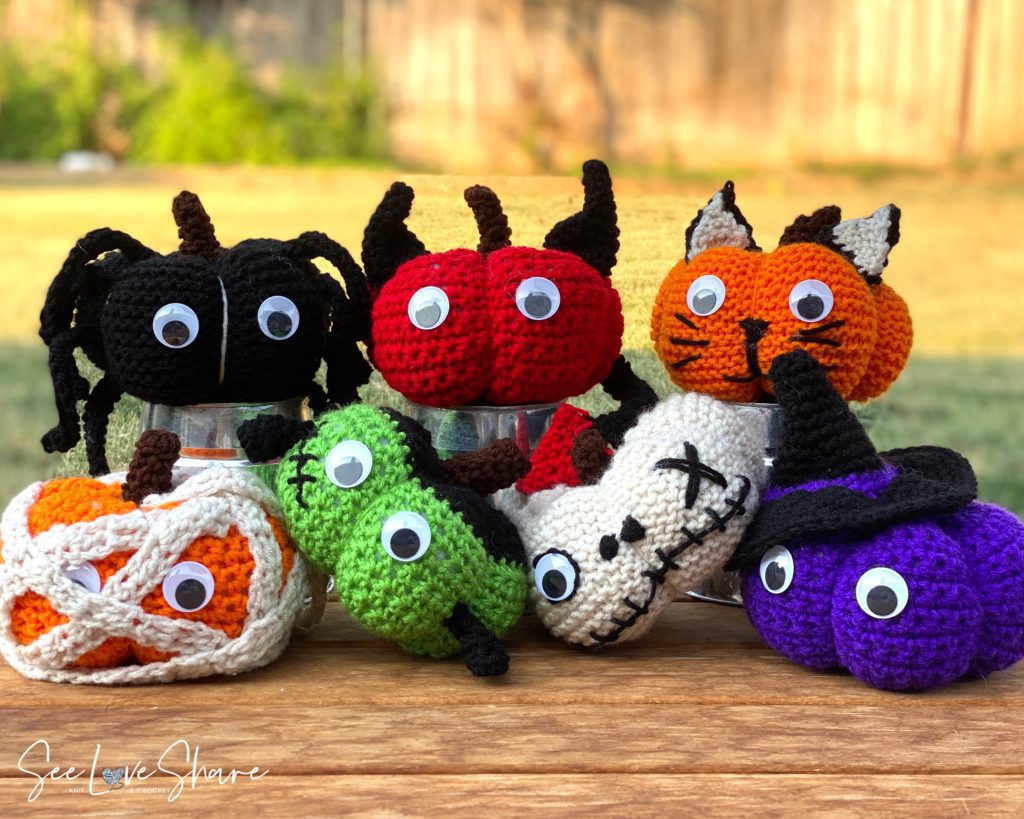
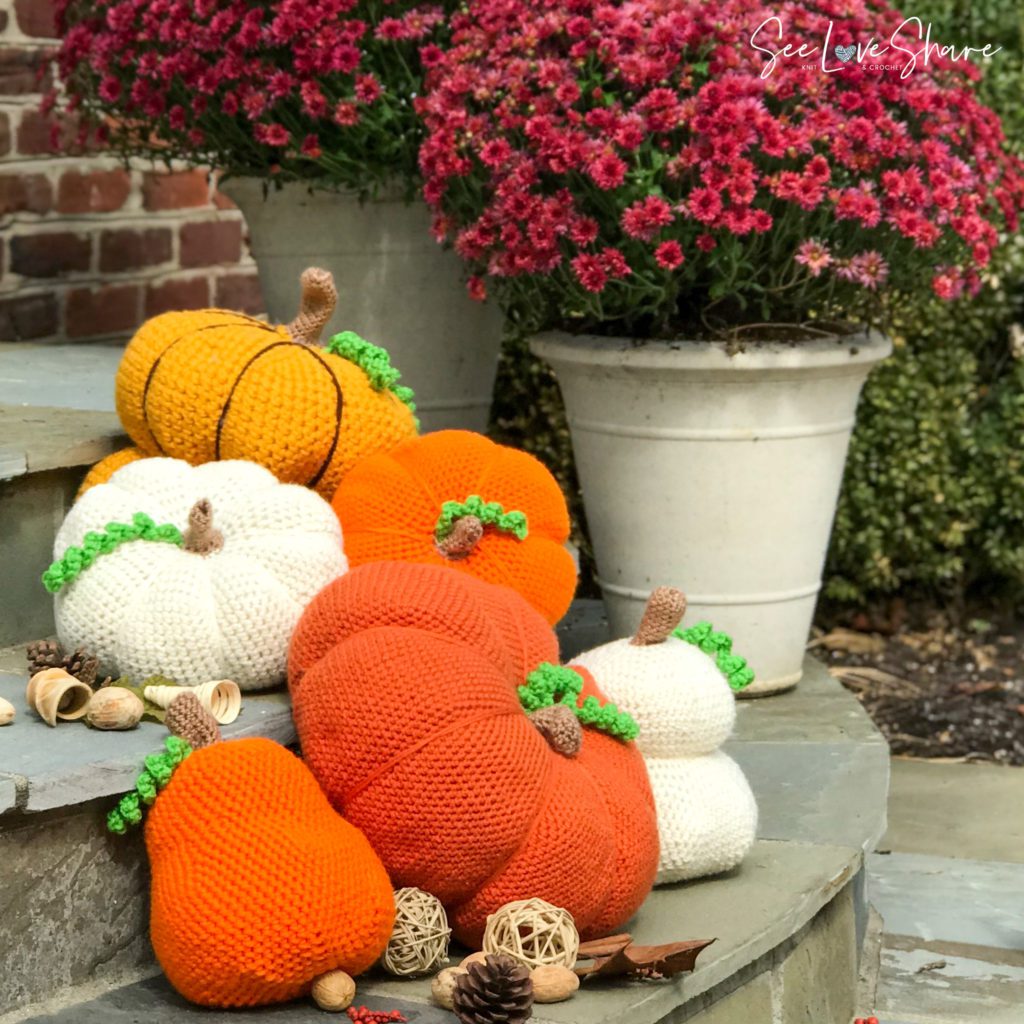
Looking for more pumpkin patterns? Check these out..