November 7th, 2023
Winter Snowflake Sugar Cookie Ornament – Crochet Pattern
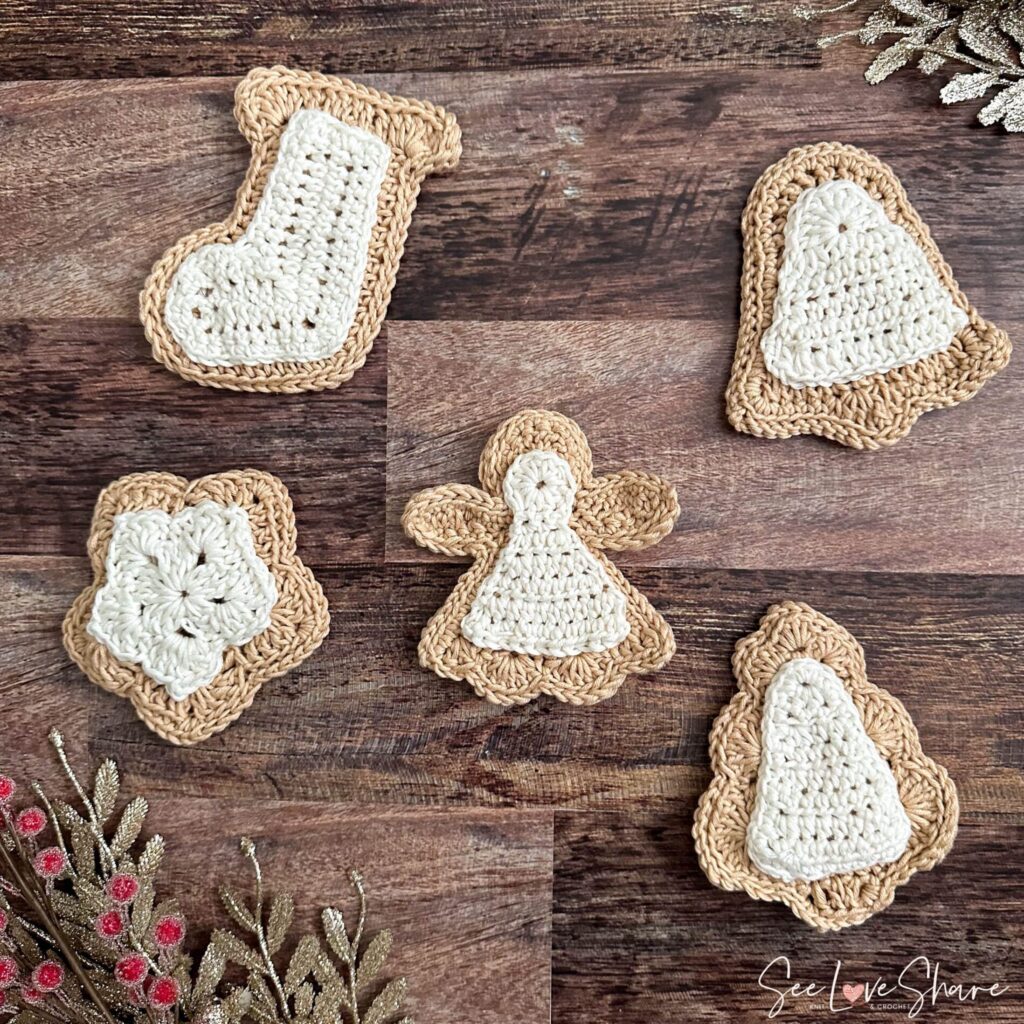
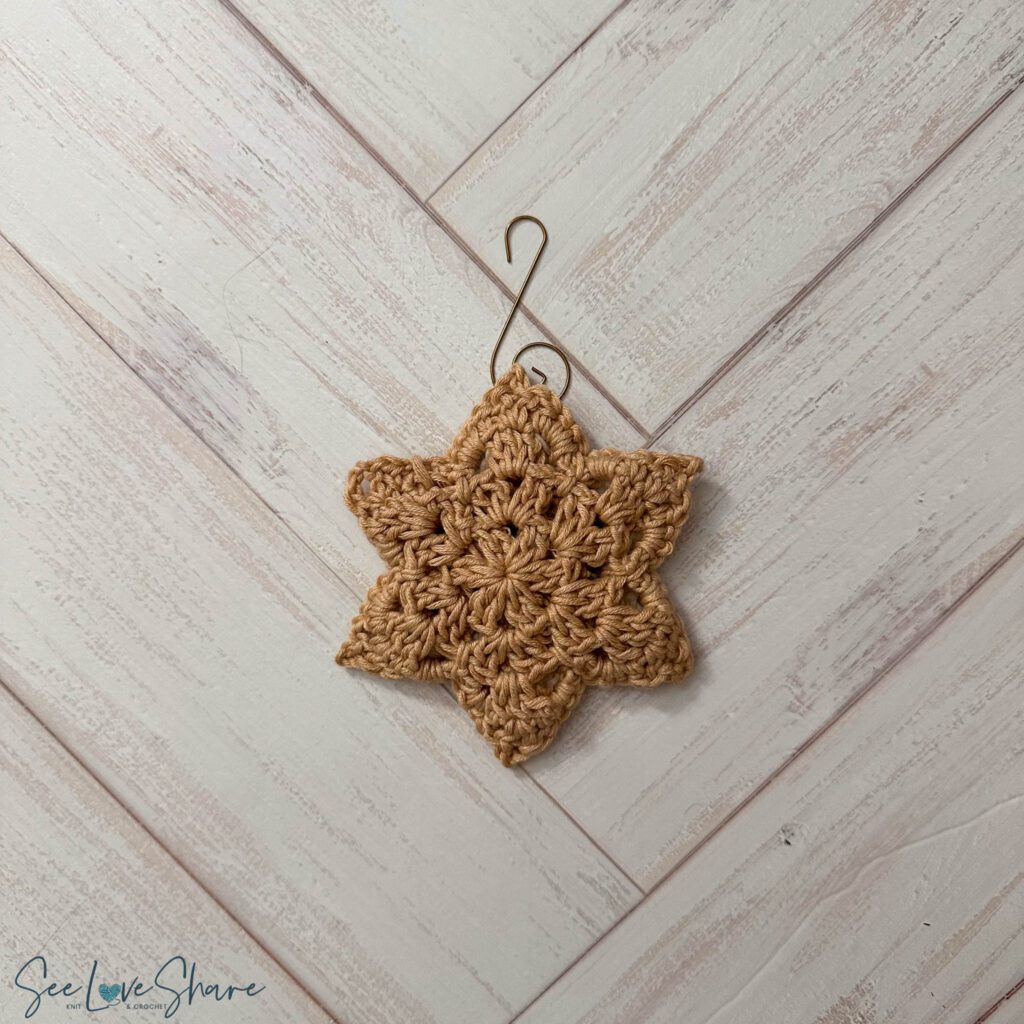
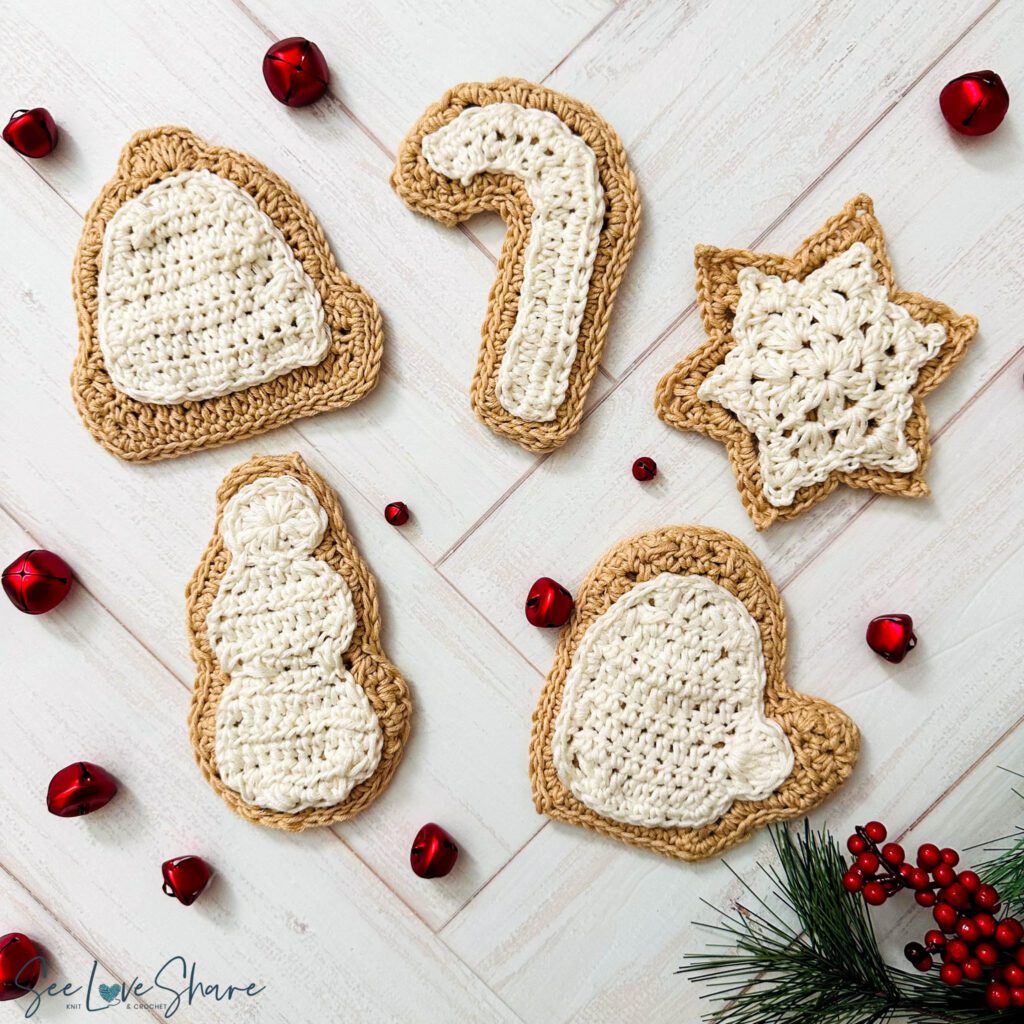
Embrace the winter season with our Winter Snowflake Sugar Cookie Ornament Pattern, a delightful and enchanting addition to your holiday and winter decor. Inspired by the delicate beauty of snowflakes and the sweet charm of sugar cookies, this pattern allows you to create exquisite snowflake ornaments that capture the essence of the season. Whether you’re a seasoned crocheter or just starting your crochet journey, this pattern is designed to infuse your space with a touch of homemade magic.
UPDATE November 2024:
I hope that you’re enjoying your current knitting projects. It has been such a pleasure sharing my patterns with you and seeing your creativity bring them to life.
After much thought, I have made the difficult decision to no longer offer my patterns for free. This was not an easy choice—designing and sharing these patterns has always been a passion of mine and a way to connect with this amazing community.
However, the time, effort, and resources required to create, test, and perfect each pattern are significant. To continue bringing you high-quality, unique designs and to support the sustainability of my work, I will now be offering my patterns for purchase on Etsy.
I am incredibly grateful for your support over the years. Your kind words, encouragement, and enthusiasm mean so much to me. I hope you’ll continue to enjoy my patterns and support this new chapter.
Please visit my Etsy shop HERE to view and purchase my collection.
Thank you for your understanding and for being an integral part of this journey.

Skill Level:
Intermediate: For crocheters with some experience. More intricate stitches, shaping & finishing.
Measurements:
Each piece is approx. 4in tall.
Materials:
- 1 Ball 120 g / 4.2 oz, 254 meters / 232 yards of #3 Medium yarn of each – this will make approx. 4 cookies, double if making the entire set.
- Cookie: Light brown
- Icing: white/off-white
- As photographed – Bernat Softee Baby Cotton in Sand (cookie) and Cotton (frosting)
- Size 4.0 mm (U.S. G/6)
- Tapestry needle
Gauge:
- Crochet Gauge: 16 sc and 20 rows with a 4.0 mm (U.S. G/6) crochet hook
Abbreviations:
Check out the entire Winter Sugar Cookie Collection here!
Looking for more?
We also have a Christmas Collection!