
April 27th, 2020
Bean Stitch Crochet Tutorial — Step-by-Step Guide
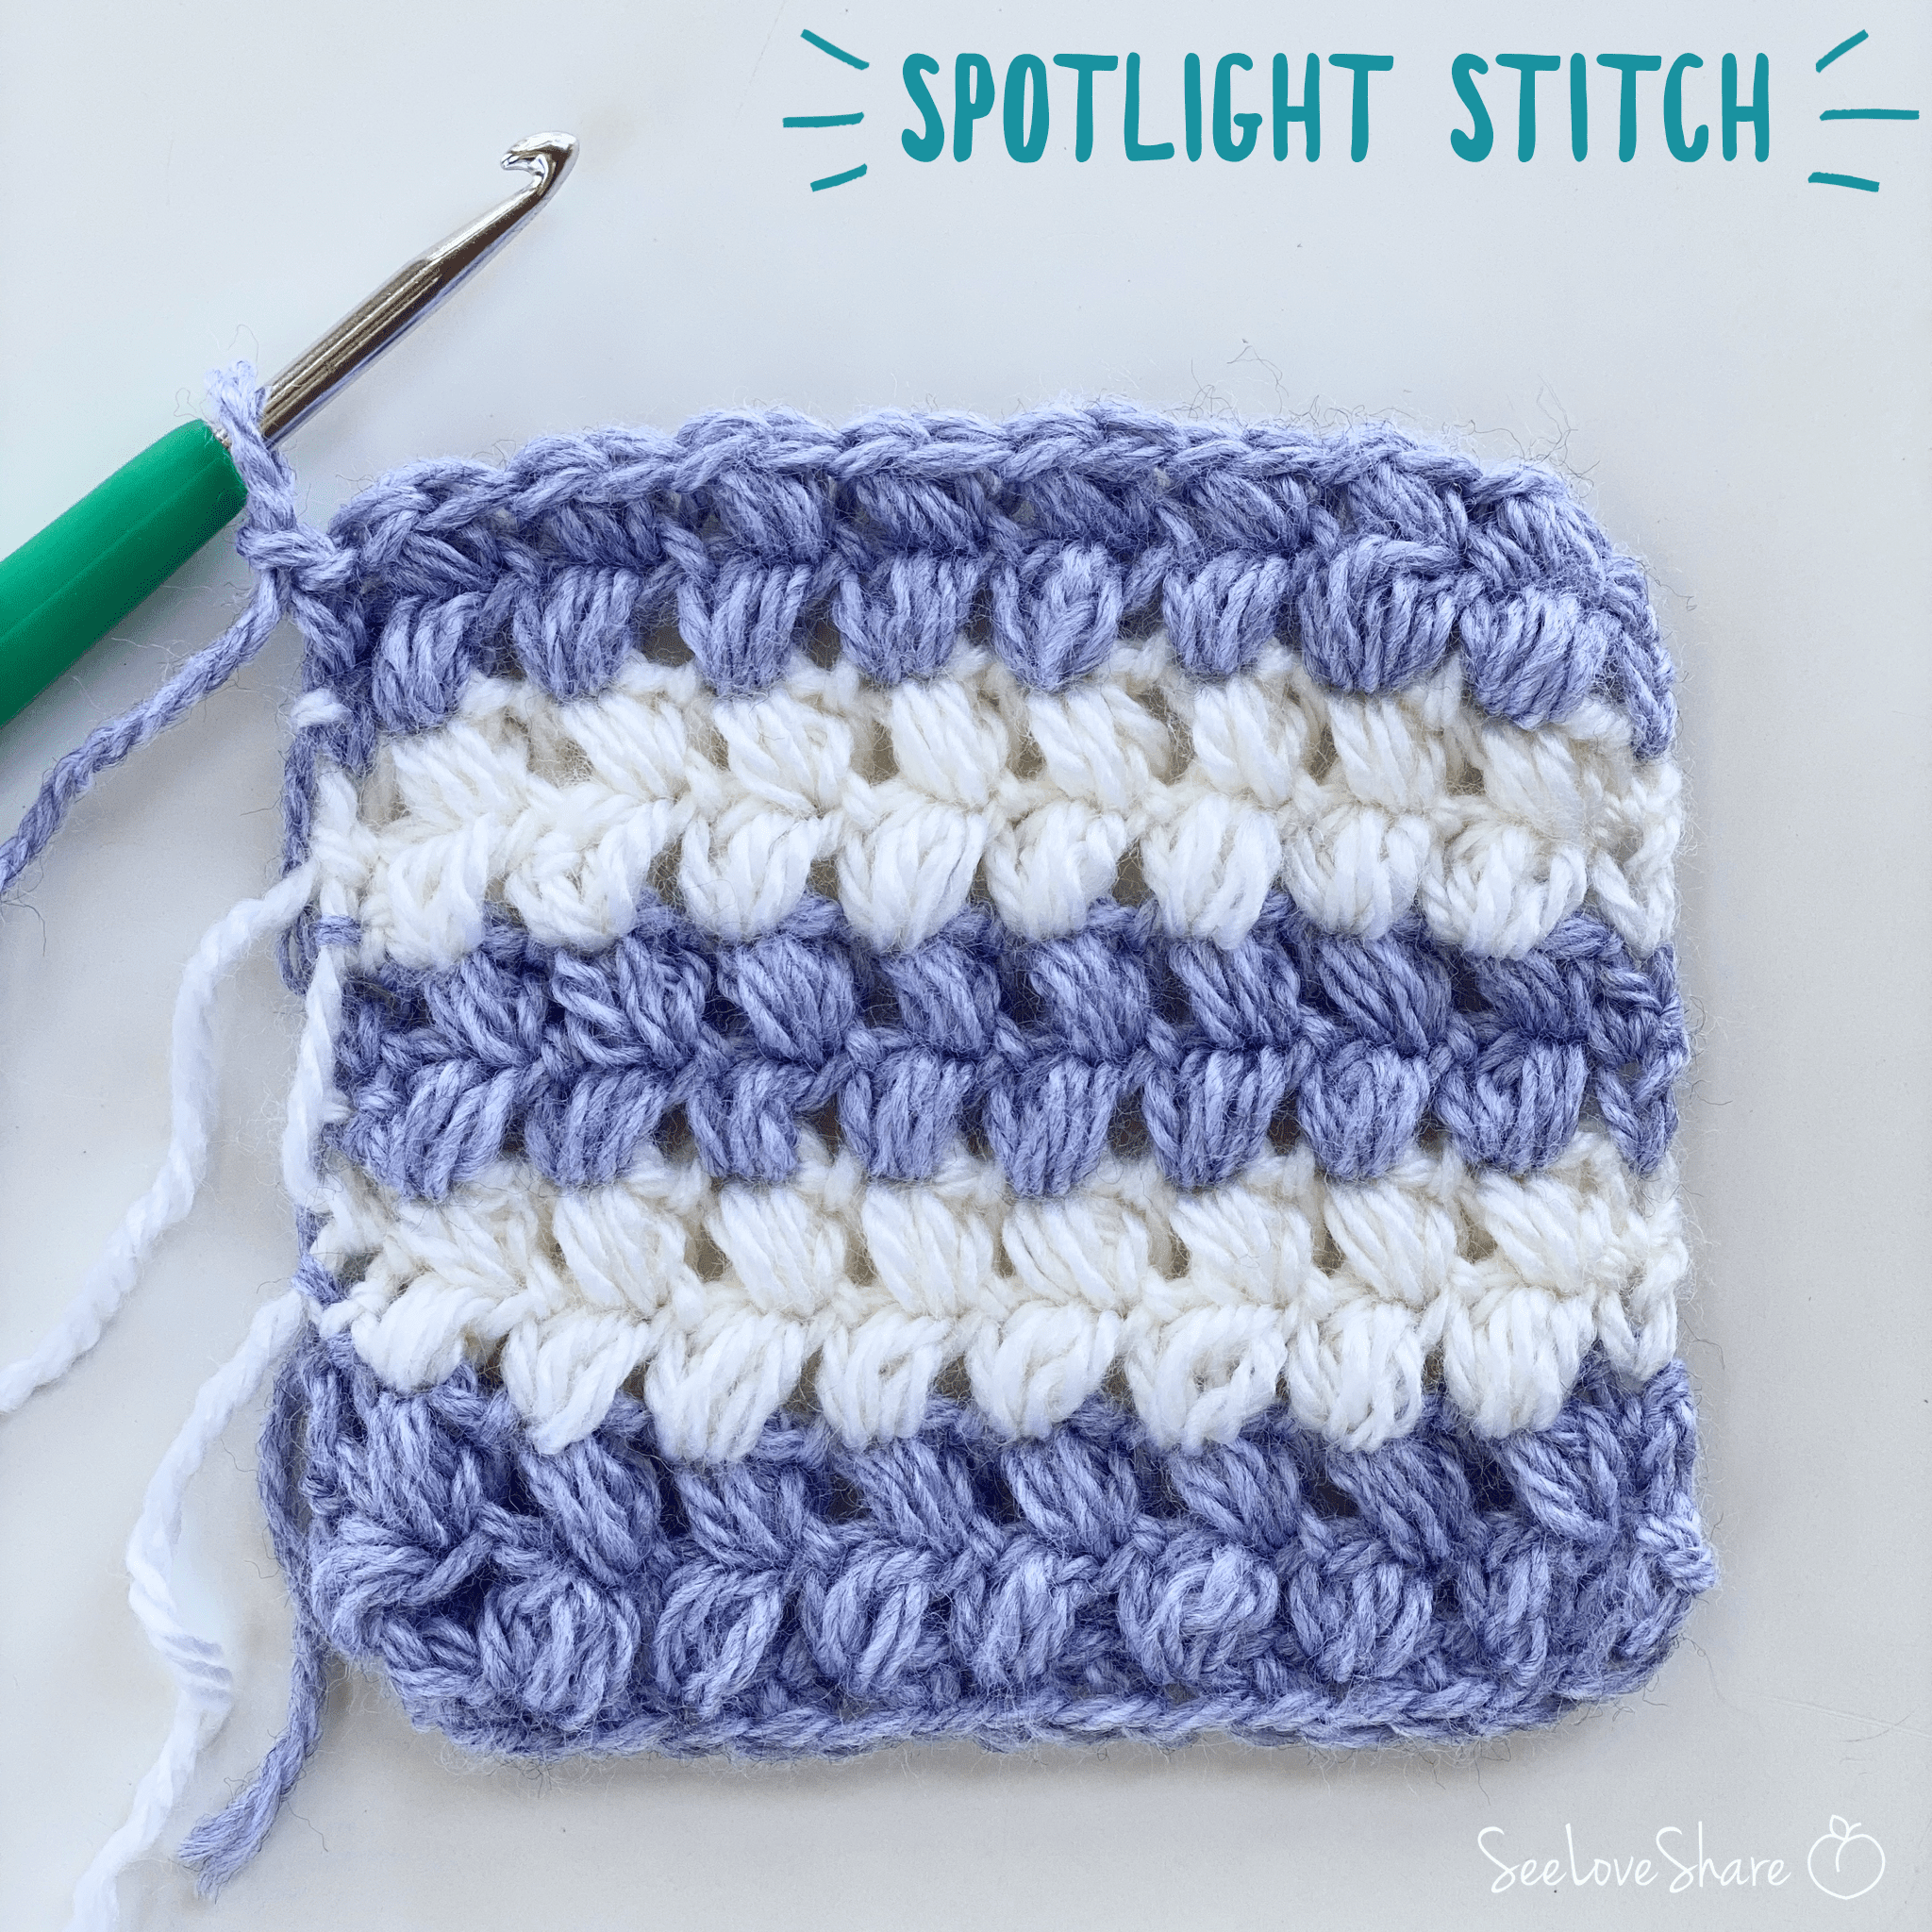
The bean stitch crochet technique is one of the most satisfying textured stitches you can learn. It creates dense, horizontal bean-shaped bumps across your fabric — perfect for adding a tactile, dimensional feel to baby blankets, scarves, pillows, dishcloths, and decorative borders.
This bean stitch crochet tutorial walks you through the technique step by step with written instructions and a video tutorial. Once you master the bean stitch, you’ll find yourself reaching for it again and again — it’s that good for adding texture without making your fabric stiff.
Why You’ll Love the Bean Stitch Crochet Technique
The bean stitch is one of those techniques that punches above its weight class:
✔ Beginner-friendly — only uses single crochet, chain, and yarn over
✔ Works up quickly — fast 2-row repeat
✔ Beautiful dense texture without making fabric stiff
✔ Great for stash-busting (uses moderate yarn)
✔ Versatile — works as an all-over stitch OR a decorative border
✔ Holds its shape well — perfect for items that get heavy use
The bean stitch crochet pattern is the kind of thing experienced crocheters keep in their back pocket for any project that needs a little extra “wow” without adding complexity.
Project Ideas for the Bean Stitch
- Baby blankets — adds sensory texture babies love
- Throws and afghans — turns plain yarn into designer-looking texture
- Dishcloths and washcloths — the bumps add gentle scrubbing texture
- Decorative borders — work a few rows of bean stitch as an edge on plain projects
- Pillows and cushions — beautiful textured accent pillow
- Scarves and cowls — adds visual interest and warmth
- Hats and beanies — bean stitch panels look amazing on slouchy beanies
Materials
- Worsted weight (#4) yarn in a light, solid colour for best stitch visibility (I used Yarnspirations Baby Softee)
- 5mm (H/8) crochet hook — or whatever your yarn label recommends
- Tapestry needle for weaving in ends
- Scissors
For learning the bean stitch crochet technique, choose a light, solid yarn so you can clearly see the stitch definition. Variegated and dark yarns hide the bean texture while you’re learning.
Abbreviations
st = stitch(es)
ch = chain
sc = single crochet
yo = yarn over
BS = Bean Stitch (defined below)
* = repeat instructions between asterisks as indicated
How to Work a Bean Stitch (Step-by-Step)
The bean stitch is built from three pulled-up loops worked into the same stitch, then closed off with a single yarn over. Here’s the breakdown:
Step 1: Insert your hook into the next stitch and pull up a loop. You should have 2 loops on your hook.
Step 2: Yarn over, insert your hook into the SAME stitch, and pull up another loop. You should have 4 loops on your hook.
Step 3: Yarn over, insert your hook into the SAME stitch again, and pull up another loop. You should have 6 loops on your hook.
Step 4: Yarn over and pull through all 6 loops on your hook in one motion.
Step 5: Chain 1 to close the bean stitch and lock it in place.
That’s it! You’ve made one bean stitch. The chain 1 at the end is essential — it’s what gives the bean its defined, beaded shape and prevents the next stitch from collapsing the texture.
Bean Stitch Crochet Pattern
Chain an even number of stitches to begin. The bean stitch crochet pattern works in any even-numbered chain count, so adjust to your project size.
Row 1: Sc in 2nd ch from hook and in each ch to end. Turn.
Row 2: Ch 1, sc in base of ch 1, *skip 1 sc, BS (see step-by-step above) in next sc*, repeat from * to * to last 2 sc, skip 1 sc, sc in last sc. Turn.
Row 3: Ch 1, sc in base of ch 1, work BS in each BS to last sc, 1 sc in sc. Turn.
Repeat Row 3 until you’ve reached your desired length. Bind off, weave in ends, and lightly block for the cleanest texture.
Watch the Bean Stitch Crochet Video Tutorial
For visual learners, here’s the full video tutorial showing the bean stitch crochet technique in action. Watch the yarn pull-ups and the final close to see exactly how the bean texture forms.
Tips for Working the Bean Stitch Crochet Technique
Keep Tension a Touch Looser
The bean stitch uses 6 loops on your hook at one point — if your tension is too tight, pulling through all 6 loops gets really difficult. Loosen up a little, especially on Step 4. Your hand will thank you.
Don’t Forget the Closing Chain 1
The ch 1 after pulling through all 6 loops is what gives the bean stitch its defined shape. Skip it and your bean will collapse into the next stitch. Always close every bean with that chain.
Use a Slightly Bigger Hook
If your beans look squashed or hard to pull through, go up half a hook size from your yarn label’s recommendation. This gives the textured loops a bit more room to bloom.
Count Stitches Carefully
The bean stitch crochet pattern alternates BS stitches with skipped stitches. Place a stitch marker every 10 stitches in your foundation row so you can quickly count and catch mistakes early.
Block Your Finished Piece
Bean stitches really pop after blocking. Wet block by misting with water and pinning flat to dry — the bean texture becomes more defined and the fabric lays smoother.
Frequently Asked Questions
Is the bean stitch crochet technique suitable for beginners? Yes — if you can chain, single crochet, and yarn over, you can do this. The only “new” skill is pulling up multiple loops into the same stitch, and that becomes intuitive after just a few beans.
What’s the difference between a bean stitch and a puff stitch? Both use multiple pulled-up loops into the same stitch, but the bean stitch closes with a chain 1 to lock the shape (creating a defined horizontal bean shape), while the puff stitch leaves the loops more open and rounded.
How much yarn does the bean stitch use compared to plain stitches? The bean stitch uses roughly 1.5-2x more yarn than single crochet because each bean incorporates three pulled-up loops. Plan for extra yardage if you’re using it across a whole project.
Can I work the bean stitch in the round? Yes — just remember to skip every other stitch and place beans between them. The technique works the same way; you just don’t turn at the end of each row.
What yarn weight is best for the bean stitch? Worsted weight (#4) shows the bean texture best and is most forgiving while learning. The stitch works in any weight, but lighter yarns make the beans subtle and bulky yarns make them really bold.
More Crochet Stitch Tutorials
Loved learning the bean stitch crochet technique? Here are more textured stitch tutorials from SeeLoveShare to add to your skills:
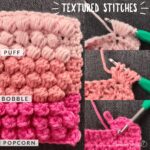
 Textured Crochet Stitches Round-Up Guide — bobble, puff, popcorn and more
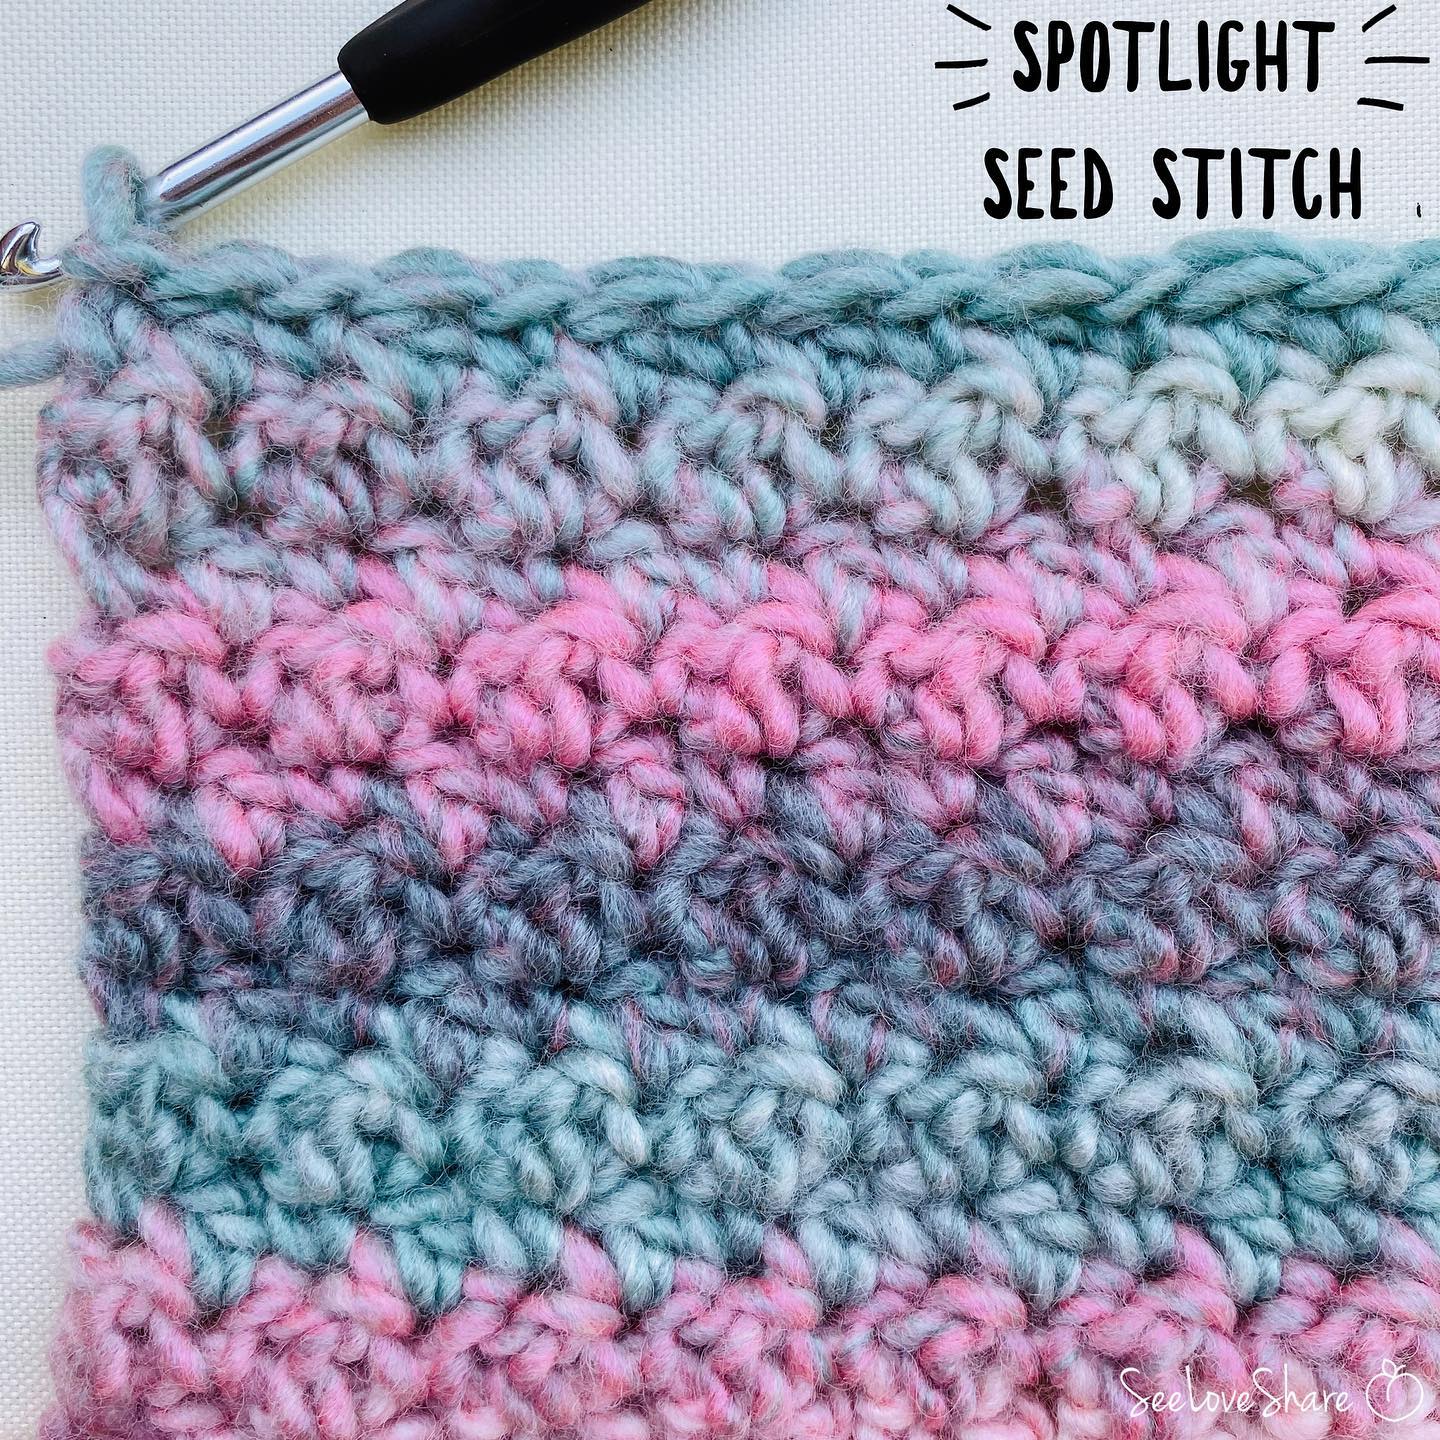
 Seed Stitch Crochet Tutorial — subtle all-over texture
- Waffle Stitch Crochet Tutorial — gorgeous grid-like texture
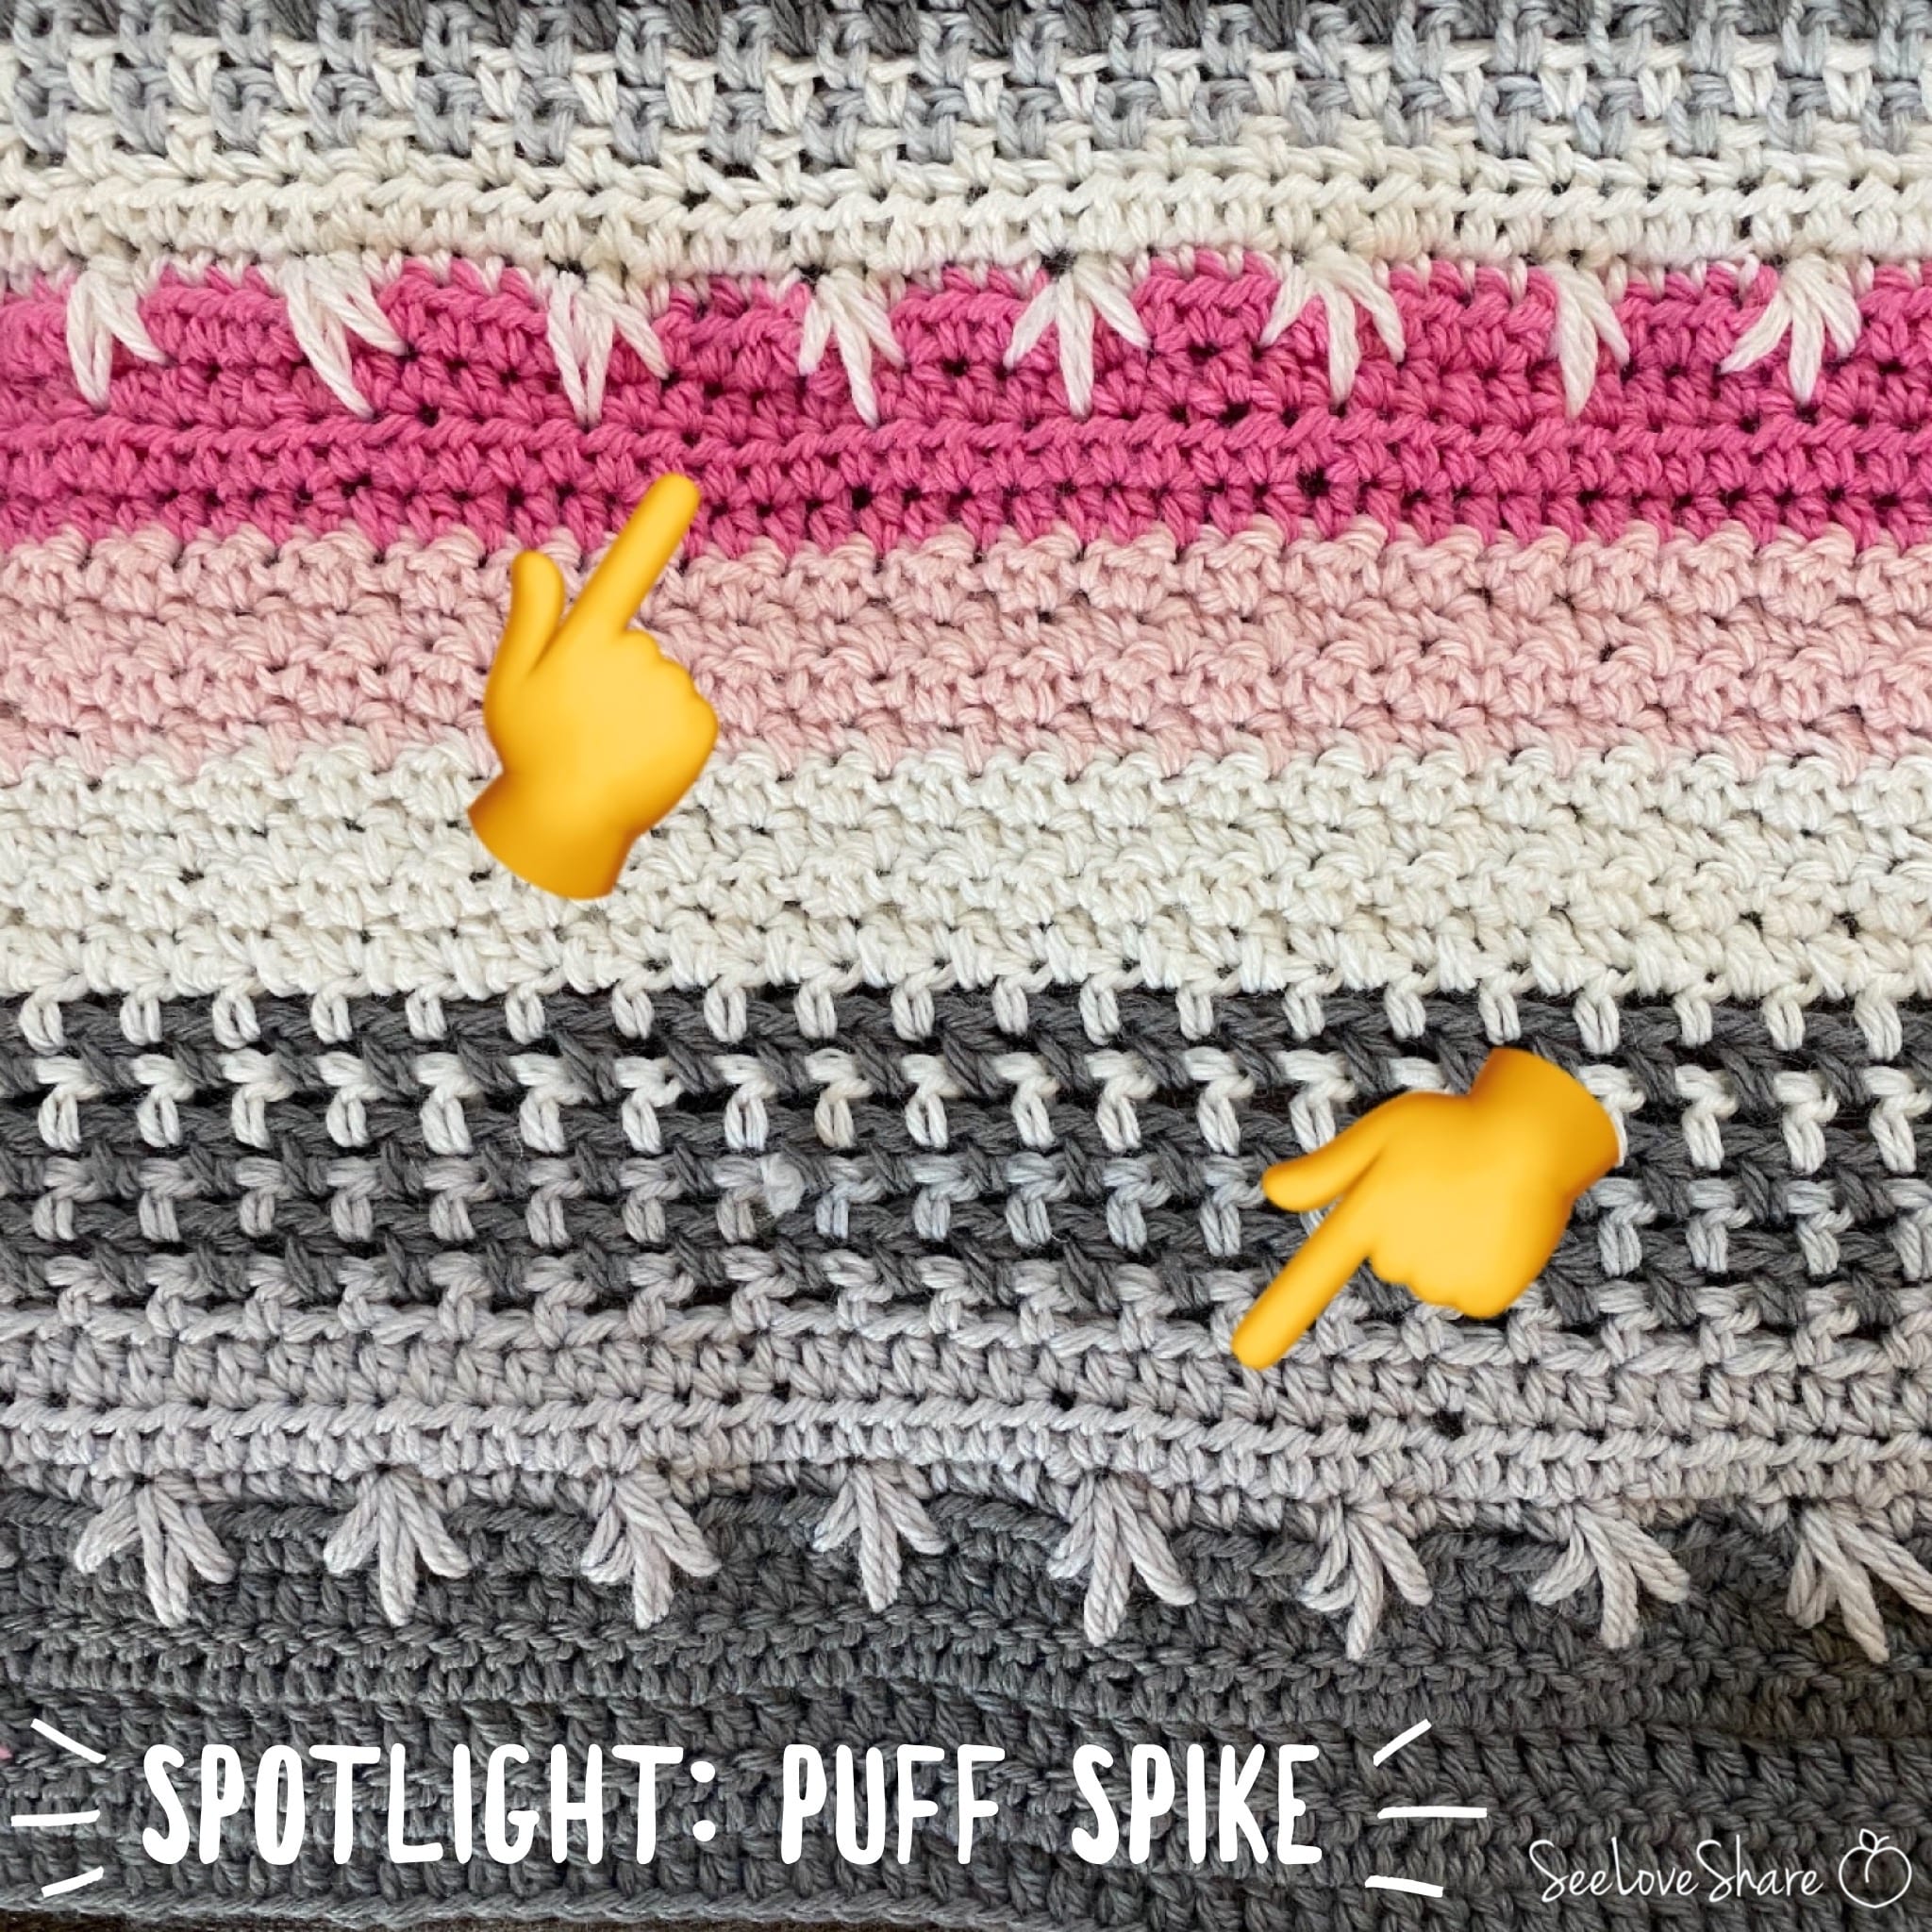
 Puff Spike Stitch Tutorial — variation of the puff with extra dimension

Save This Bean Stitch Crochet Tutorial
Want to come back to this bean stitch crochet tutorial later? Save it to Pinterest so you can find it whenever you need a refresher — and share it with your crocheting friends!