
November 4th, 2020
Puff Spike Stitch Crochet Tutorial — Photo Step-by-Step Guide
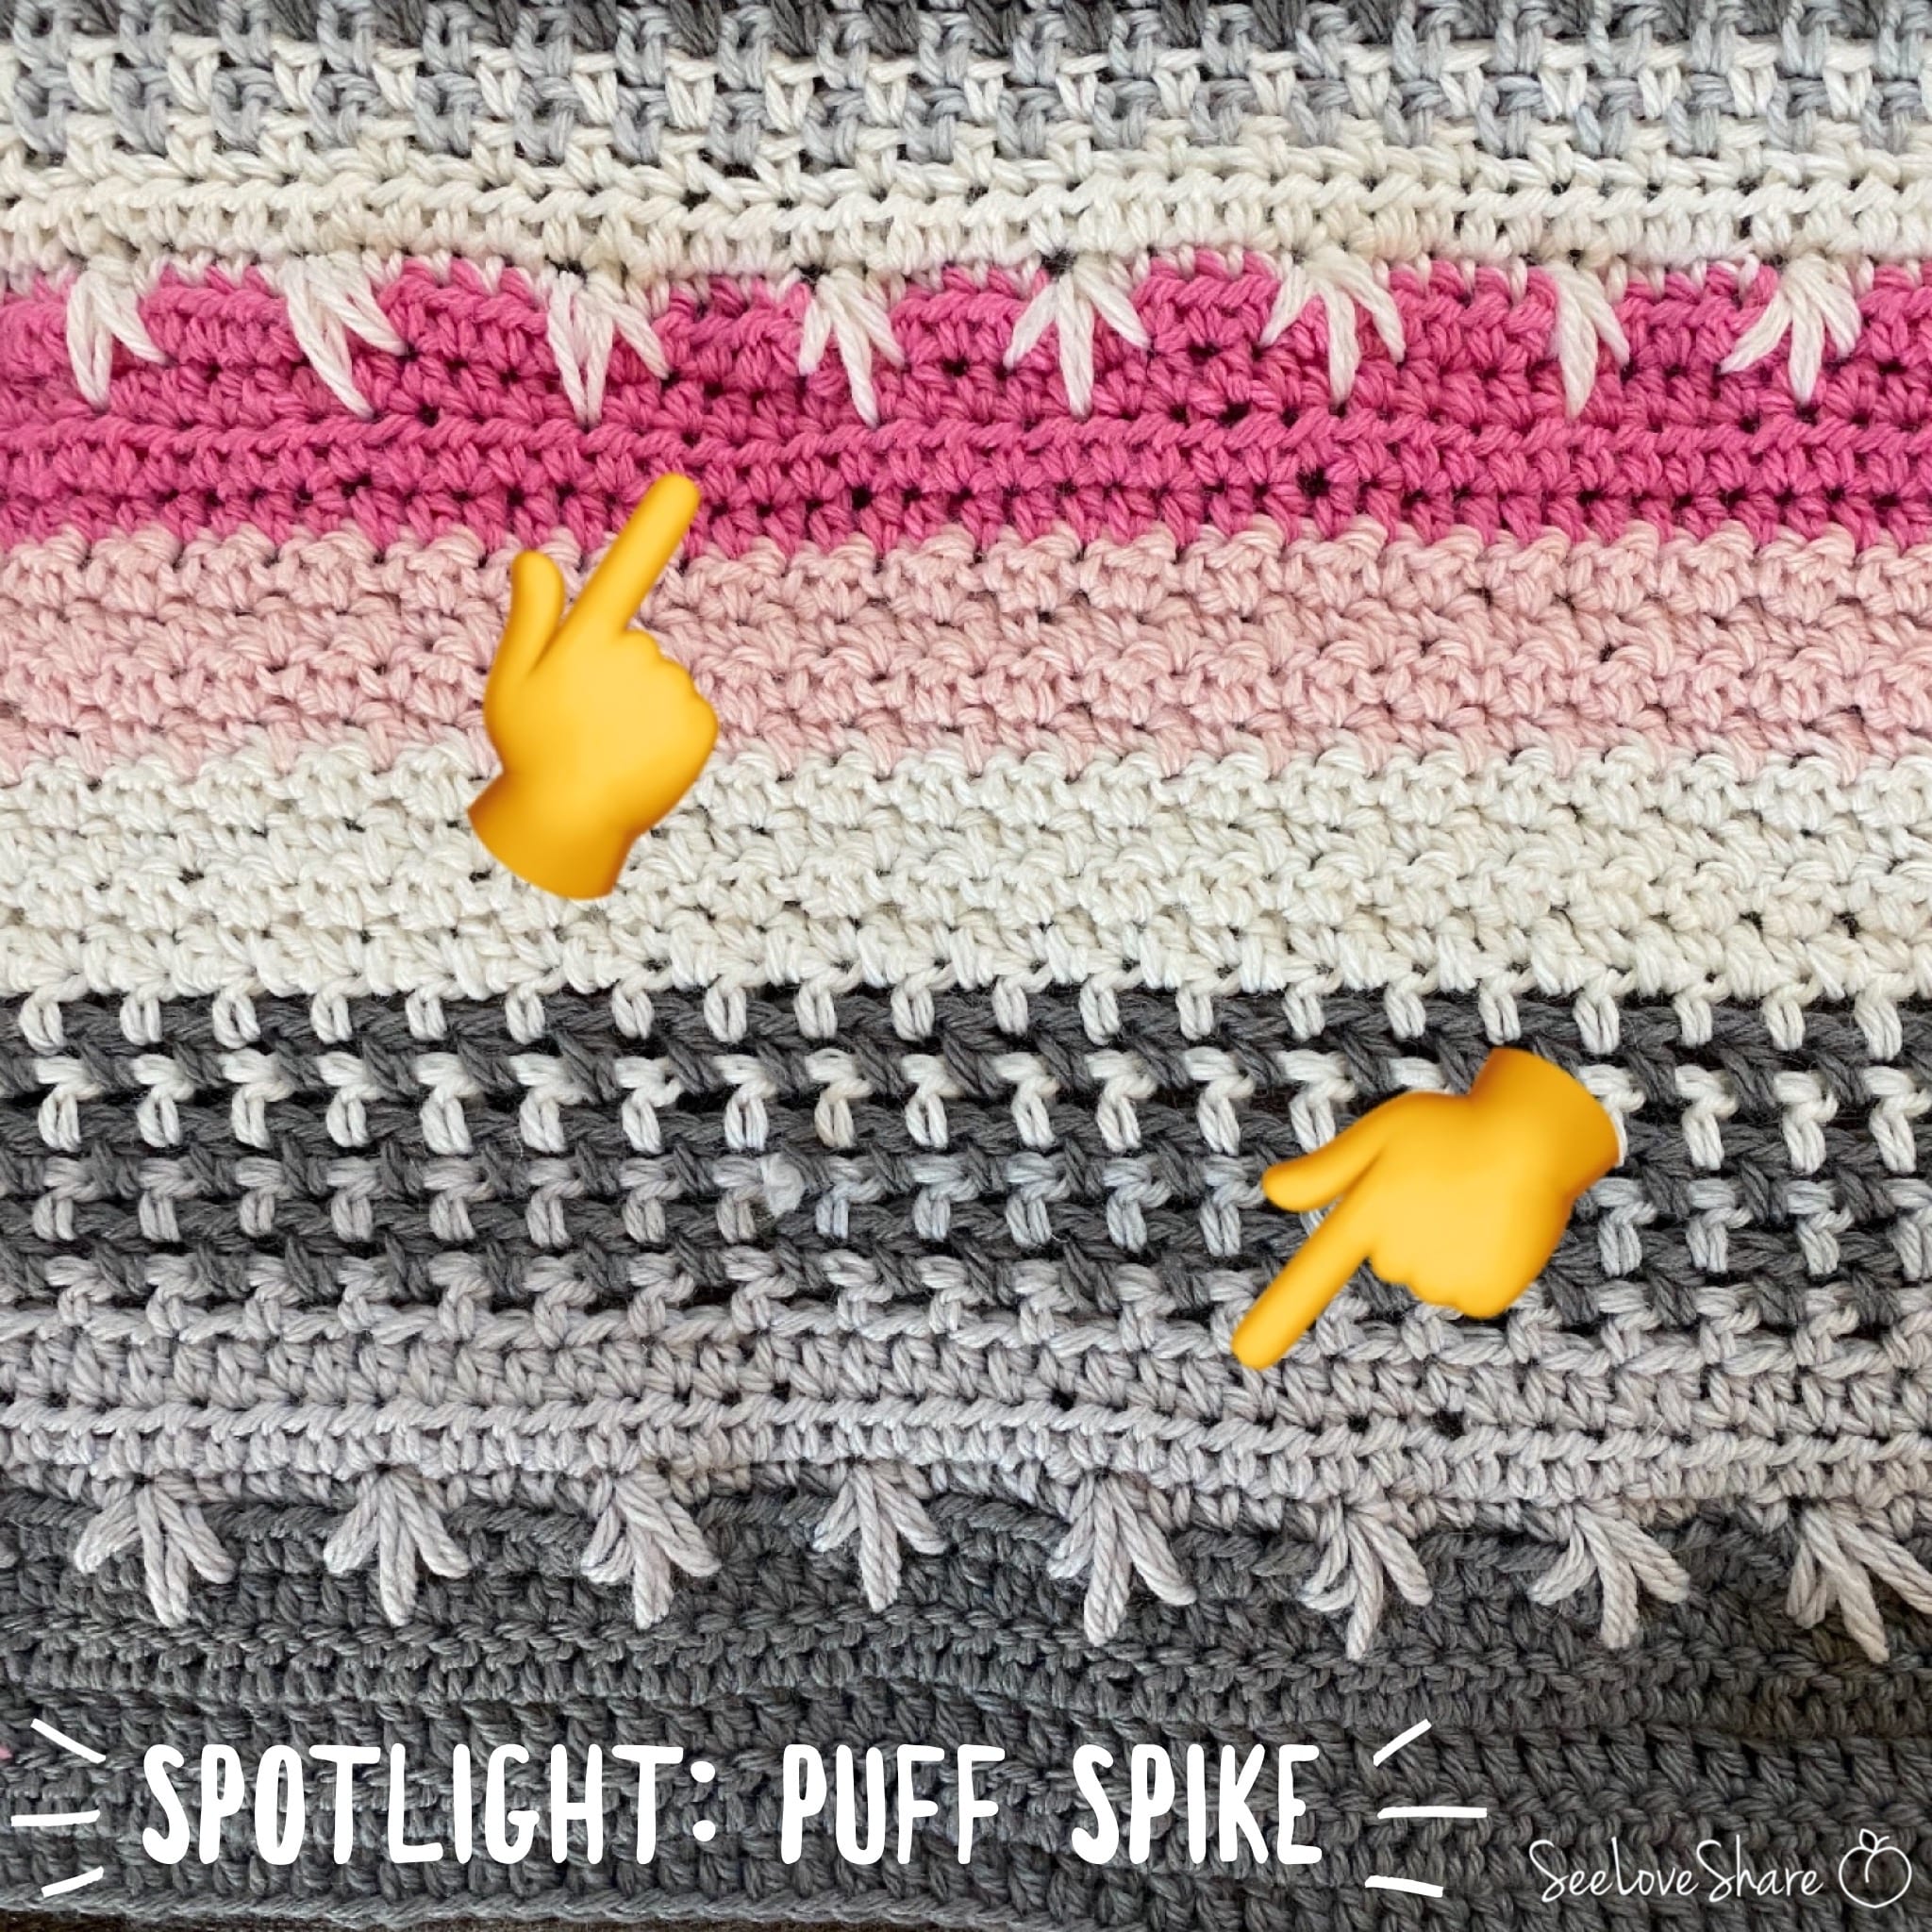
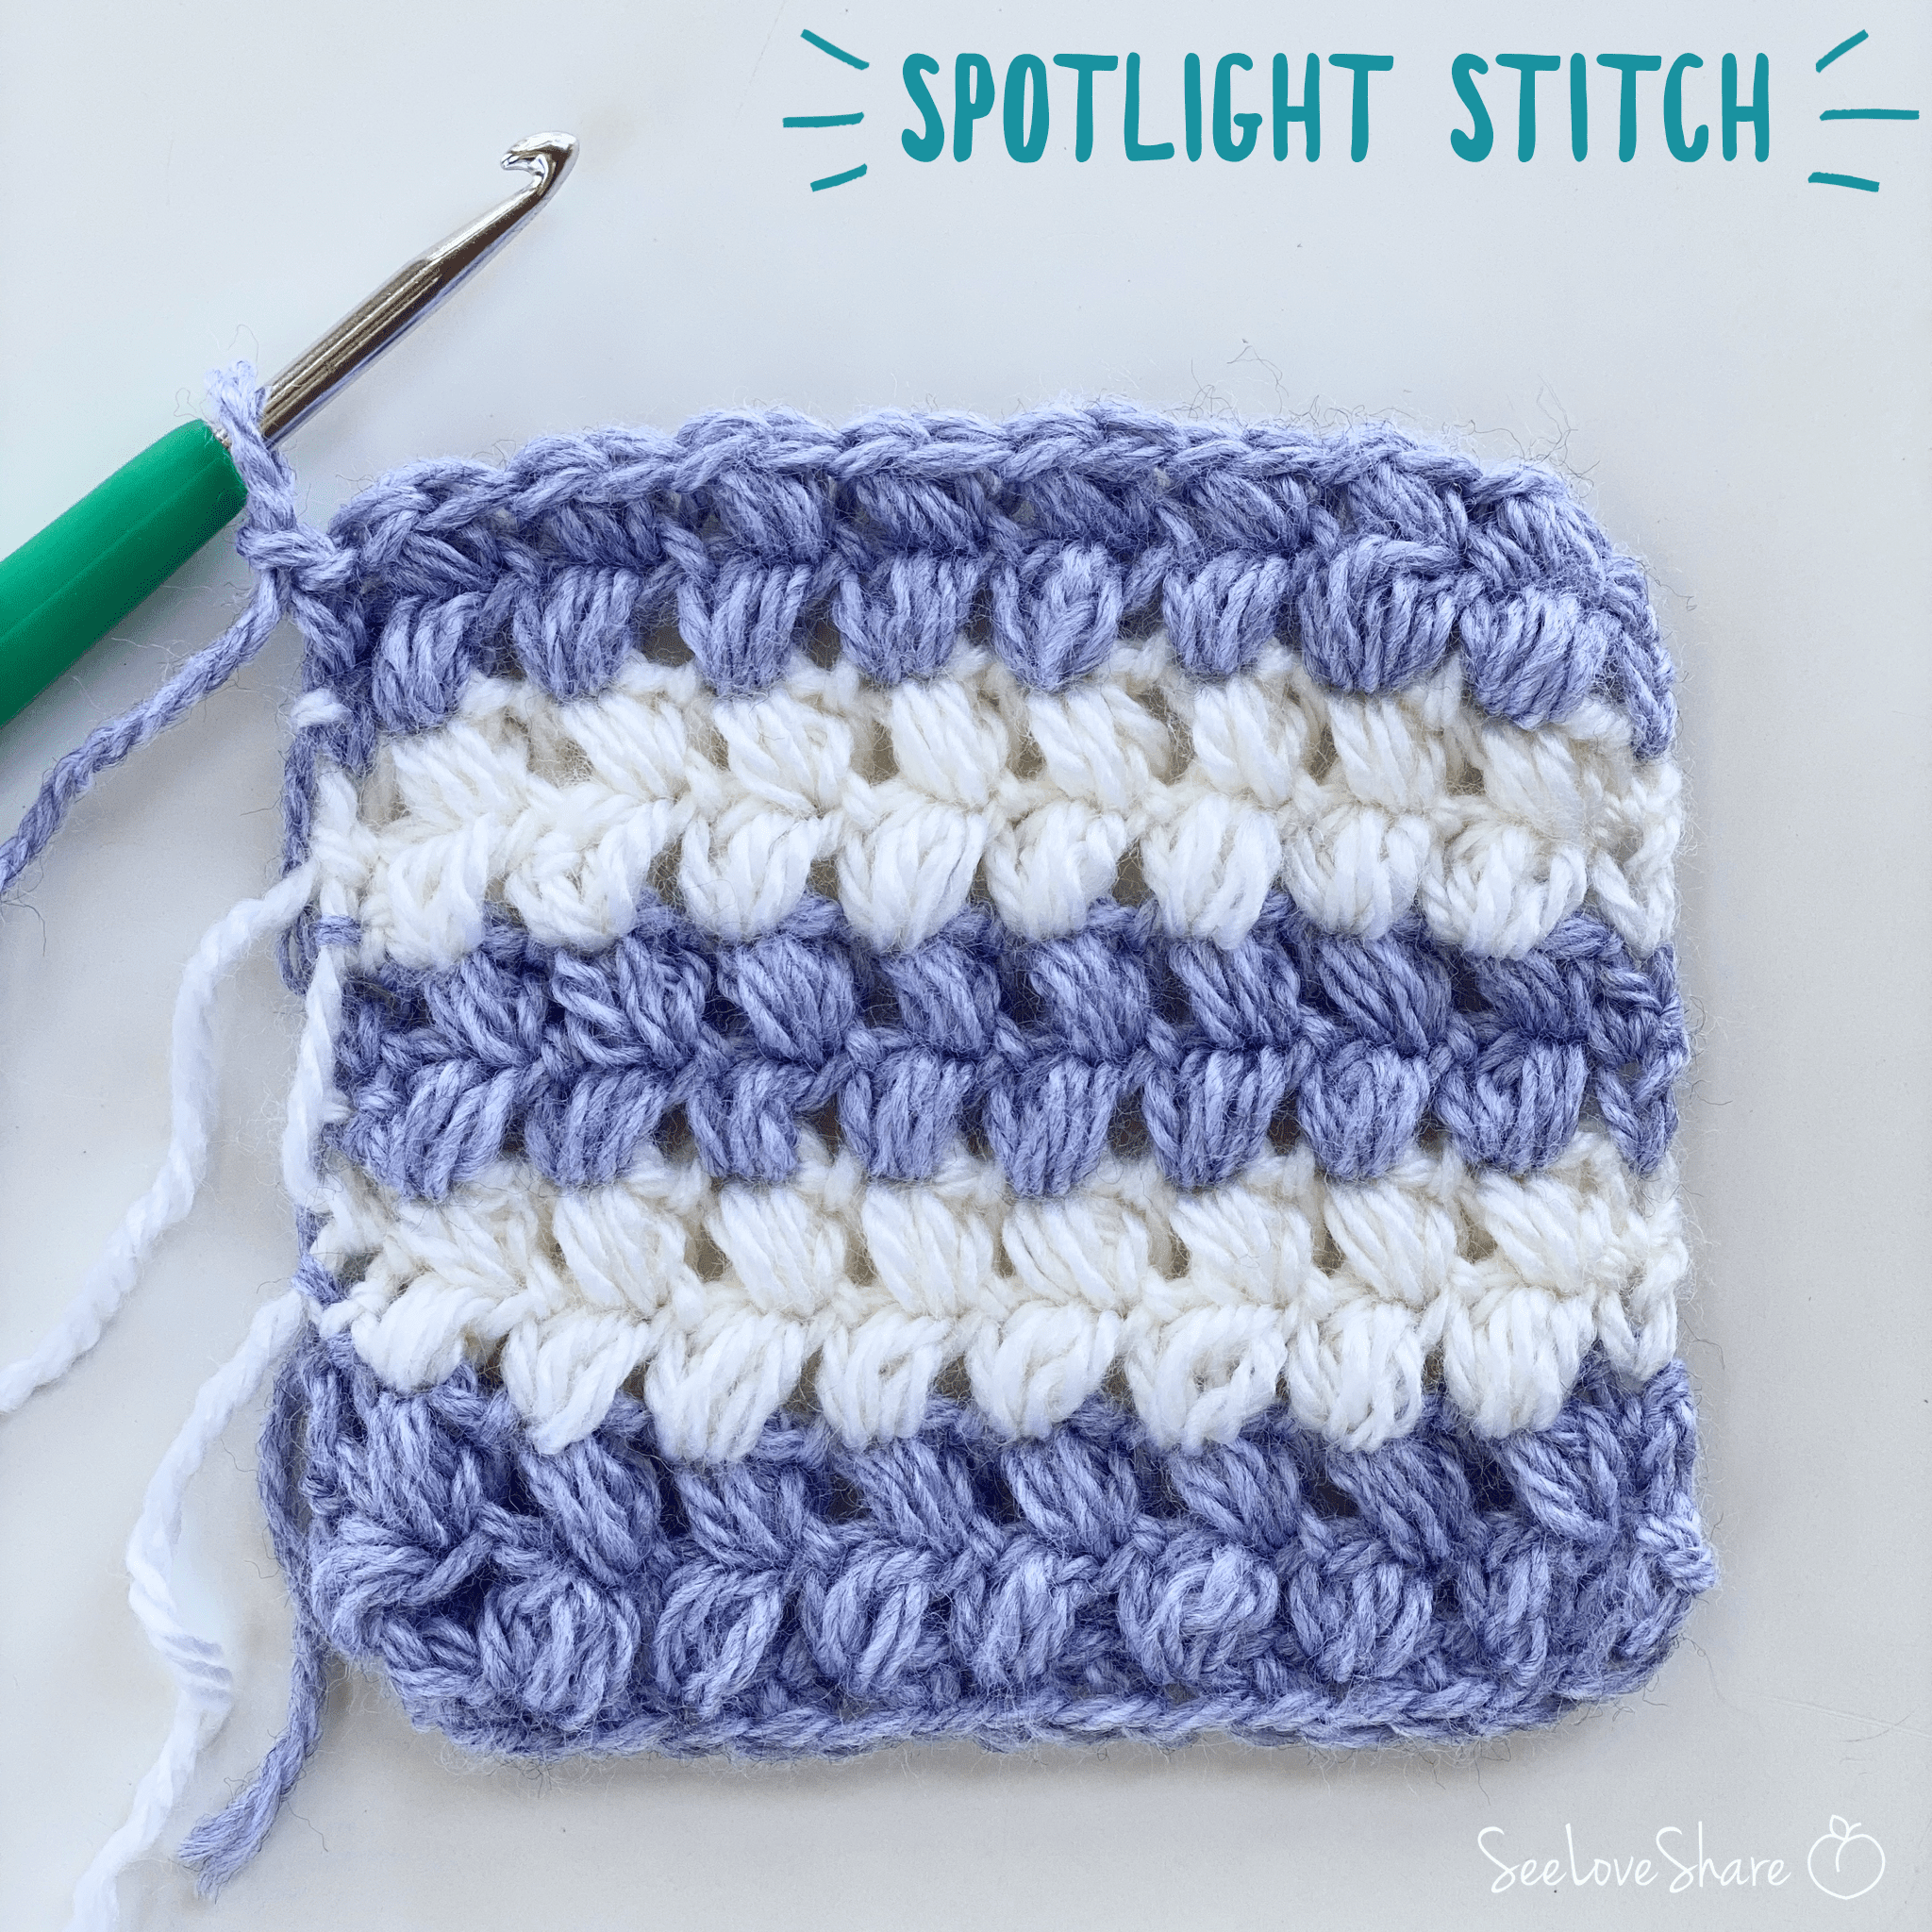
The puff spike stitch is one of my favorite “spotlight” stitches to drop into a project for a hit of texture and dimension. It works up as a dense, dimensional puff that “spikes” down through two rows of background stitches, creating a beautiful color-block accent that makes any crochet project look intentional and polished. This tutorial walks you through exactly how to work the puff spike stitch with both written instructions and photo step-by-step guides.
I love using the puff spike stitch to add a pop of dimension to blankets, pillows, scarves, and wearables. It’s a 4-row repeat that’s beginner-friendly once you understand the technique, and the visual payoff is huge.
Why You’ll Love the Puff Spike Stitch
This stitch hits all the right notes for adding texture without complexity:
✔ Dimensional, raised puffs that stand out from the background
✔ Two-color colorwork without complex stranding
✔ Simple 4-row repeat — easy to memorize
✔ Works beautifully in any worsted weight yarn
✔ Perfect for adding interest to plain single-crochet projects
✔ Beginner-intermediate — uses only ch, sc, and the puff spike stitch technique
✔ Customizable spacing and color combinations
✔ Great accent stitch for blankets, pillows, scarves, and wraps
Pattern Details
The puff spike stitch is a textured 4-row repeat that combines single crochet rows with a raised puff worked through stitches two rows below. It’s perfect as a feature row in larger projects or used repeatedly for an all-over textured fabric.
Skill Level
Intermediate. Requires ch, sc, color changes, and the puff spike stitch technique (working into stitches from prior rows).
Stitch Notes
For the puff spike stitch to look its best, it must sit on top of 3 rows of sc in a different color. The contrasting background is what makes the spike pop visually.
Materials You’ll Need
- Worsted weight yarn in 2 contrasting colors — I love Red Heart Super Saver for projects like this (affordable, durable, comes in tons of colors)
- 5.5mm (US I/9) crochet hook from this complete hook set — or whatever size matches your yarn
- Yarn needle for weaving in ends
- Scissors
Shop the materials


The puff spike stitch works in any yarn weight — the example photos use worsted weight, but feel free to scale up or down to match your project. High-contrast color combinations show off the dimensional puffs best (white + navy, cream + burgundy, grey + mustard).
Abbreviations (US Terms)
- ch — chain
- sc — single crochet
- yo — yarn over
- st(s) — stitch(es)
The Puff Spike Stitch Pattern
The puff spike stitch is a 4-row repeat. Start with a foundation chain in a multiple of 5, plus 1 (or any number — the stitch placement is flexible).
Rows 1-3: Background Setup
With Color A, sc in each st across. Repeat for 3 rows total.
On the last sc of Row 3, switch to Color B by pulling the new color through the final yarn-over. This creates a clean color transition with no visible knot.
Row 4: Puff Spike Row
With Color B: Sc in the first 4 sts. *Work 1 puff spike stitch (details below). Sc in next 4 sts.* Repeat from * to end of row.
This places a raised puff every 5 stitches, with 4 single crochets between each puff. Adjust spacing as desired for your project.
How to Work the Puff Spike Stitch
Here’s the detailed technique for the puff spike stitch itself. It involves working into 3 stitches from rows below to create the dimensional puff that “spikes” down through the background:
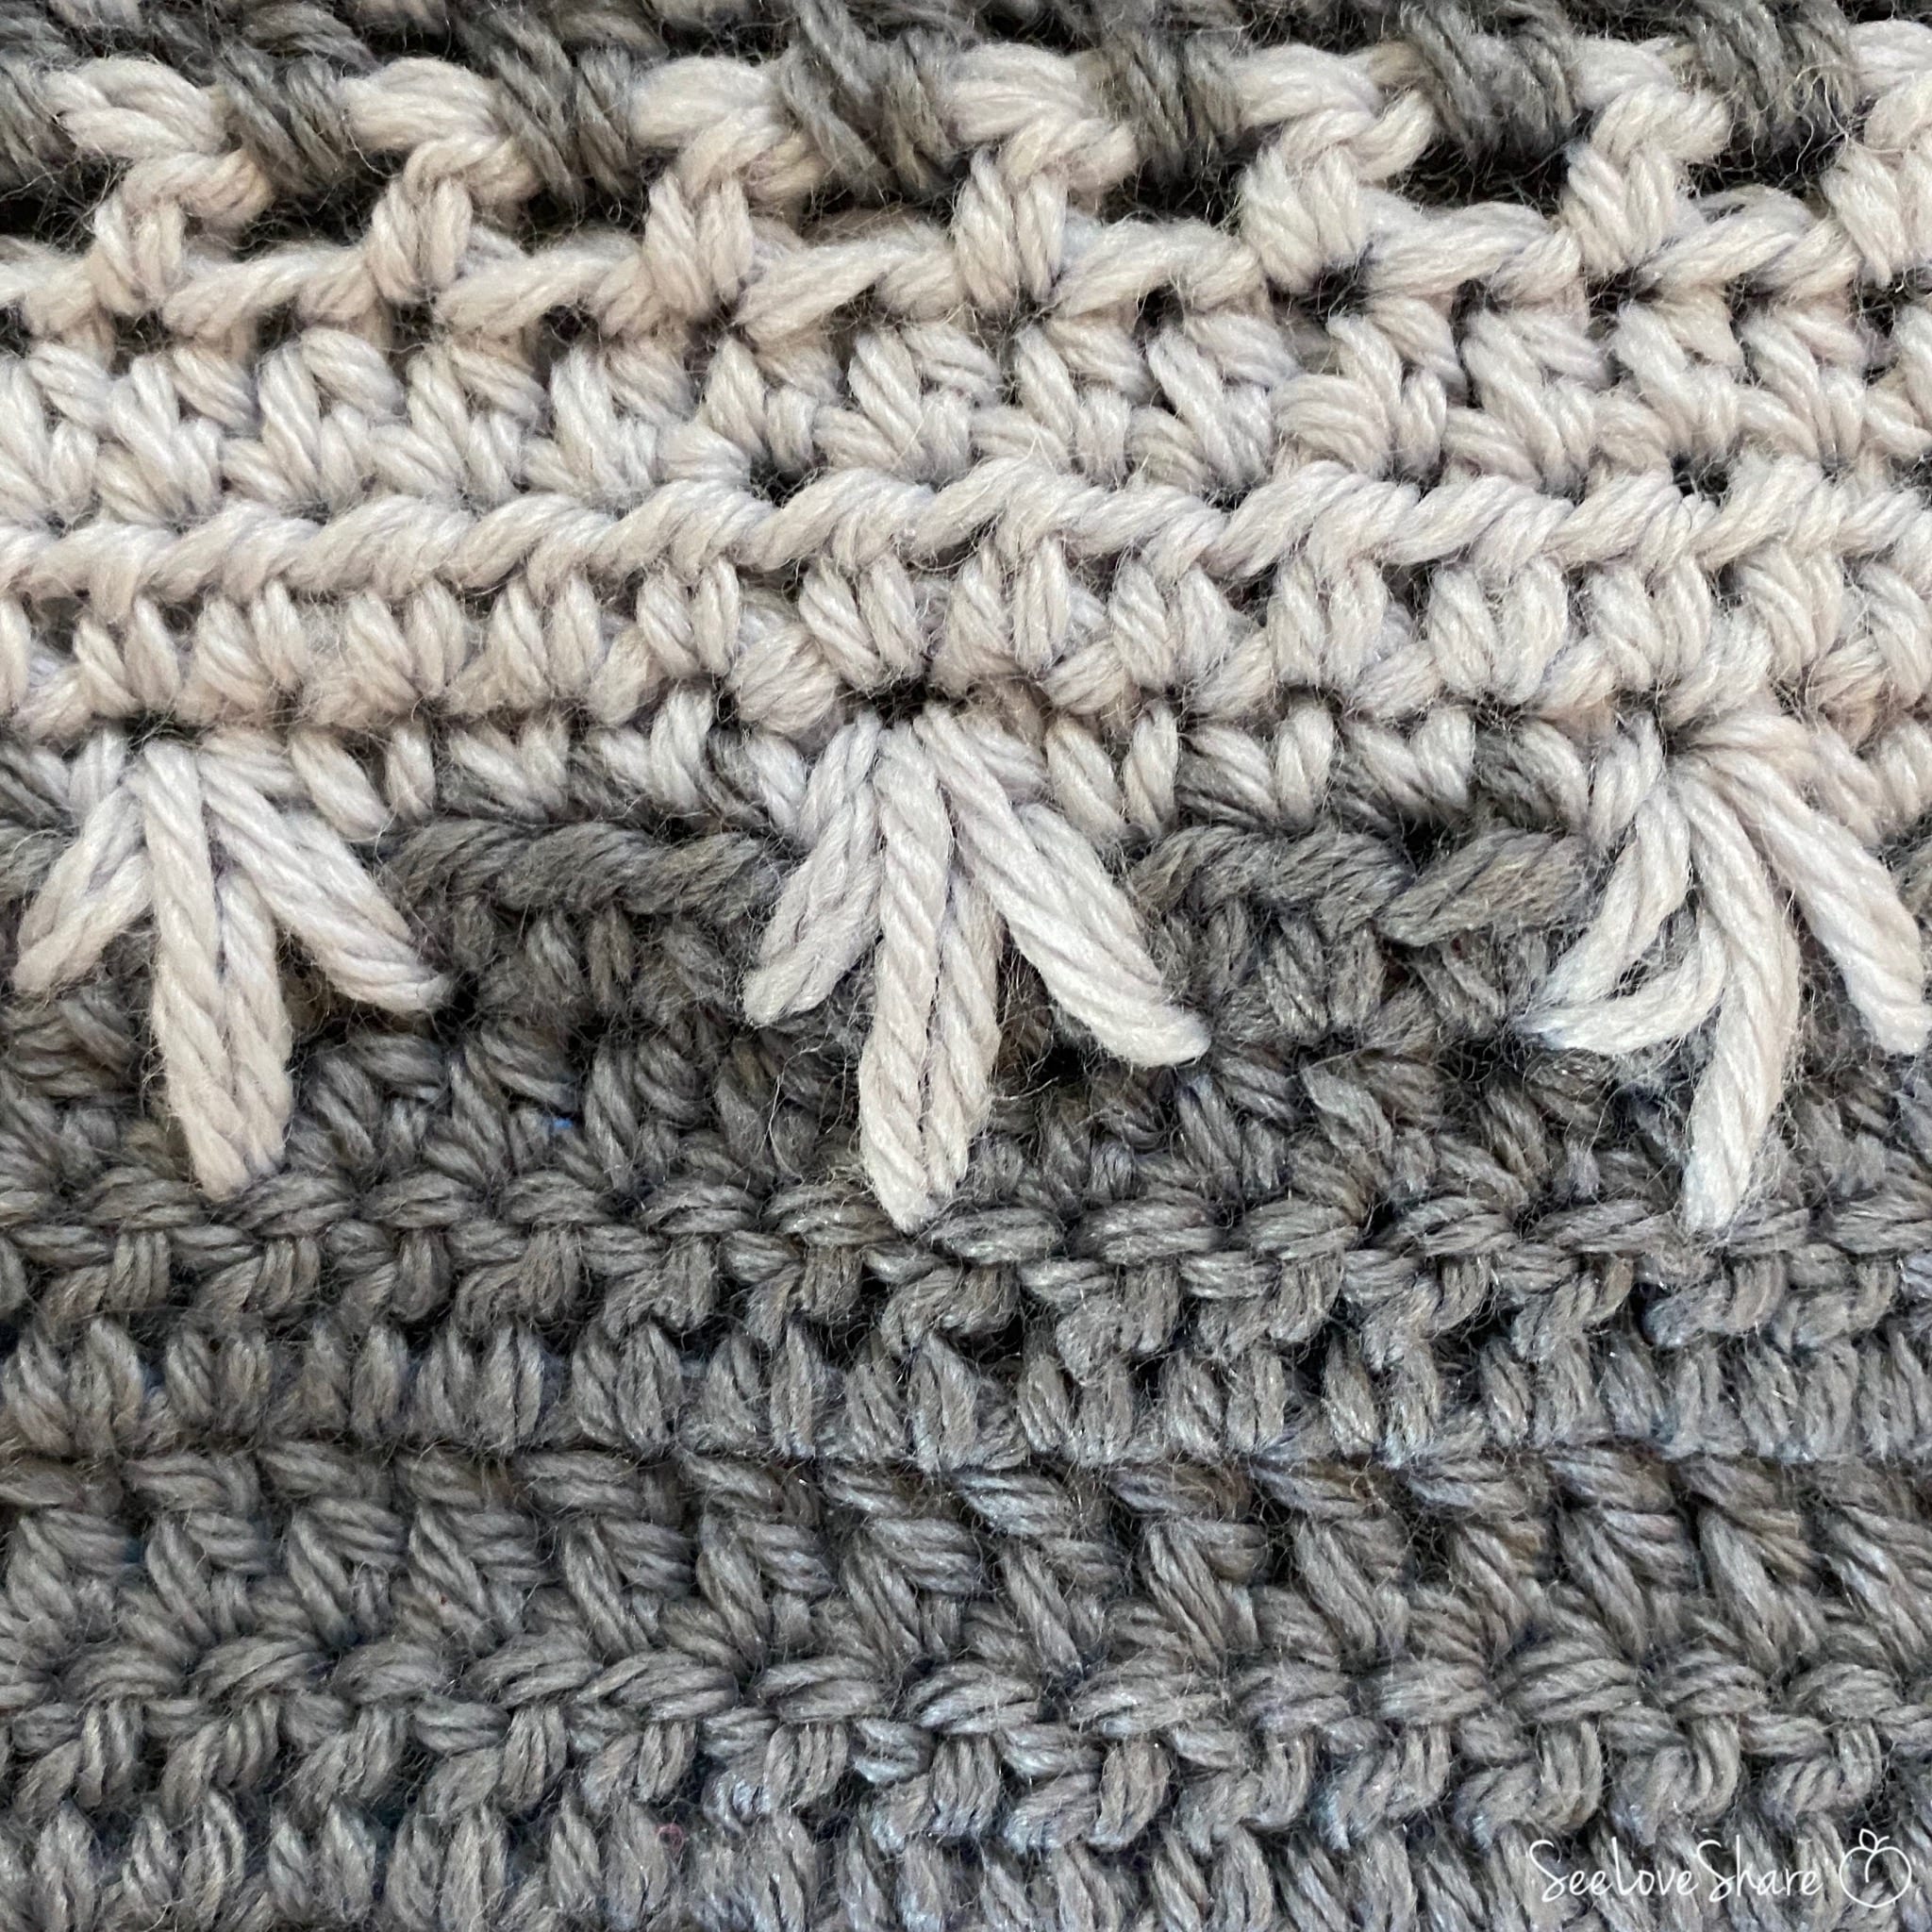
- Step 1: Insert your hook below the 1st sc from 2 rows below — working beneath the previous stitch. Yarn over, draw up a loop. (2 loops on hook)
- Step 2: Insert your hook below the center sc (2nd) from 3 rows below — working beneath the current stitch. Yarn over, draw up a loop. (3 loops on hook)
- Step 3: Insert your hook below the 3rd sc from 2 rows below — working beneath the next stitch. Yarn over, draw up a loop. (4 loops on hook)
- Step 4: Yarn over and pull through all 4 loops on hook. One puff spike complete!
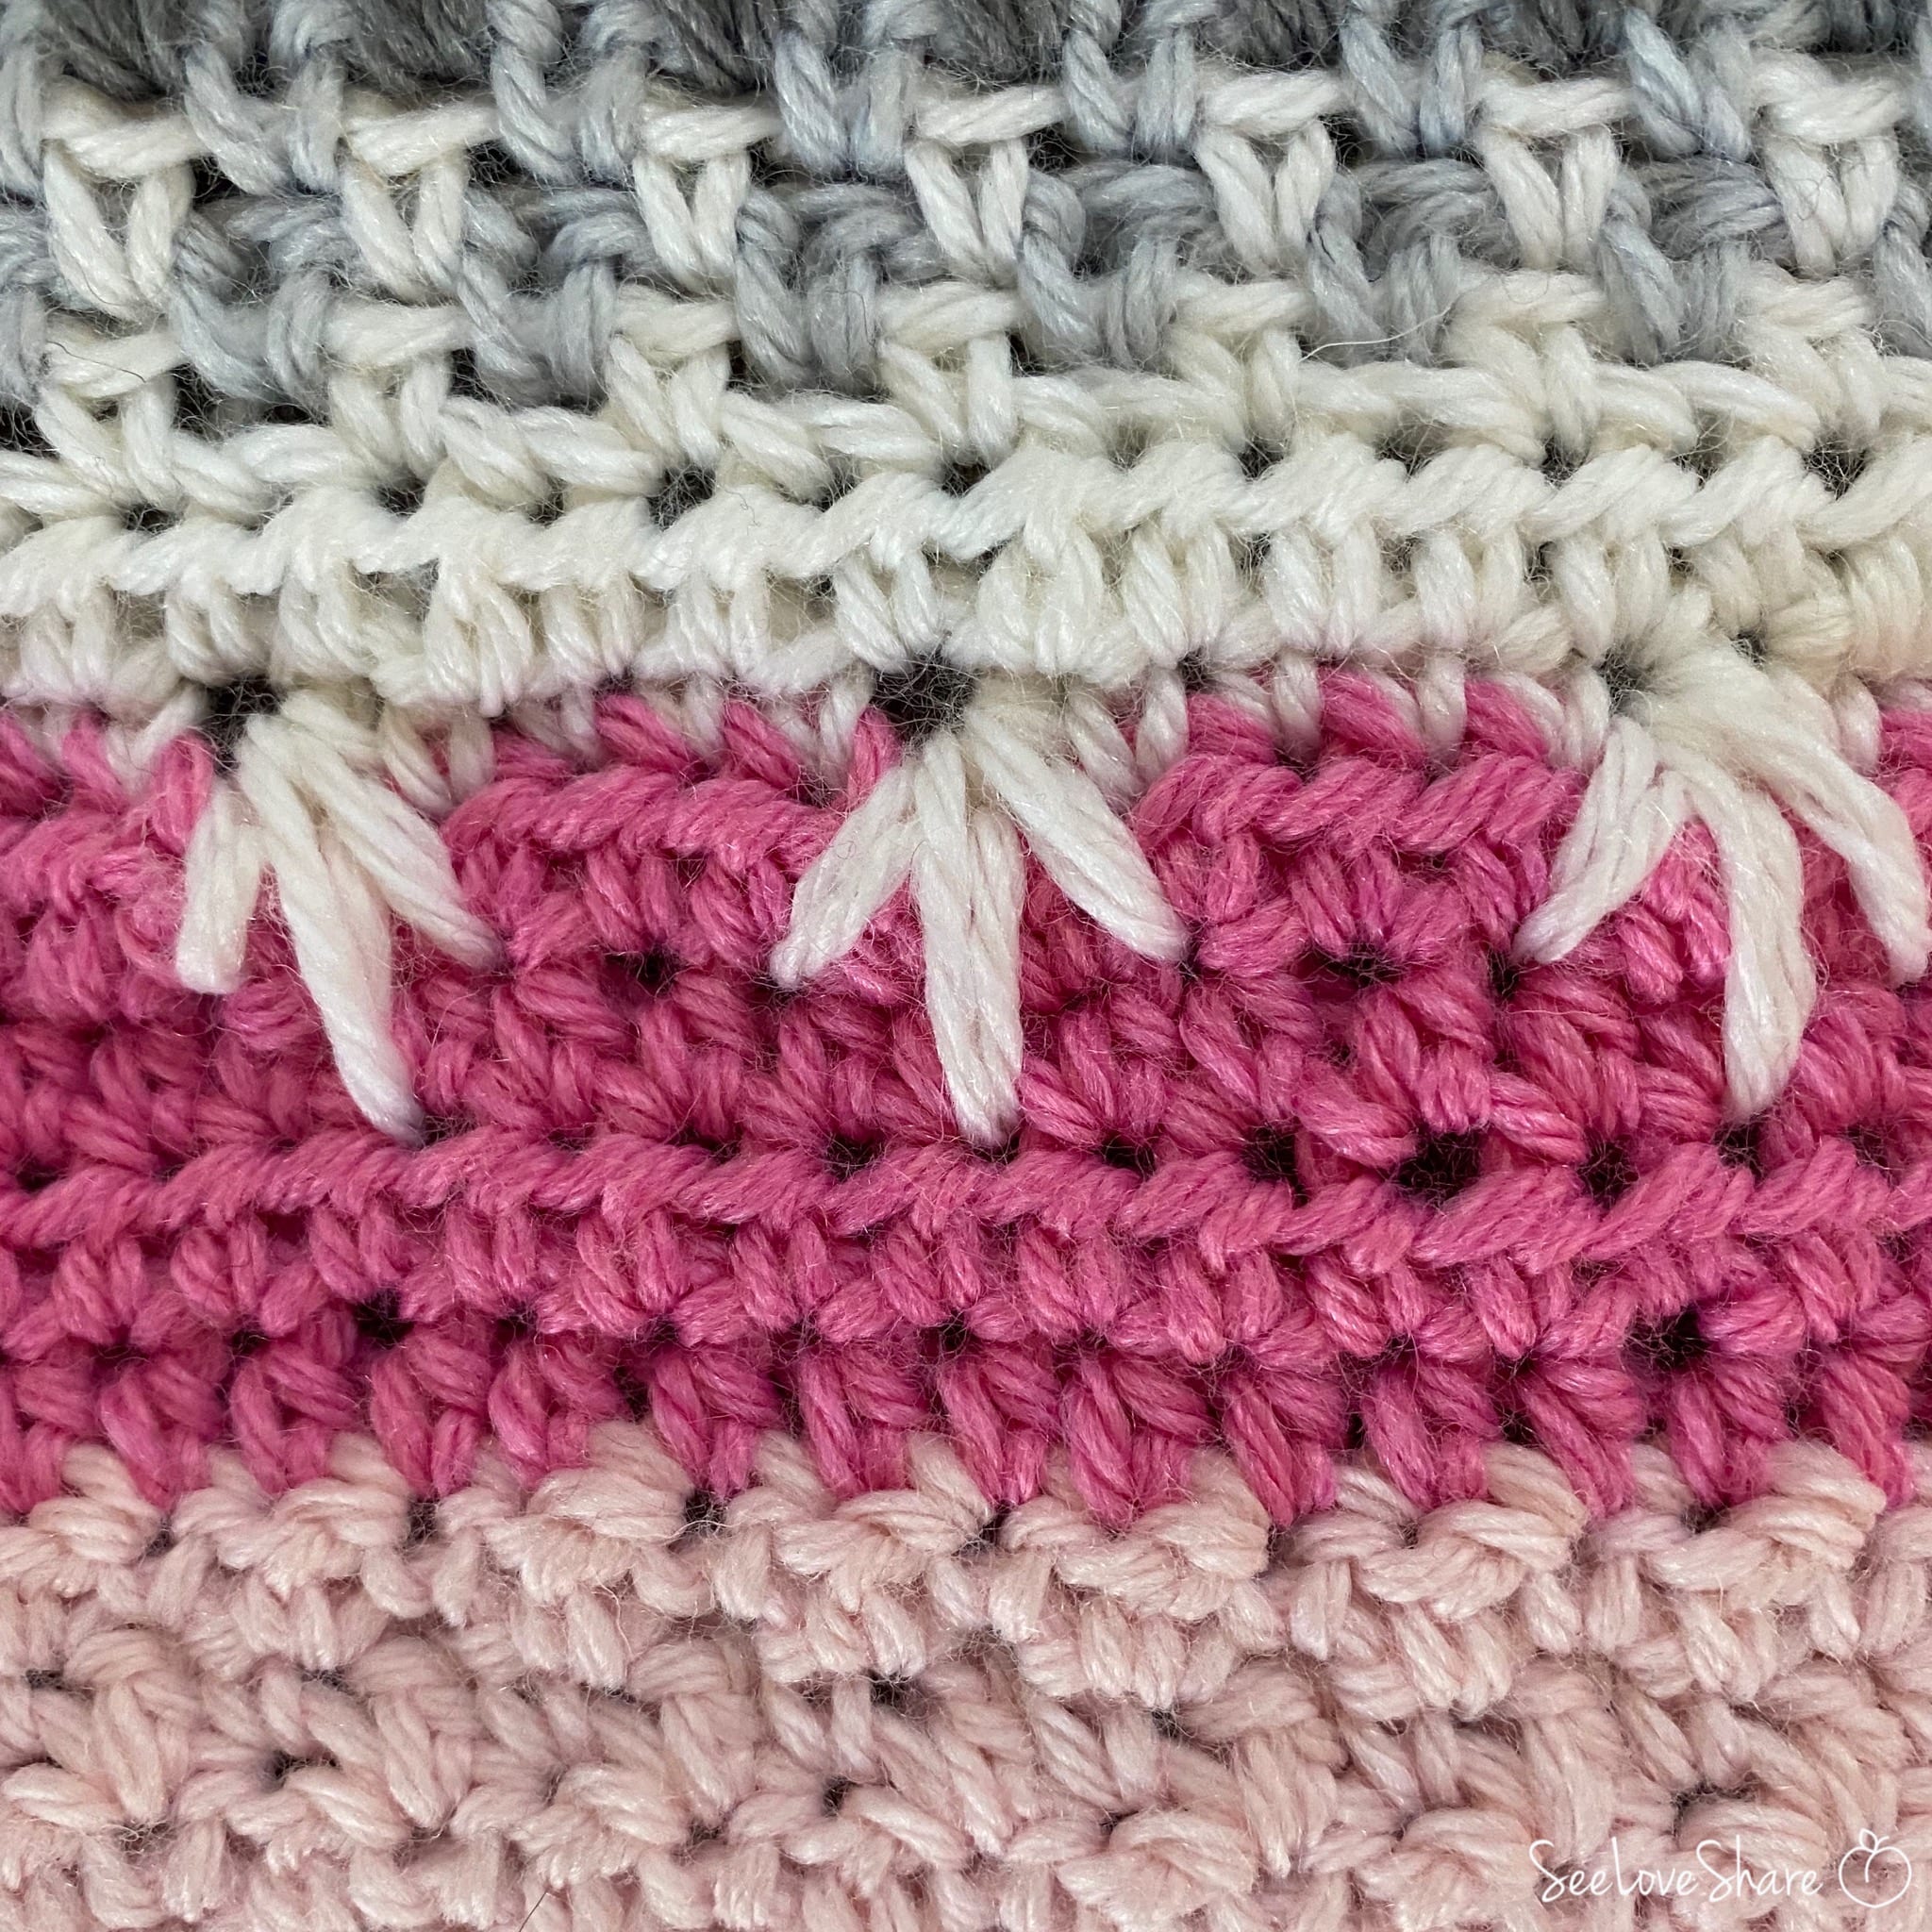
The “spike” effect comes from drawing up tall loops through stitches 2-3 rows below, which pulls Color B down through the Color A background. The puff is created by gathering all those loops together with the final yarn-over.
Tips for the Perfect Puff Spike Stitch
A few extra tricks to nail the puff spike stitch every time:
- Keep your loops uniform: draw up each loop to roughly the same height. Uneven loops make the puff look lopsided.
- Don’t pull too tight: the spike loops need some give to push the puff outward. Tight loops flatten the dimension.
- Count carefully: it’s easy to lose track of which row you’re spiking through. A stitch marker on the center row helps.
- Use high-contrast colors: the puff is most striking when there’s strong color contrast between background and puff.
- Practice on a swatch first: work a small 20-stitch swatch with a few puffs to get comfortable before committing to a full project.
- Vary your spacing: the 4-sc spacing is just a starting point — try 3, 5, or 6 sc between puffs for different visual effects.
- Stagger between rows: on subsequent puff rows, offset the puffs by 2-3 stitches for a diagonal staircase effect.
Project Ideas Using the Puff Spike Stitch
Once you’ve mastered the puff spike stitch, here’s where to use it:
- Accent stripes in blankets: add a single puff spike stitch row every 8-10 rows for a subtle dimensional feature.
- Color-block pillow covers: use puff spikes as a textured border around a solid panel.
- Scarves and cowls: alternating bands of sc + puff spike rows create rich texture.
- Statement throw pillows: all-over puff spike fabric for maximum dimension.
- Wash cloths and dishcloths: the dense texture adds scrubbing power and visual interest.
Frequently Asked Questions
Is the puff spike stitch hard to learn? Intermediate. The technique itself isn’t difficult, but it does require comfort working into stitches from prior rows. A practice swatch makes it click quickly.
What yarn weight works best? Worsted weight (#4) shows off the texture beautifully. Bulky yarns make oversized puffs; lace weight is too delicate to show dimension.
Can I use this in any project? Yes! Anywhere you’d use single crochet, you can drop in puff spike stitch rows for accent texture.
Why must the background be a different color? The visual impact of the spike depends on color contrast. In a single color, the puff would still be there, but the dimensional “spike down through” effect wouldn’t be visible.
Can I work multiple puff spike rows in a row? Yes, but you’ll need 3 sc rows of background between each puff spike row for the stitch to “spike” properly. Stagger the puff placement between rows for a diagonal pattern.
How do I count rows for the spike placement? Use stitch markers on the rows you’ll be spiking into. This makes it much easier to track which stitch you’re working into 2-3 rows below.
Can I sell items made with this stitch? Yes — small batch sales are allowed for personal income. Please credit SeeLoveShare as the source.
More Stitch Tutorials You’ll Love
If you enjoyed learning the puff spike stitch, you’ll love these related stitch tutorials:
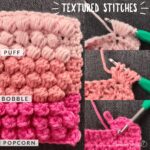
 Textured Crochet Stitches Round-Up
 Bean Stitch Crochet Tutorial
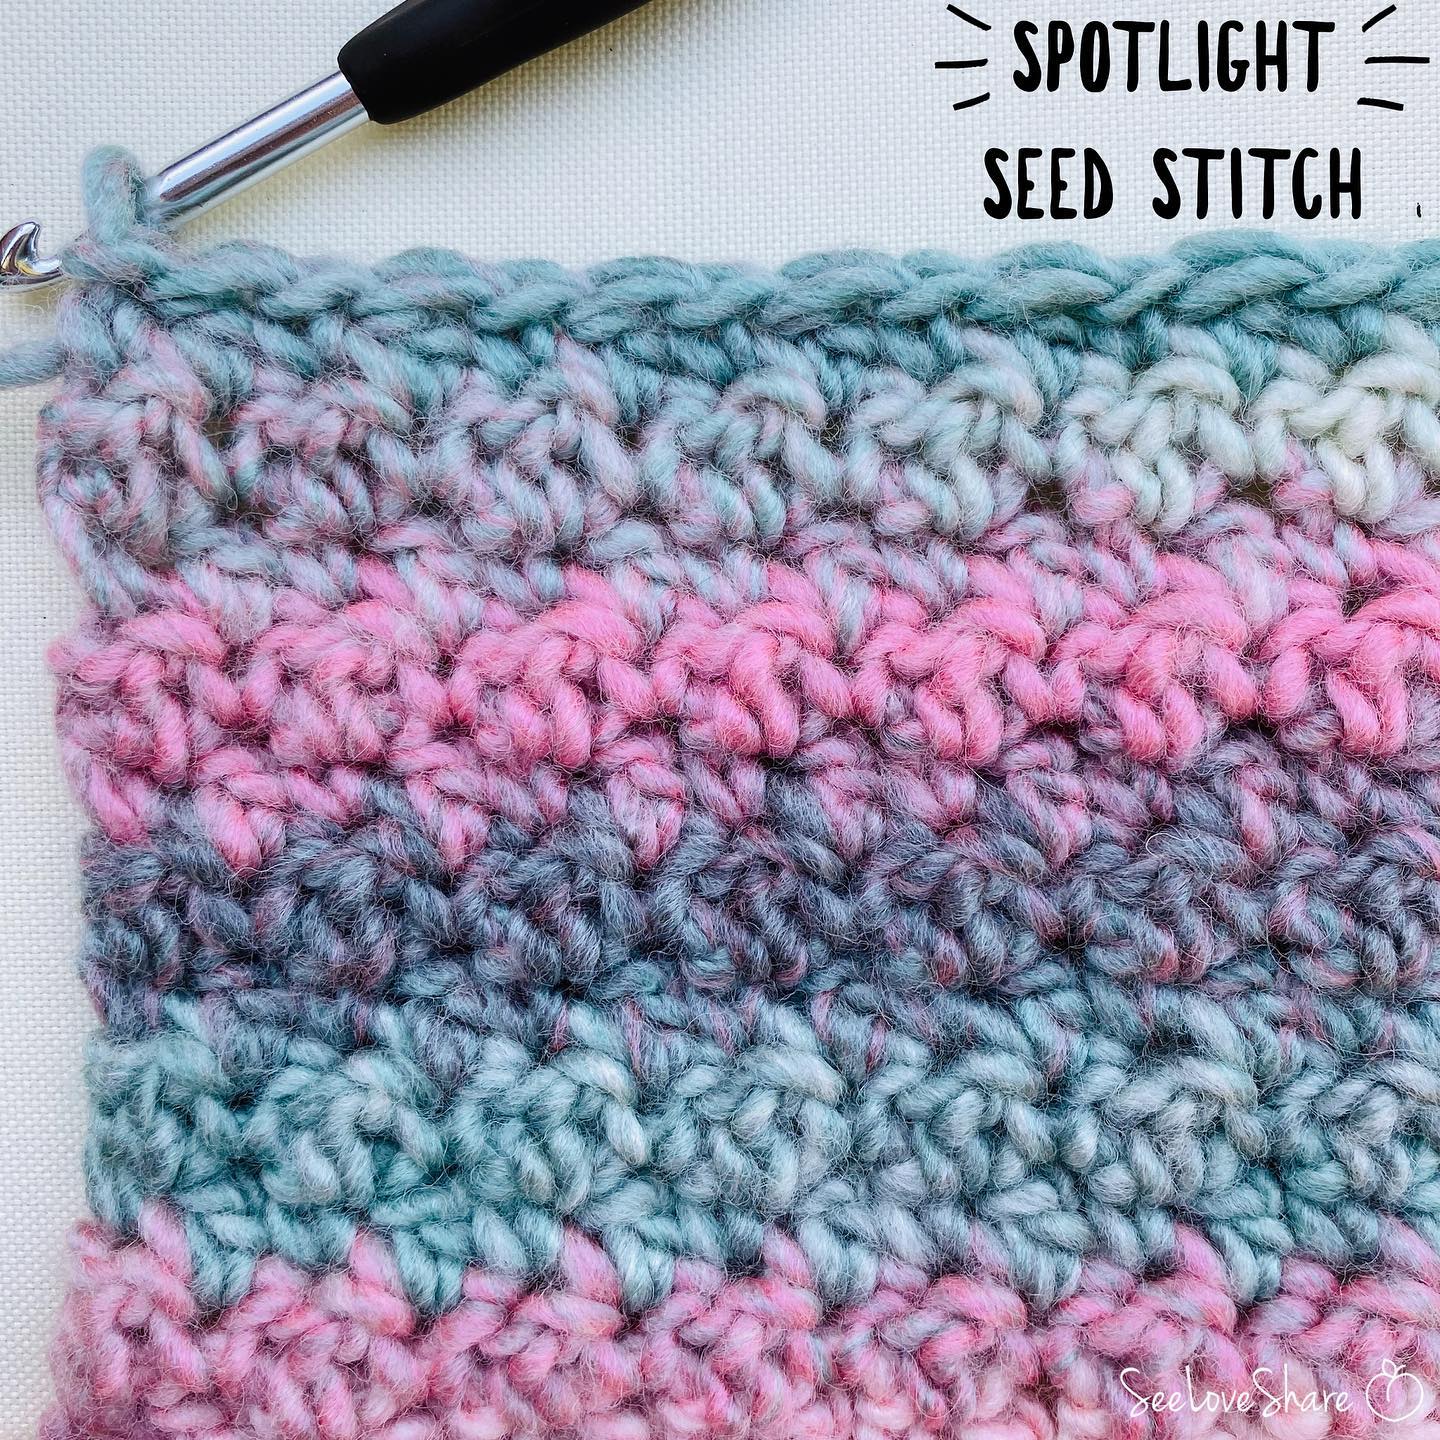
 Seed Stitch Crochet Tutorial
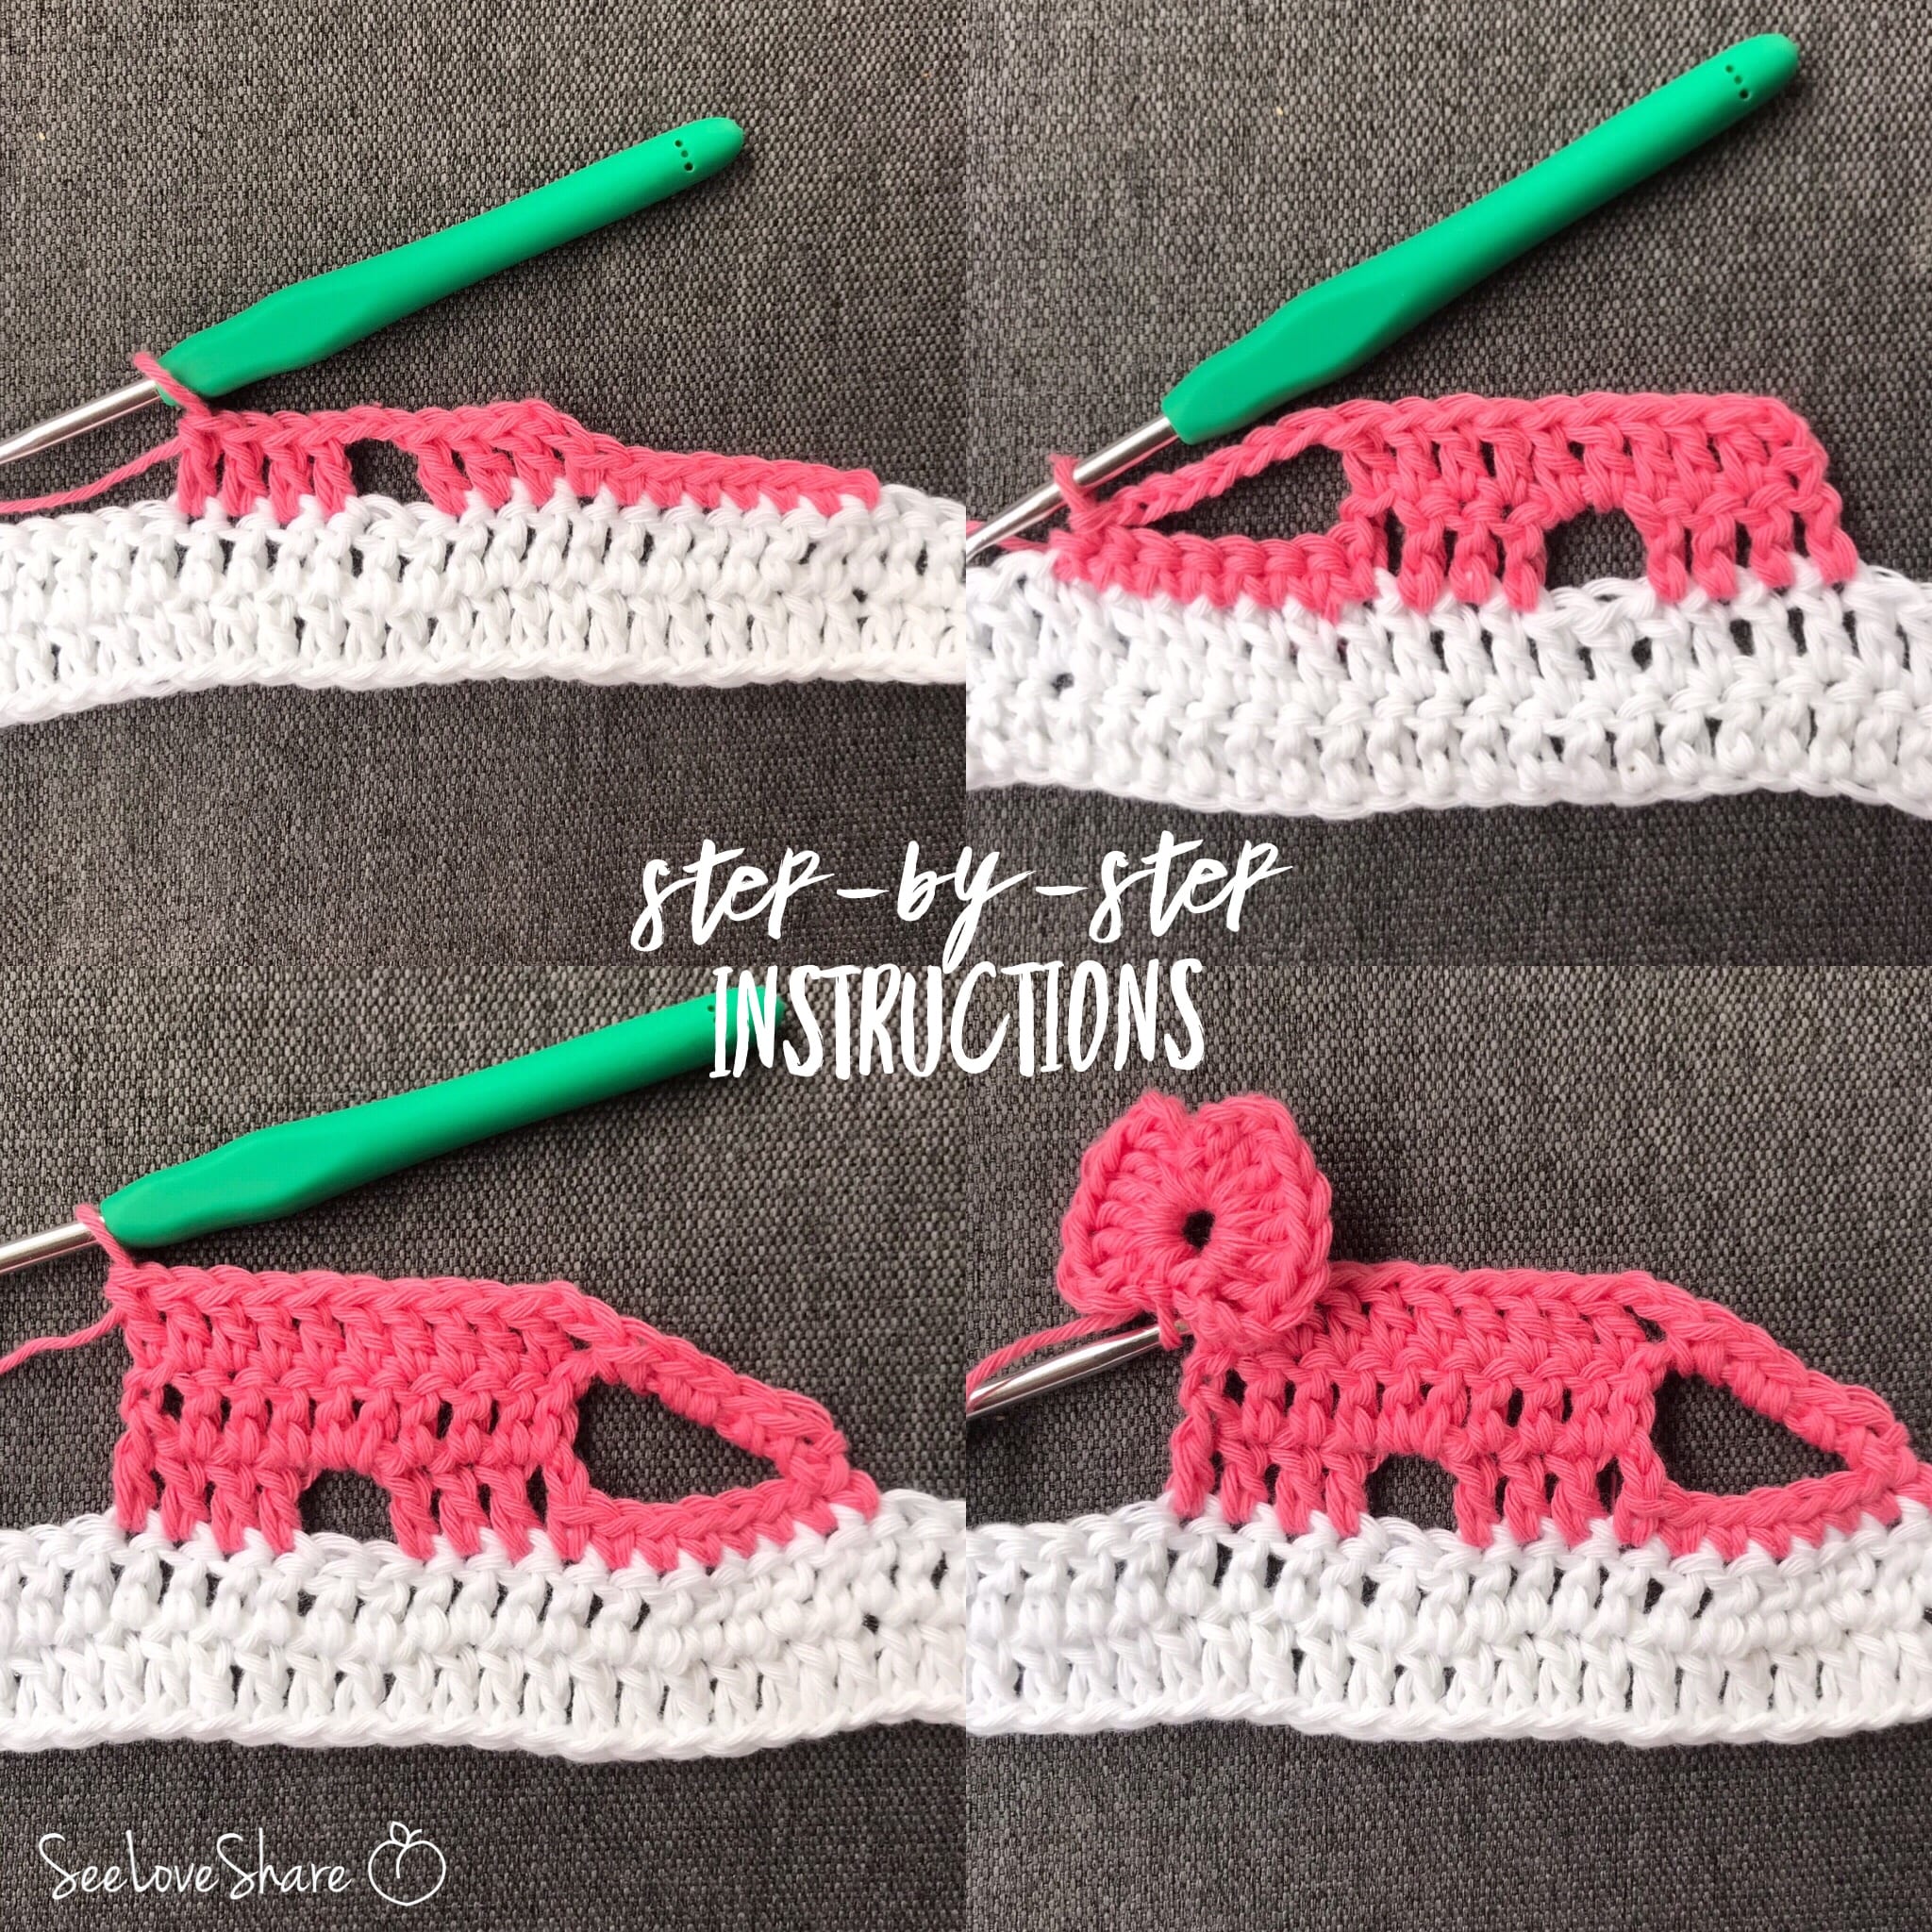
- Elephant Border Crochet Stitch
- Crochet Waffle Stitch

Save This Puff Spike Stitch Tutorial
Want to come back to this puff spike stitch tutorial later? Save it to Pinterest so you can find it the next time you need to add some texture to your crochet project — and share it with your crocheting friends!