
November 7th, 2022
How-To Block Work – Instructions and Video Tutorial
If you’ve ever wondered how to block knit and crochet work, you’re not alone. Blocking is one of those finishing techniques that separates “okay” handmade pieces from “wow, that looks professional” — but it can feel intimidating if you’ve never done it before. The good news: it’s easier than it looks, requires only a few basic tools, and dramatically improves almost every project you make.
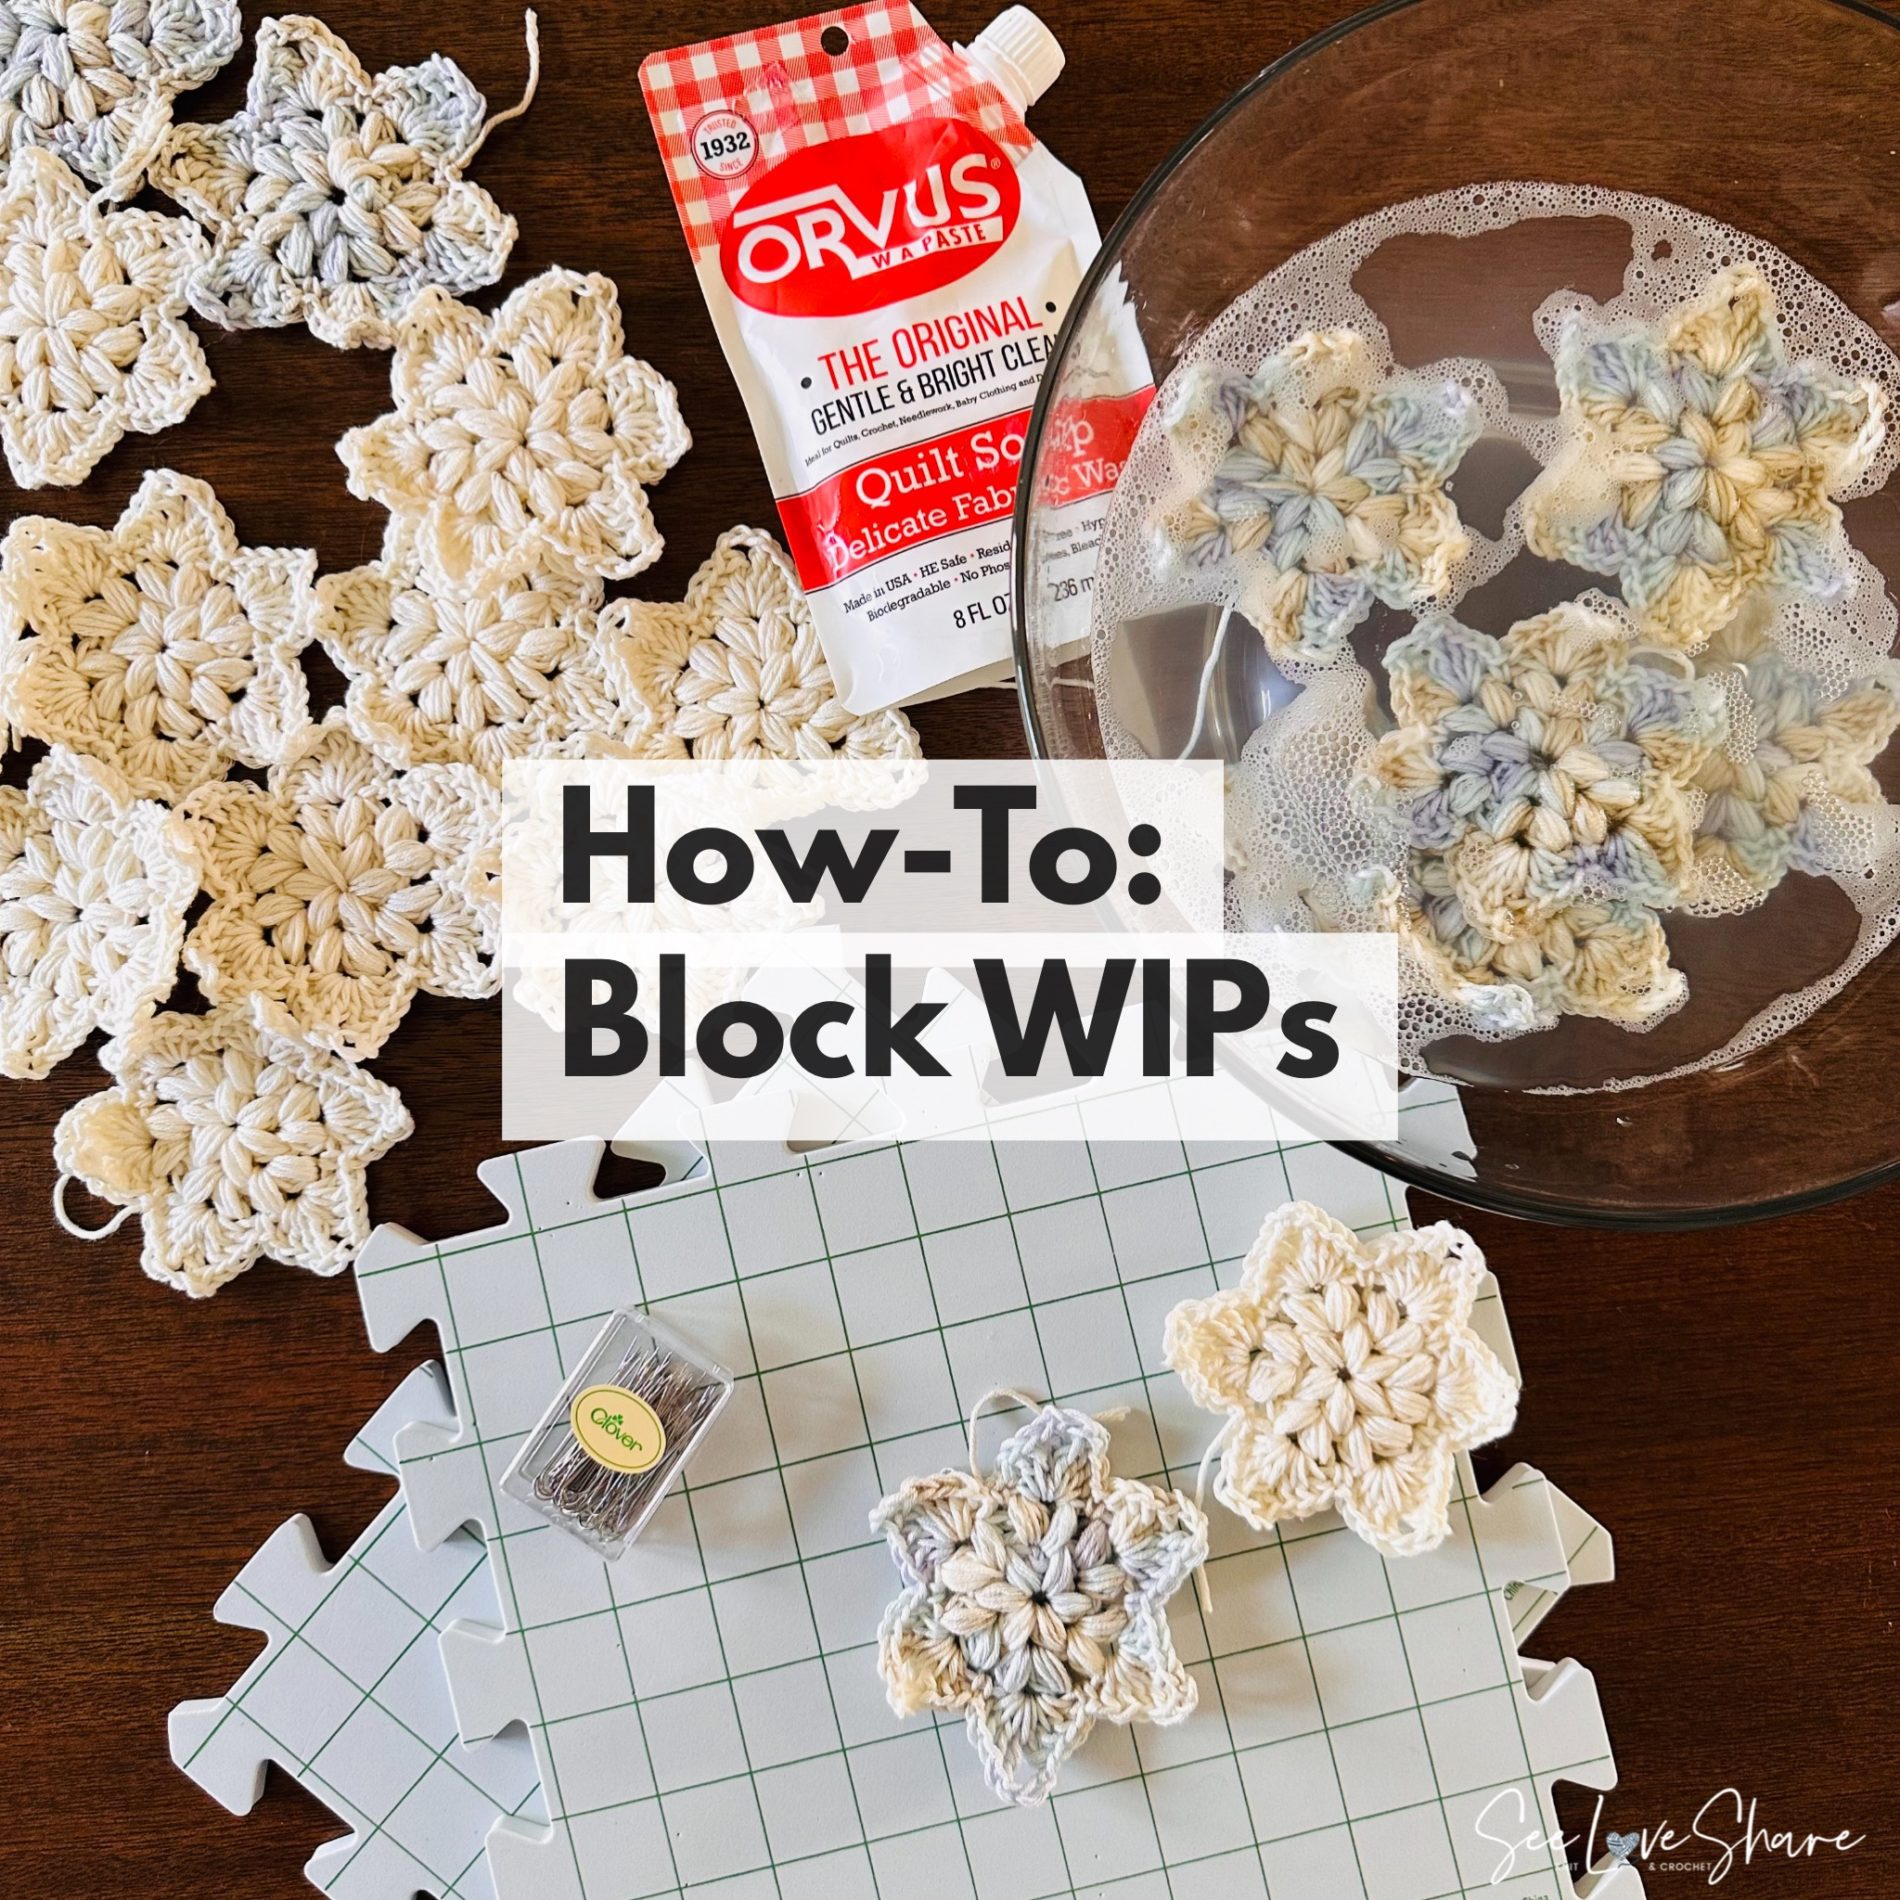
This how to block work tutorial walks you through the exact process I use to block knit and crochet projects — what supplies you need, how to wet-block step by step, when to block vs. when to skip it, and a few pro tips for getting the cleanest finish. There’s a video tutorial below if you’d rather watch than read.
What Is Blocking and Why Should You Bother?
Blocking is the process of wetting, shaping, and drying a finished knit or crochet piece to set its final shape, even out the stitches, and give the fabric a polished, professional finish. Here’s why it’s worth the extra step:
- Evens out tension — small inconsistencies in your stitches relax and even out
- Sets the final dimensions — you can gently stretch a piece to exact measurements (especially useful for garments)
- Opens up lace and texture — bobble, cable, and lace patterns “bloom” and become more defined
- Flattens curling edges — stockinette and similar stitches that want to curl will lie flat
- Makes seaming easier — blocked panels are flatter and easier to align when stitching together
If you’re new to fiber arts standards, the Craft Yarn Council is a great reference for understanding how different yarn weights and fibers behave when blocked.
Supplies You Need to Block Work
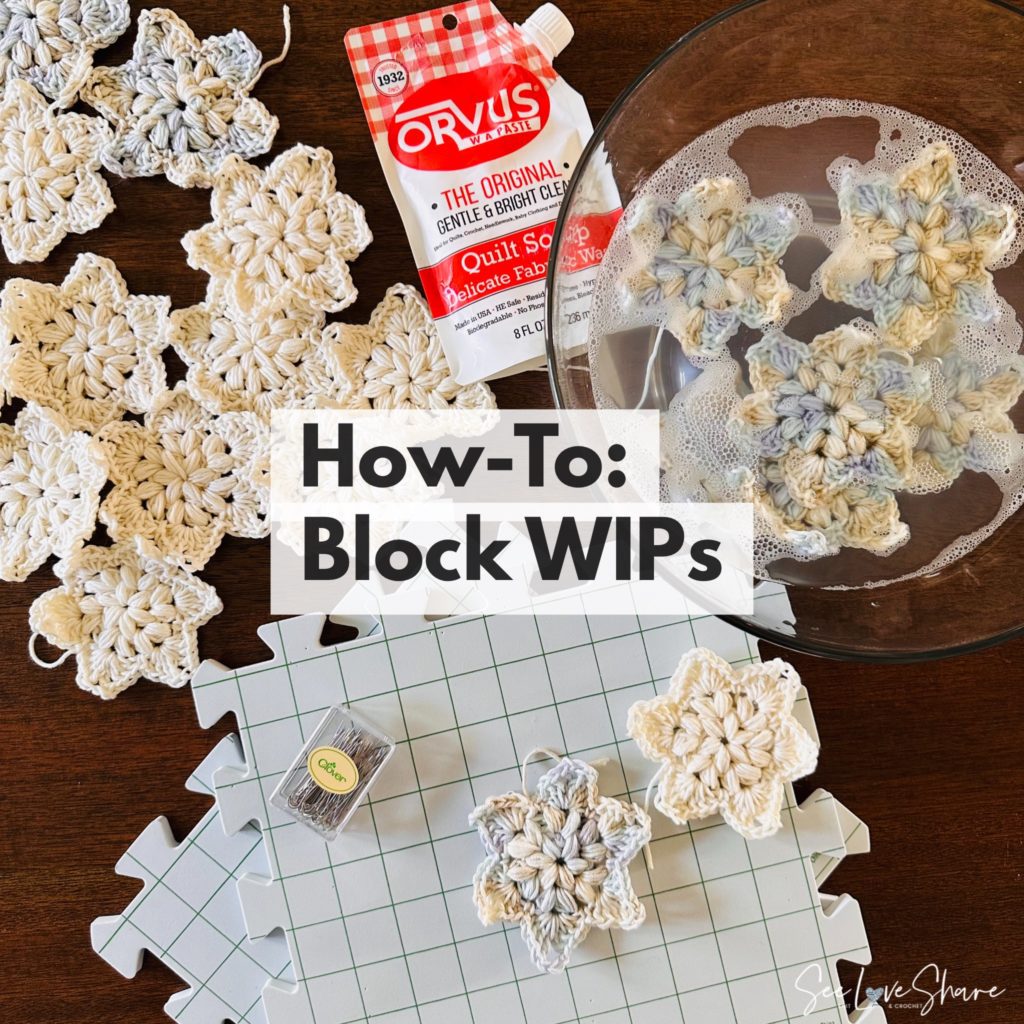
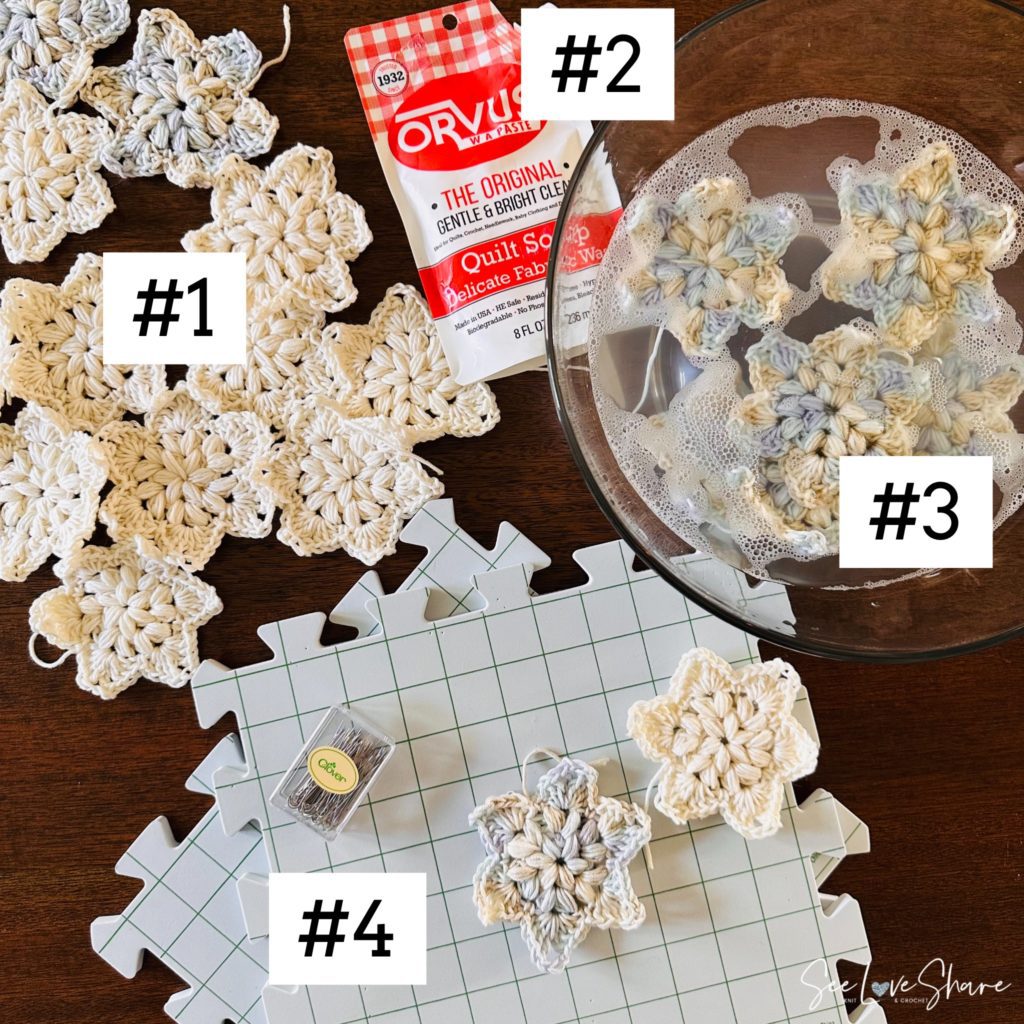
- Your finished WIP — fully completed with all ends woven in
- Gentle fiber-safe soap — look for a wool wash or quilt soap
- Lukewarm water — never hot (it can felt animal fibers) and never cold (won’t relax the fibers)
- Foam blocking mats — interlocking foam tiles that you can pin into. Cork boards also work for smaller pieces.
- Rust-proof T-pins or blocking pins — regular sewing pins will rust and stain your fabric. Stainless steel is essential.
- A clean towel — for rolling out excess water before pinning
- A tape measure — if you’re blocking to specific dimensions

How to Block Knit and Crochet Work — Step by Step
Step 1: Soak Your Project
Fill a clean basin or sink with lukewarm water and a small amount (a teaspoon or so) of your gentle wool wash. Gently submerge your finished piece and let it soak for 15–20 minutes. Don’t agitate or wring — just press it down until the fibers are fully saturated.
Step 2: Drain and Press Out Water
Drain the basin. Press the project gently against the side of the sink to release water — never wring or twist, which can stretch and distort the fibers. Once it stops dripping, lay the piece flat on a clean dry towel, roll the towel up like a burrito, and press to absorb more water.
Step 3: Pin to Shape on Your Blocking Mat
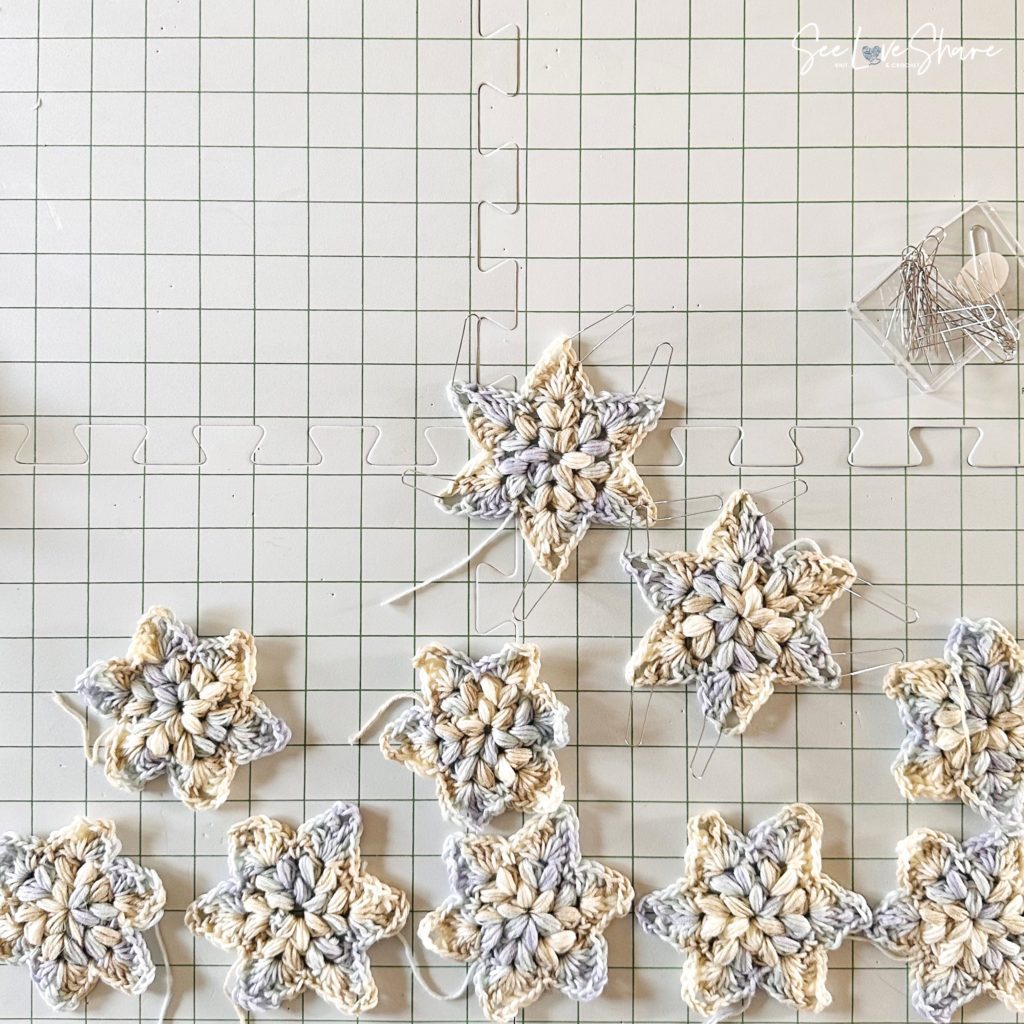
Unroll the piece onto your blocking mat. Gently shape it to your desired dimensions — straight edges should be straight, corners should be square, lace and texture should be opened up. Use your T-pins to anchor edges every 1–2 inches. For garment pieces, use a tape measure to confirm the final dimensions match your pattern.
Step 4: Let It Dry Completely
Leave the piece pinned and undisturbed until it’s fully dry — usually 12–24 hours depending on humidity, thickness, and fiber. Don’t be tempted to move it early; the shape sets as it dries, and unpinning too soon will let it spring back.
When to Block vs. When to Skip It
Not every project needs blocking. Honestly, sometimes I’m torn on when to block vs. when to give a piece a quick press with an iron. Here’s how I decide:
Always Block:
- Garments (sweaters, cardigans, tops) — blocking sets the final fit
- Lace projects — blocking is what makes the lace “open up”
- Pieces that need to be seamed together (panels of an afghan, sweater pieces)
- Anything in delicate fibers (silk, alpaca, merino) that can’t take an iron
- Projects with curling edges (stockinette throws, hat brims)
Quick Press Instead:
- Sturdy projects in robust acrylic yarns that don’t change much with blocking
- Quick gift projects where time matters more than absolute perfection
- Projects that already look great off the hook/needles
Never Block (or Press):
- Highly textured stitches that would lose definition (bobble, popcorn, dimensional cables) — these can be gently steam-blocked instead
- Projects in fibers that warn against water exposure (some novelty yarns)
Pro Tips for How to Block Work Like a Pro
- Check yarn label first — animal fibers (wool, alpaca, cashmere) take to blocking beautifully; acrylic and plastic-based fibers won’t change much with wet blocking but respond well to steam blocking
- Pin generously — under-pinning leaves wavy edges. Place pins every 1–2 inches along straight edges.
- Block in a low-traffic area — wet blocking takes 12–24 hours undisturbed. Pick a guest room, laundry room, or anywhere pets and kids won’t disturb it.
- Use blocking wires for straight edges — these thin metal wires threaded along an edge produce a perfectly straight line, much better than individual pins for long edges
- Swatch before you block a finished garment — block a swatch first so you know exactly how much the fabric will grow or relax. Then size your garment based on the blocked swatch.
More Knit & Crochet Tutorials
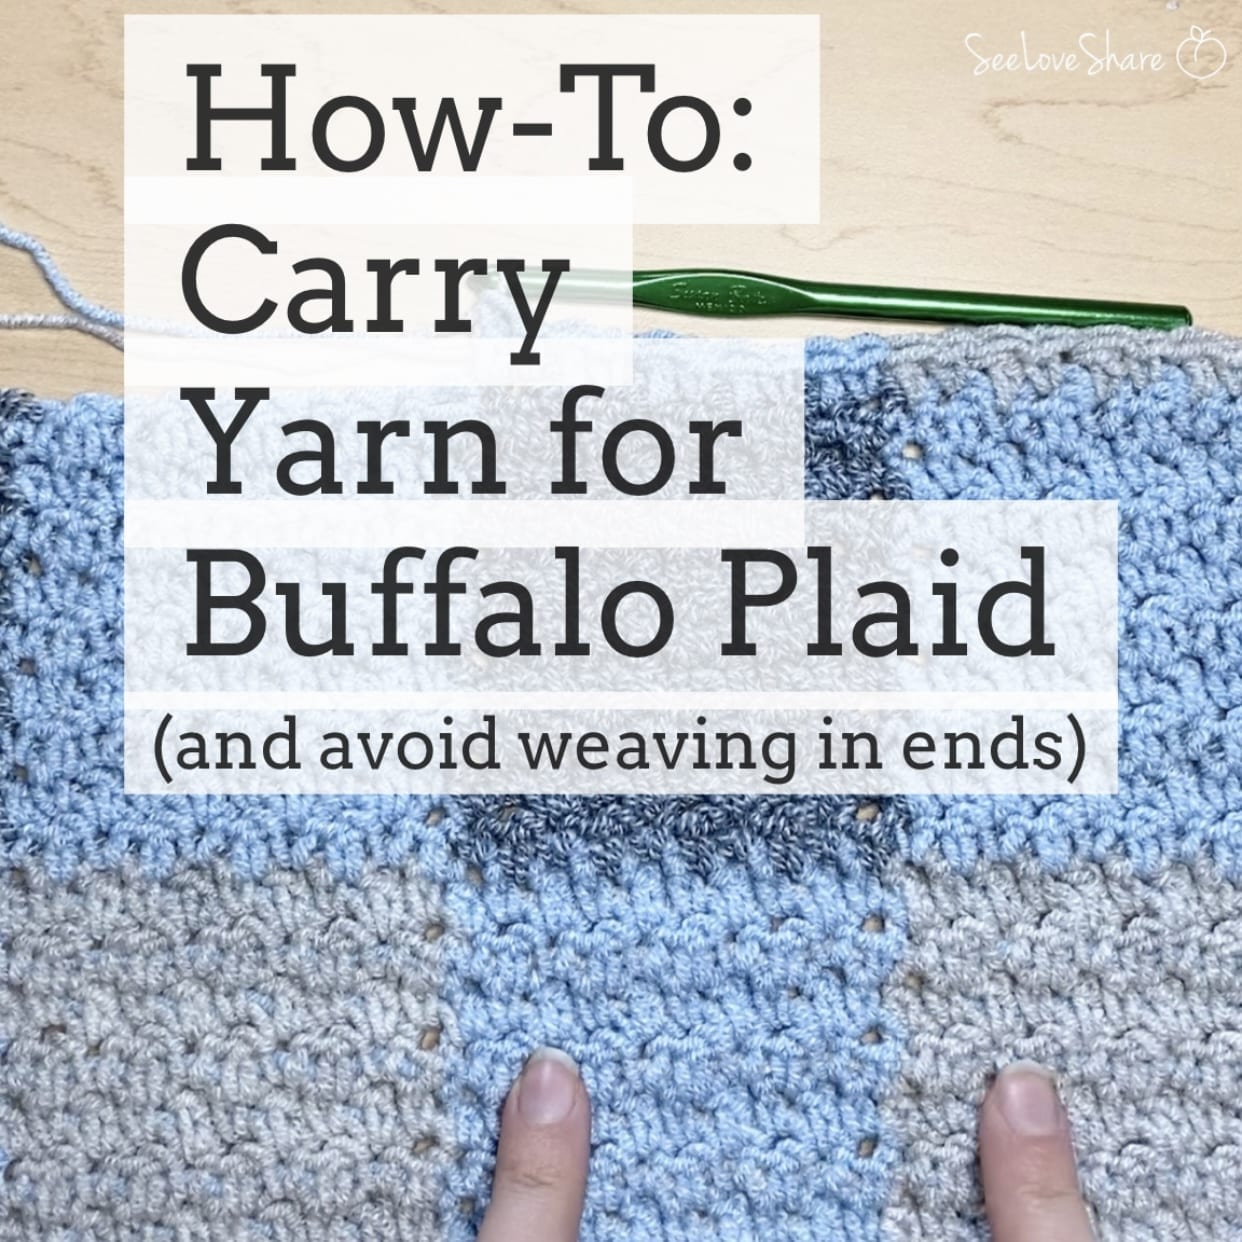
 How to Carry Yarn for Buffalo Plaid Patterns — clean colorwork without dozens of ends to weave in
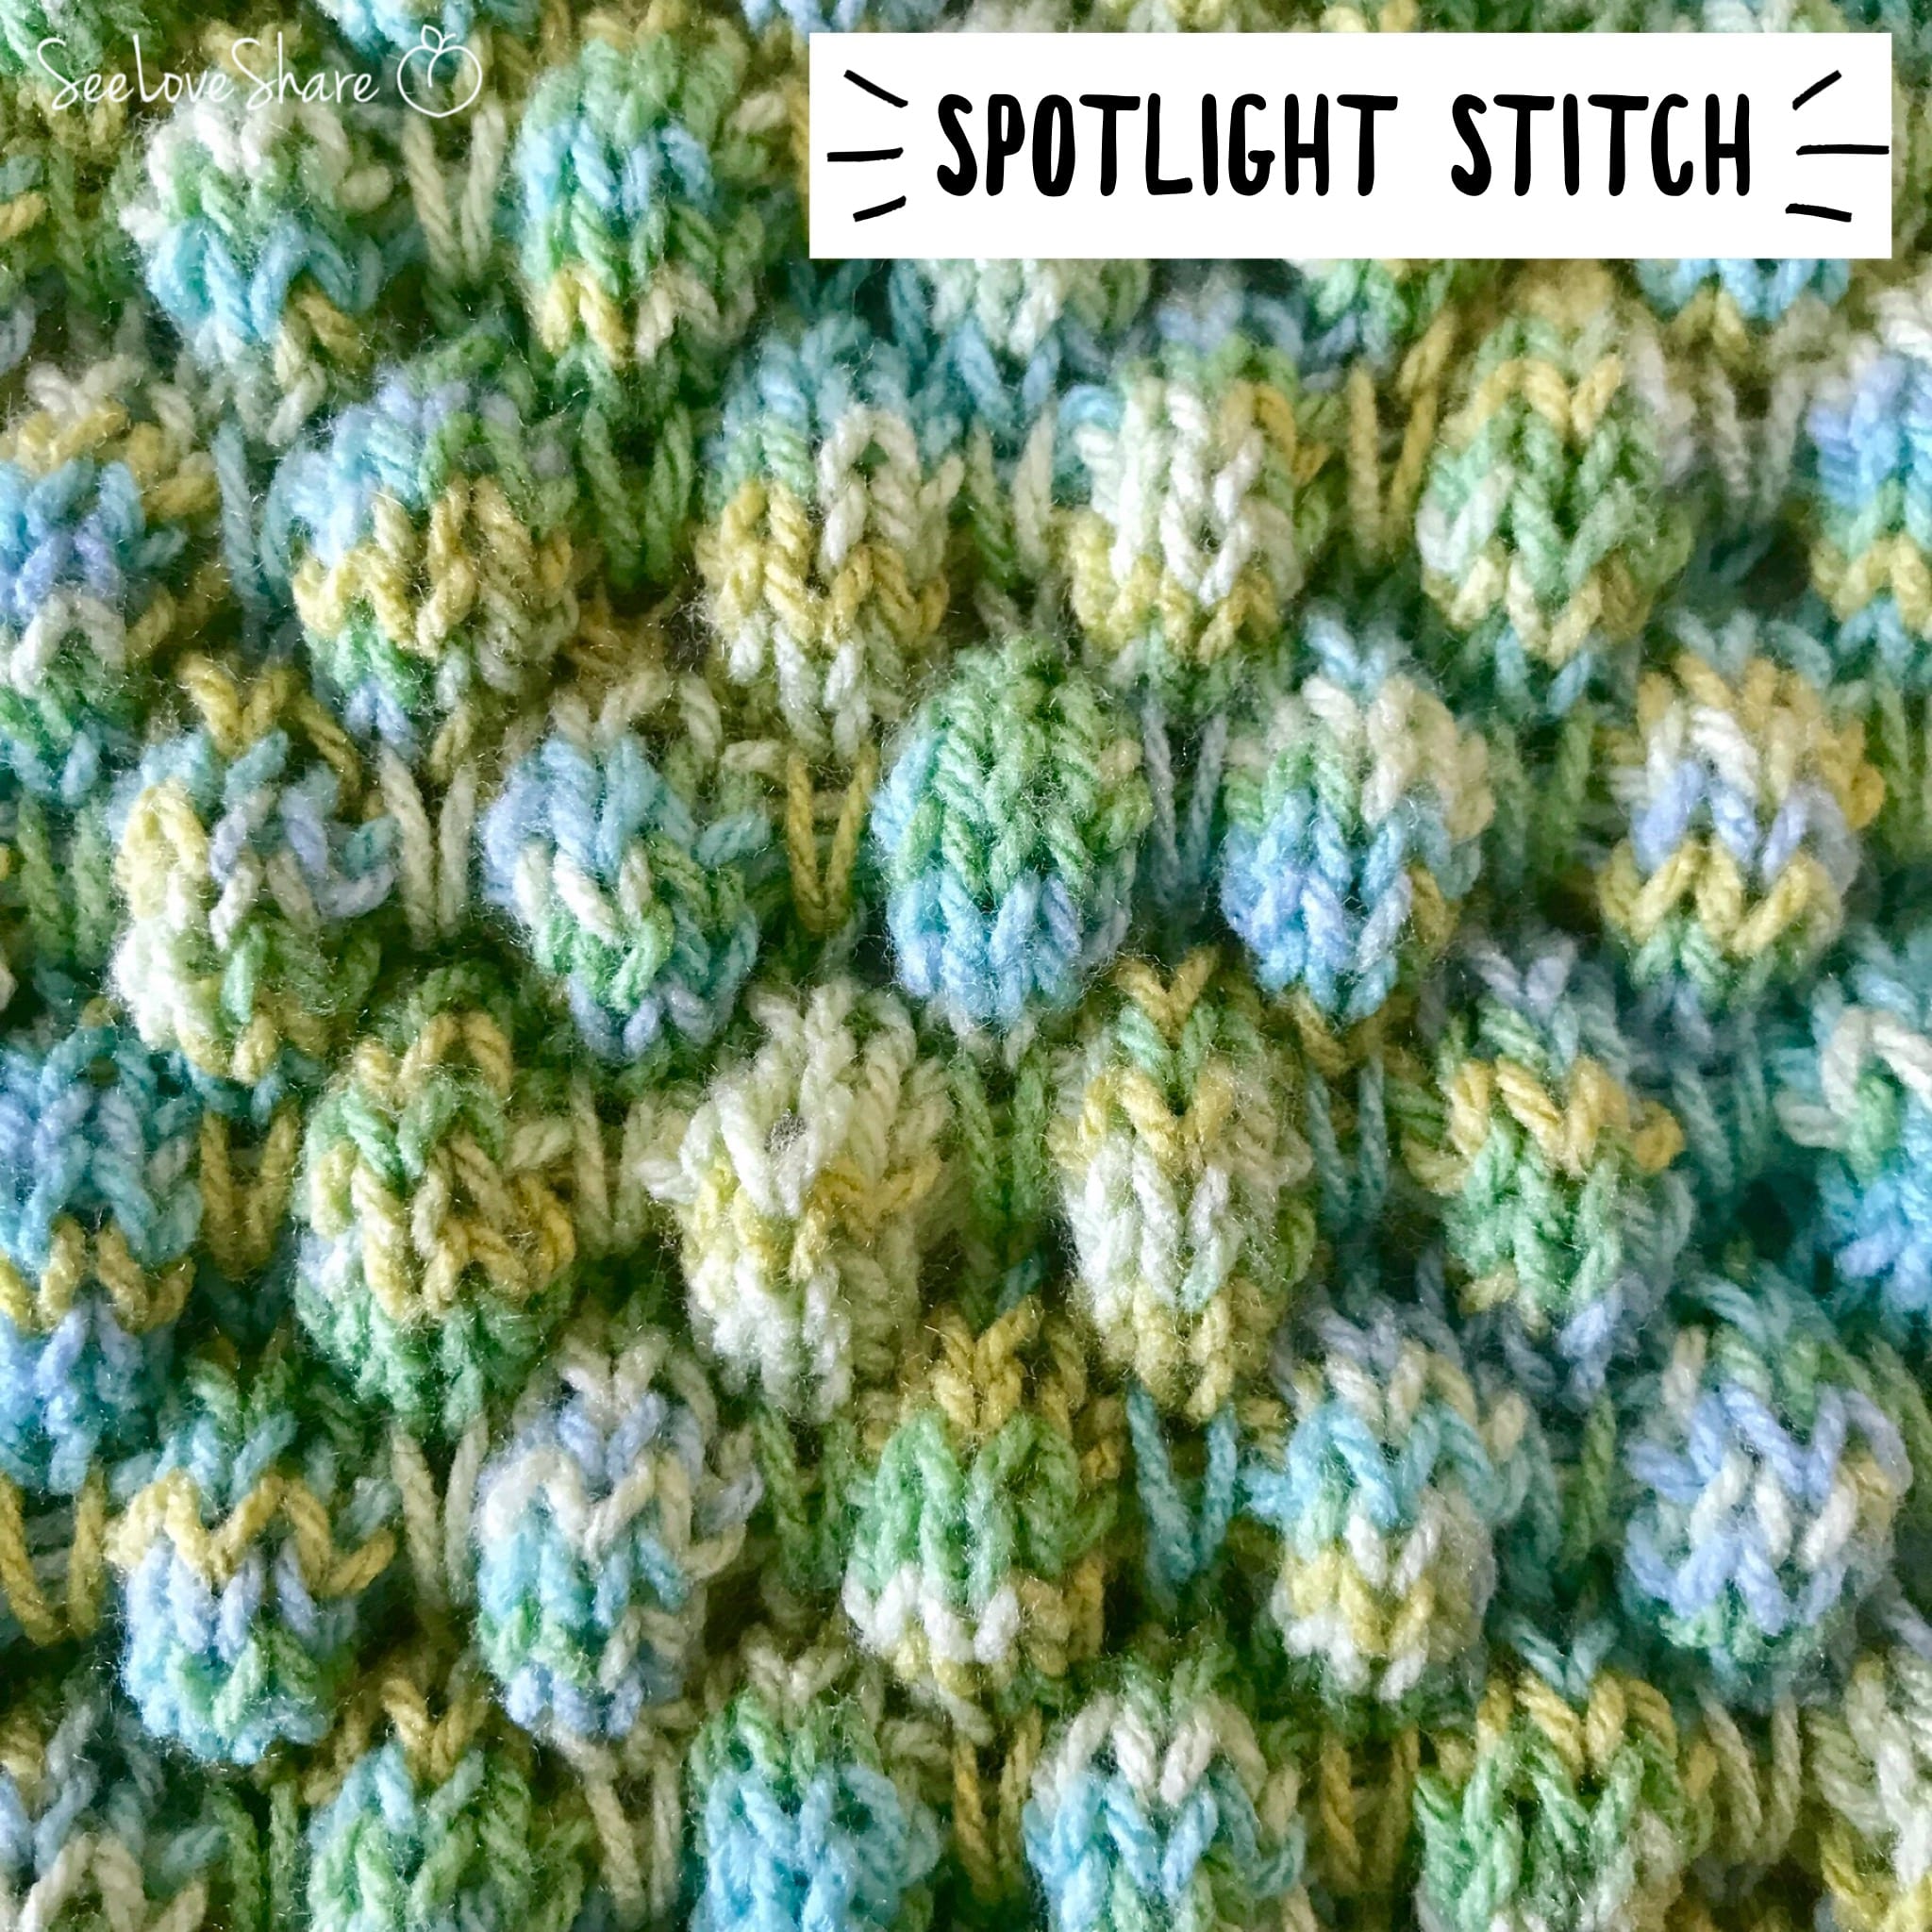
 Knit Bubble Stitch Tutorial — a textured stitch that benefits beautifully from blocking
- Browse all tutorials — every how-to in one place
Frequently Asked Questions
How long does it take to block knit or crochet work?
The active work takes about 30 minutes (soak, drain, pin). The full process — including drying — takes 12 to 24 hours. Bigger or thicker pieces take longer. Plan ahead if you’re blocking a gift; don’t try to block the night before.
Can I block acrylic yarn?
Wet blocking doesn’t change acrylic yarn much because the fibers don’t relax the way animal fibers do. Steam blocking — holding a steam iron a few inches above the piece without touching it — works better for acrylic. Be careful not to “kill” the acrylic (over-steaming makes it limp and shiny in a bad way).
Do I need special blocking soap?
No — any gentle, no-rinse wool wash works. Orvus, Soak, Eucalan, and Kookaburra are popular brands. In a pinch, a tiny drop of clear dish soap or baby shampoo can work, though dedicated wool washes are formulated to not require rinsing.
Can I block a project I’ve already worn or used?
Absolutely — blocking is essentially the same as gently hand-washing the item. You can re-block any time the piece loses its shape, after washing, or any time you want to refresh it. Many handmade items benefit from a light re-blocking once or twice a year.
What if I don’t have blocking mats?
Children’s foam play mats from the dollar store work just as well as official blocking mats — they’re often the same material at a fraction of the price. A clean, dry bed covered with a towel can also work for small pieces. Just make sure whatever surface you use can take pins and is somewhere undisturbed for 12–24 hours.