
October 21st, 2020
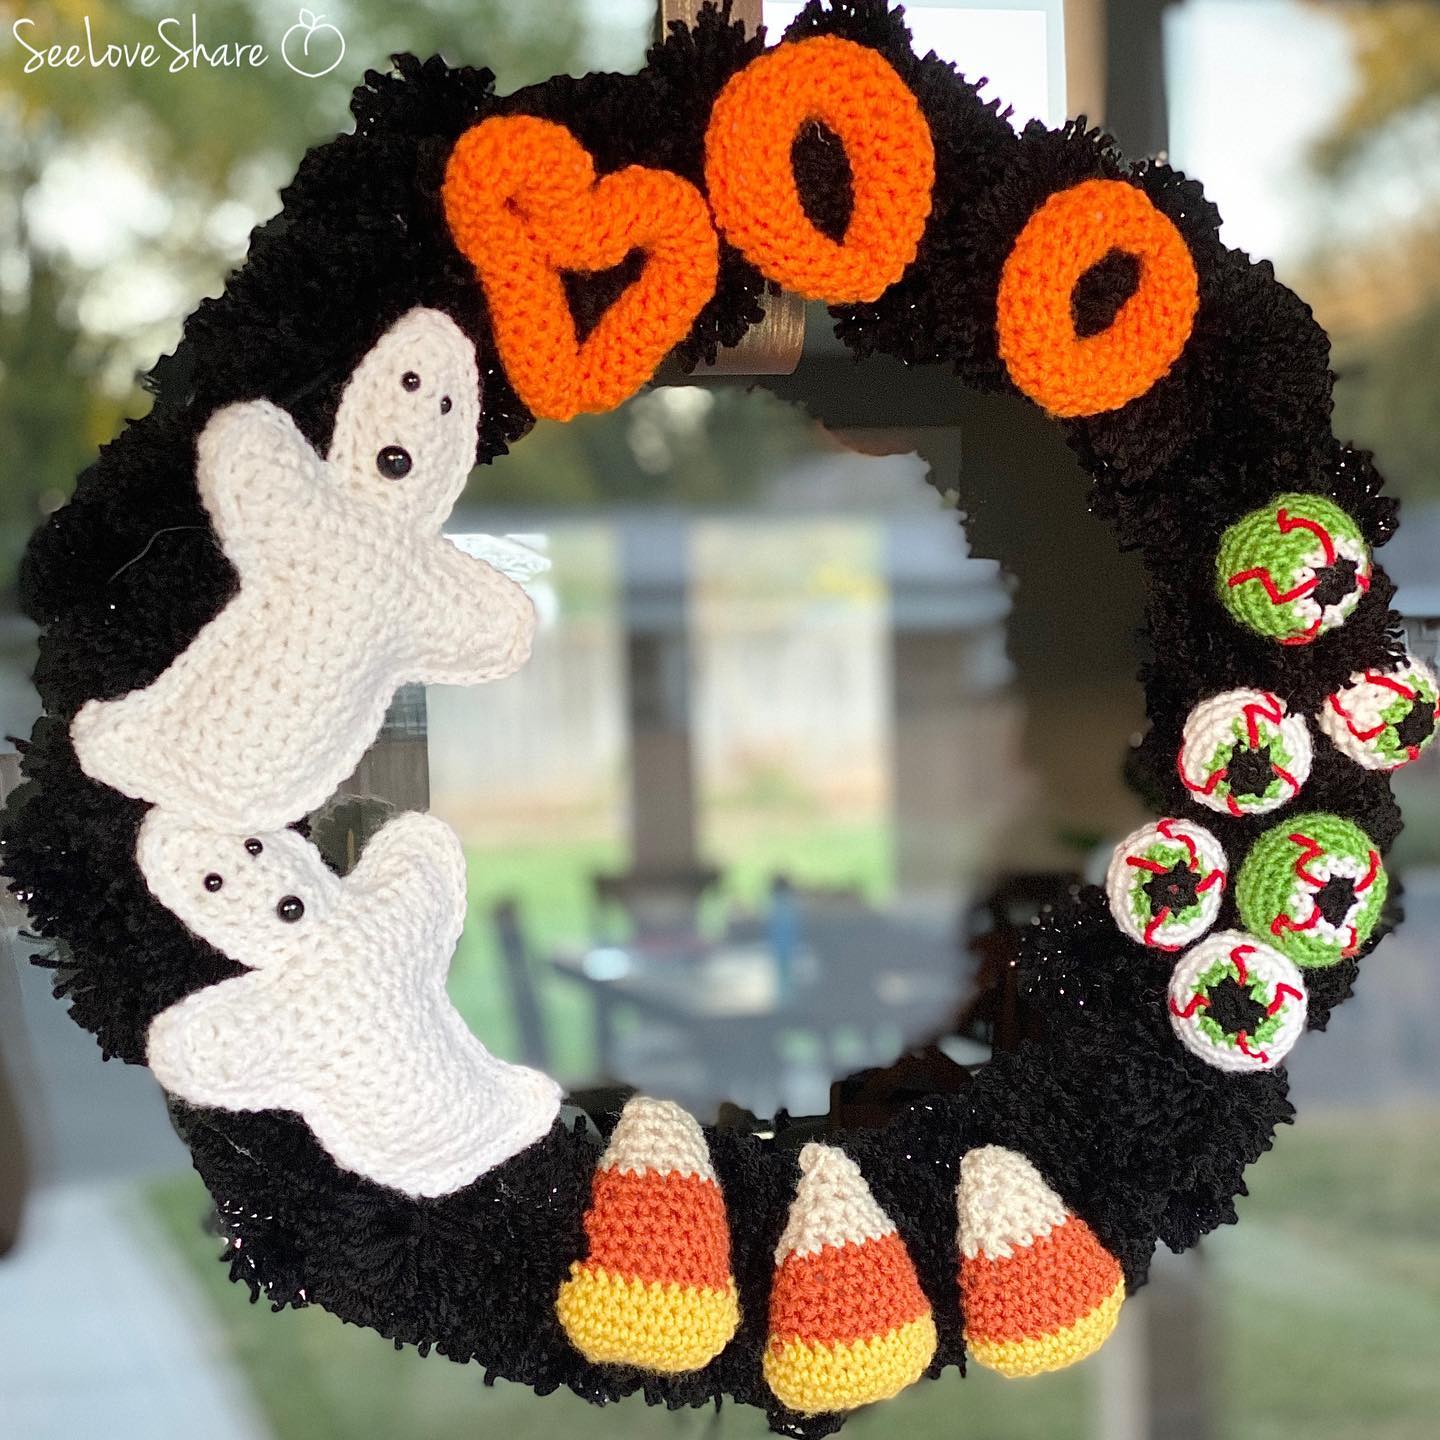
Halloween Crochet Wreath — Free DIY with Ghosts, Eyeballs & BOO Letters
Looking for a fun, beginner-friendly Halloween crochet wreath project? This festive front-door wreath combines a chunky pom-pom base with sweet, plushy “spooky” crochet appliqués — ghosts, bloodshot eyeballs, candy corn, and a chunky “BOO” — for a wreath that’s adorable rather than scary. Perfect for crocheters of all skill levels and totally customizable to match your decor.
This Halloween crochet wreath is built from FREE patterns that all link together. Each individual element has its own dedicated tutorial here on SeeLoveShare — combine them all for the full wreath, or mix and match to make your own version.
Why You’ll Love This Halloween Crochet Wreath
✔ Beginner-friendly — uses basic stitches throughout
✔ Modular design — make as many or as few appliqués as you like
✔ All component patterns are free
✔ Cute rather than scary — kid-friendly Halloween decor
✔ Stash-busting — perfect for using up odd skeins of black, white, and orange yarn
✔ Reusable year after year — store flat in a box between seasons
✔ Makes a great handmade gift for a Halloween-loving friend
Materials for Your Halloween Crochet Wreath
- Wreath form — a 14″ or 16″ foam, grapevine, or wire wreath base works well
- Worsted weight (#4) yarn in:
- Black (for pom-pom base and BOO letters)
- Black sparkle (optional, for extra pom-pom texture)
- White (for ghosts)
- Orange (for candy corn)
- Yellow (for candy corn tips)
- Red and white (for bloodshot eyeballs)
- 5mm (H/8) crochet hook
- Polyfil stuffing for the plushy appliqués
- Tapestry needle, scissors, hot glue gun, and floral wire for attaching
The pom-poms form the backdrop and the plushy appliqués sit on top. Use hot glue or floral wire to secure each piece. Mix and match colours to make the wreath truly your own.
Step 1: Start with the Pom-Pom Base
Begin by making a mountain of pom-poms in various sizes using black yarn and (optionally) black sparkle yarn. String them together and wrap them around your wreath form to create a fluffy, textured base for the appliqués to sit on.
For a quick hack to make a bunch of mini pom-poms in bulk, check out this step-by-step tutorial:

→ How to Make Mini Pom-Poms in Bulk
Step 2: Crochet the Ghost Appliqués
Plushy white ghosts are the friendly stars of this Halloween crochet wreath. They’re worked in the round, lightly stuffed, and finished with embroidered eyes. Make 2-3 ghosts in different sizes for variety.
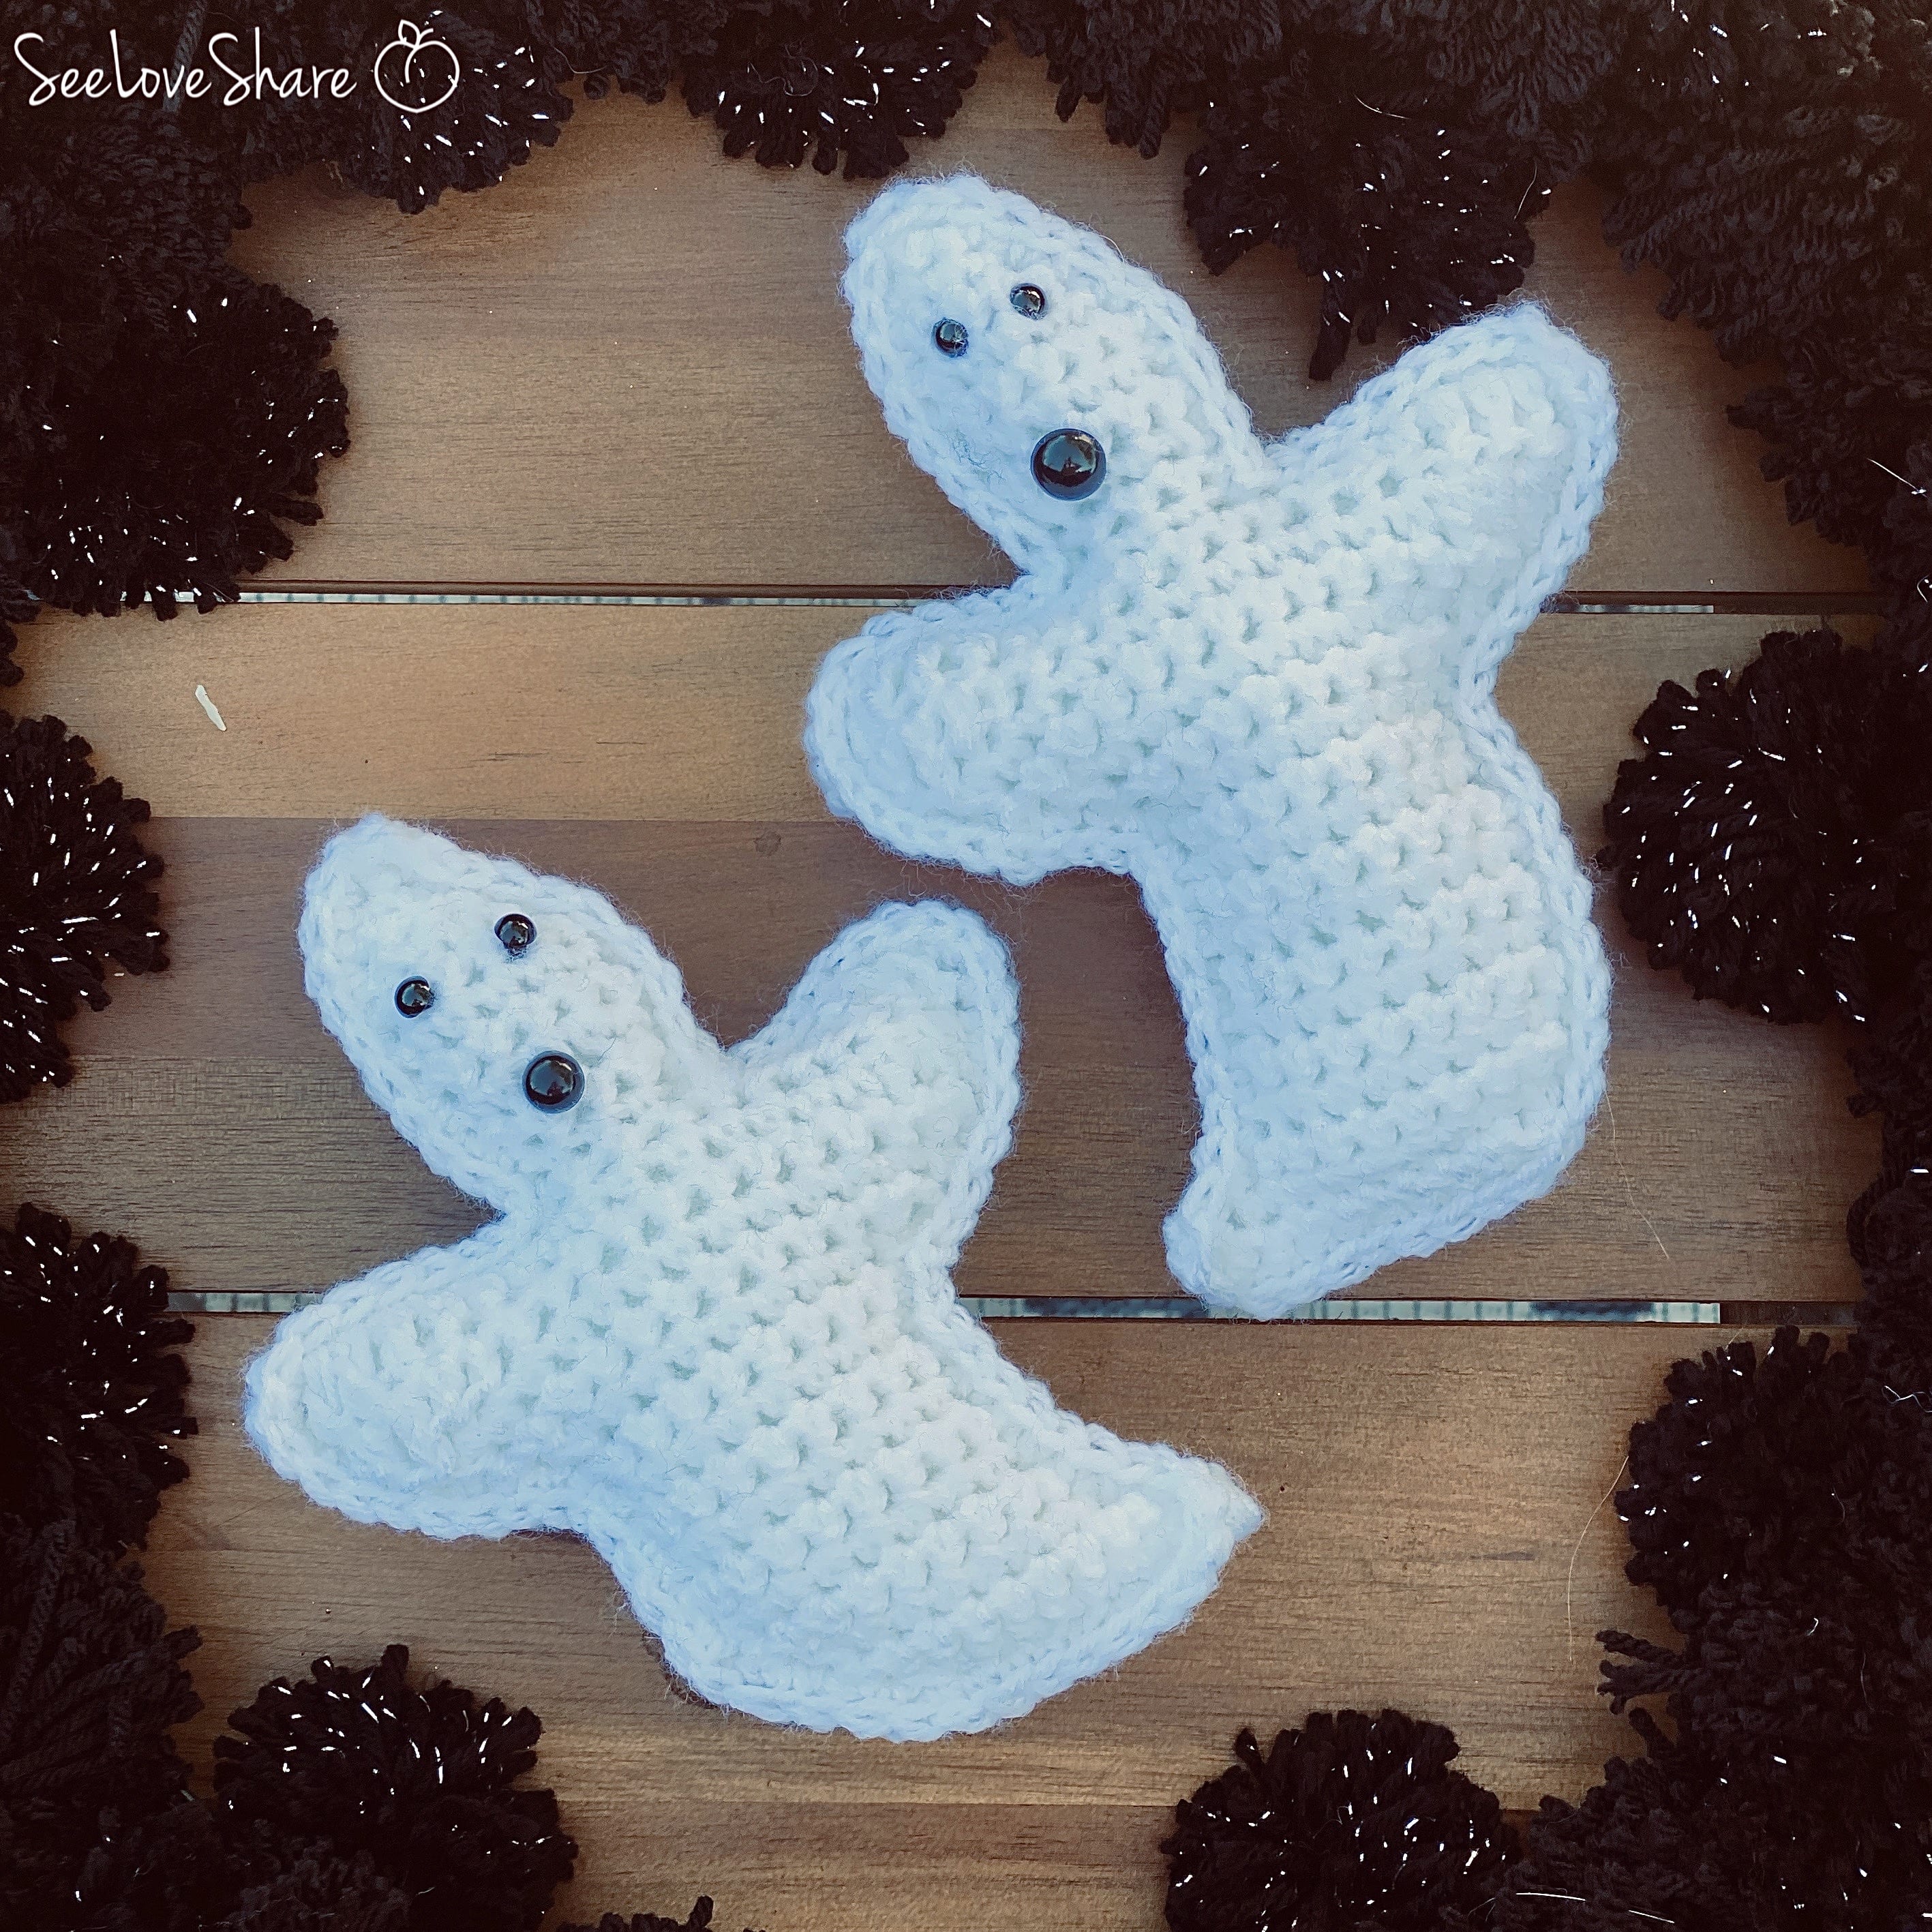
→ Free Crochet Ghost Plushy Pattern
Step 3: Add the Bloodshot Eyeballs
For a slightly spookier touch, add a few crochet bloodshot eyeballs. They’re quick to make, work up flat or stuffed, and the red embroidered “veins” add just the right amount of Halloween edge. Make 3-5 to scatter throughout the wreath.
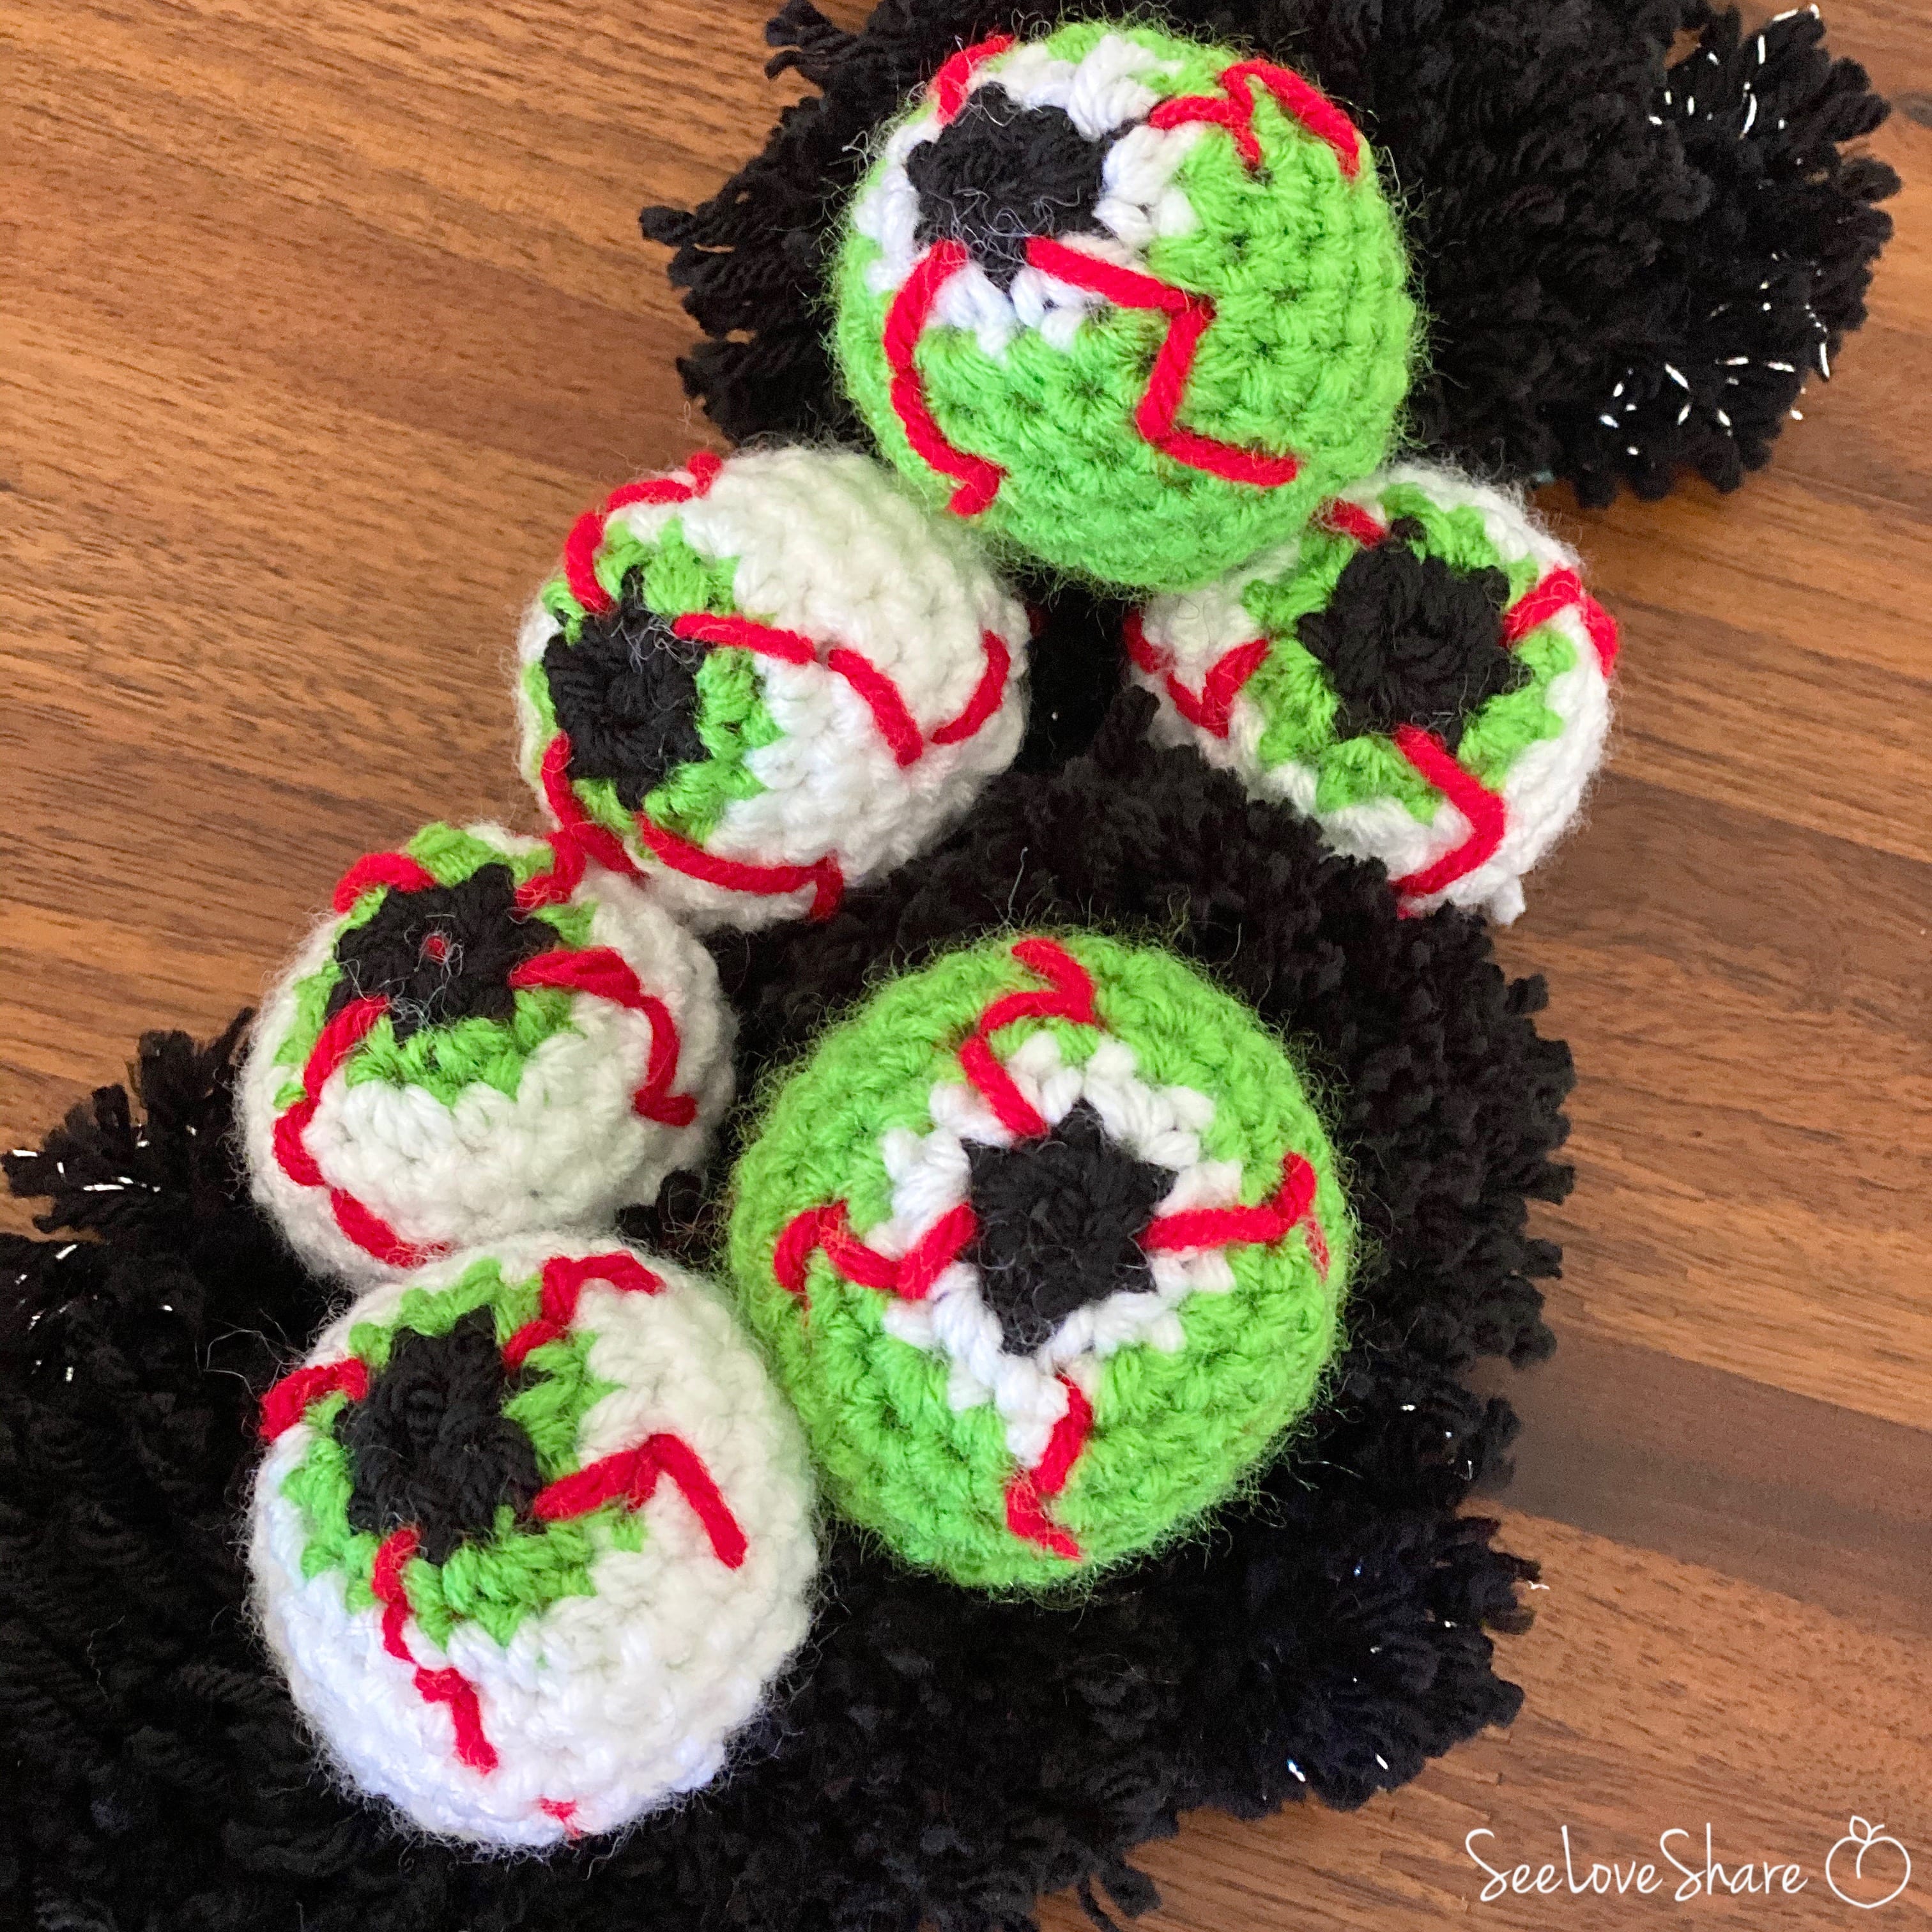
→ Free Crochet Bloodshot Eyeballs Pattern
Step 4: Crochet the BOO Letters
Spell out “BOO” with chunky crochet letters as the centerpiece statement of your Halloween crochet wreath. Worked flat in single crochet, the letters are easy to assemble and add the perfect graphic touch.
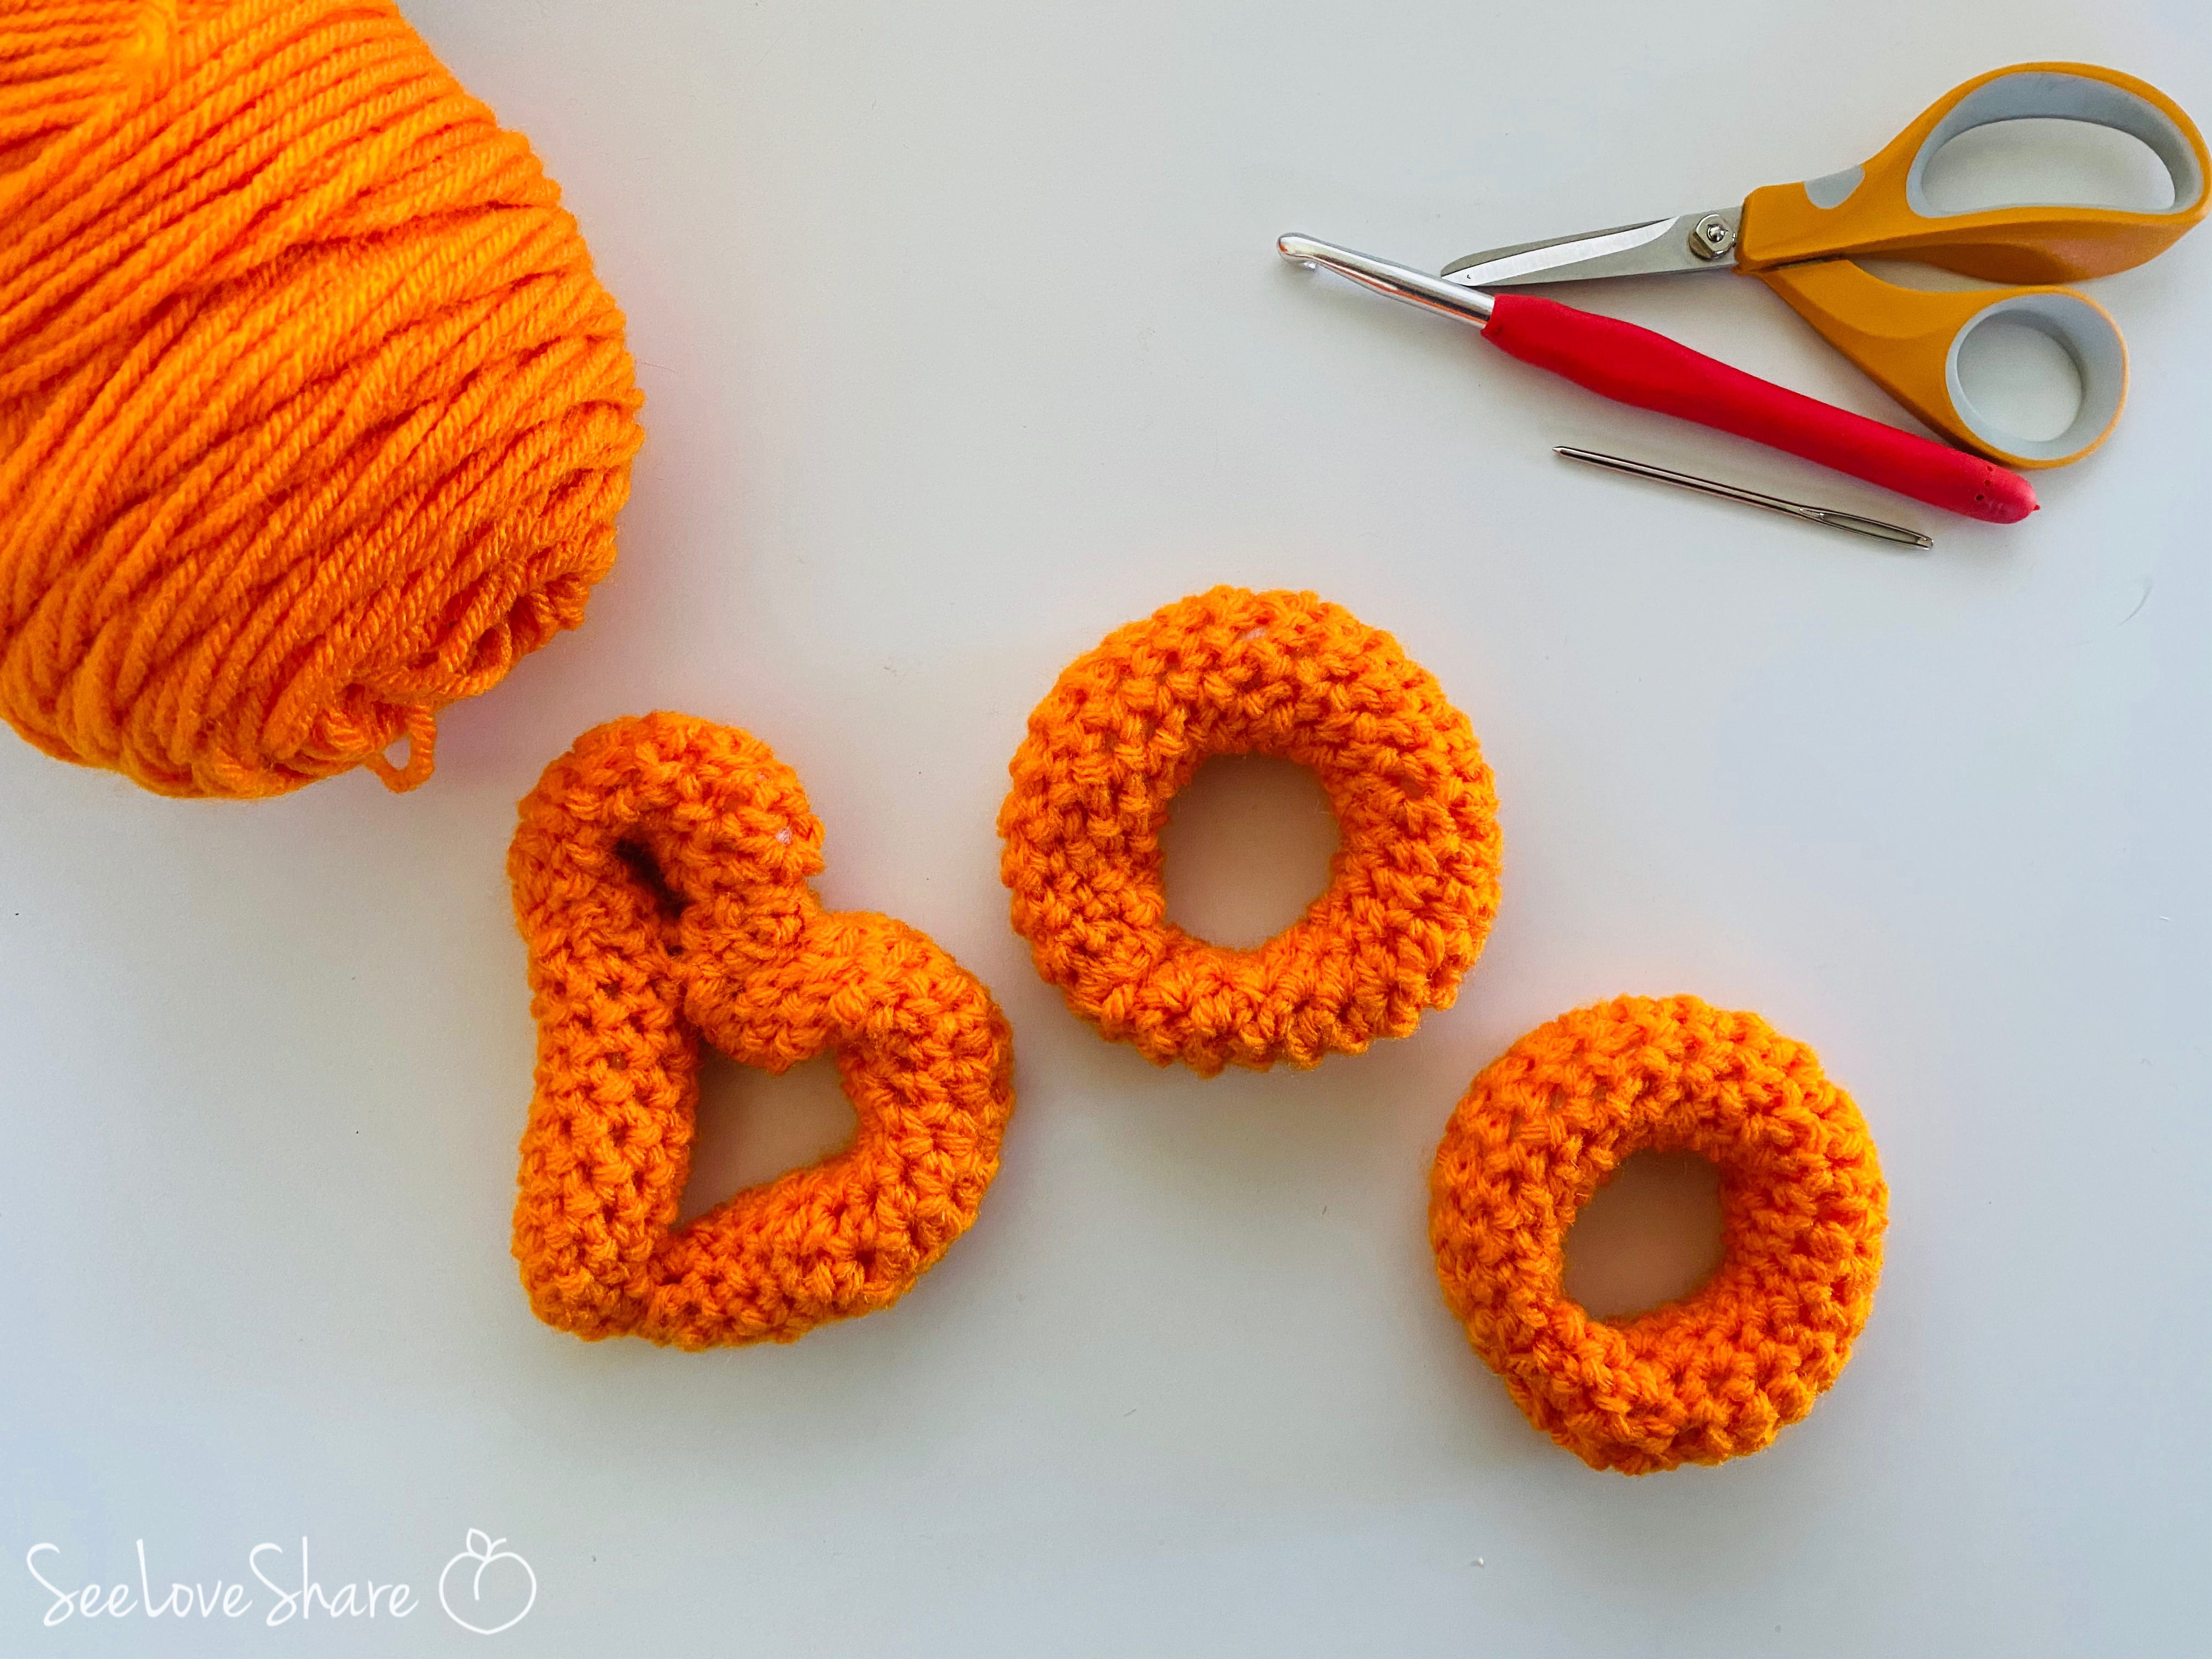
→ Free Crochet BOO Letters Pattern
Step 5: Finish with Candy Corn Plushies
Add a few stuffed candy corn plushies to your Halloween crochet wreath for that final dose of Halloween sweetness. The yellow, orange, and white stripes are easy to work and the rounded shape adds visual interest among the flatter elements.
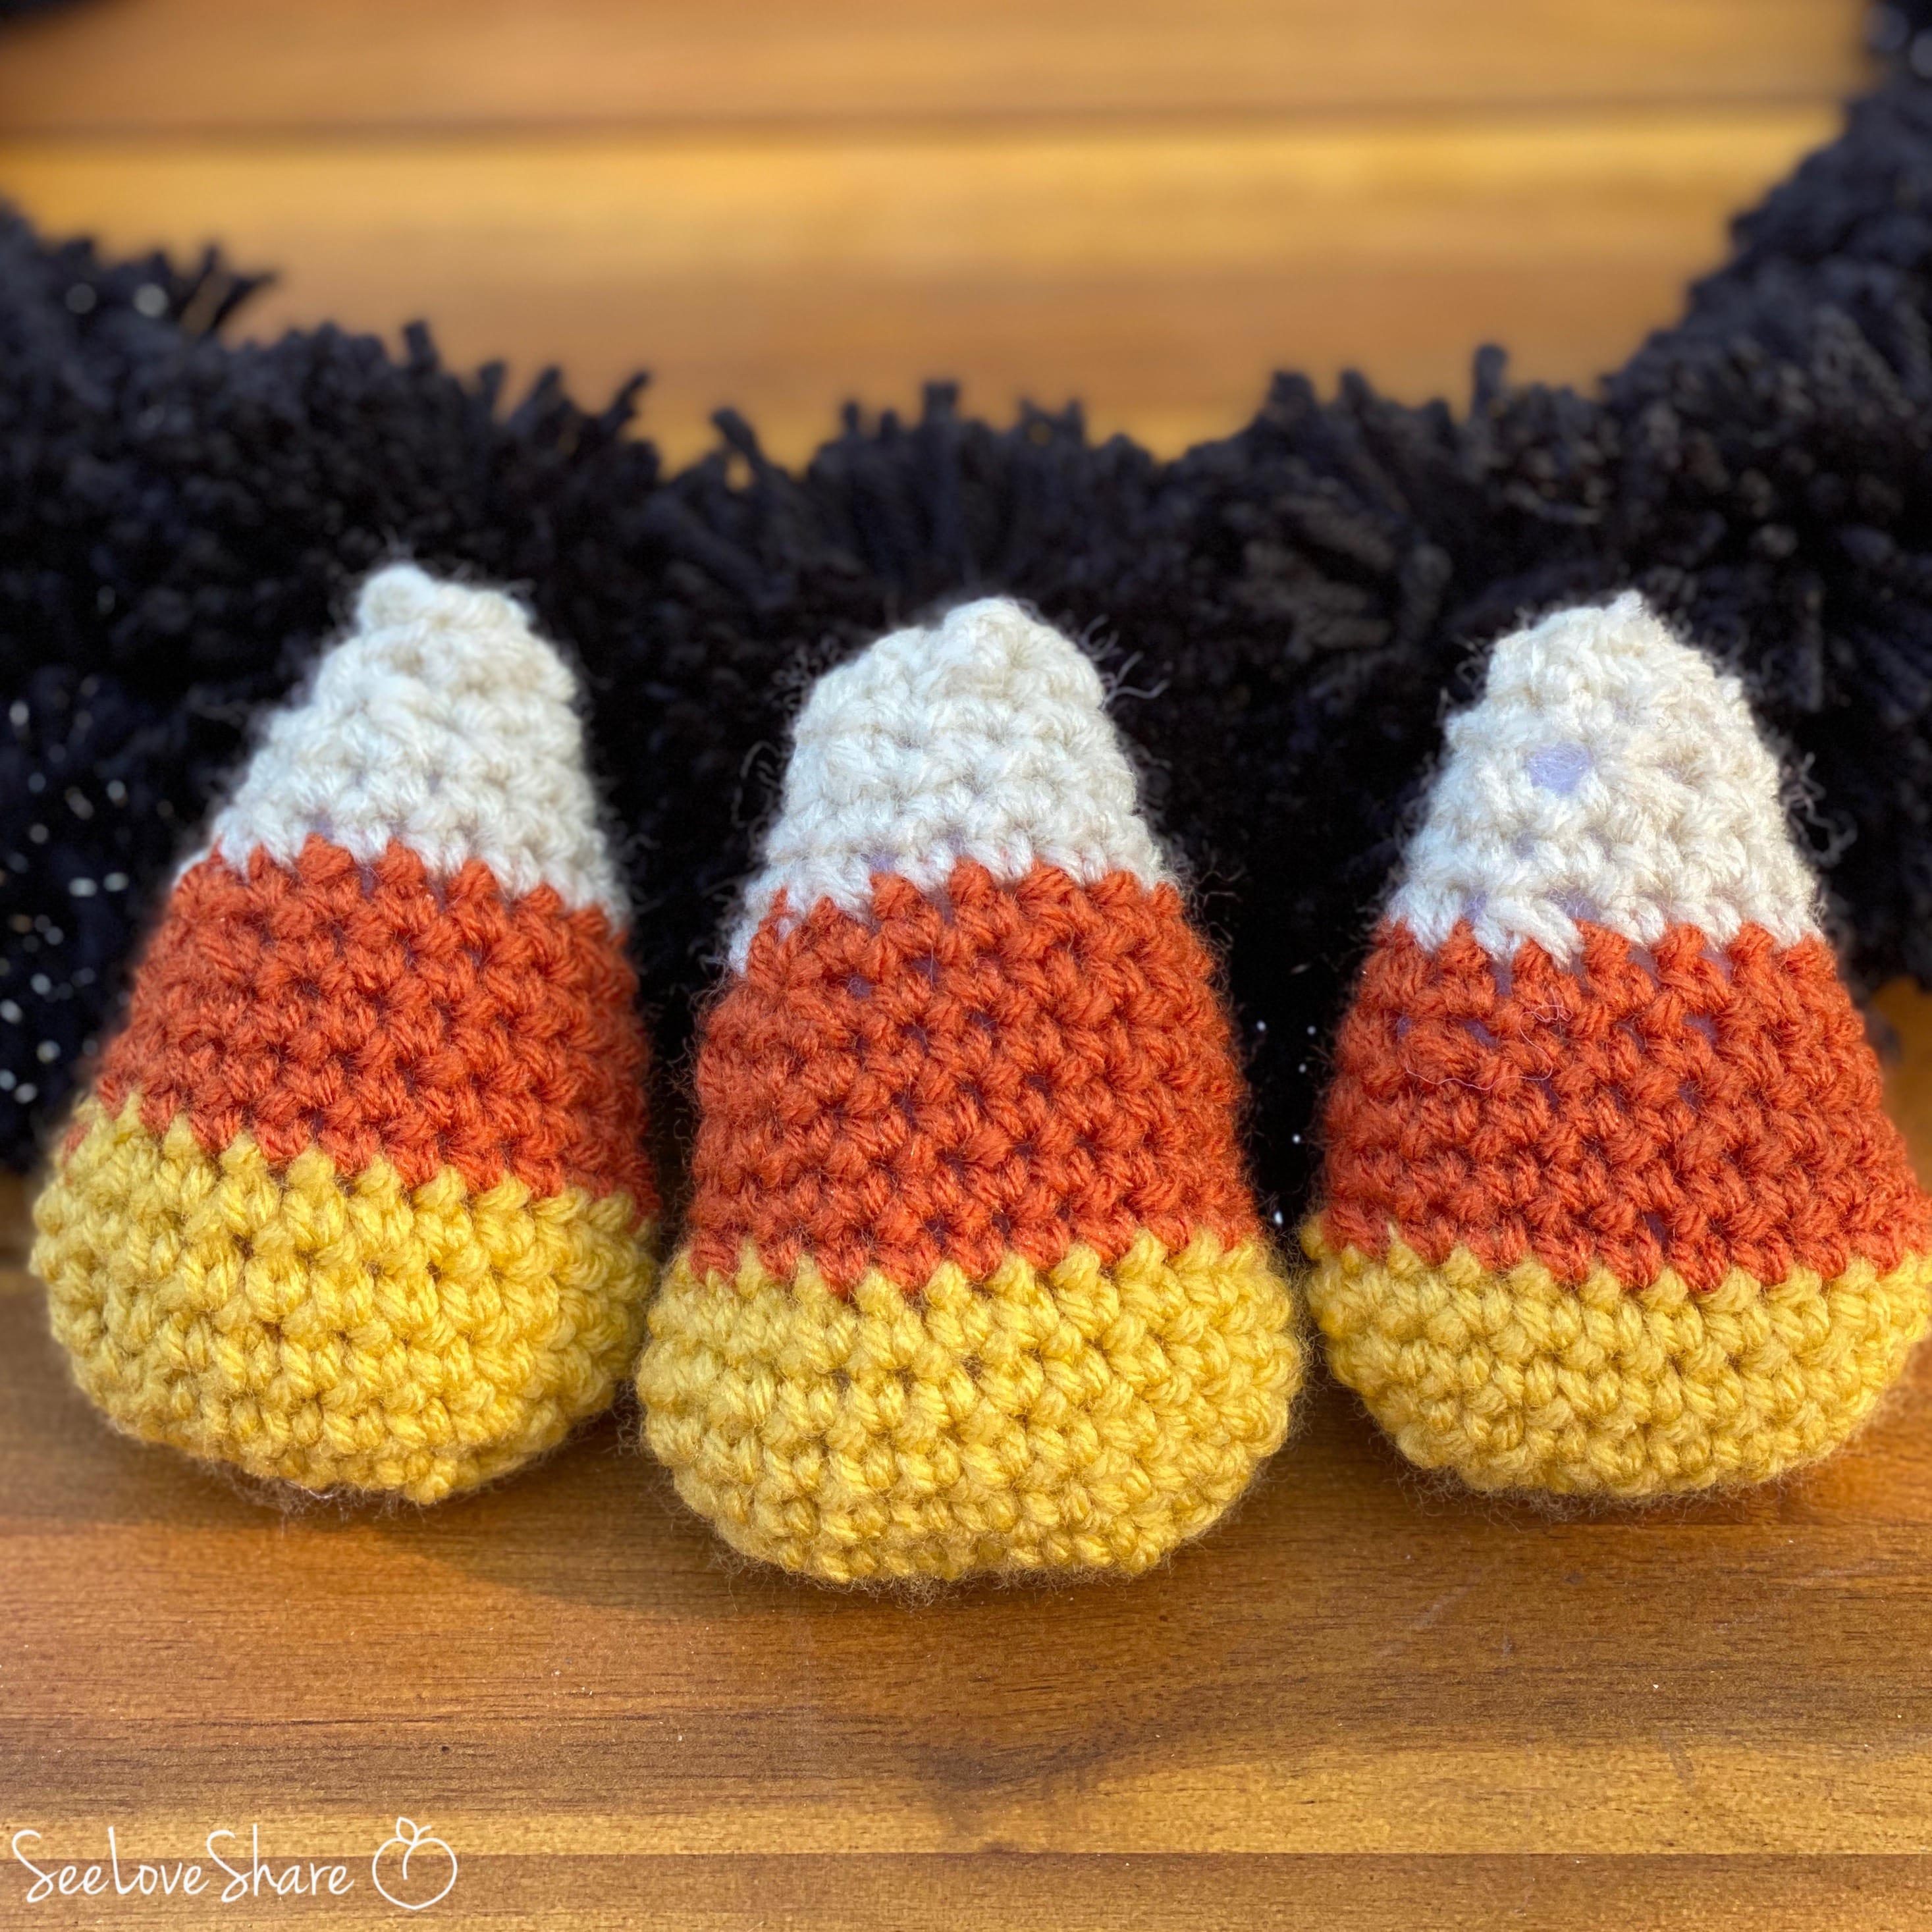
→ Free Crochet Candy Corn Plushy Pattern
Tips for Assembling Your Halloween Crochet Wreath
Lay Out Before You Glue
Once all your appliqués are made, lay them out on the pom-pom base BEFORE attaching anything. Move them around until the composition feels balanced — biggest pieces first, smaller details tucked in around them.
Hot Glue vs. Floral Wire
Hot glue is fast and permanent — great for outdoor wreaths and pieces you want to stay put. Floral wire lets you rearrange or swap pieces year to year. For best longevity, use hot glue on the larger anchor pieces and wire on smaller details.
Vary the Sizes
Make ghosts in 2-3 different sizes for visual variety. Same goes for eyeballs and candy corn. A wreath full of identical-sized appliqués feels static — varied sizes create a more dynamic, professional look.
Customize the Colour Palette
Not into traditional Halloween colours? Try a modern monochrome version — all black-and-white with no orange. Or go pastel for a Halloween-meets-kawaii vibe. The component patterns work in any colour.
Add a Hanging Ribbon
Attach a wide black satin ribbon to the top of your finished wreath for hanging — it looks intentional and adds polish. Loop it through the wreath form before adding the pom-poms so it’s hidden behind the base.
Frequently Asked Questions
How long does this Halloween crochet wreath take to make? Plan on a weekend project. The pom-poms come together fast, and each appliqué takes 30-60 minutes. The whole wreath usually takes 8-12 hours of crochet time total, plus assembly.
Can I use this wreath outdoors? Under a covered porch, yes. In direct rain or snow, no — yarn absorbs moisture and can stretch or mildew. For full exposure, consider a sealed acrylic finish or hang inside on a front-facing window instead.
What size wreath form should I buy? A 14″ or 16″ foam wreath form gives you enough surface area for all the appliqués without feeling too crowded. Grapevine or wire wreaths also work — just be sure to use floral wire to attach pieces securely.
Can I skip some of the elements? Absolutely! This is a roundup of free patterns that you mix and match. Maybe you want all ghosts and BOO letters. Or just candy corn and eyeballs. Make the wreath your own.
How do I store the wreath after Halloween? Lay flat in a large flat box with tissue paper between layers. Stored properly, your Halloween crochet wreath will last many seasons.
More Halloween & Fall Crochet Patterns
 Gingham Plaid Crochet Pumpkin — Beginner’s Guide
- Lil Monsters Spider Pumpkin — Free Pattern
- Crochet Bobble Stitch Acorn Pillow
- Crochet Bobble Stitch Maple Leaf Pillow

Save This Halloween Crochet Wreath Tutorial
Want to come back to this Halloween crochet wreath project later? Save it to Pinterest so you can find it when the season arrives — and share it with your crocheting friends!