
Free Tutorials Free Baby & Kids Free Crochet
June 2nd, 2019
Spotlight Stitch: Elephant Border
The elephant border crochet stitch is one of the cutest decorative edgings in the crochet world. The textured stitch creates an adorable repeating “elephant trunk” silhouette along the edge of your work — perfect for baby blankets, scarves, pillows, table runners, and any project that deserves a sweet finishing touch.
This tutorial walks you through the elephant border crochet stitch step by step, with photos showing each part of the build. Once you’ve worked through one repeat, the rhythm becomes second nature.
Why You’ll Love the Elephant Border Crochet Stitch
This decorative edge stitch hits the sweet spot of “cute,” “doable,” and “high impact”:
✔ Adds an adorable repeating motif to any edge
✔ Beginner-friendly cluster work (no special tools needed)
✔ Works on top of single crochet or double crochet base rows
✔ Perfect for baby items — adds character without being fussy
✔ Customizable in any colour or yarn weight
✔ Becomes intuitive after just a few repeats
The elephant border crochet stitch is the kind of edging that turns a “nice” handmade piece into a “wow, I love that!” gift. It’s especially cute on baby blankets and nursery decor.
Project Ideas for the Elephant Border Crochet Stitch
- Baby blankets — adds a sweet animal-themed edge perfect for nurseries
- Children’s afghans — pairs beautifully with safari, jungle, or zoo themed nursery decor
- Scarves and cowls — adds whimsical texture at the ends
- Throw pillows — gorgeous textured edge for accent pillows
- Table runners — repeating decorative edging for table linens
- Bibs and burp cloths — adorable for baby shower gifts
Materials
- Worsted weight (#4) yarn in your colour of choice (light, solid colours show off the texture best)
- 5mm (H/8) crochet hook — or whatever your yarn label recommends
- Tapestry needle for weaving in ends
- Scissors
For learning the elephant border crochet stitch, choose a light, solid yarn so you can clearly see the stitch definition. Variegated yarns can hide the textured detail.
Abbreviations
ch = chain
sc = single crochet
hdc = half double crochet
dc = double crochet
tr = treble crochet
slst = slip stitch
sk = skip
st(s) = stitch(es)
yo = yarn over
* = repeat instructions following the asterisk as indicated
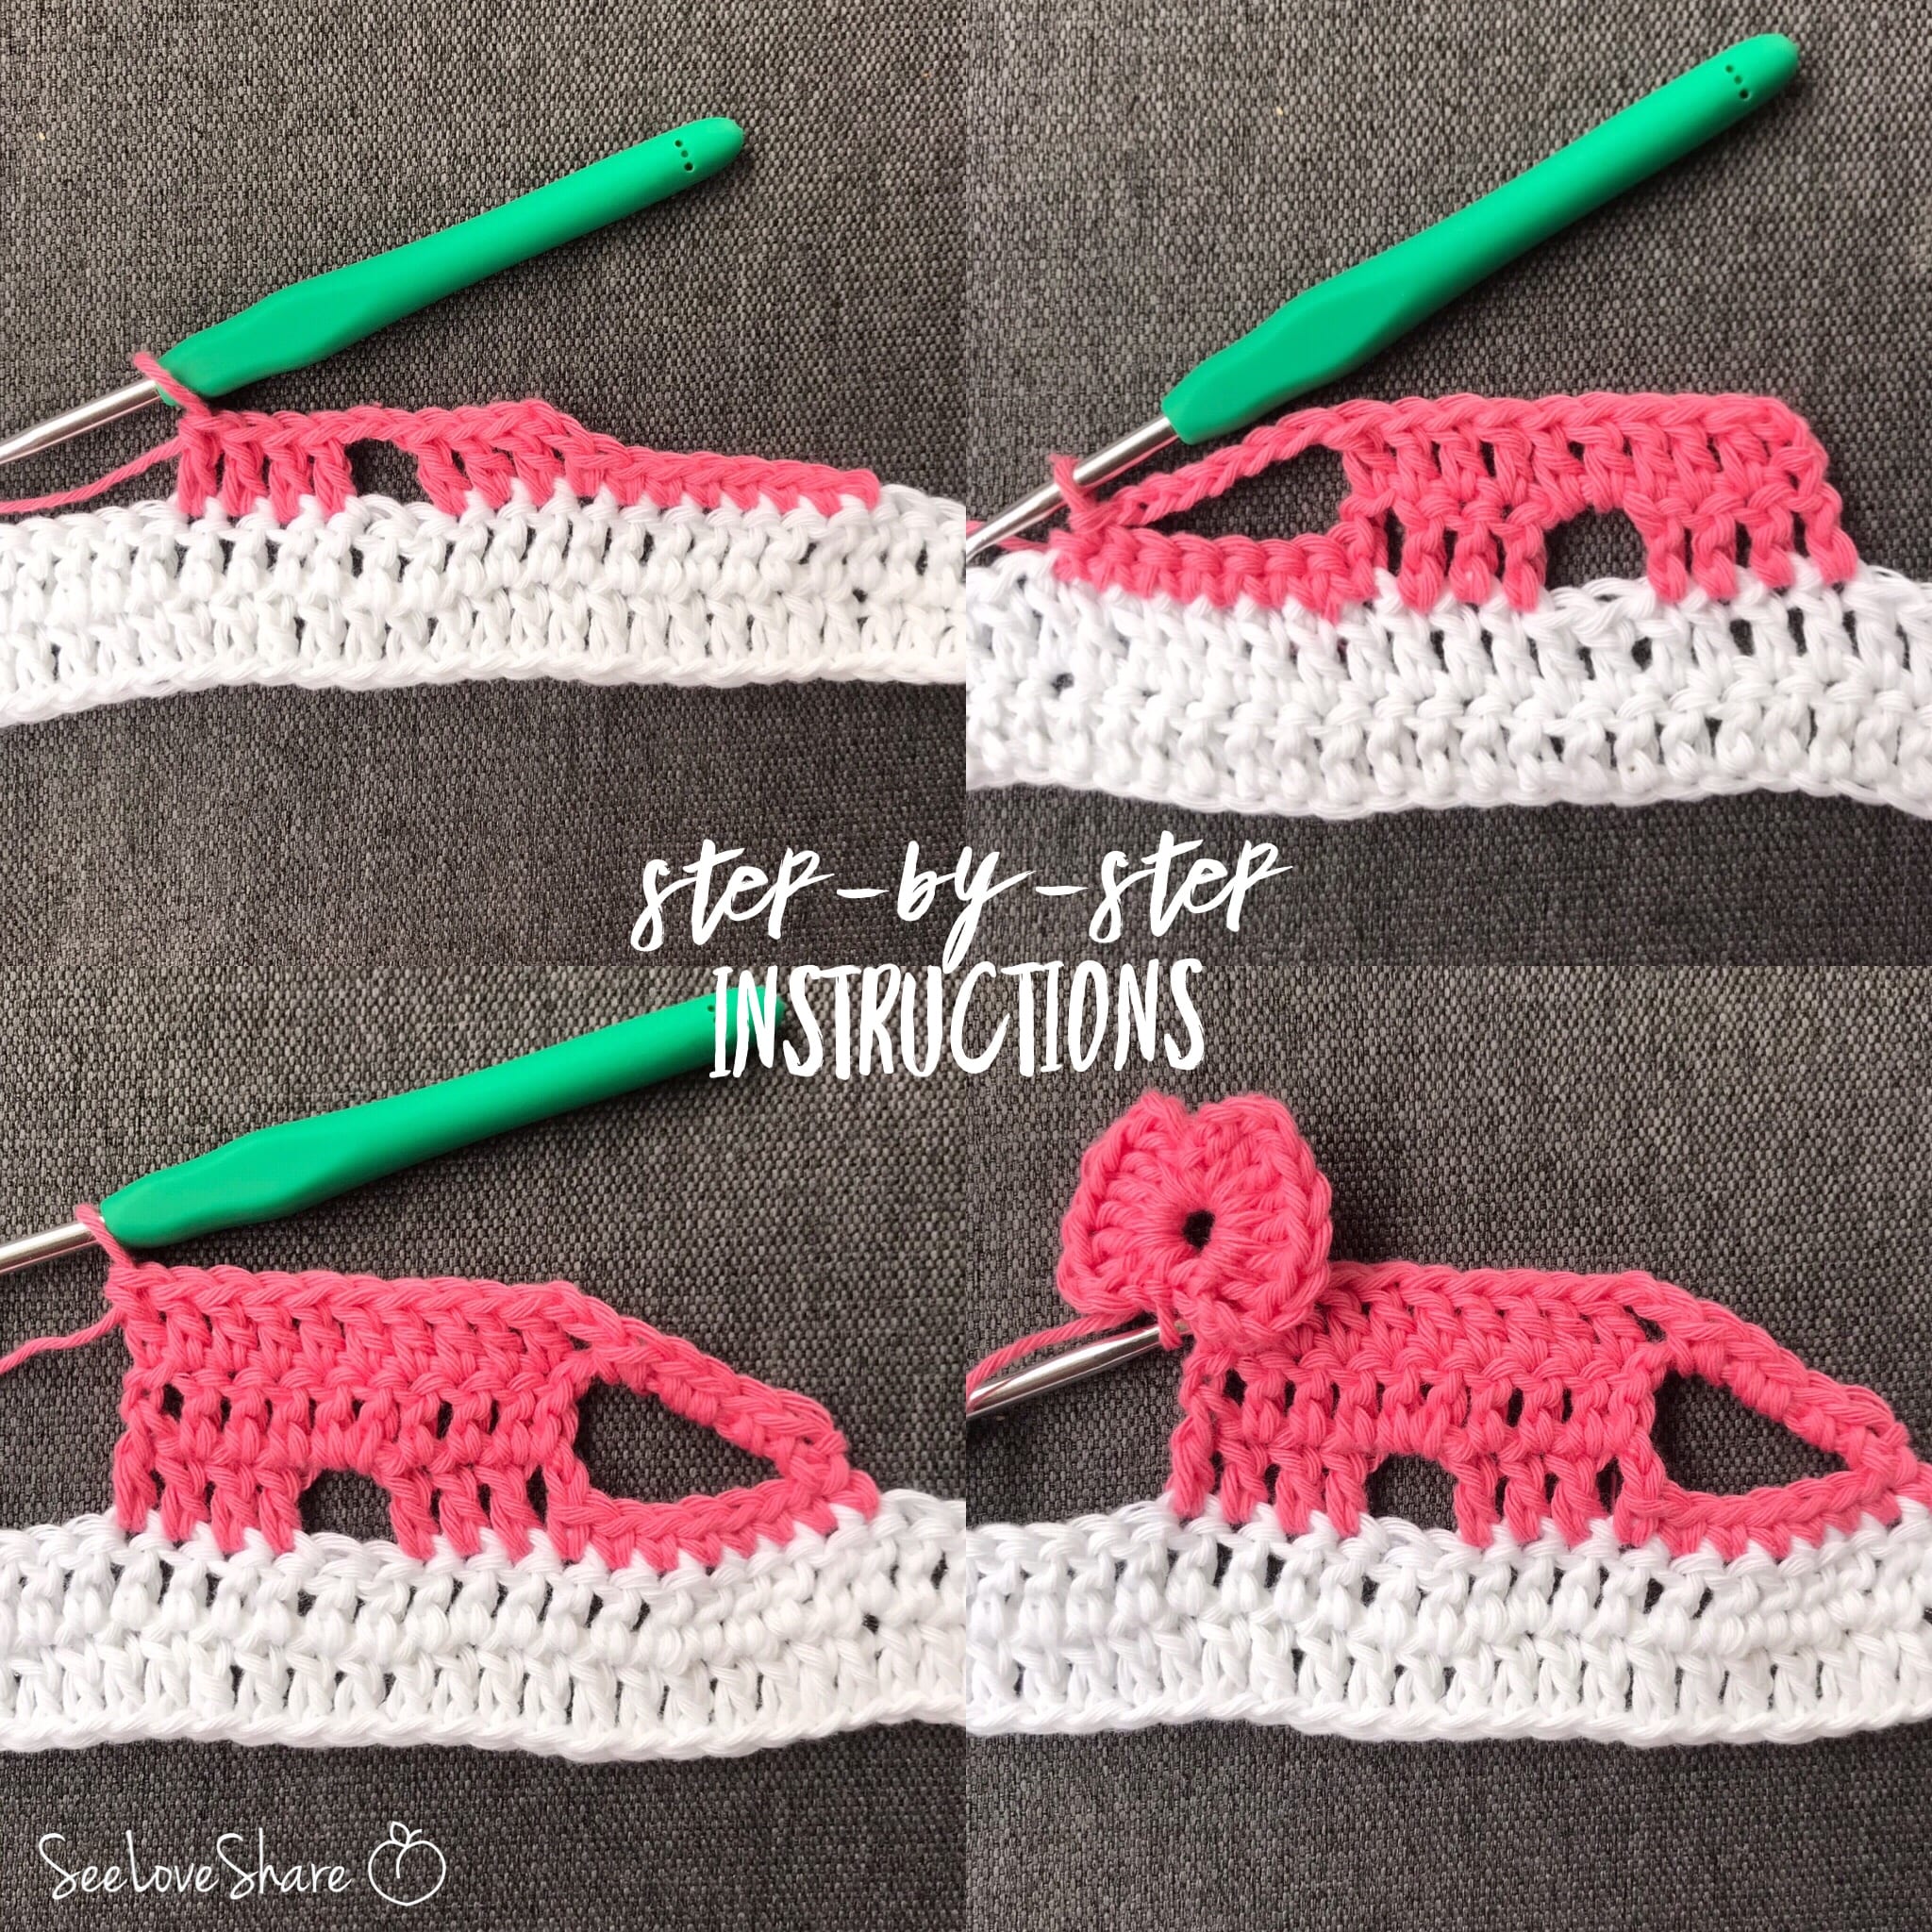
Elephant Border Crochet Stitch Step-by-Step Tutorial
The elephant border crochet stitch is worked along the edge of an existing piece of crochet (or you can practice on a foundation chain). The pattern is worked in multiples of 6 stitches plus 1, so make sure your edge has the right stitch count before starting.
Setup Row
Attach your yarn at the corner of your work where you want the elephant border crochet stitch to begin. Work a row of single crochet evenly across the edge — this gives the textured stitches a stable foundation to anchor into. Aim for a stitch count that’s a multiple of 6, plus 1.

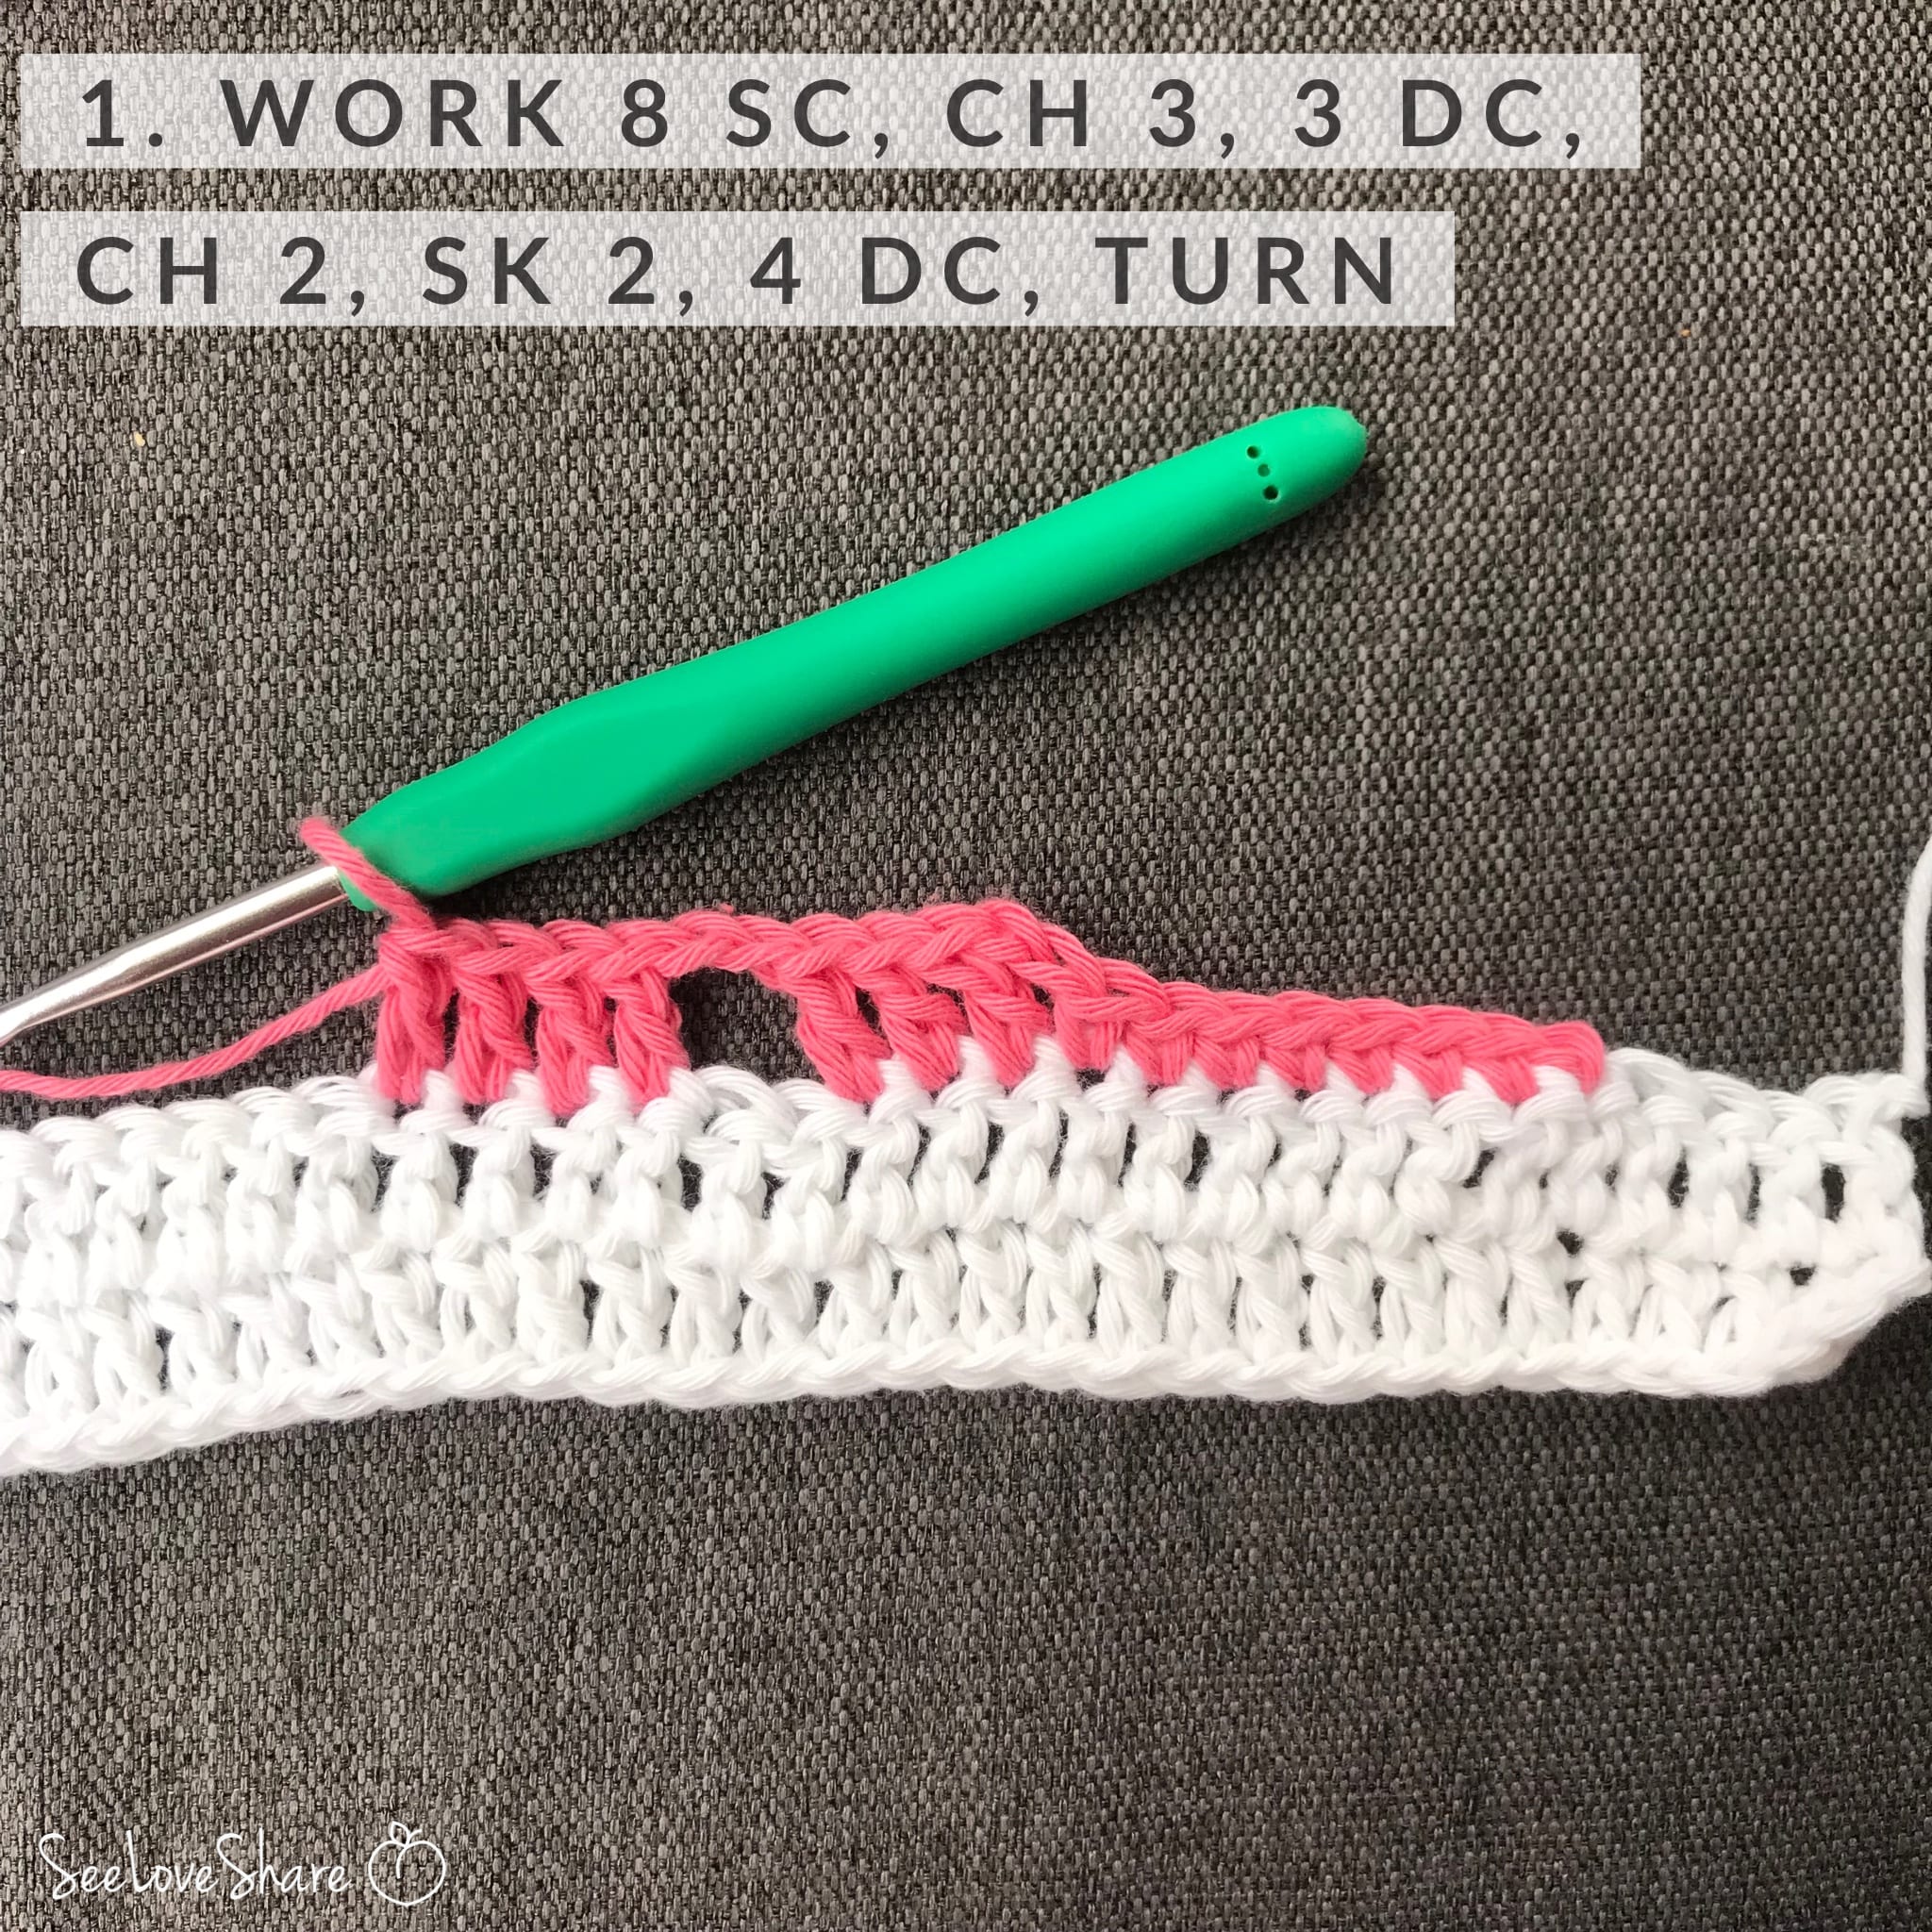
Row 1 — The Elephant Body Posts
Ch 3 (counts as first dc), turn. *Dc in next st, ch 2, sk 1 st, sc in next st, ch 2, sk 1 st, dc in next 2 sts* — repeat from * to end of row, working a dc in the very last stitch. This creates the spaced-out columns that will become the elephant bodies.

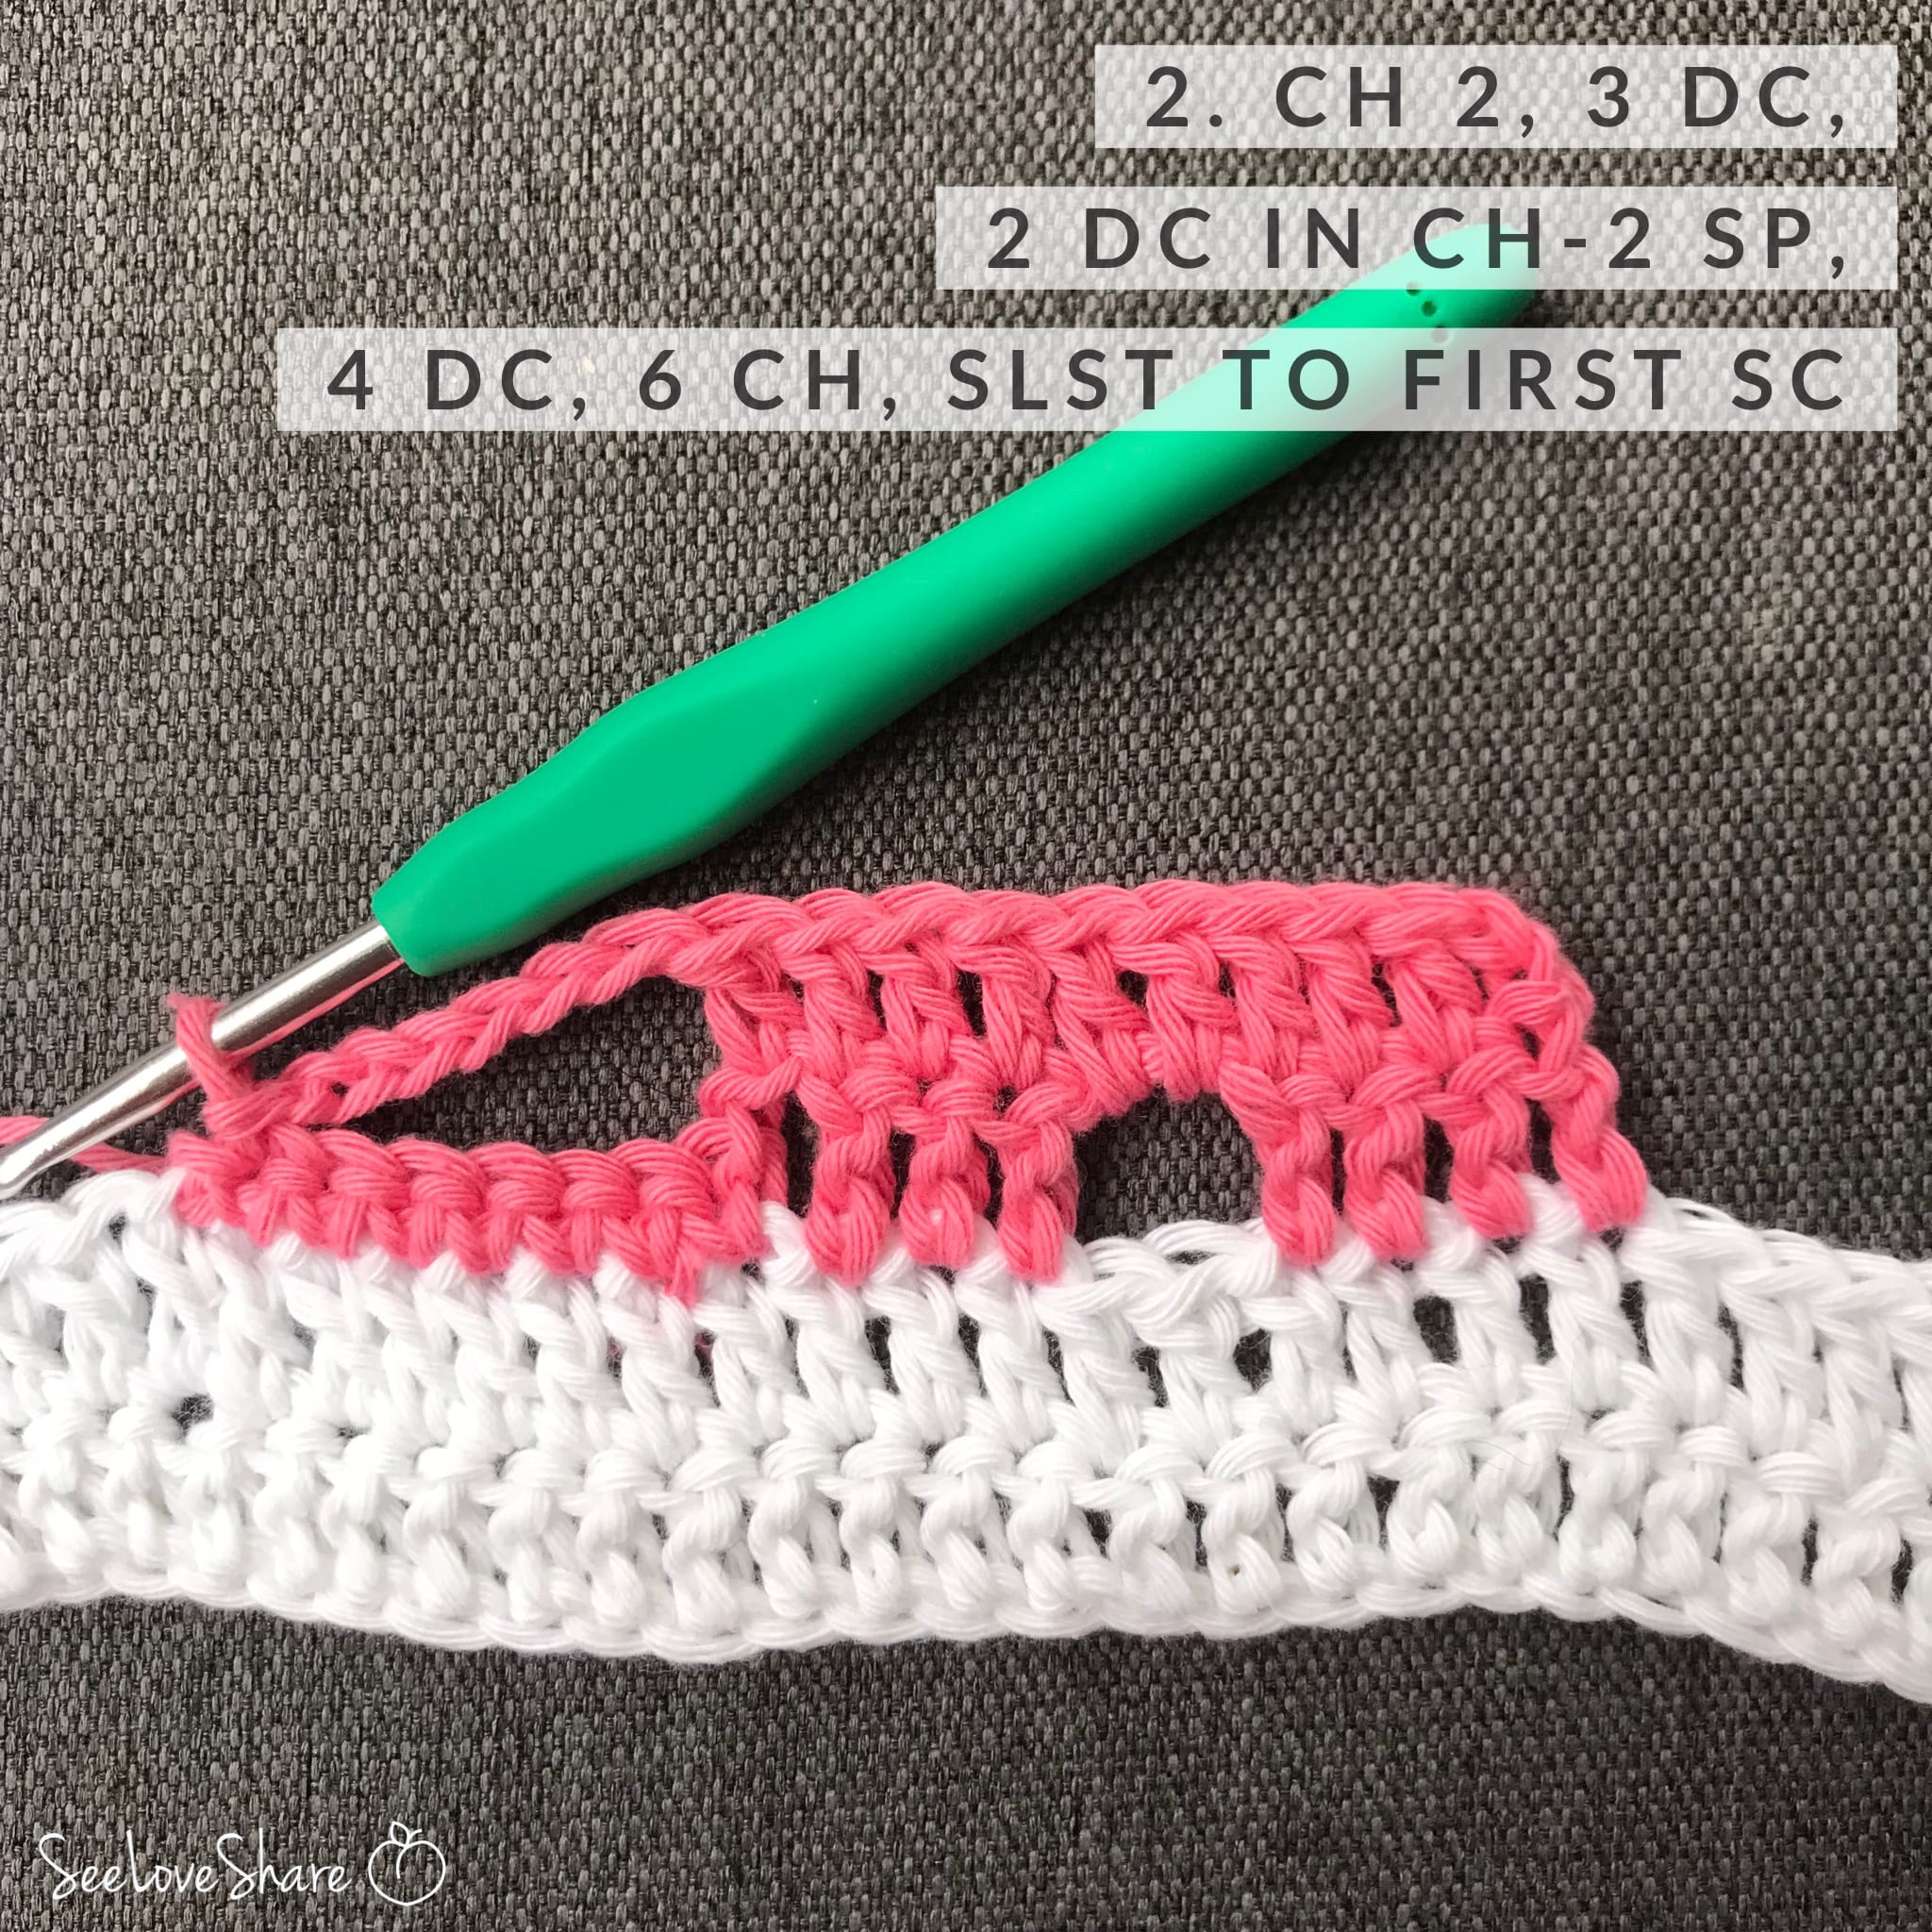
Row 2 — Building the Elephant Trunk
Ch 3, turn. Work 2 dc into the ch 2 space, then work a cluster of (yo, insert hook, pull through, yo, pull through 2 loops) 3 times into the sc from the row below — yo and pull through all 4 loops on hook to close the cluster. This becomes the elephant’s head and trunk. Continue: 2 dc in next ch 2 space, dc in next dc. Repeat across.
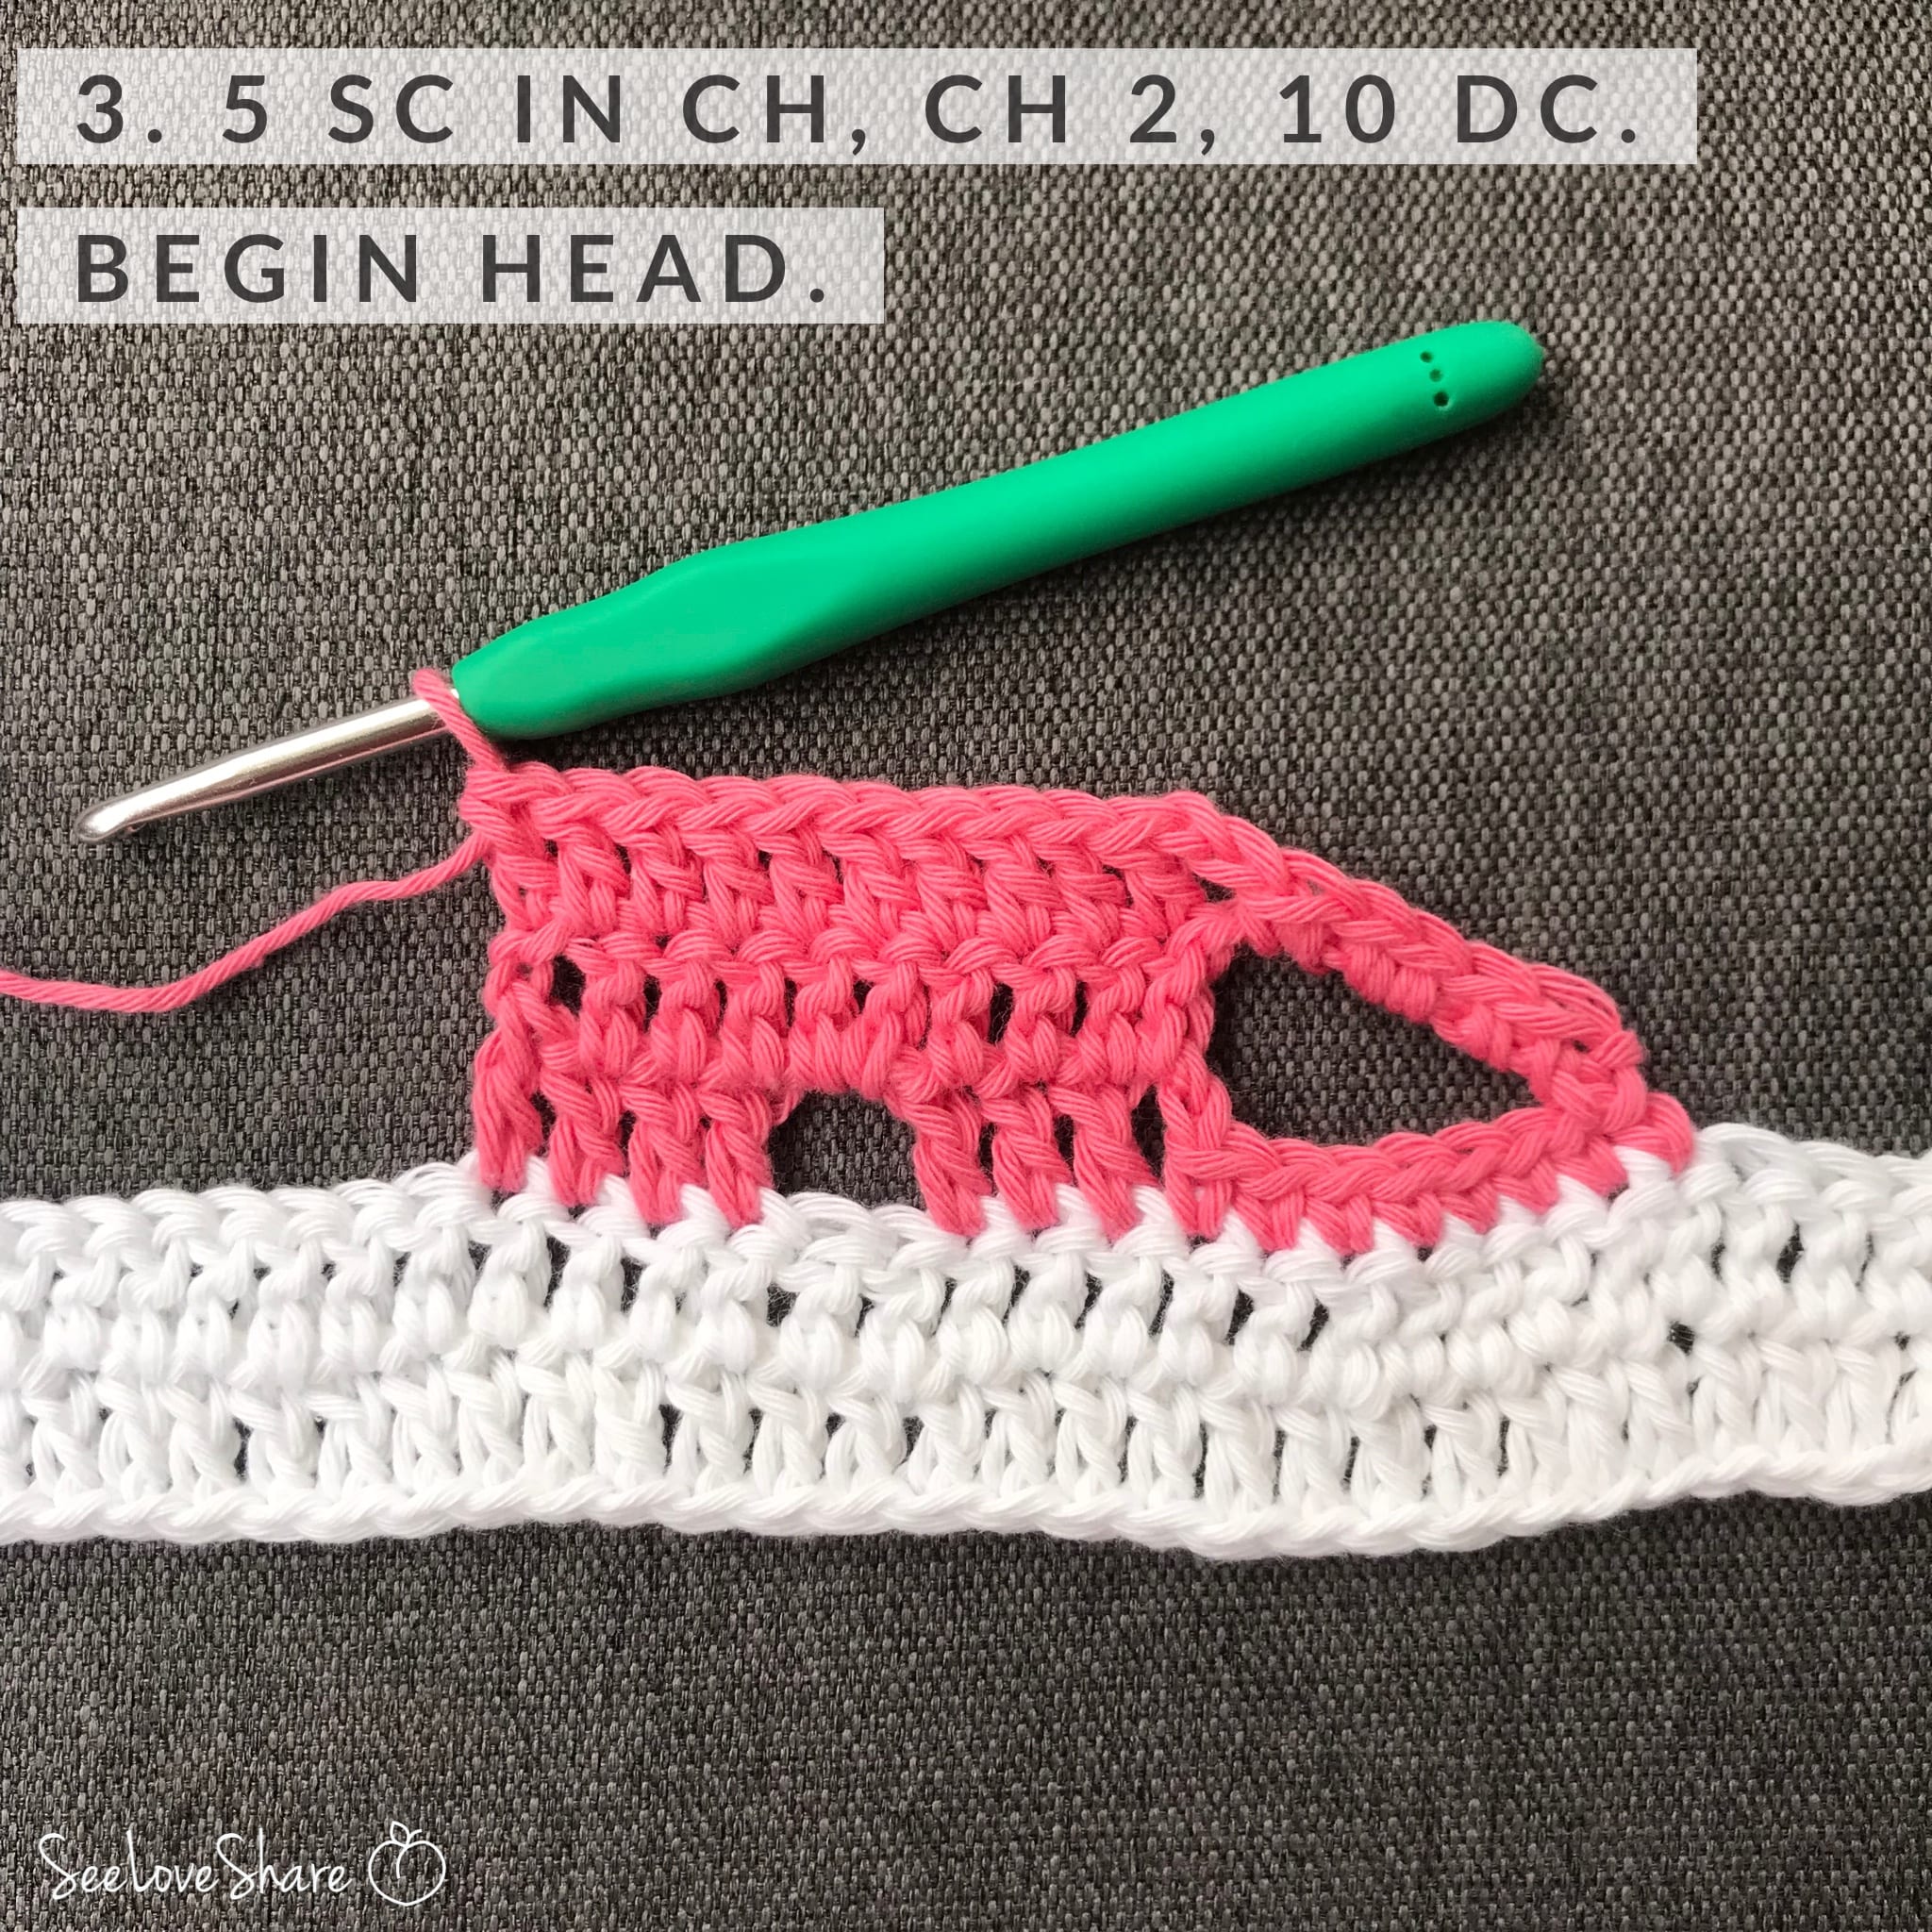
Row 3 — Defining the Elephant Shape
Ch 1, turn. Sc across the entire row, working 1 sc into each dc and 1 sc into the top of each cluster. This row evens out the texture and sets up the silhouette of each elephant motif. You should now clearly see the repeating elephant shapes forming along the edge.
Row 4 — Optional Picot or Scallop Finish
For a more polished finish, add a final row of scallops or picots across the top of the elephant border. Work 3 dc into every 3rd stitch, with a sc between each shell, to create a gentle wave that frames each elephant motif. Alternatively, leave the border as is for a cleaner, more modern look.
Finishing the Elephant Border
Bind off at the end of your final row. Weave in all ends on the wrong side of your work using a tapestry needle. Lightly block the finished edge by misting with water and pinning flat to dry — this opens up the textured details of each elephant and makes the border lay smoothly against the body of your project.

Tips for Working the Elephant Border Crochet Stitch
Count Your Setup Row Carefully
The elephant border crochet stitch needs a stitch count that’s a multiple of 6 plus 1. If your edge doesn’t naturally land on that number, add or skip a stitch or two in the setup row to make it work. Even one stitch off will throw the elephant repeats off balance.
Use a Stitch Marker on the First Elephant
Place a removable stitch marker on the first complete elephant motif. It helps you count repeats and catch errors early — especially on longer projects like blankets.
Use Contrasting Yarn for the Border
The elephant border crochet stitch looks especially adorable when worked in a contrasting colour to the main body of your project. A grey elephant border on a white blanket, a coral border on a cream pillow — the contrast really lets the elephant shapes pop.
Block to Open the Texture
Like most textured crochet, the elephant border looks twice as good after blocking. Wet block by misting with water, then pin the edge flat to a towel and let air dry. The elephants will sit up beautifully against the body of your project.
Practice on a Swatch First
Work the elephant border crochet stitch on a small swatch (chain 19, sc back across for setup) before adding it to a real project. You’ll get the rhythm of the cluster work down in 10-15 minutes, and then you can apply it confidently to your finished piece.
Frequently Asked Questions
Is the elephant border crochet stitch suitable for beginners? Yes — if you can work basic stitches (ch, sc, dc) and follow a multi-row repeat, you can do this. The cluster work in Row 2 is the trickiest part, but the brackets in the written pattern make it clear.
What stitch multiple do I need? The elephant border crochet stitch is worked in multiples of 6 stitches plus 1. So 13, 19, 25, 31, 37 stitches, etc. — adjust your setup row to hit one of these numbers.
Can I work this around all four sides of a blanket? Yes — work the elephant border crochet stitch in joined rows around the perimeter, adding extra stitches at the corners (usually 3 sc into each corner stitch on the setup row) to keep the corners from puckering.
What yarn weight should I use? Worsted weight (#4) is the standard for this tutorial. The elephant border works in any yarn weight — just adjust your hook size to match your yarn. Lighter yarns make daintier elephants; bulky yarns make bold statement borders.
Is there a PDF version? Not yet — but you can bookmark this page or print it directly from your browser. If you’d like a PDF version, drop me a note in the comments!
More Crochet Stitch Tutorials
Loved learning the elephant border crochet stitch? Here are more free crochet stitch tutorials from SeeLoveShare to add to your skills:
 Textured Crochet Stitches Round-Up Guide
 Bean Stitch Crochet Tutorial
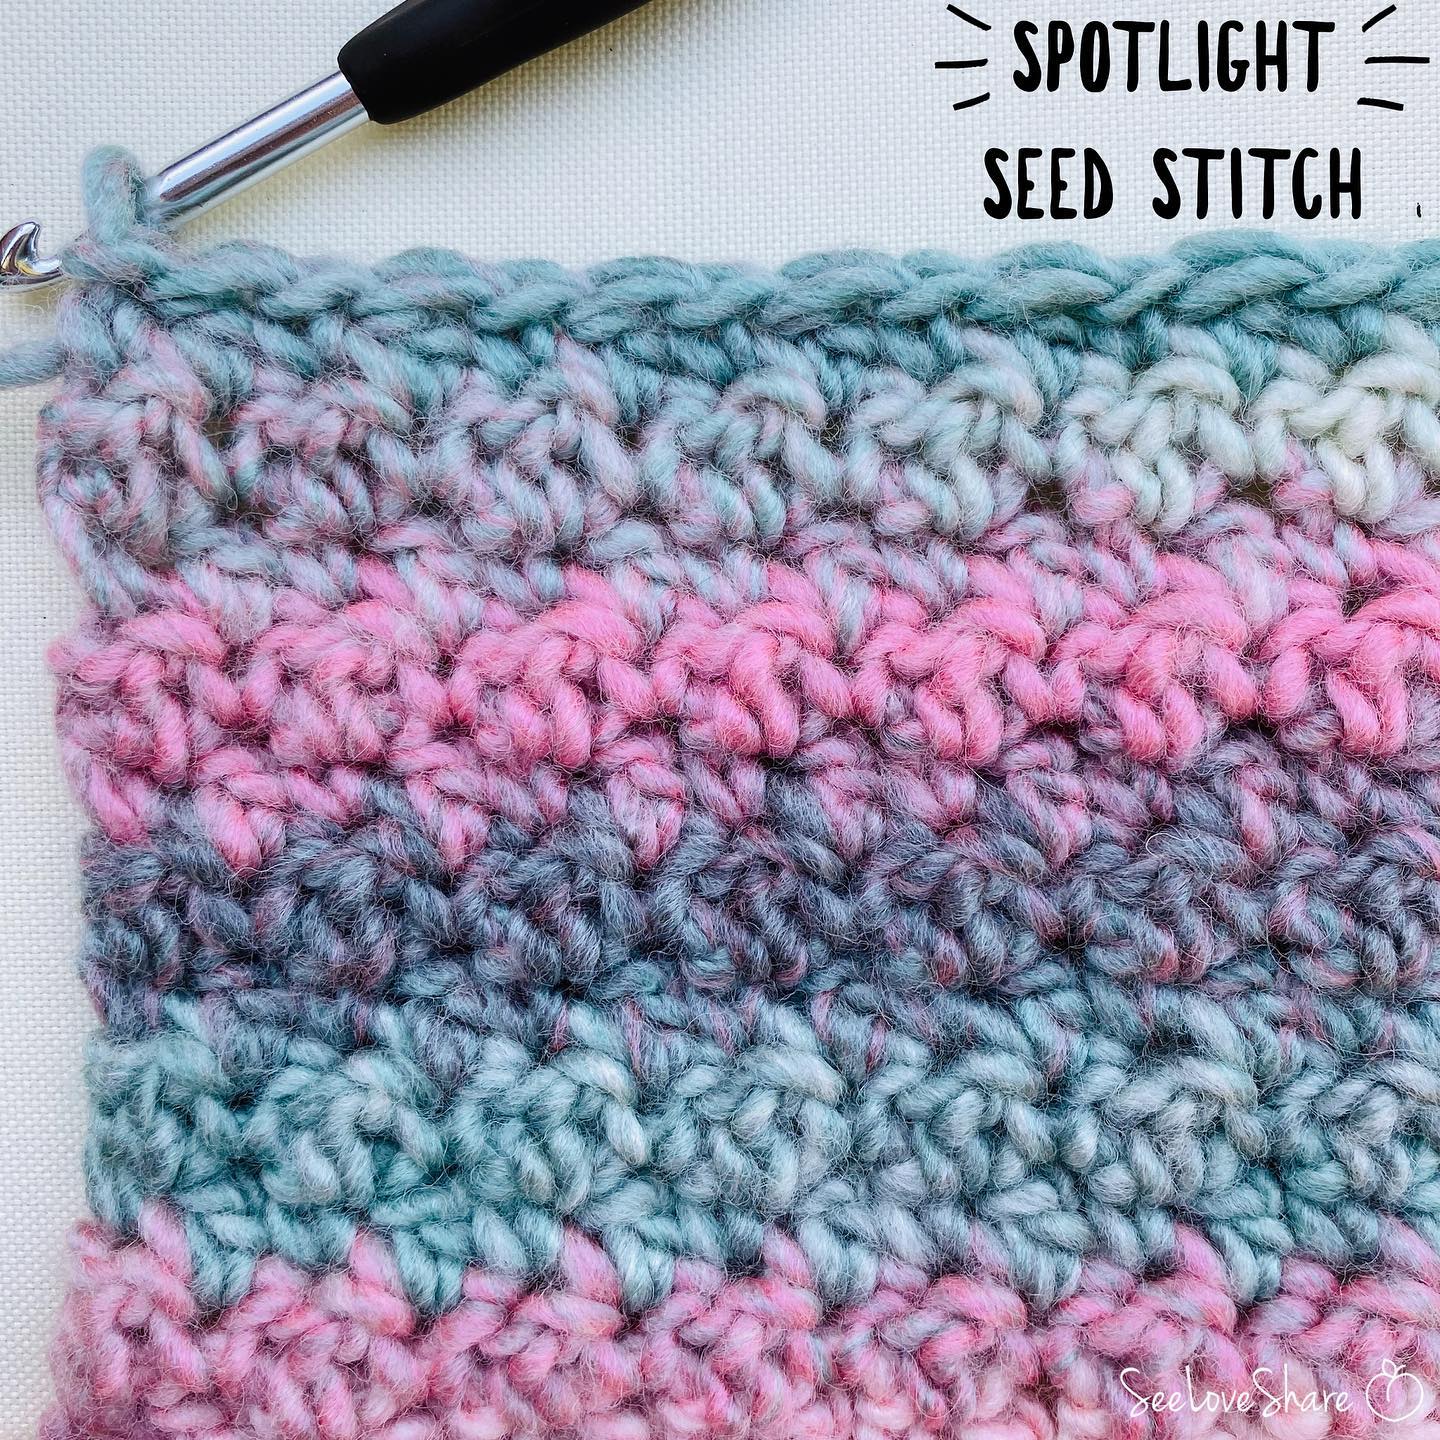
 Seed Stitch Crochet Tutorial
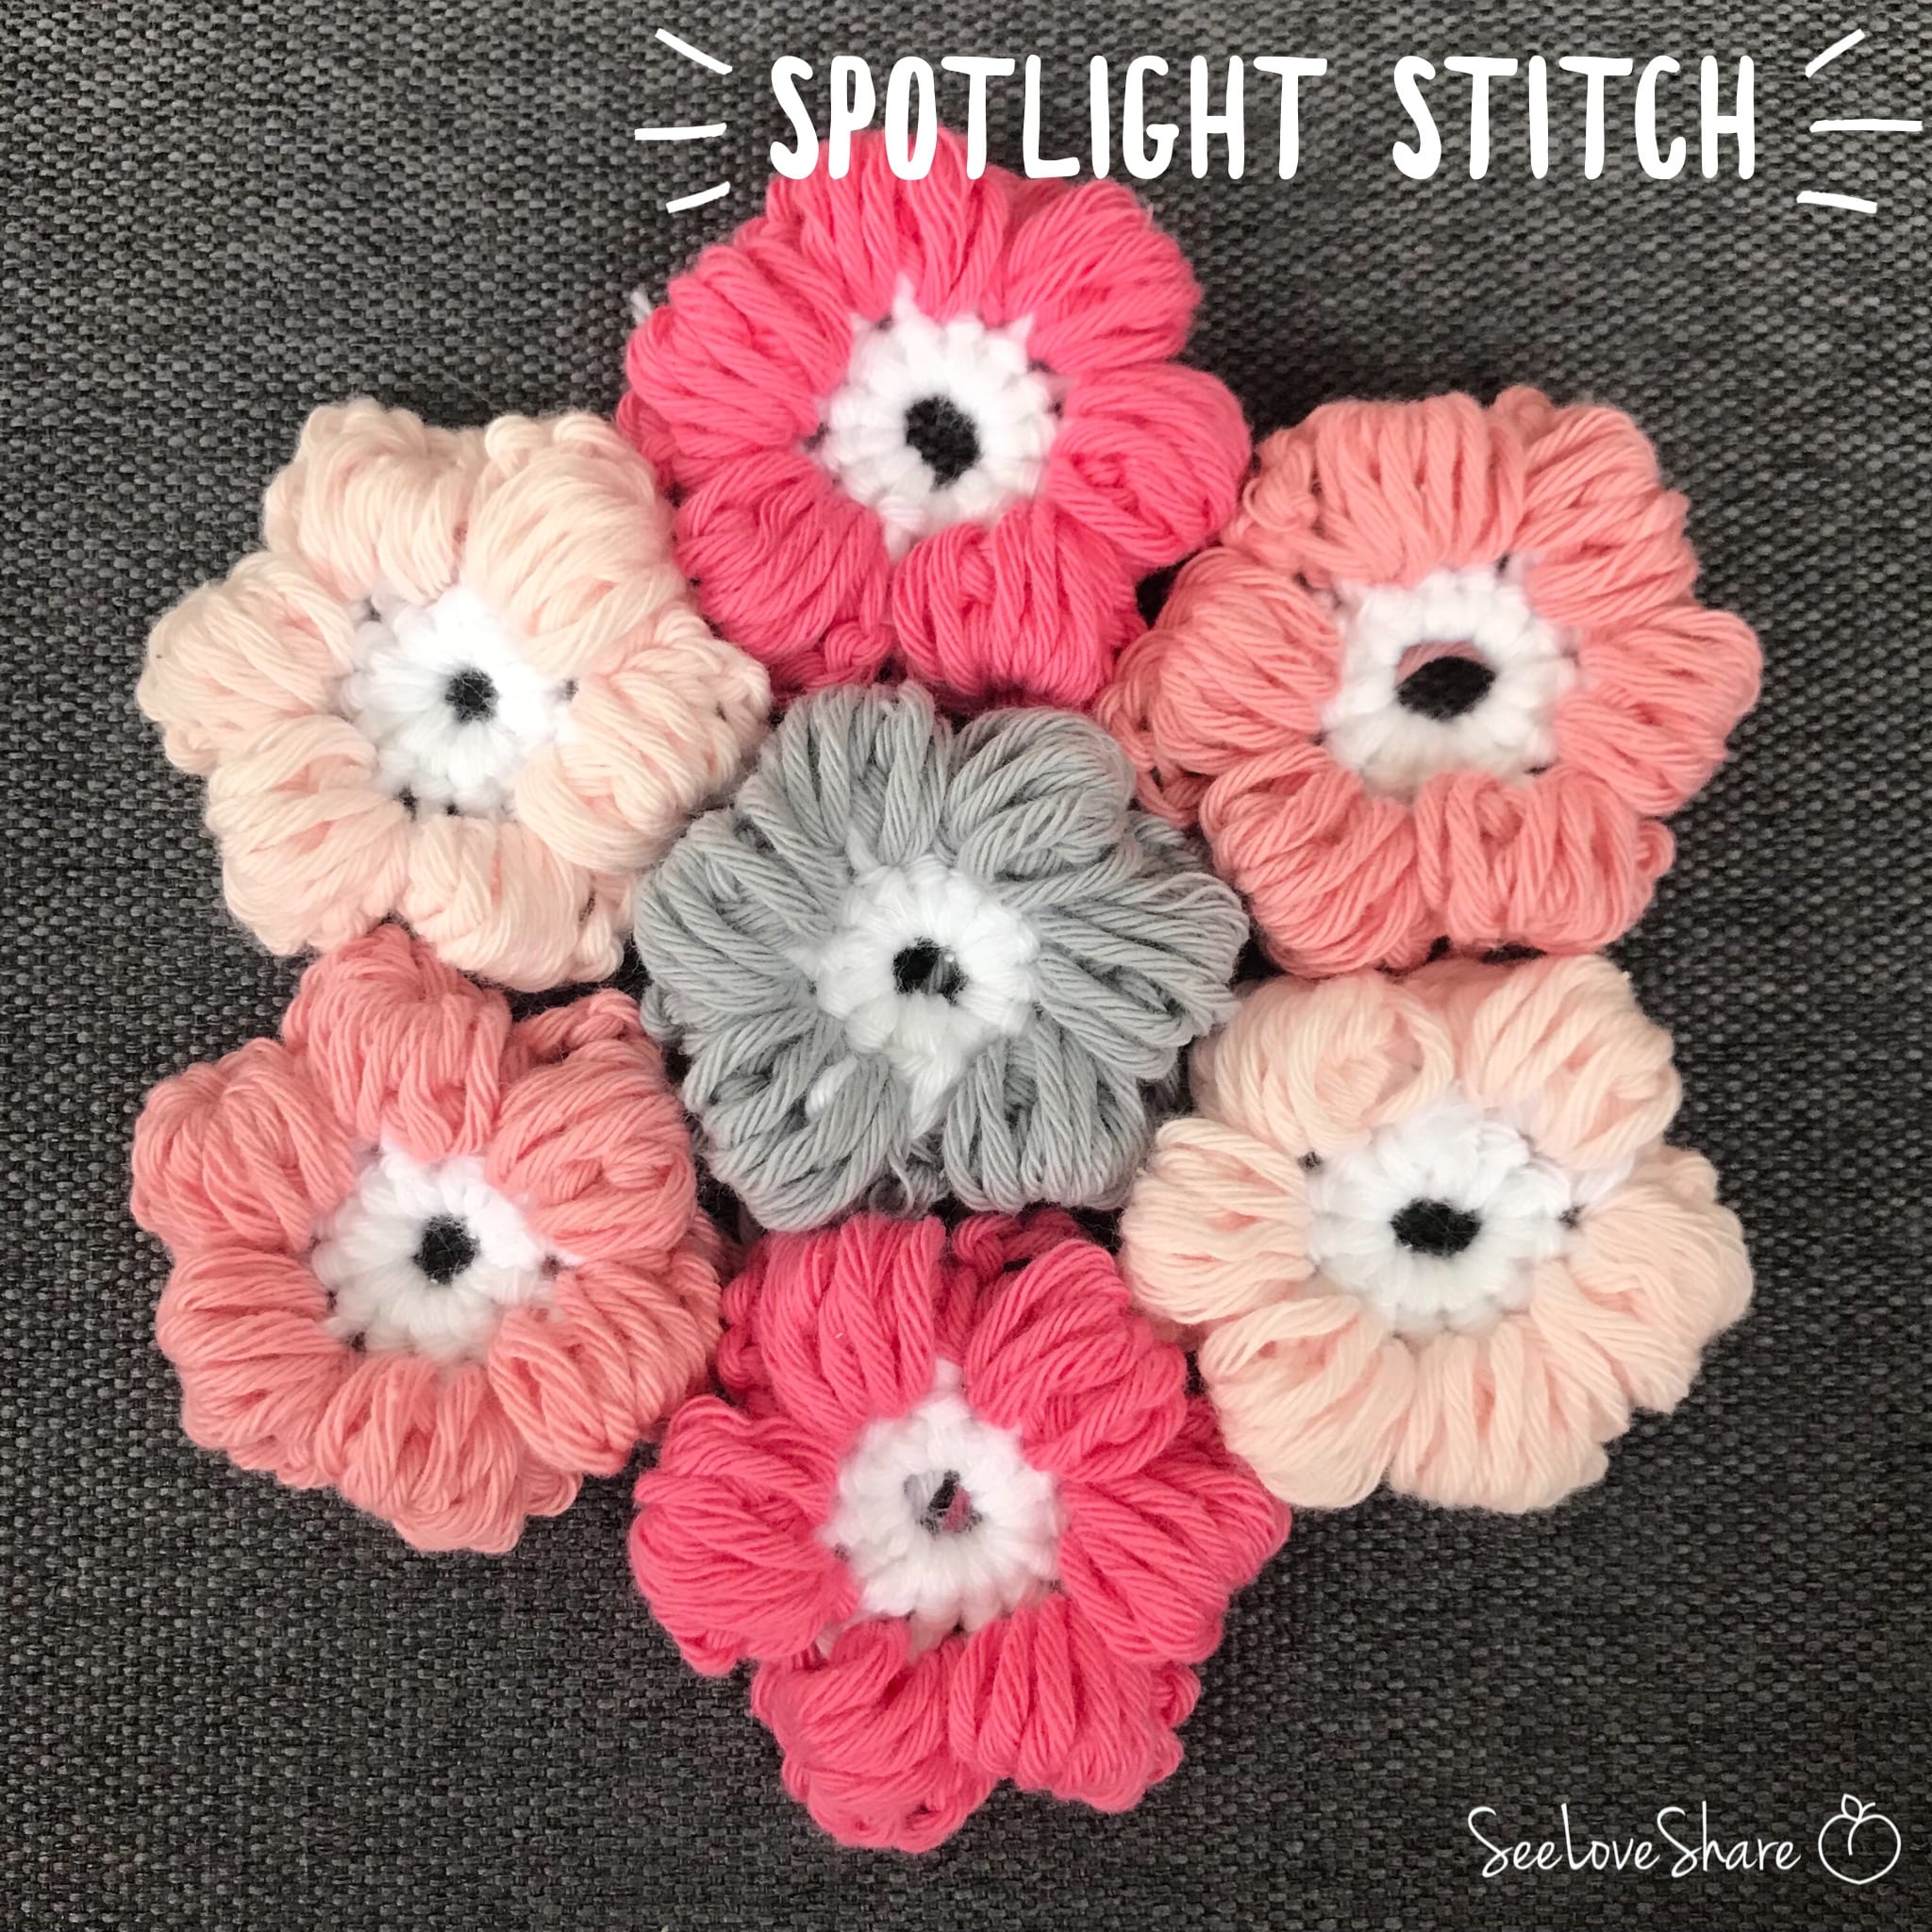
- Puff Stitch Flower Crochet Tutorial

Save This Elephant Border Crochet Stitch Tutorial
Want to come back to this elephant border crochet stitch tutorial later? Save it to Pinterest so you can find it whenever you need a refresher — and share it with your crocheting friends!