December 5th, 2020
Evergreen Christmas Stocking – Free Crochet Pattern
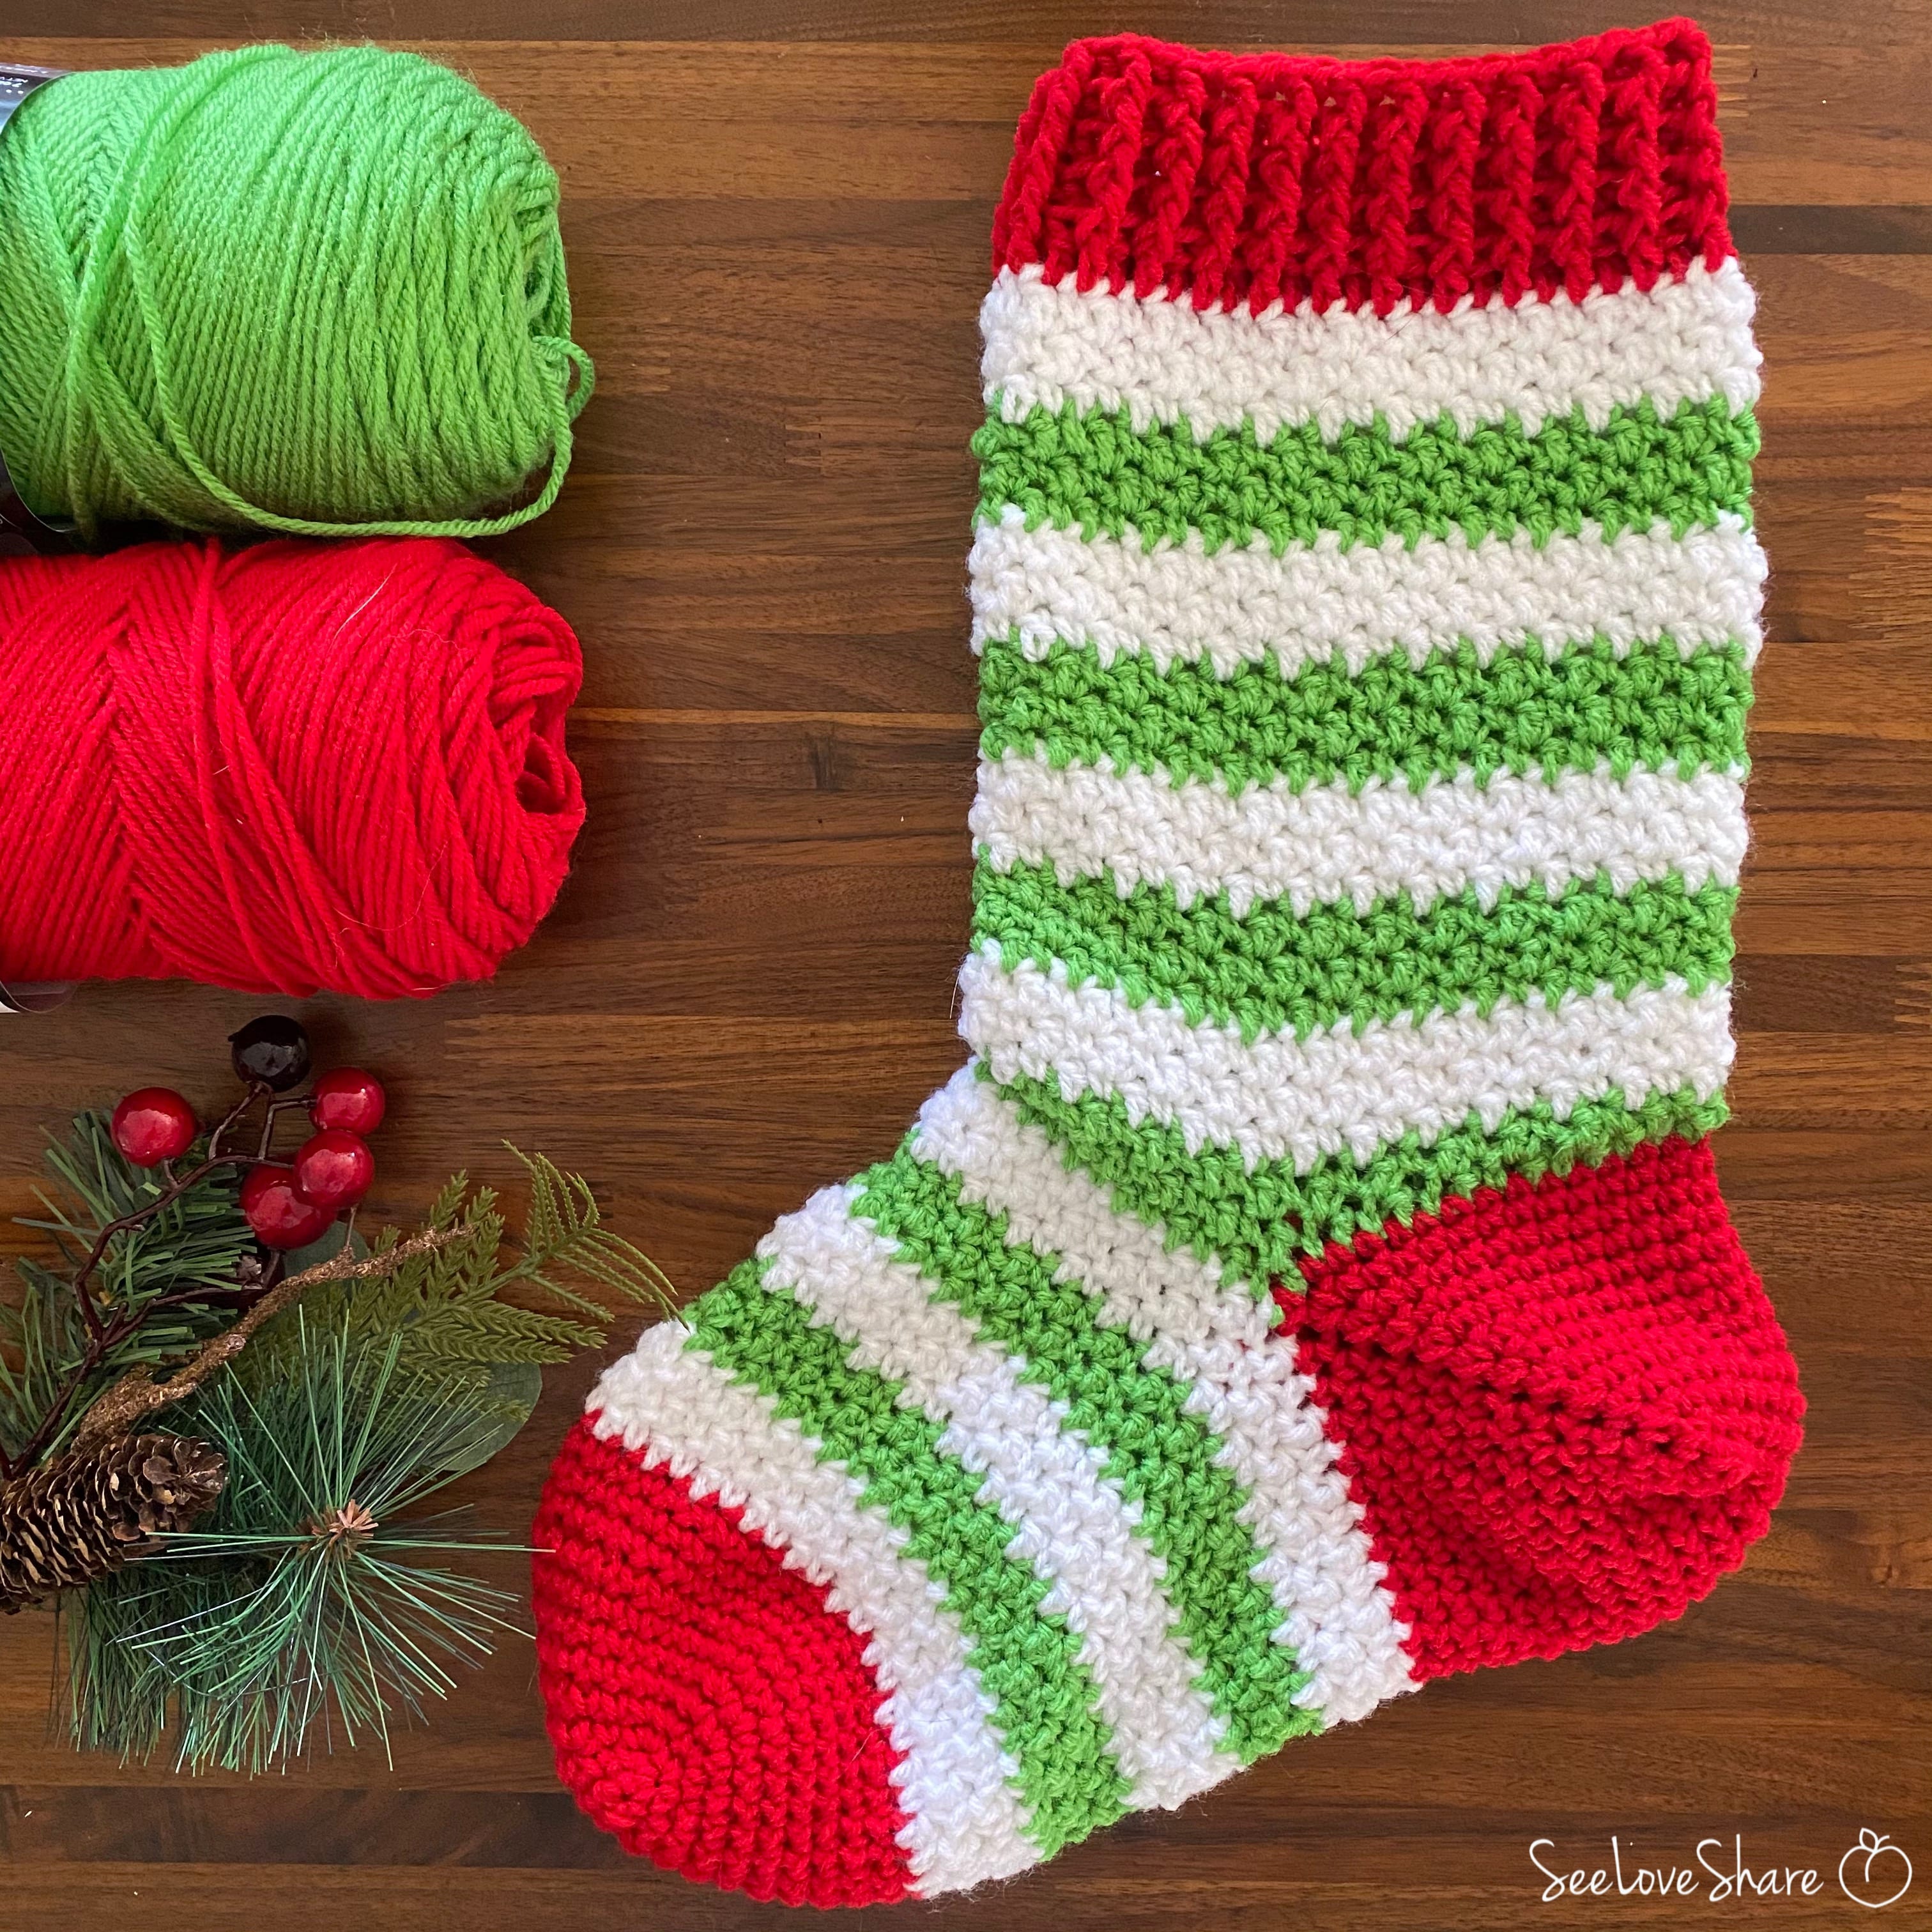
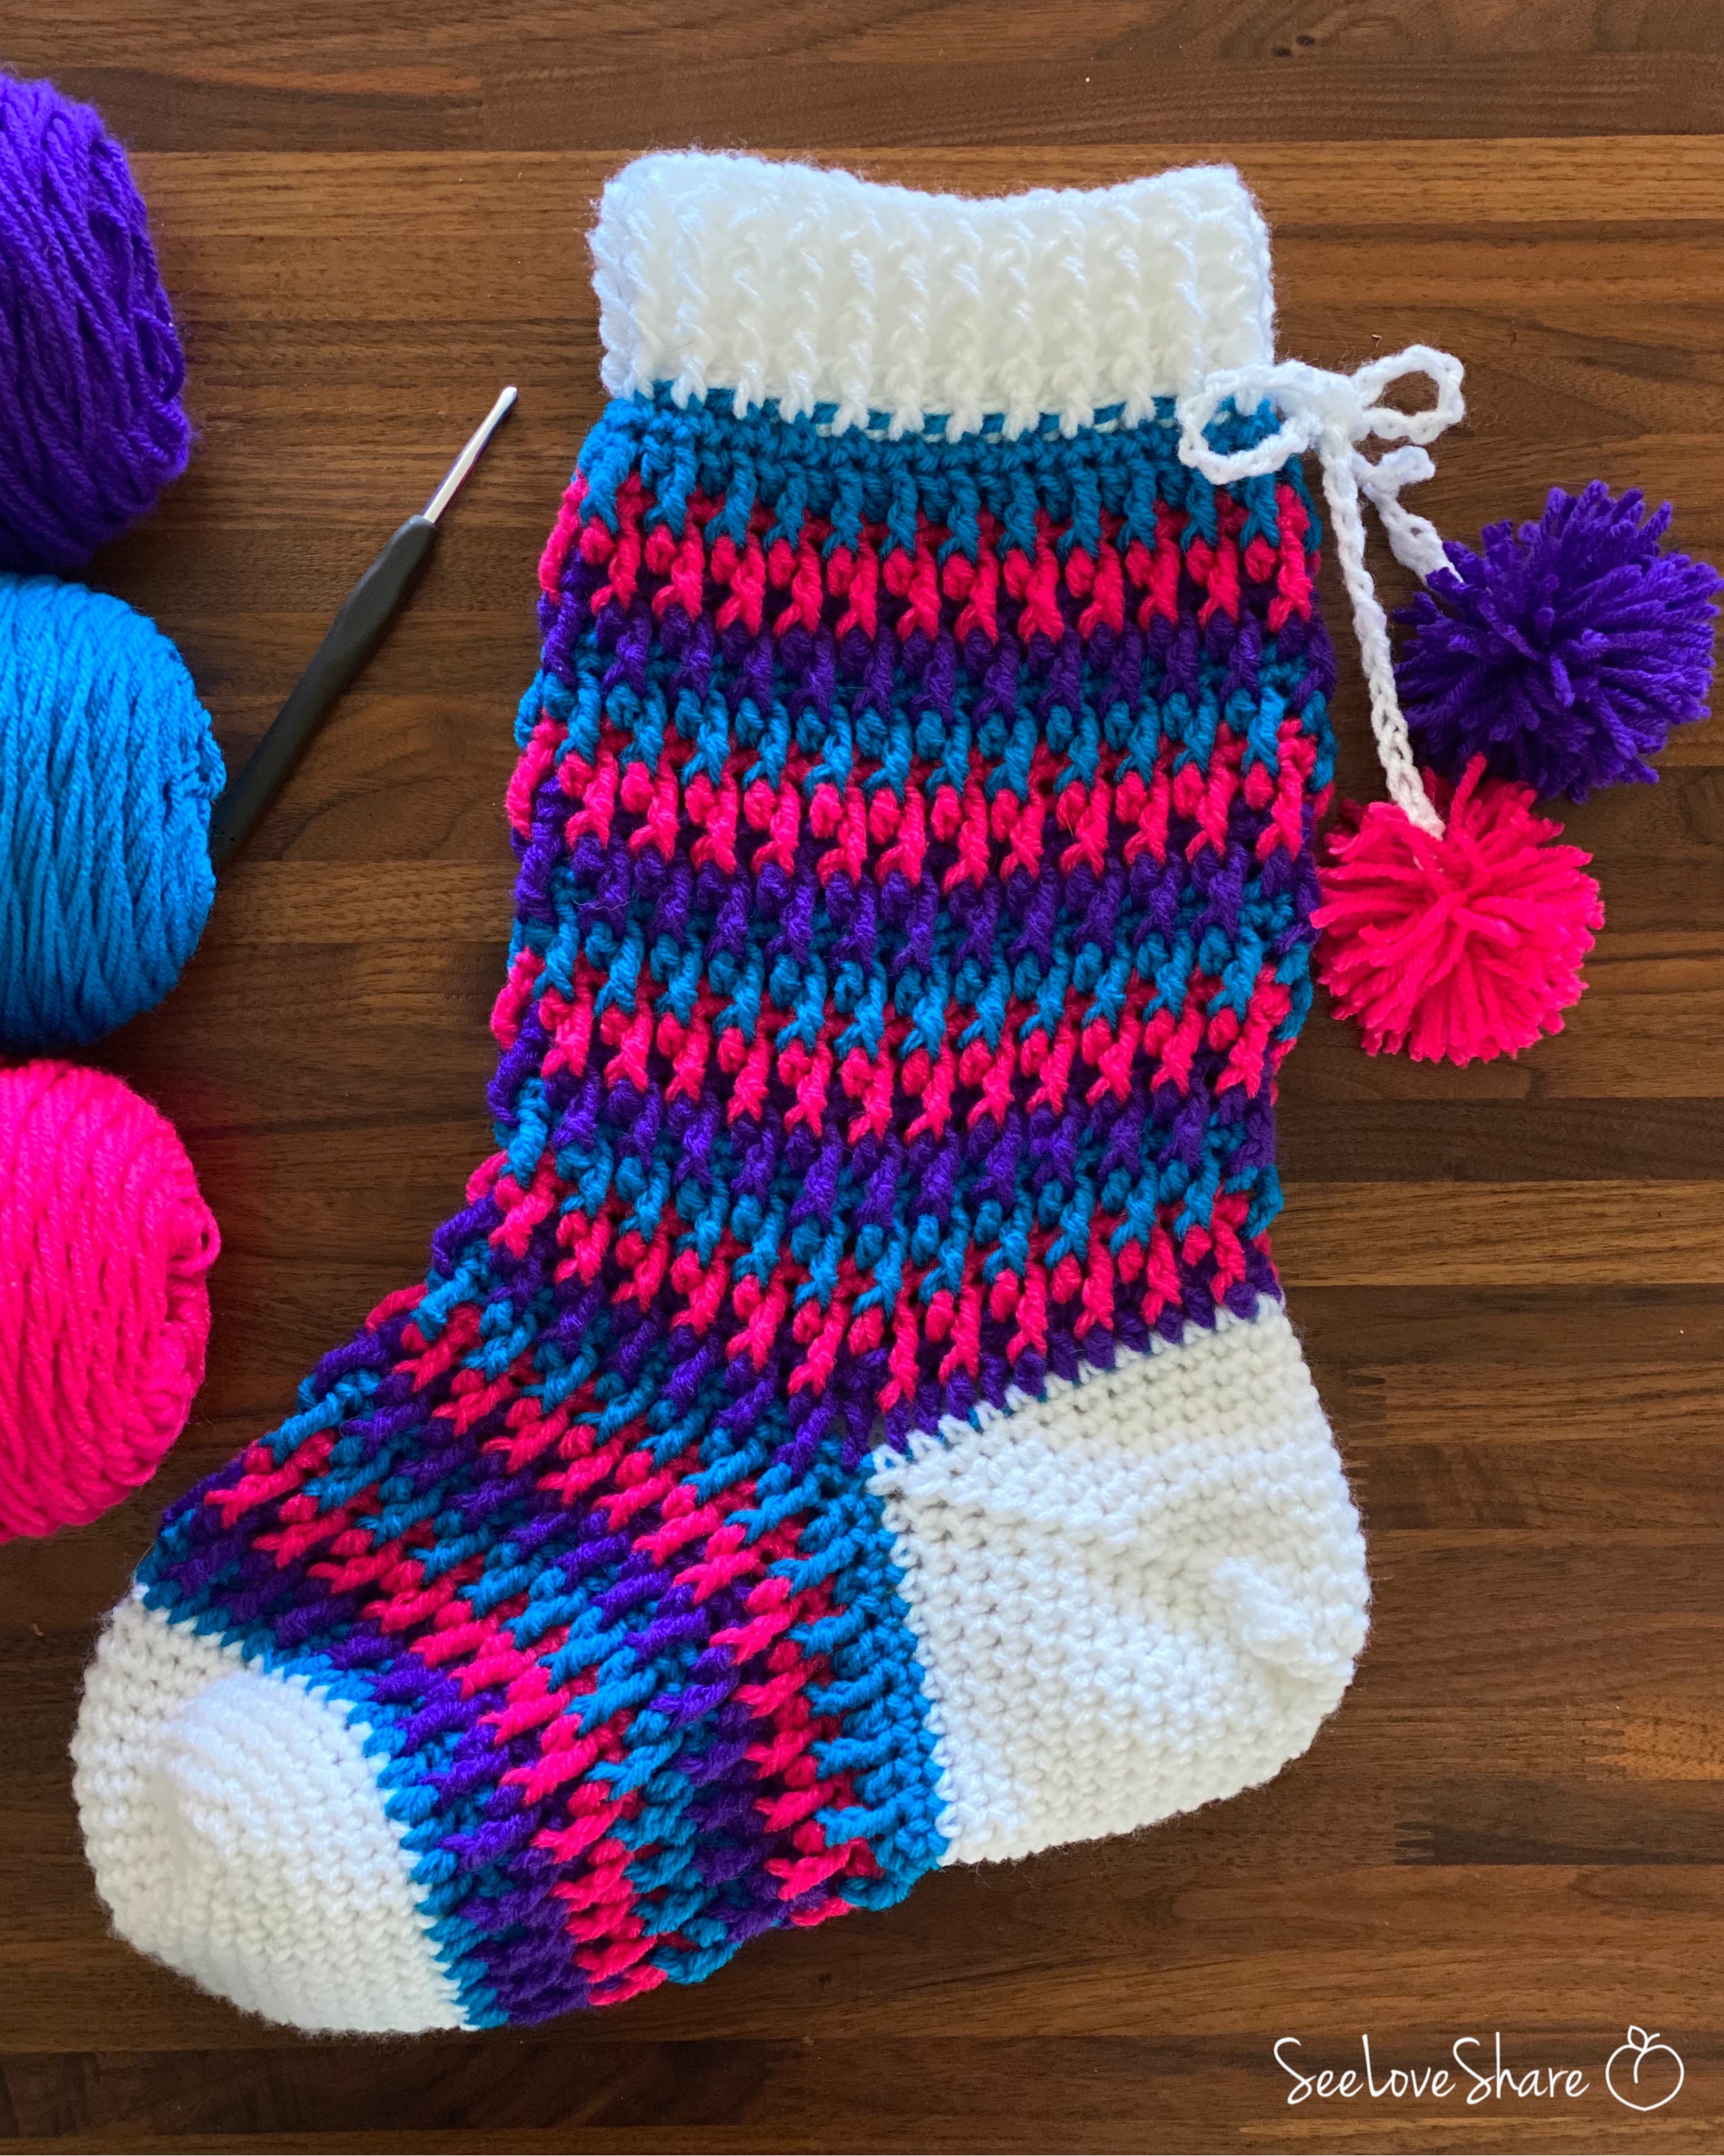
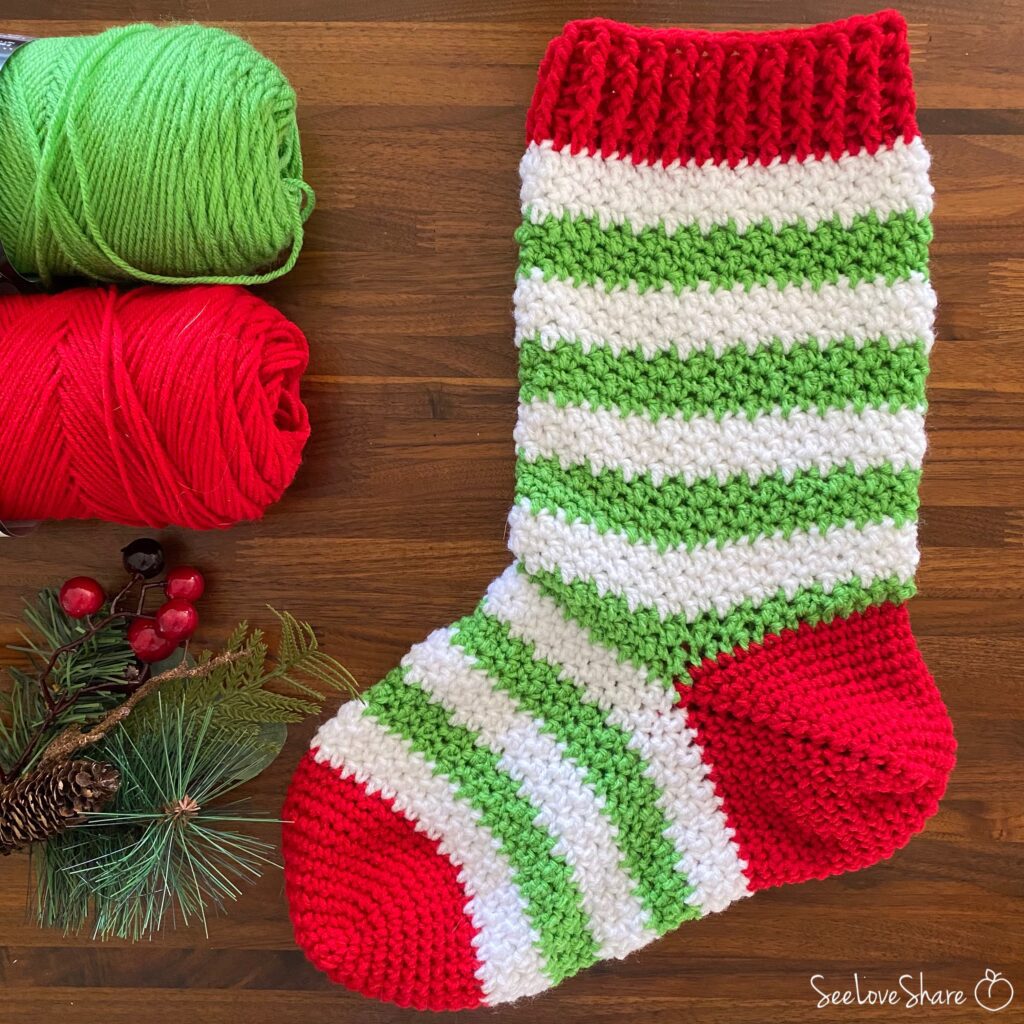
Looking for a free Christmas stocking crochet pattern that’s beautiful, beginner-friendly, and makes a heirloom-quality holiday piece? The Evergreen Christmas Stocking Crochet Pattern is one of my favorite holiday makes — worked from the toe up in classic cream and frosted pine green, with a textured yarn that gives the cuff that wonderful “snowy evergreen” character. It’s a traditional stocking with just enough handmade texture to make it special.
This crochet Christmas stocking pattern takes a weekend to make and uses just two yarns. The construction is worked in the round from toe to cuff, with the heel added at the end — so most of the project is simple single and half double crochet stitches in alternating color stripes. The cuff is a beautiful front-post/back-post ribbing in the cream yarn that gives the finished stocking a polished, traditional look.
Why You’ll Love This Christmas Stocking Crochet Pattern
- Heirloom-quality finish — the front-post/back-post ribbed cuff looks polished and professional
- Beginner-friendly — uses only single crochet, half double crochet, and basic post stitches
- One weekend project — most makers finish in 6-8 hours of focused work
- Textured cuff yarn creates a “snowy” feel without any color changes needed
- Classic look — traditional Christmas red-and-green replaced with timeless cream and evergreen
- Personalize-able — change colors to match your mantel decor, family color scheme, or modern Christmas palette
- Pattern includes detailed construction — toe-up shaping, color-changed foot stripes, heel opening, leg, ribbed cuff, and heel afterthought
Christmas Stocking Crochet Pattern Details
| Skill level | Beginner-friendly |
| Finished size | 18″ long × 8″ wide |
| Gauge | 4″ × 4″ = 12 sc and 15 rows with 5.5mm hook |
| Hook size | 5.5mm (US I/9) |
| Yarn weight | Worsted #4 |
| Construction | Worked from the toe up to the cuff, heel added after |
| Time to make | ~6-8 hours |
Materials for the Christmas Stocking Crochet Pattern
- Main color (cream): 1 ball Red Heart Super Saver in Buff Fleck — a textured worsted weight #4 yarn
- Contrast color (green): 1 ball Bernat Freesia in Frosted Pine (or any worsted weight #4 in evergreen green)
- 5.5mm crochet hook (US I/9)
- Tapestry needle for finishing and sewing heel
- Scissors
Shop the materials


For yarn weight reference, see the Craft Yarn Council yarn weight system. Any standard worsted weight #4 yarn will work in this pattern as long as it matches gauge.
Christmas Stocking Crochet Pattern Notes
This pattern is worked from the toe up to the cuff. The foot and leg are worked in the round with alternating color blocks. A 25-stitch chain is created at the foot/leg transition to make the heel opening — the heel is then added afterward by picking up stitches around the opening and working a spiral decrease.
Abbreviations for Christmas Stocking Crochet Pattern
- Rnd — Round
- Ch — Chain
- Sts — Stitches
- Sc — Single crochet
- Sc2tog — Single crochet 2 together (decrease)
- Hdc — Half double crochet
- Dc — Double crochet
- Sl st — Slip stitch
- Sk — Skip
- FPDC — Front post double crochet
- BPDC — Back post double crochet
Evergreen Christmas Stocking Crochet Pattern
Toe (with Buff Fleck)
Ch 16.
Rnd 1: Sc in 2nd ch from hook and in each ch across; continue to work next stitches on the opposite side of the chain, sc in each ch across (30 sts).
Rnd 2: 2 sc in next st, sc in next 13 sts, 2 sc in next 2 sc, sc in next 13 sts, 2 sc in next st — you should now be back to your first 2 sc at the beginning of this round (34 sts).
Rnd 3: 2 sc in next st, sc in next 15 sts, 2 sc in next 2 sc, sc in next 15 sts, 2 sc in next st (38 sts).
Rnd 4: 2 sc in next st, sc in next 17 sts, 2 sc in next 2 sc, sc in next 17 sts, 2 sc in next st (42 sts).
Rnd 5: 2 sc in next st, sc in next 19 sts, 2 sc in next 2 sc, sc in next 19 sts, 2 sc in next st (46 sts).
Rnd 6: 2 sc in next st, sc in next 21 sts, 2 sc in next 2 sc, sc in next 21 sts, 2 sc in next st (50 sts).
Rnds 7–10: Sc in each sc around (50 sts).

Foot (Striped)
Rnd 10: Change to Frosted Pine. Hdc in each st around, join with a sl st to the top of the first hdc (50 sts).
Rnd 11: Ch 1, hdc in each st around, join with a sl st (50 sts).
Rnd 12: Change to Buff Fleck. Sc in each st around, join with a sl st (50 sts).
Repeat Rnds 10–12 three more times (so you’ll have 4 complete green/cream stripe sets on the foot).
Heel Opening
Rnd 1: Continue with Buff Fleck. Ch 25, sk 25 sts, join with a sl st. Bind off. You are now on the opposite side of the foot.
Rnd 2: With Frosted Pine, return to the opposite side of the foot (where all the color changes have occurred). Join with a sl st to where the first chain began from the prior row. Ch 1, hdc in each of the 25 ch, continue in pattern: hdc in next 25 stitches (50 sts).
Rnd 3: Ch 1, hdc in each st around, join with a sl st (50 sts).
Rnd 4: Change to Buff Fleck. Sc in each st around, join with a sl st (50 sts).

Leg (Continue Striped Pattern)
Rnd 1: Change to Frosted Pine. Hdc in each st around, join with a sl st (50 sts).
Rnd 2: Ch 1, hdc in each st around, join with a sl st (50 sts).
Rnd 3: Change to Buff Fleck. Sc in each st around, join with a sl st (50 sts).
Repeat Rnds 1–3 six more times (so you’ll have 7 complete green/cream stripe sets on the leg).
Cuff (Ribbed)
Rnd 1: With Buff Fleck, ch 2, dc in each st across, join with a sl st to the top of the ch 2 at start.
Rnd 2: Ch 2, *FPDC, BPDC*, repeat from * around, join with a sl st to the top of the ch 2.
Repeat Rnd 2 five more times — make sure your FPDC are always aligned with the previous round’s FPDC, and same with BPDC. Bind off. Weave in ends.

Heel (Worked Last)
With right side facing, join Buff Fleck with a sl st in the 1st st of the heel opening (this will be the stitch at the very right, on the bottom of the opening).
Rnd 1: Ch 1, sc in each st to chs, sc over chs. Do not join. The heel is worked in a spiral (50 sc).
Rnd 2 (decrease): (Sc2tog in first 2 sts, sc in next 17) × 2 (48 sts).
Rnds 3–12 (decrease): (Sc2tog in first 2 sts, sc to next decrease) × 2. Continue until 28 sc remain (14 on top, 14 on bottom).
At the end of the last round, finish off keeping a long tail to sew the heel shut. Sew the heel closed with your tapestry needle and weave in all remaining ends.
Finishing Tips
- Block your finished stocking — a quick wet block evens out the stitches and makes the cuff really pop. See our how to block work tutorial.
- Add a hanging loop — at the top corner of the cuff, attach a 4-inch chain loop in cream for hanging on the mantel
- Personalize with a name — embroider the recipient’s name in chain stitch along the cuff for a custom heirloom touch
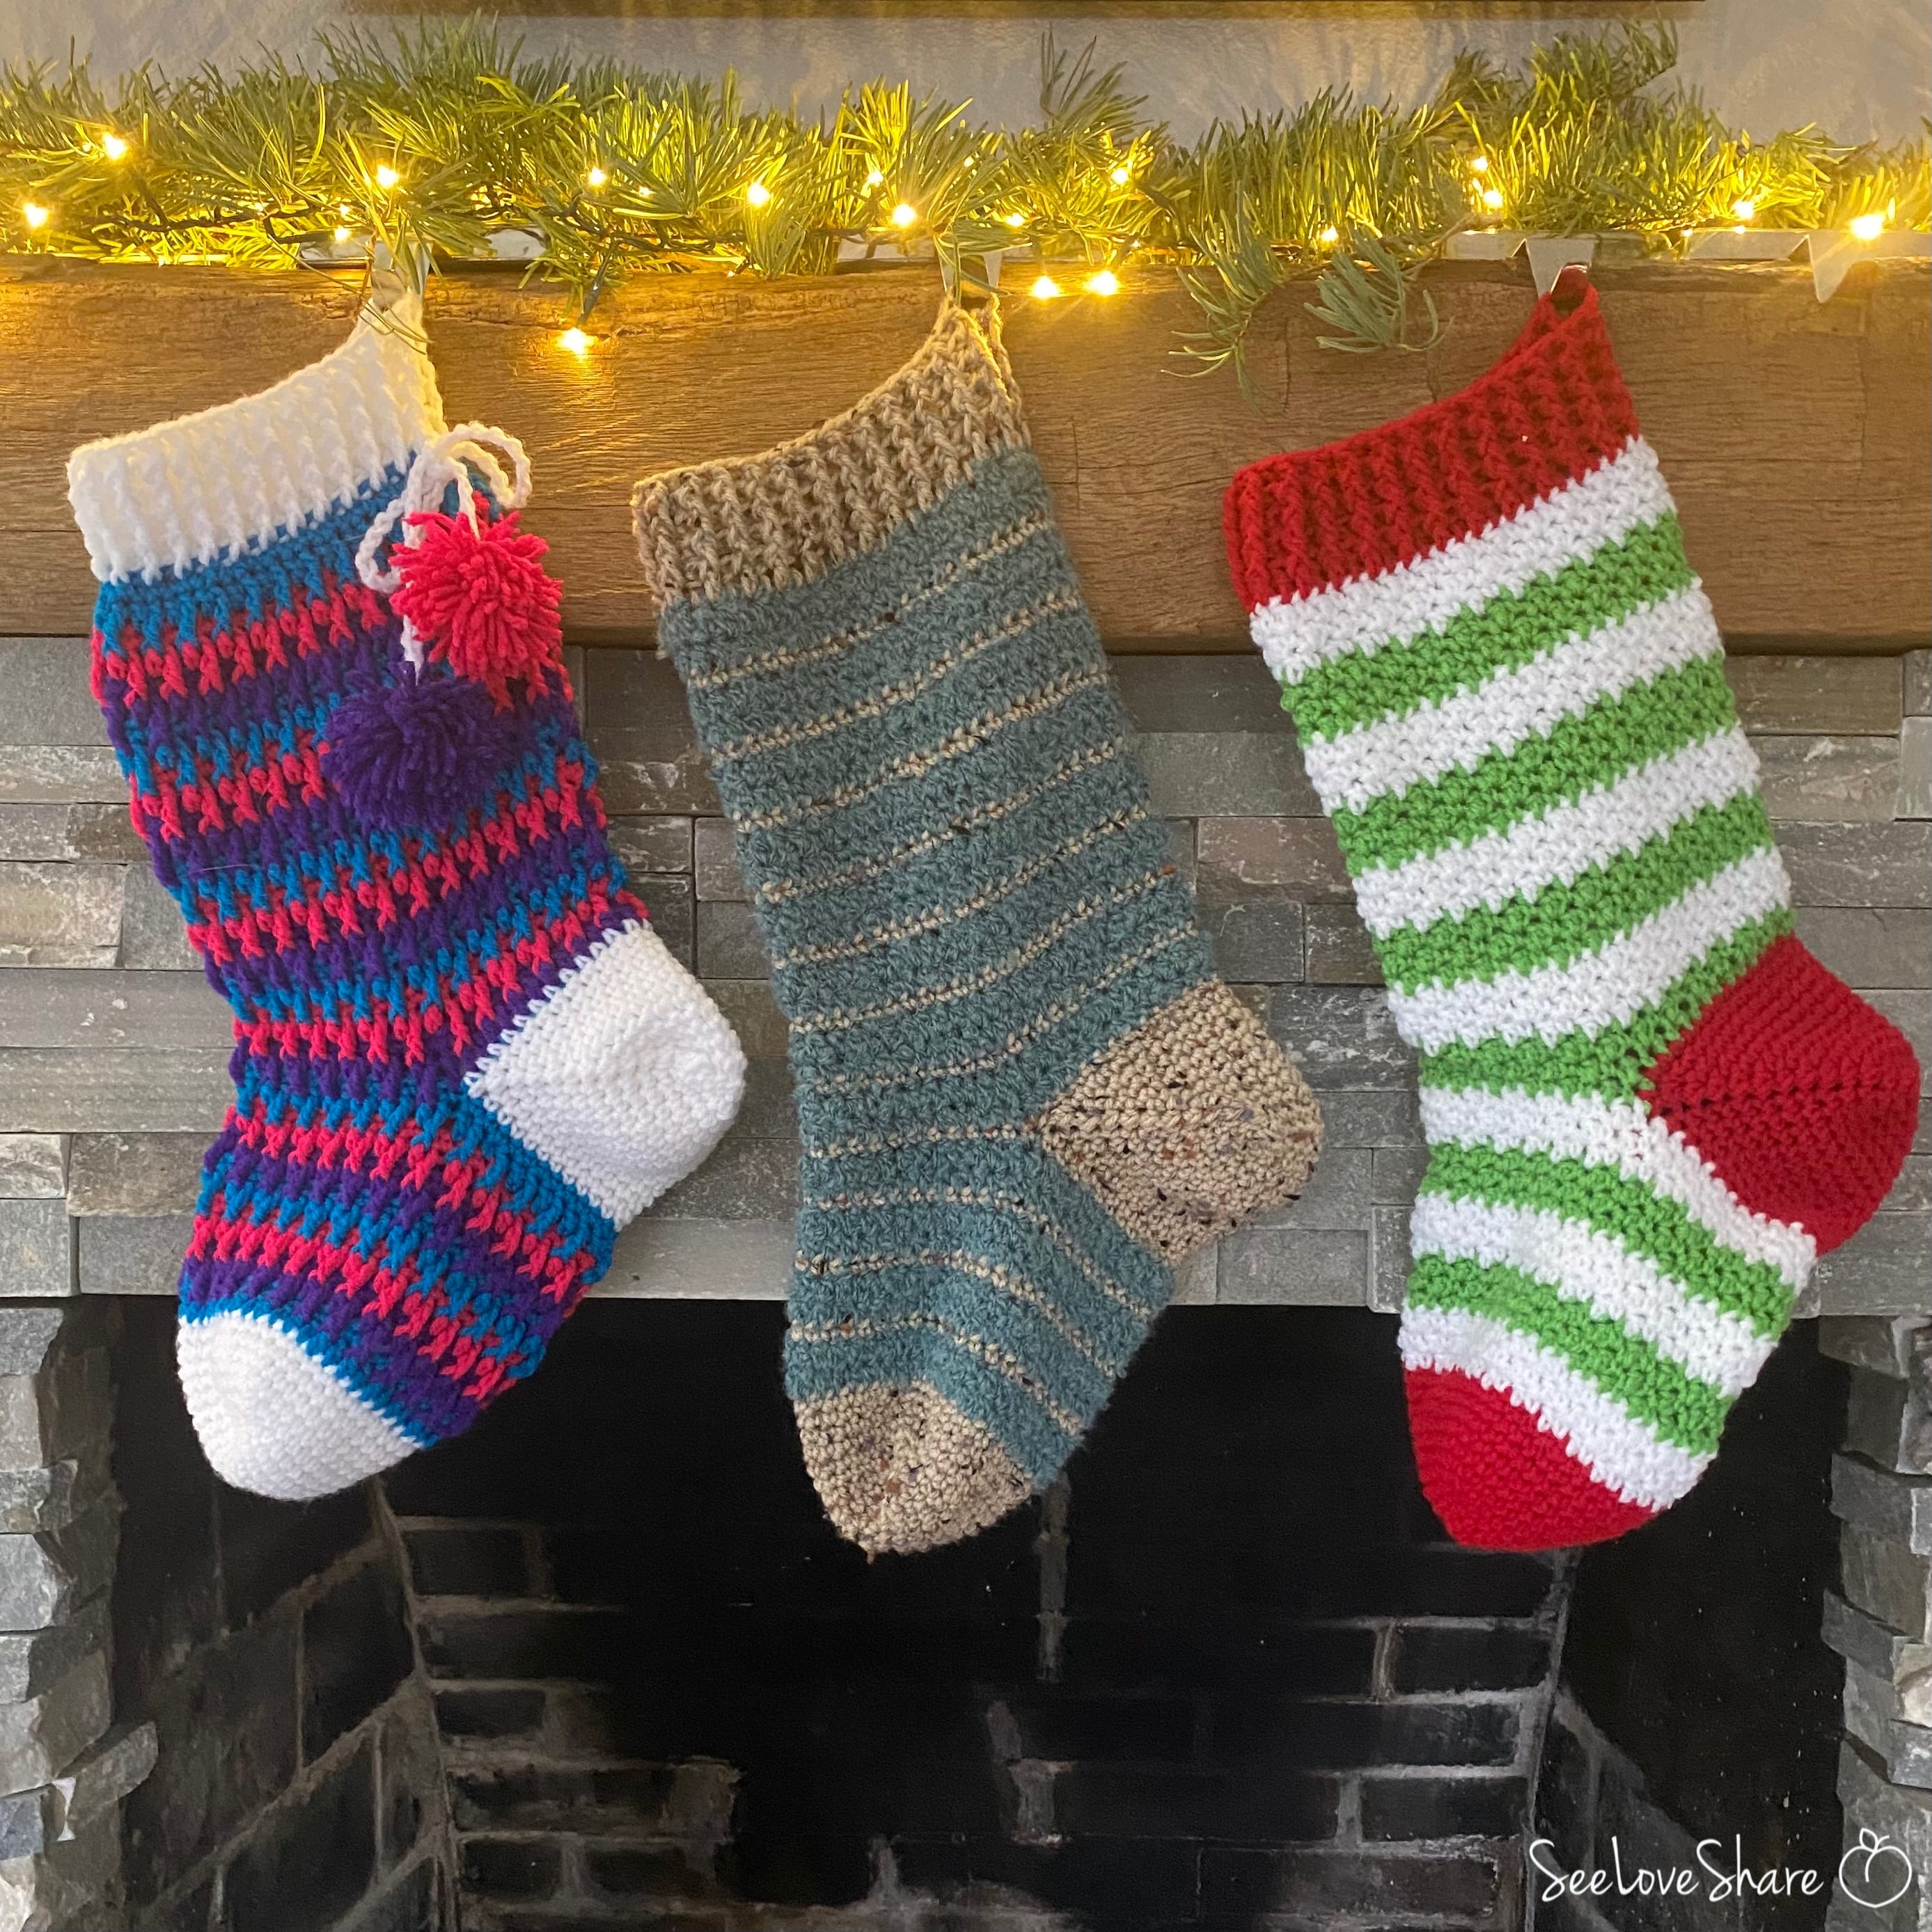
- Try color variations — cream + burgundy for traditional, cream + navy for modern, all-cream for minimalist, multi-color stripes for whimsical
- Make a matching set — one for each family member, all in the same colorway for a cohesive mantel display
More Free Christmas Crochet Patterns
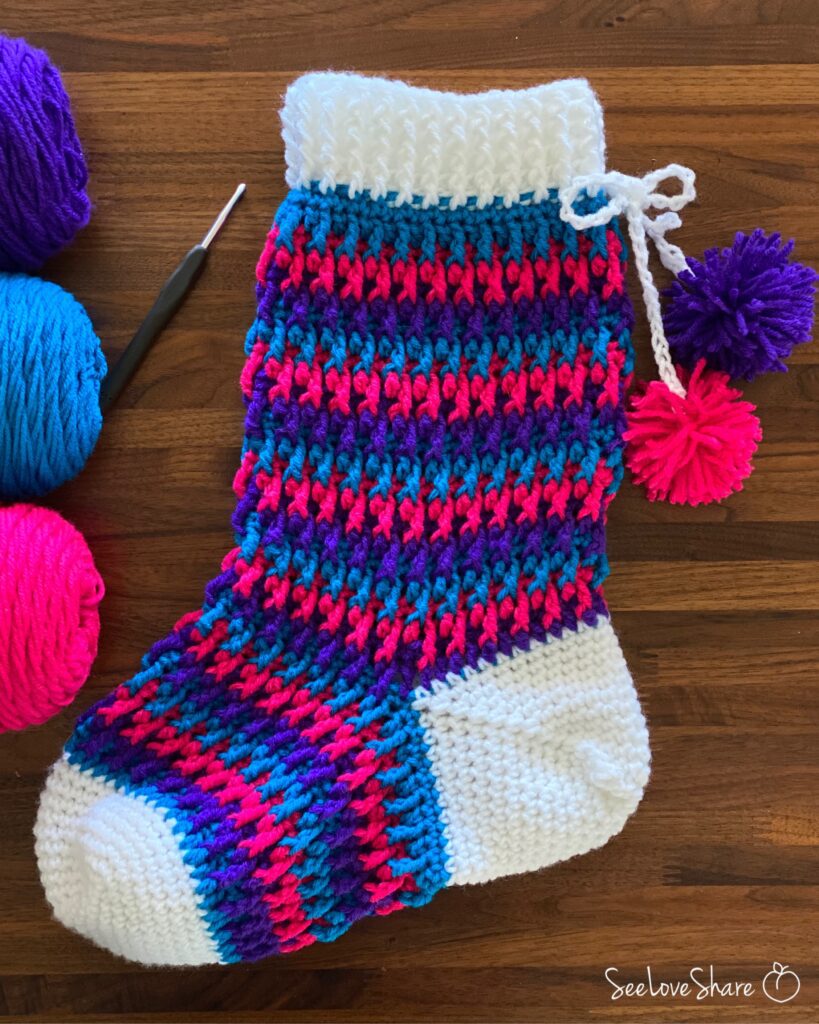
- Very Berry Christmas Stocking — another free stocking pattern with a fun berry-inspired colorway
- Elf-ie Christmas Stocking — playful elf-style stocking with pointed toe
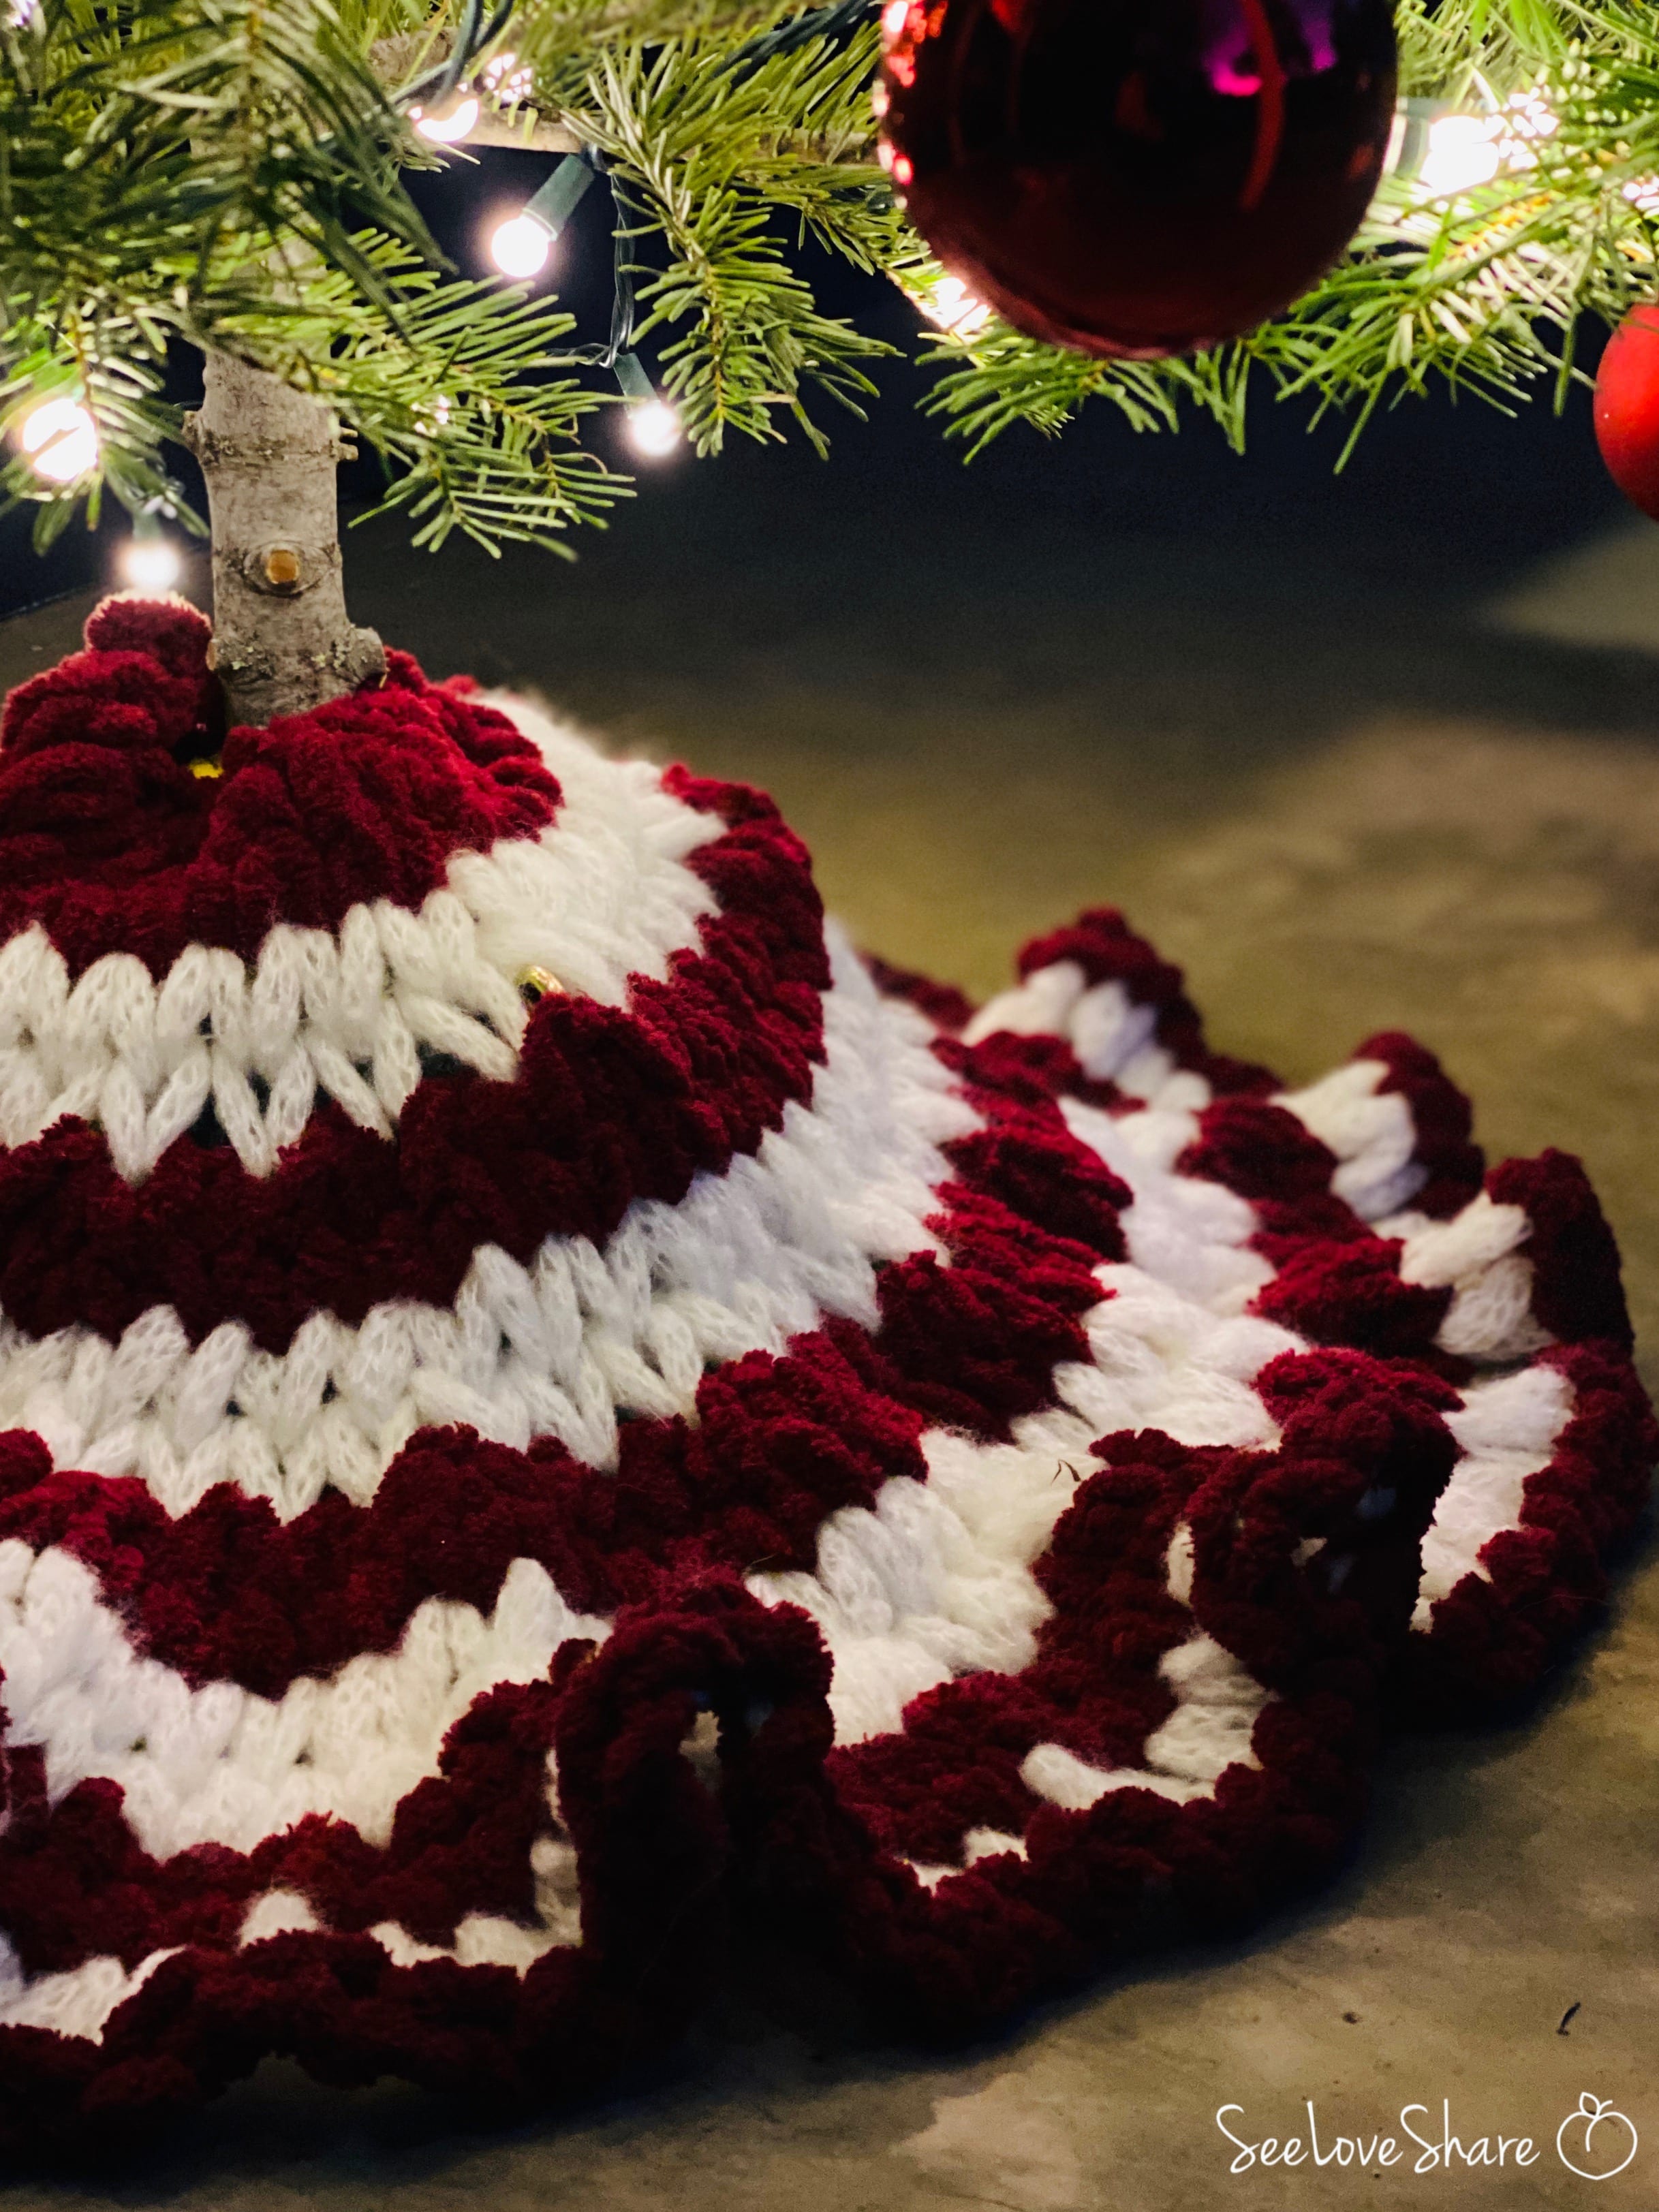
- Blanket-EZ Mini Tree Skirt — pairs beautifully with stockings on a mantel display
- Cabin Socks — wear-them-around-the-house cozy socks
- Softee Striped Socks — beginner-friendly striped sock pattern
- Browse all Christmas crochet patterns
Frequently Asked Questions
How long does this Christmas stocking pattern take to crochet?
About 6-8 hours of focused work. The toe and foot take about 2 hours, the leg another 2-3 hours, the ribbed cuff about 1-2 hours, and the heel about 30 minutes plus sewing time. Plan to spread it across a weekend or several evenings.
Can I make this stocking in different colors?
Absolutely. The pattern uses cream and evergreen green for a classic look, but it works beautifully in any 2-color combination. Try cream + burgundy for traditional Christmas, all-cream for minimalist, navy + cream for coastal Christmas, or rainbow stripes for kids’ stockings.
What size hand fits this stocking?
The finished stocking is 18″ long × 8″ wide — sized as a decorative display stocking that fits standard small gifts, candies, and small toys. It’s not sized to actually wear; for wearable socks see our Cabin Socks pattern.
Why is the heel worked last?
Working the heel last (as an “afterthought heel”) makes the rest of the stocking much easier to construct — the leg and foot can both be worked in the round without breaking for short-row heel shaping. The heel is added at the end by picking up stitches around the opening and working a spiral decrease. This technique is forgiving and produces a clean, professional shape.
Can I sell stockings made from this free pattern?
Yes — you’re welcome to sell finished stockings made from this free pattern. Please credit SeeLoveShare as the pattern designer. The pattern itself may not be reproduced, redistributed, or resold.
More Christmas Crochet Patterns You’ll Love
 Elf-ie Christmas Stocking — the coordinating seed stitch stocking
- Very Berry Christmas Stocking — the classic red stocking in the set
- Blanket EZ Mini Tree Skirt — finish the look under the tree
 All Crochet Christmas Patterns — browse the full roundup